PDK Portal Settings:
1. Log into your PDK account at https://pdk.io/
2. Go to Integrations (as shown below).

section using the Learn More button.


shown below. Use the copy icon to copy to your clipboard. Paste into a
document for future use in the MyDoorView portal.

MyDoorView Portal Settings:
Setting up a PDK Integration for a Panel and Mobile Intercom
1. Follow the remote access guide from partner.mydoorview.com and remote into the account. ***Note that end user administrators cannot access device and integration settings. This can only be managed by dealers/integrators***
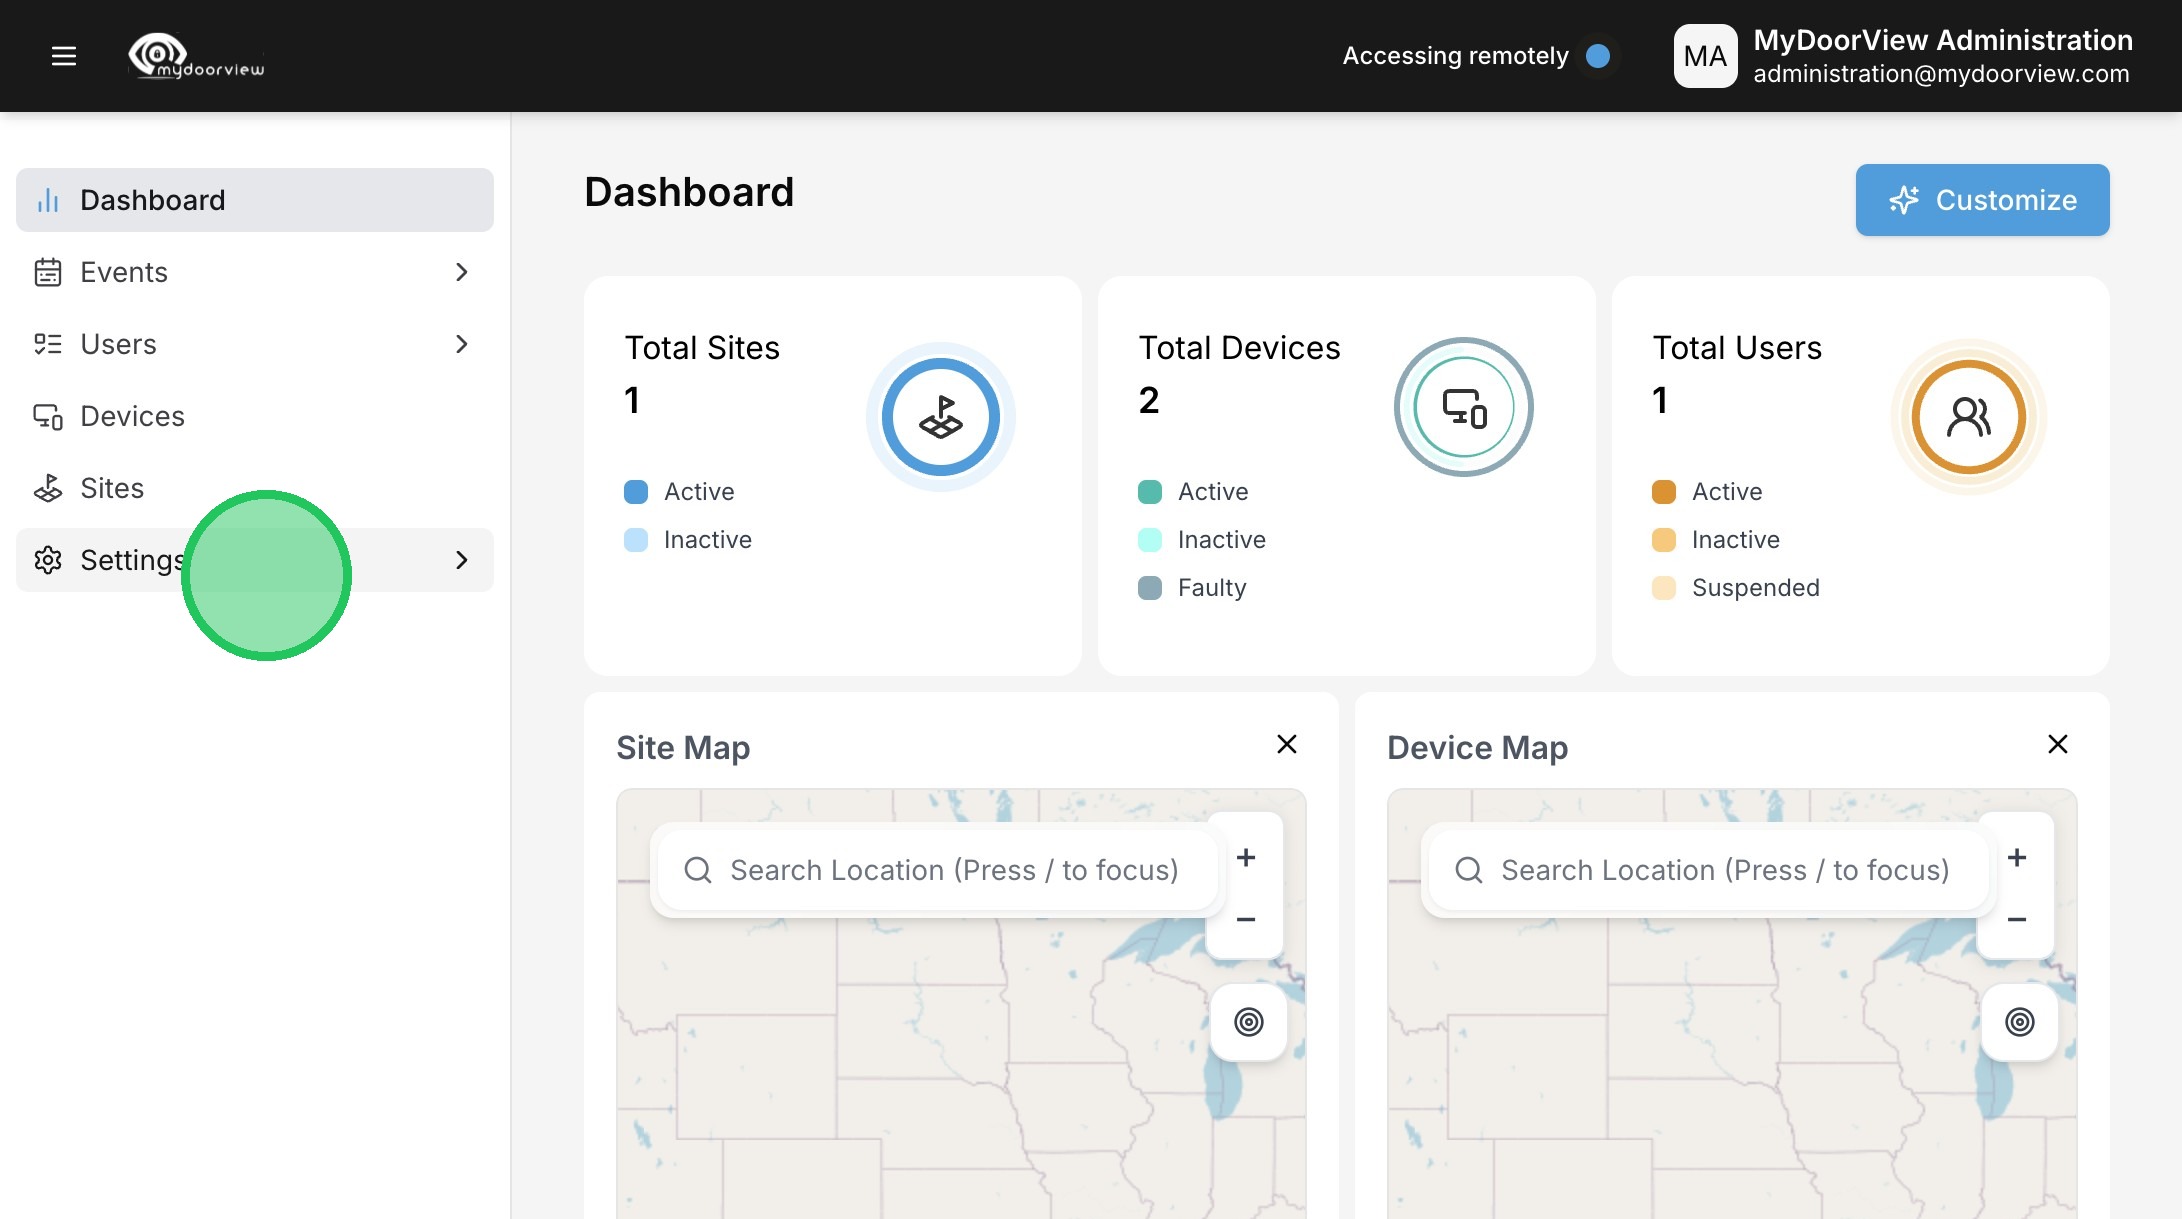
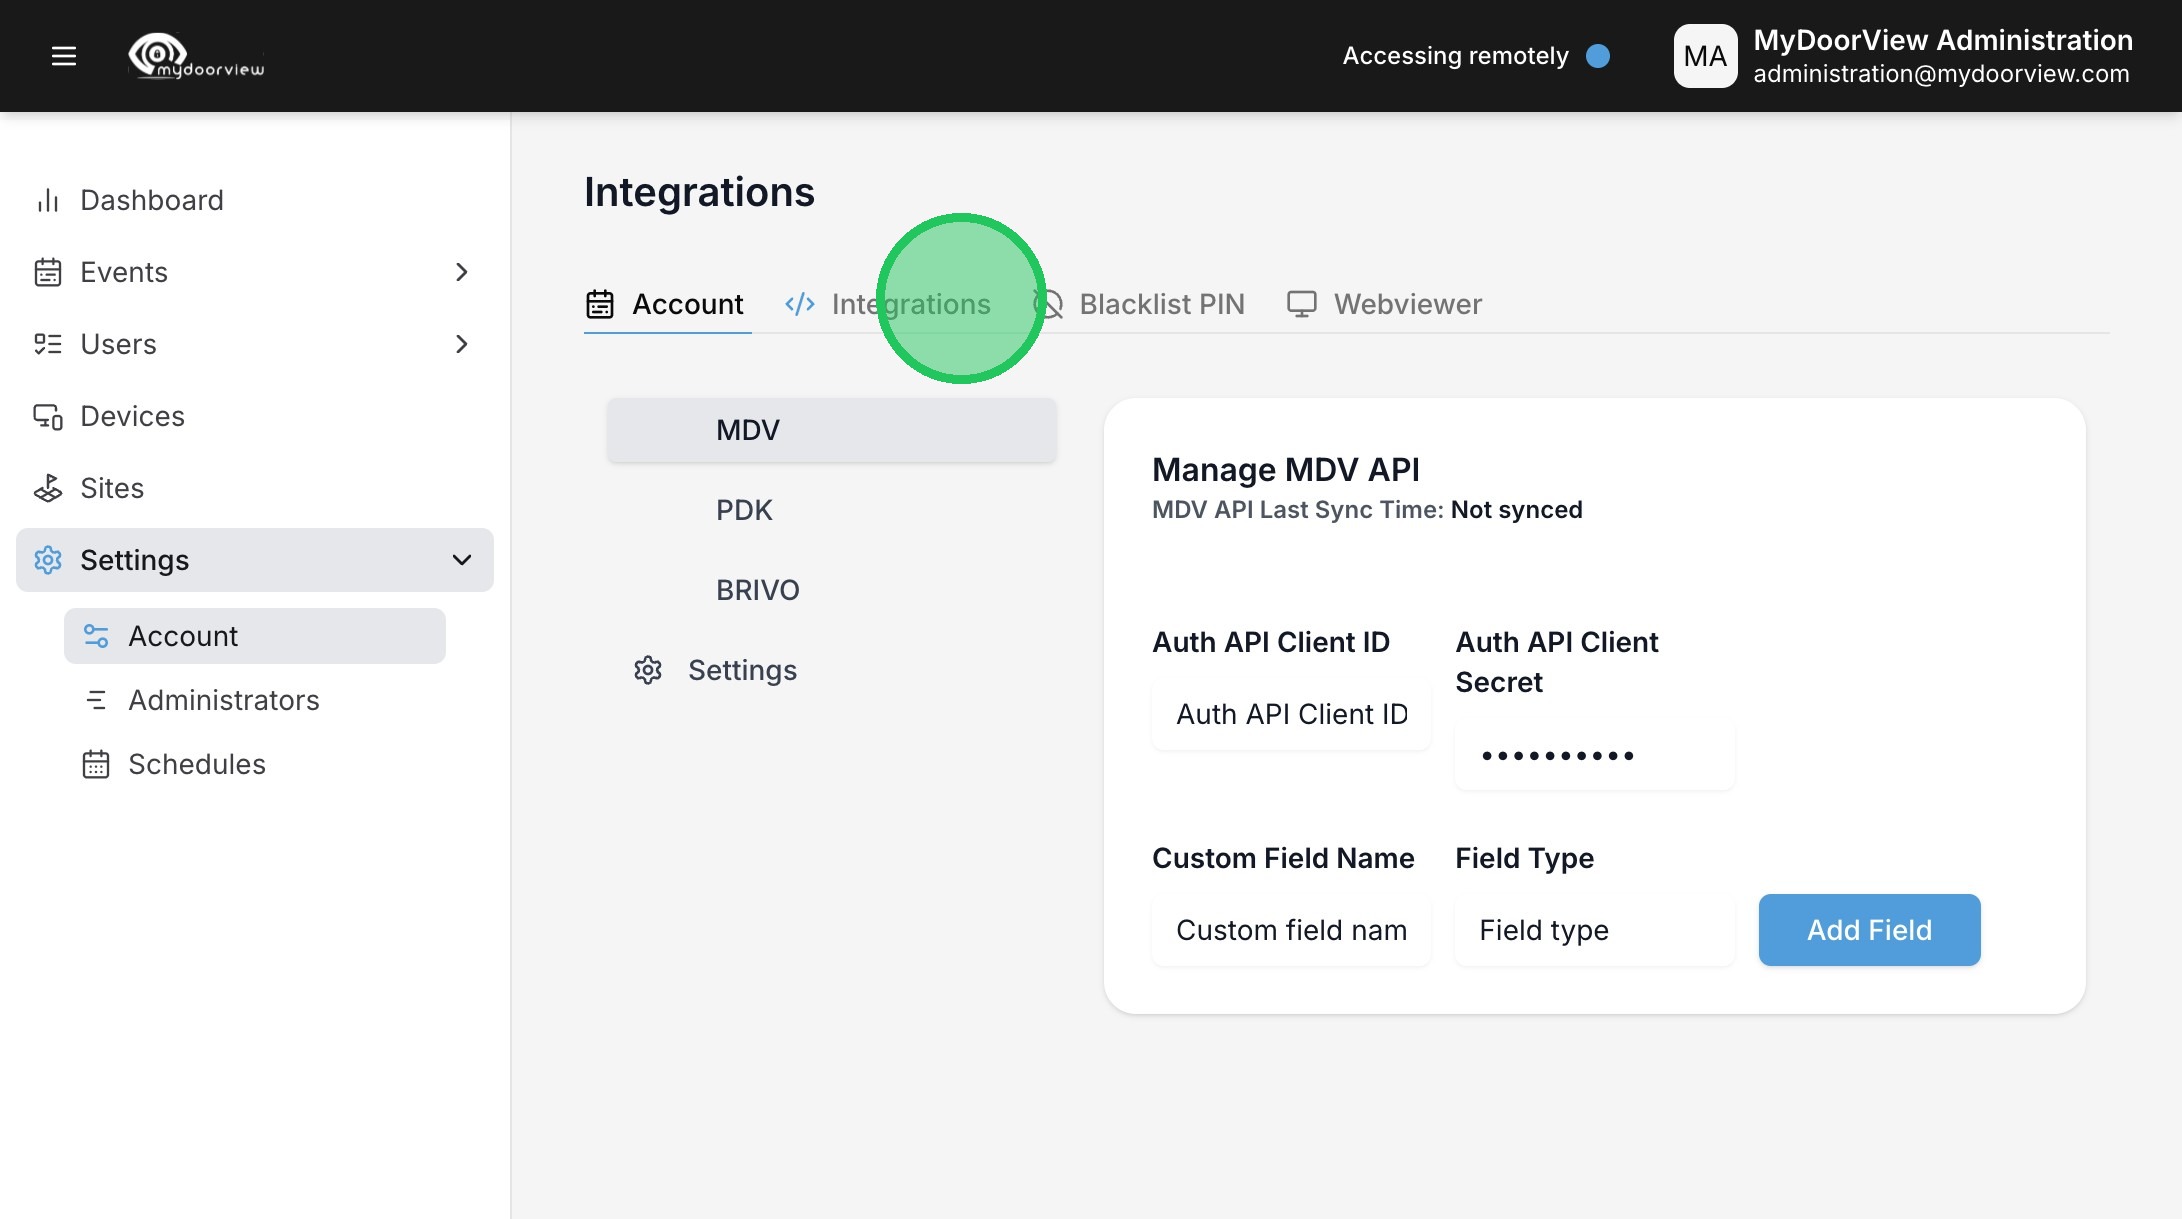
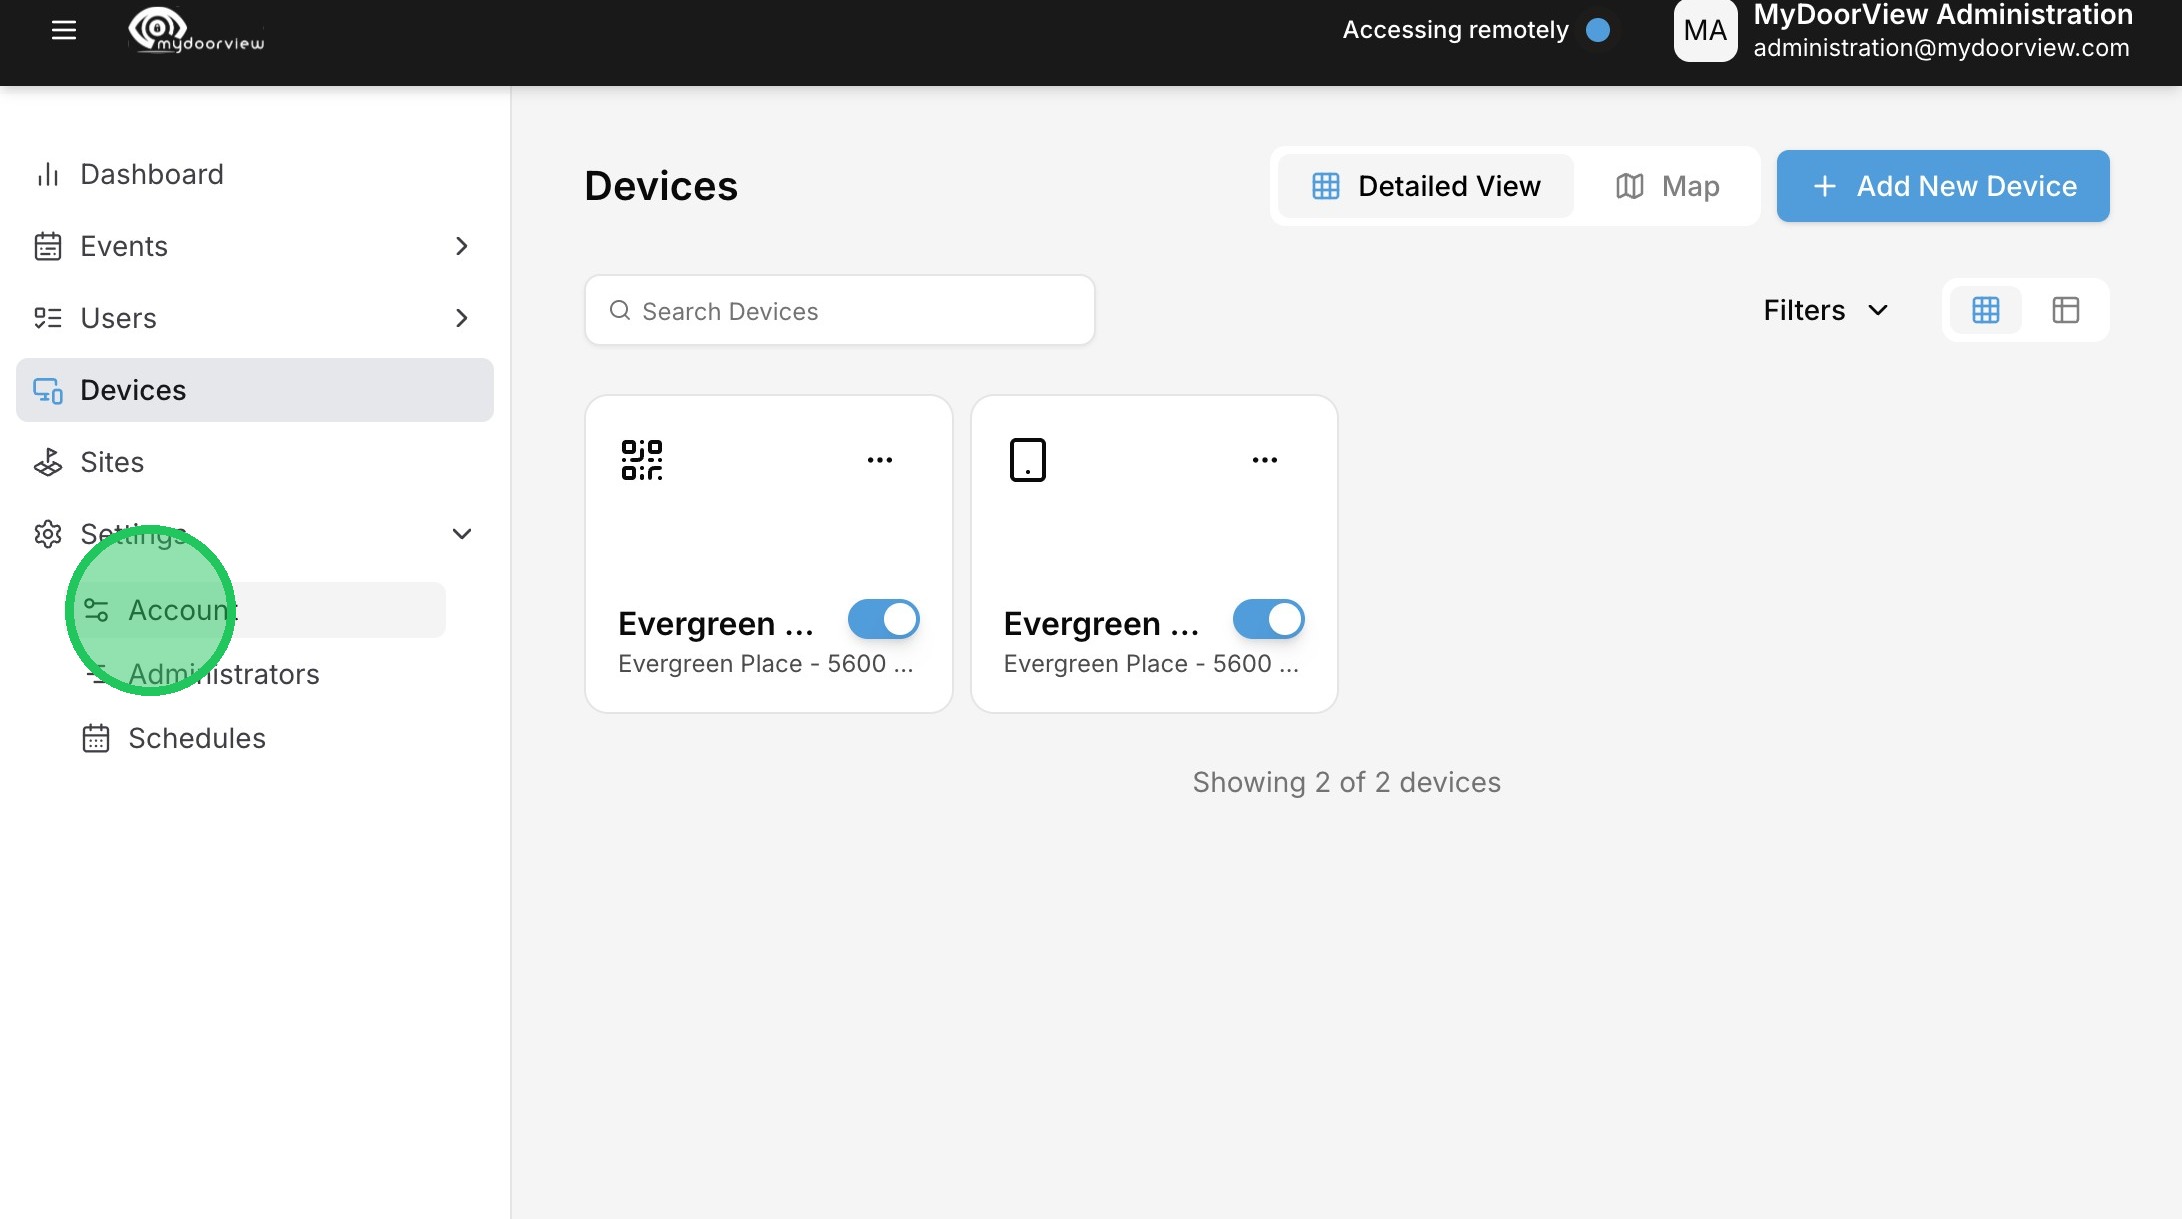
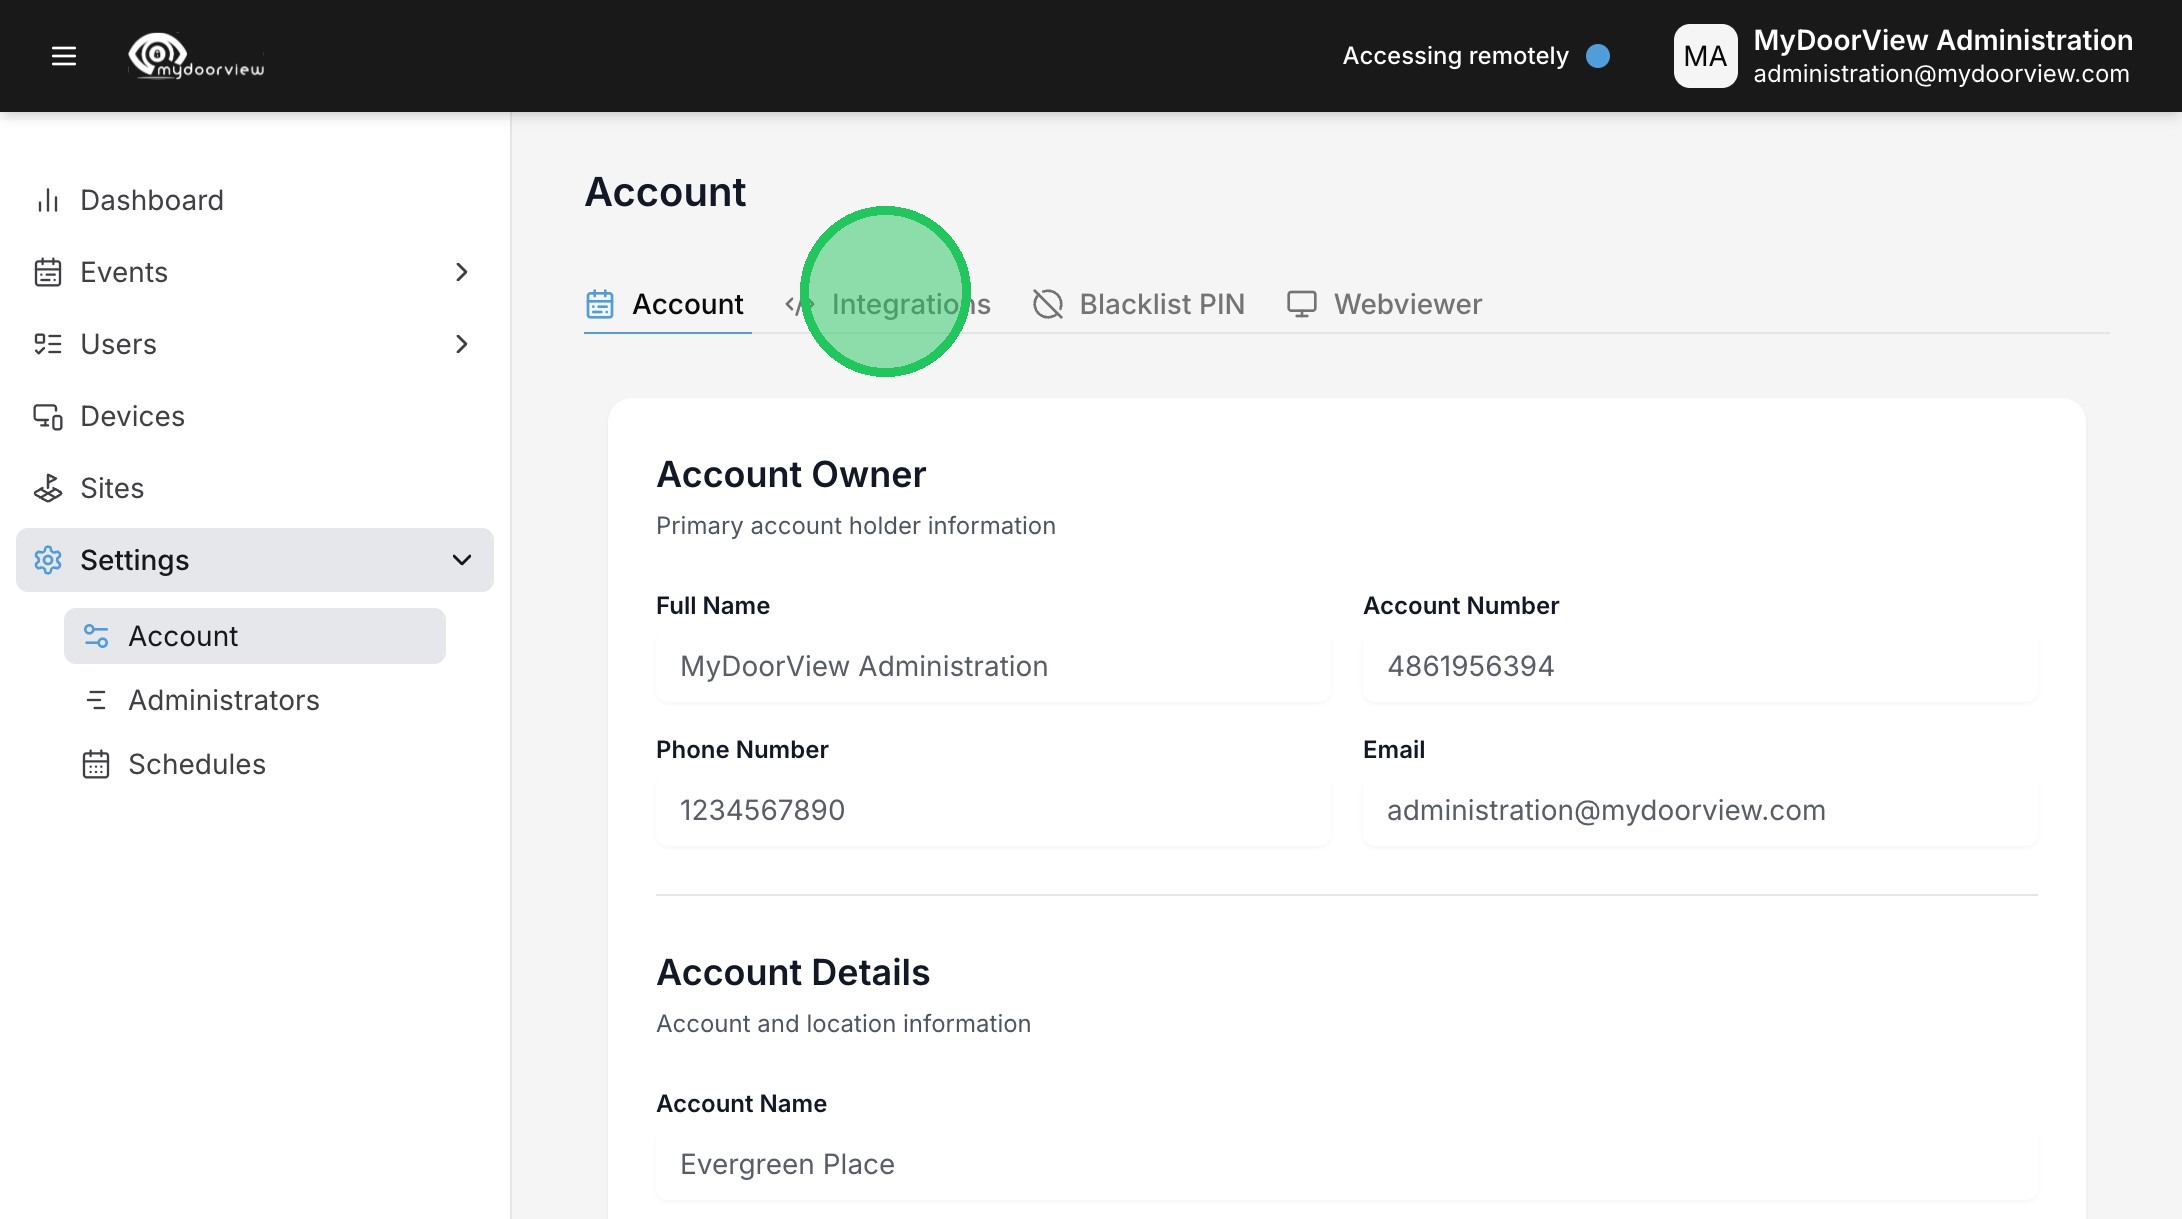
2. Click "Settings"
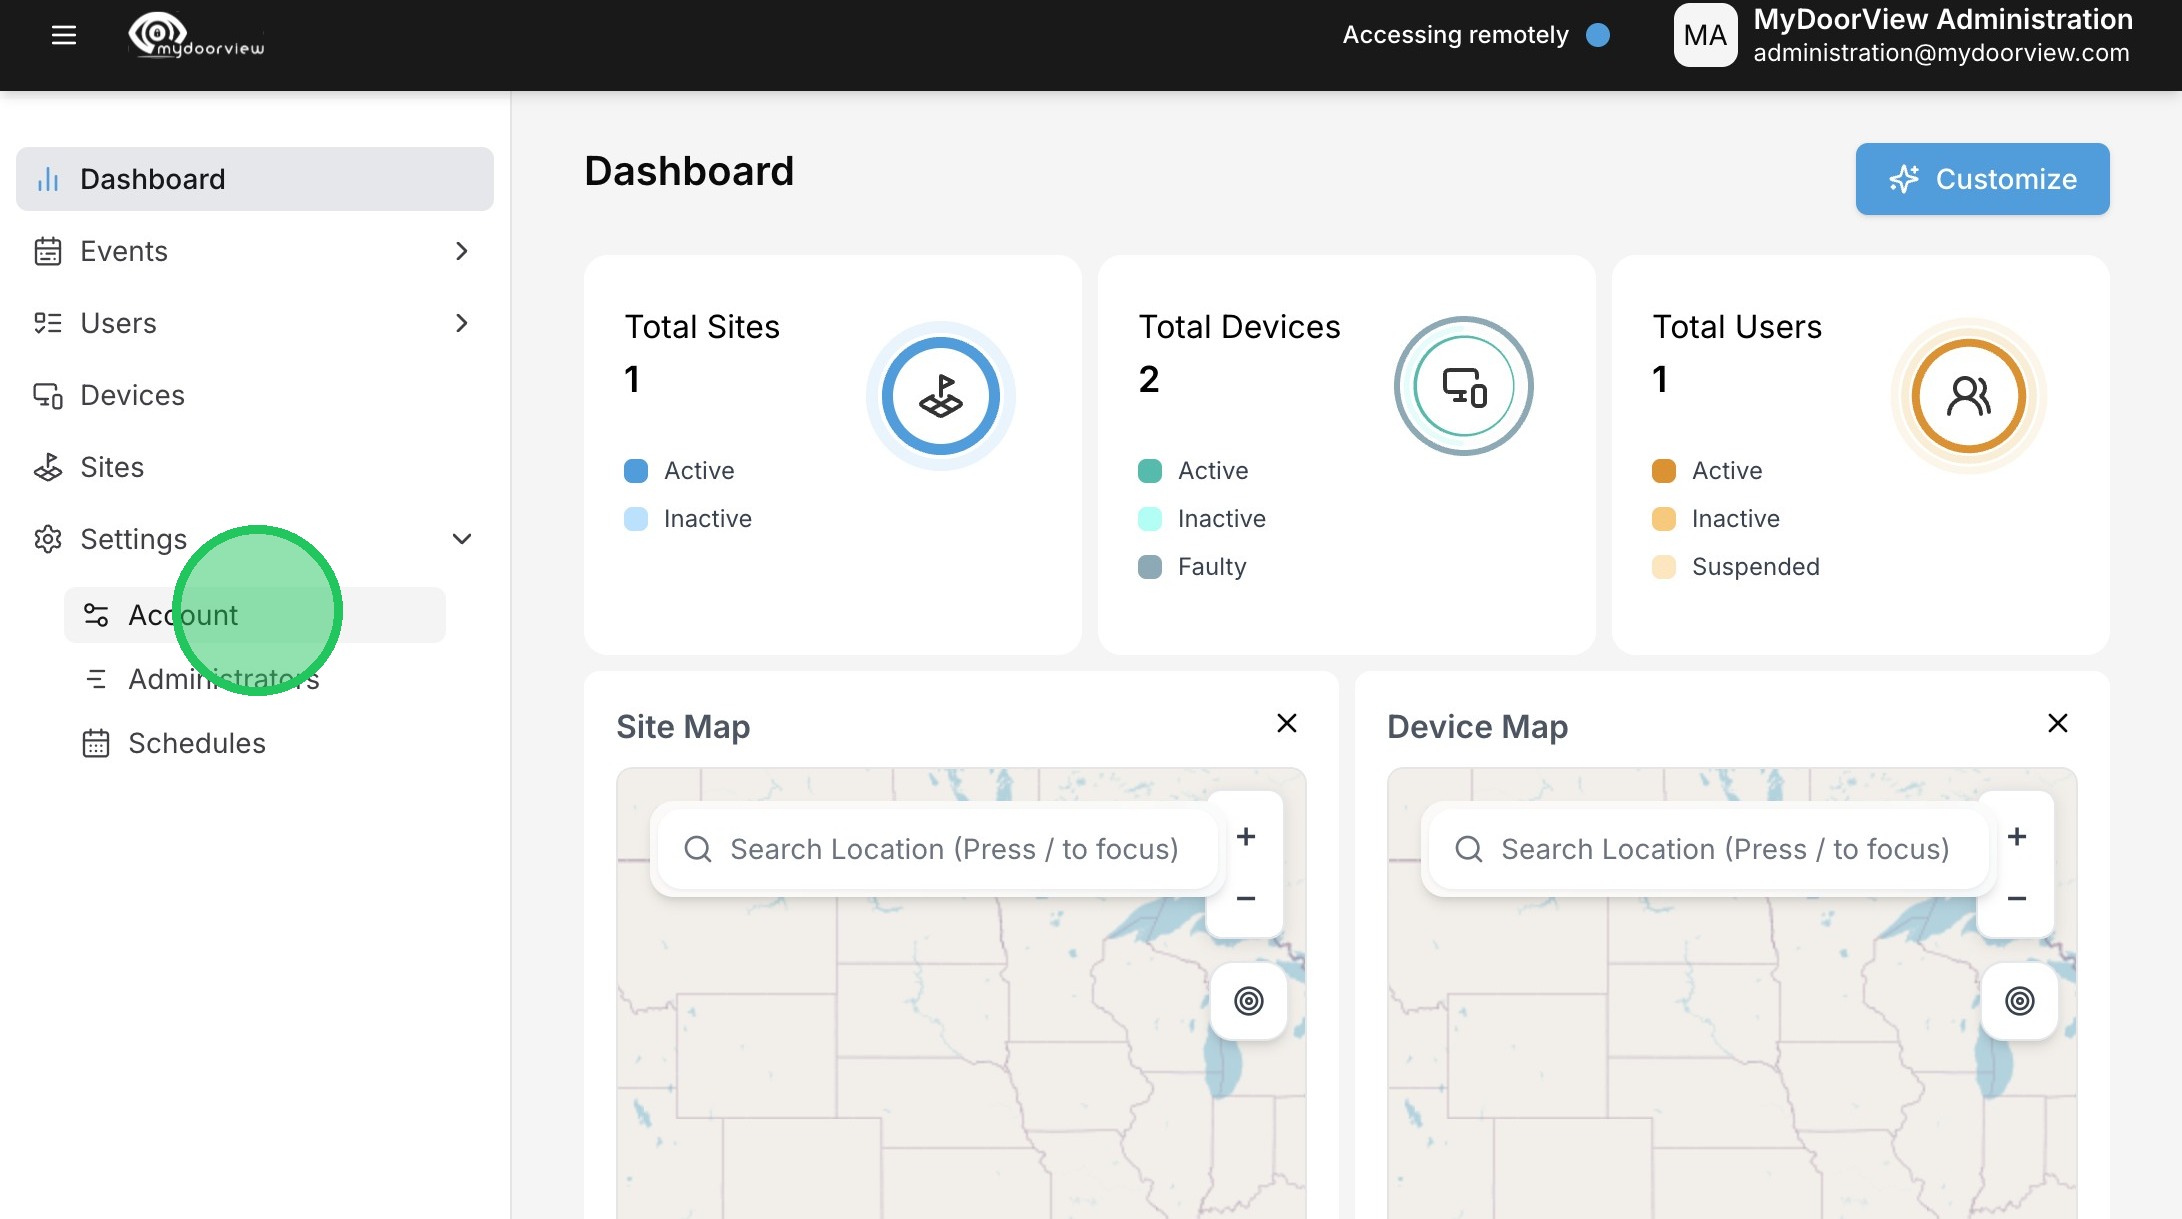
3. Click "Account"
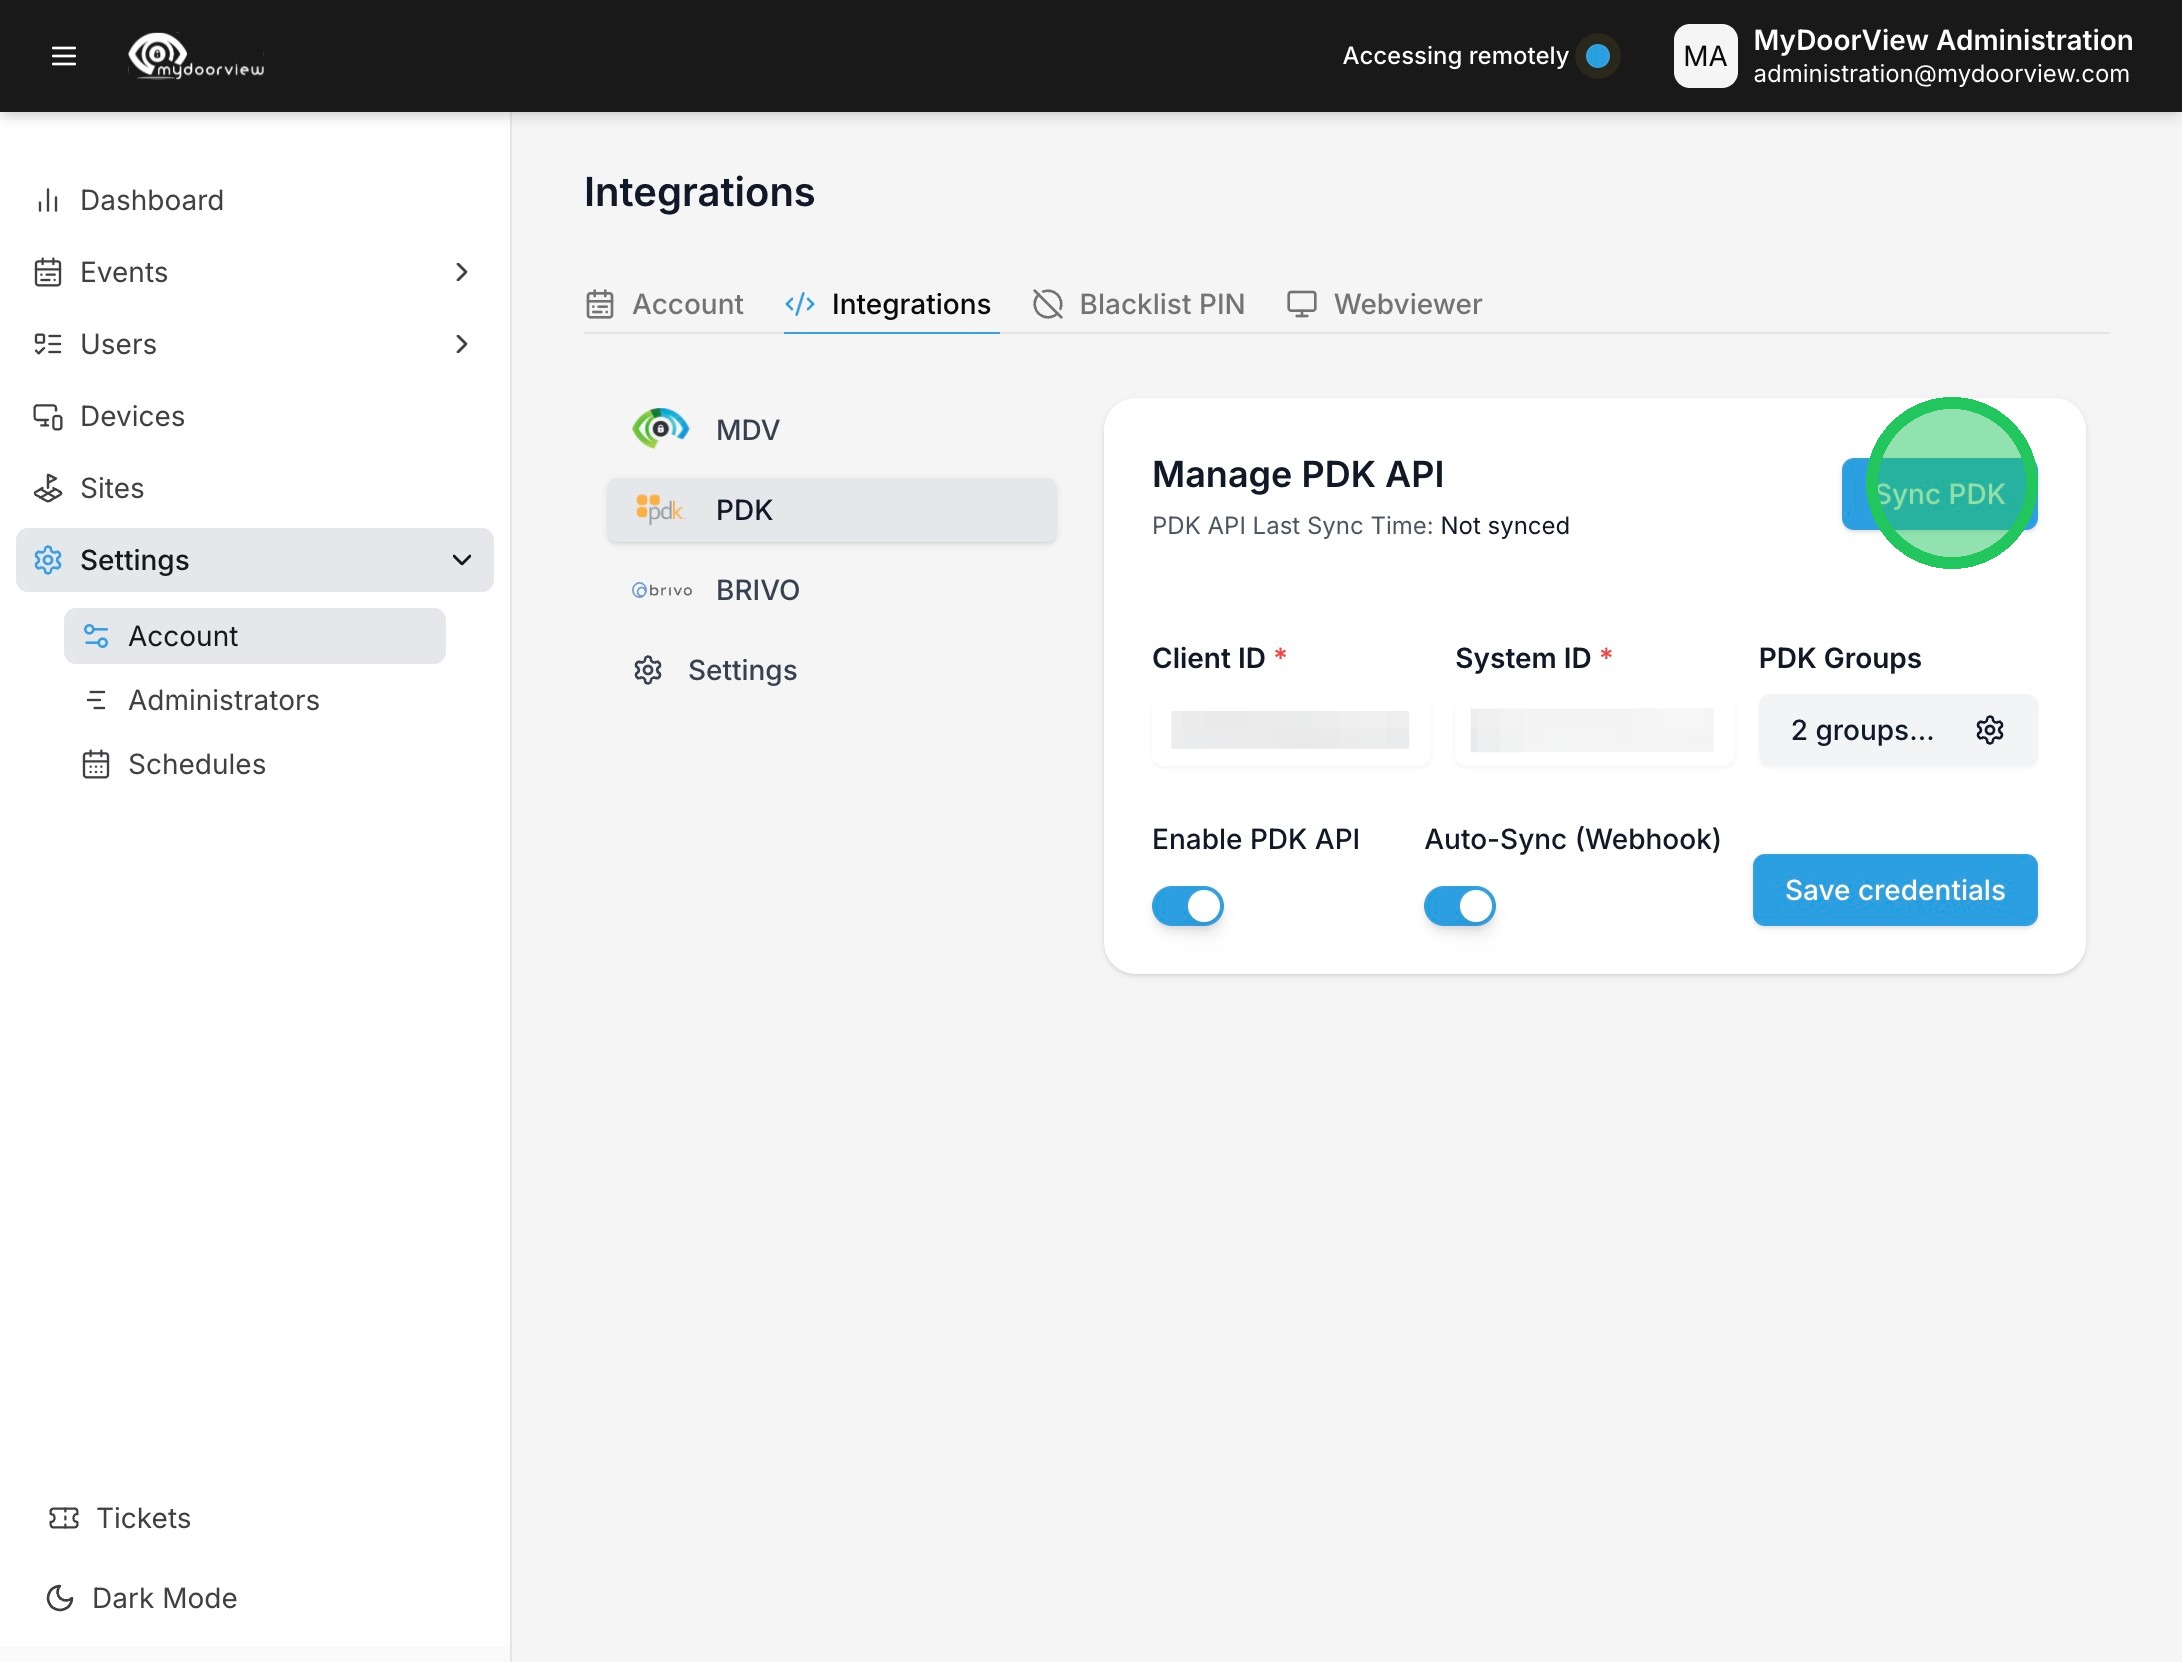
4. Click "Integrations"
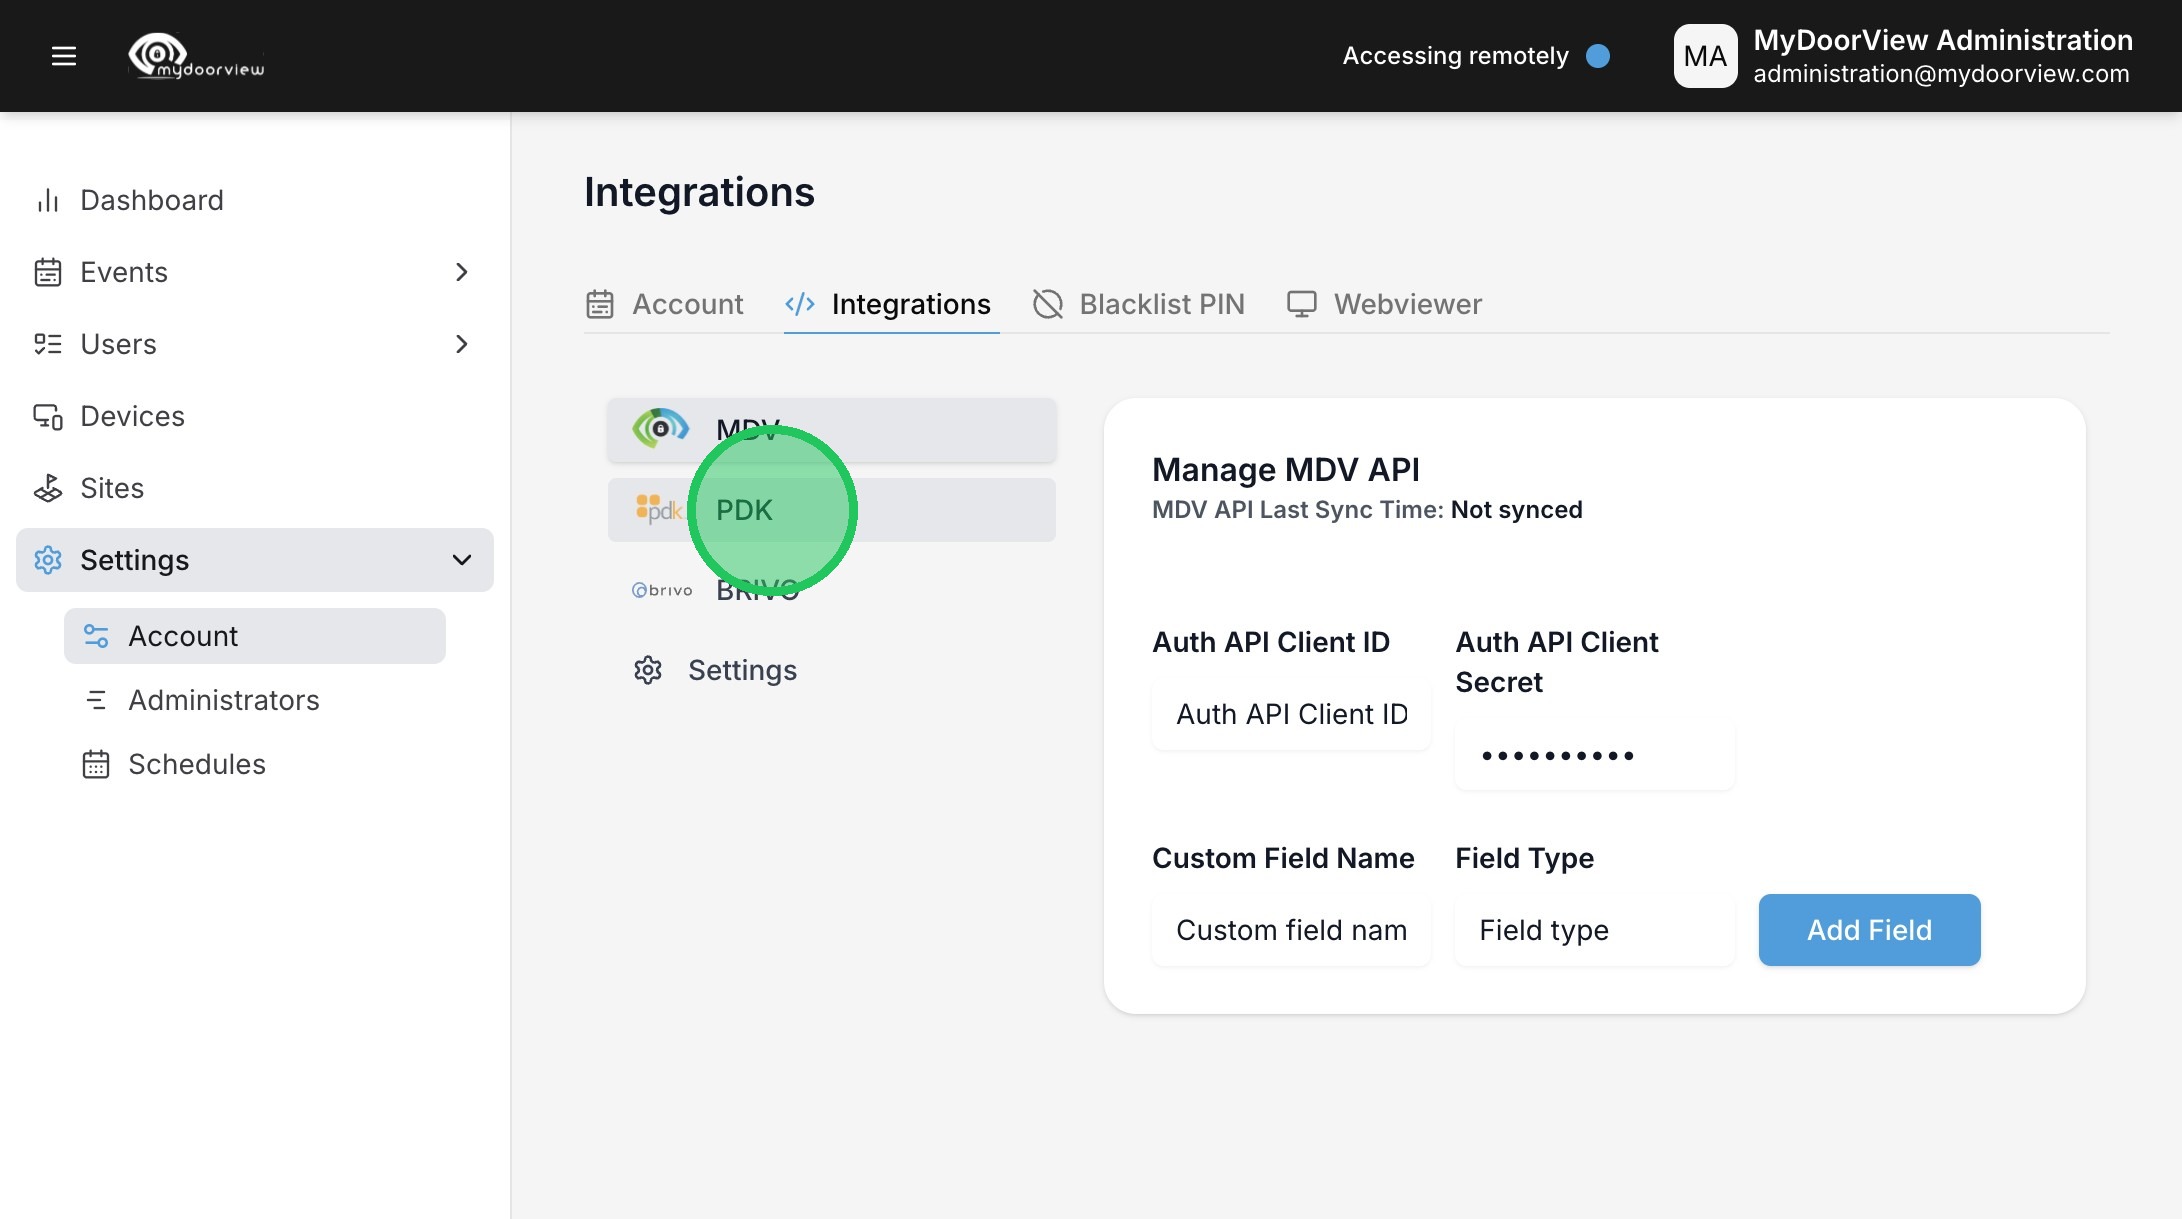
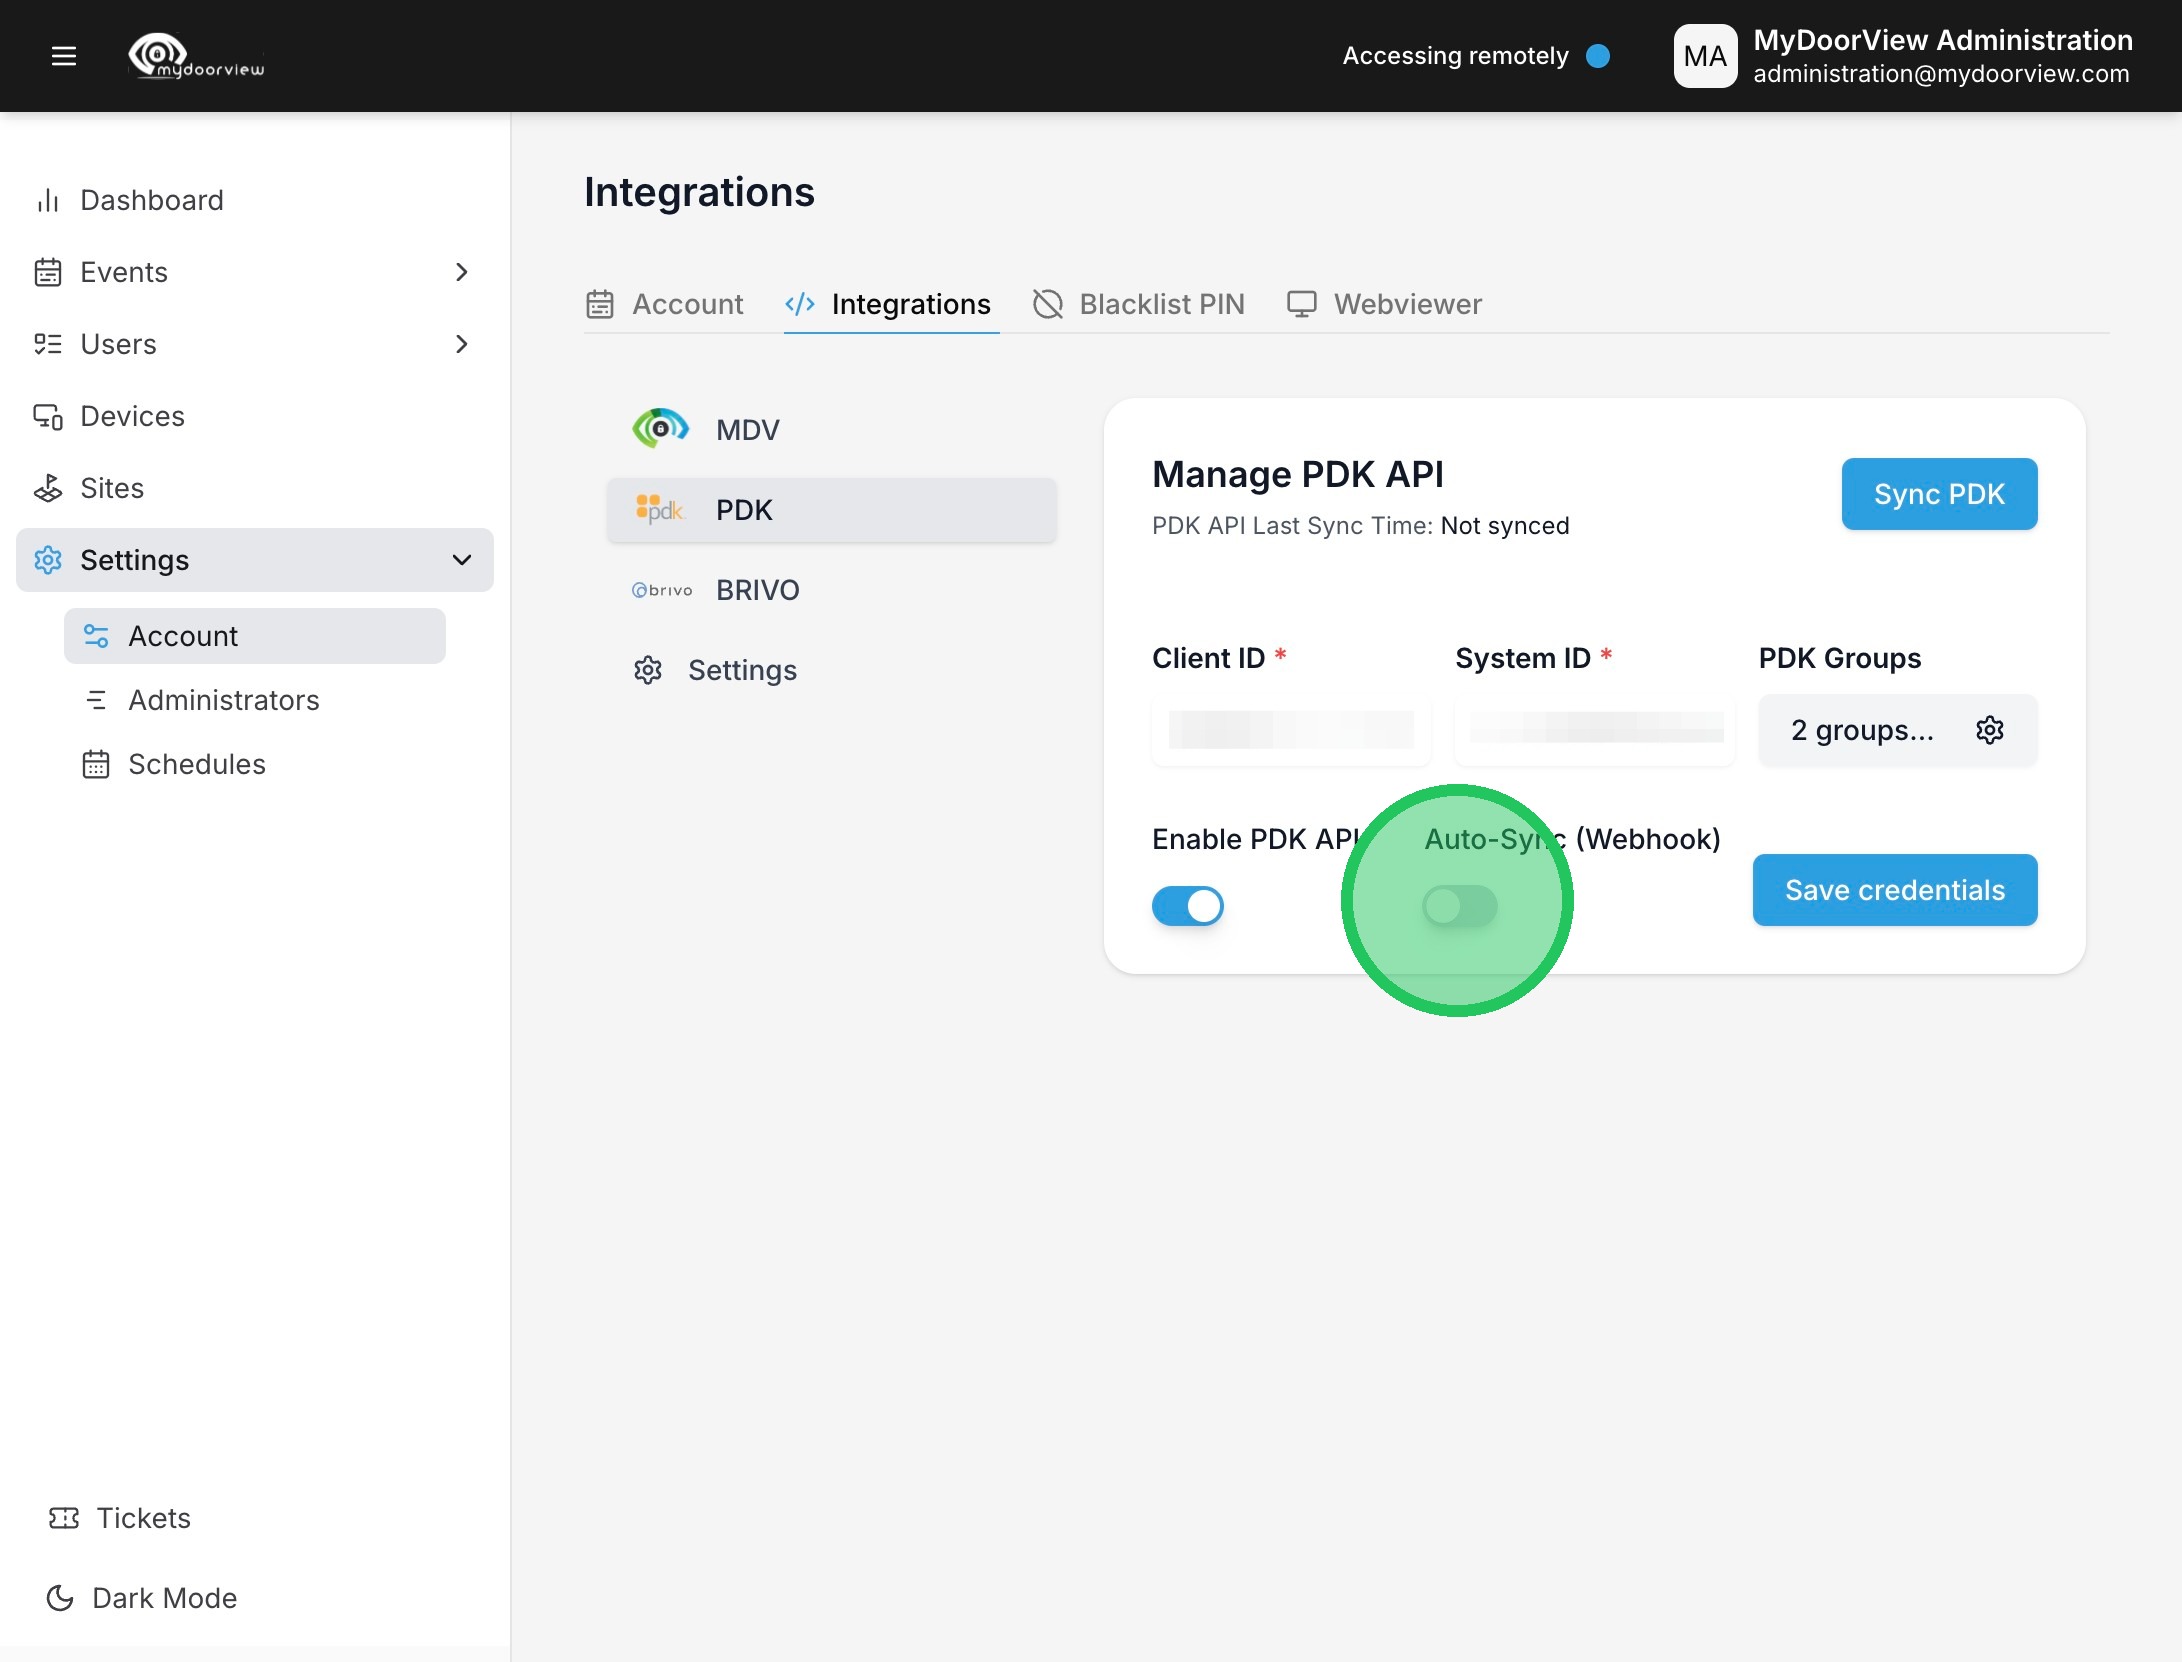
5. Click "PDK"
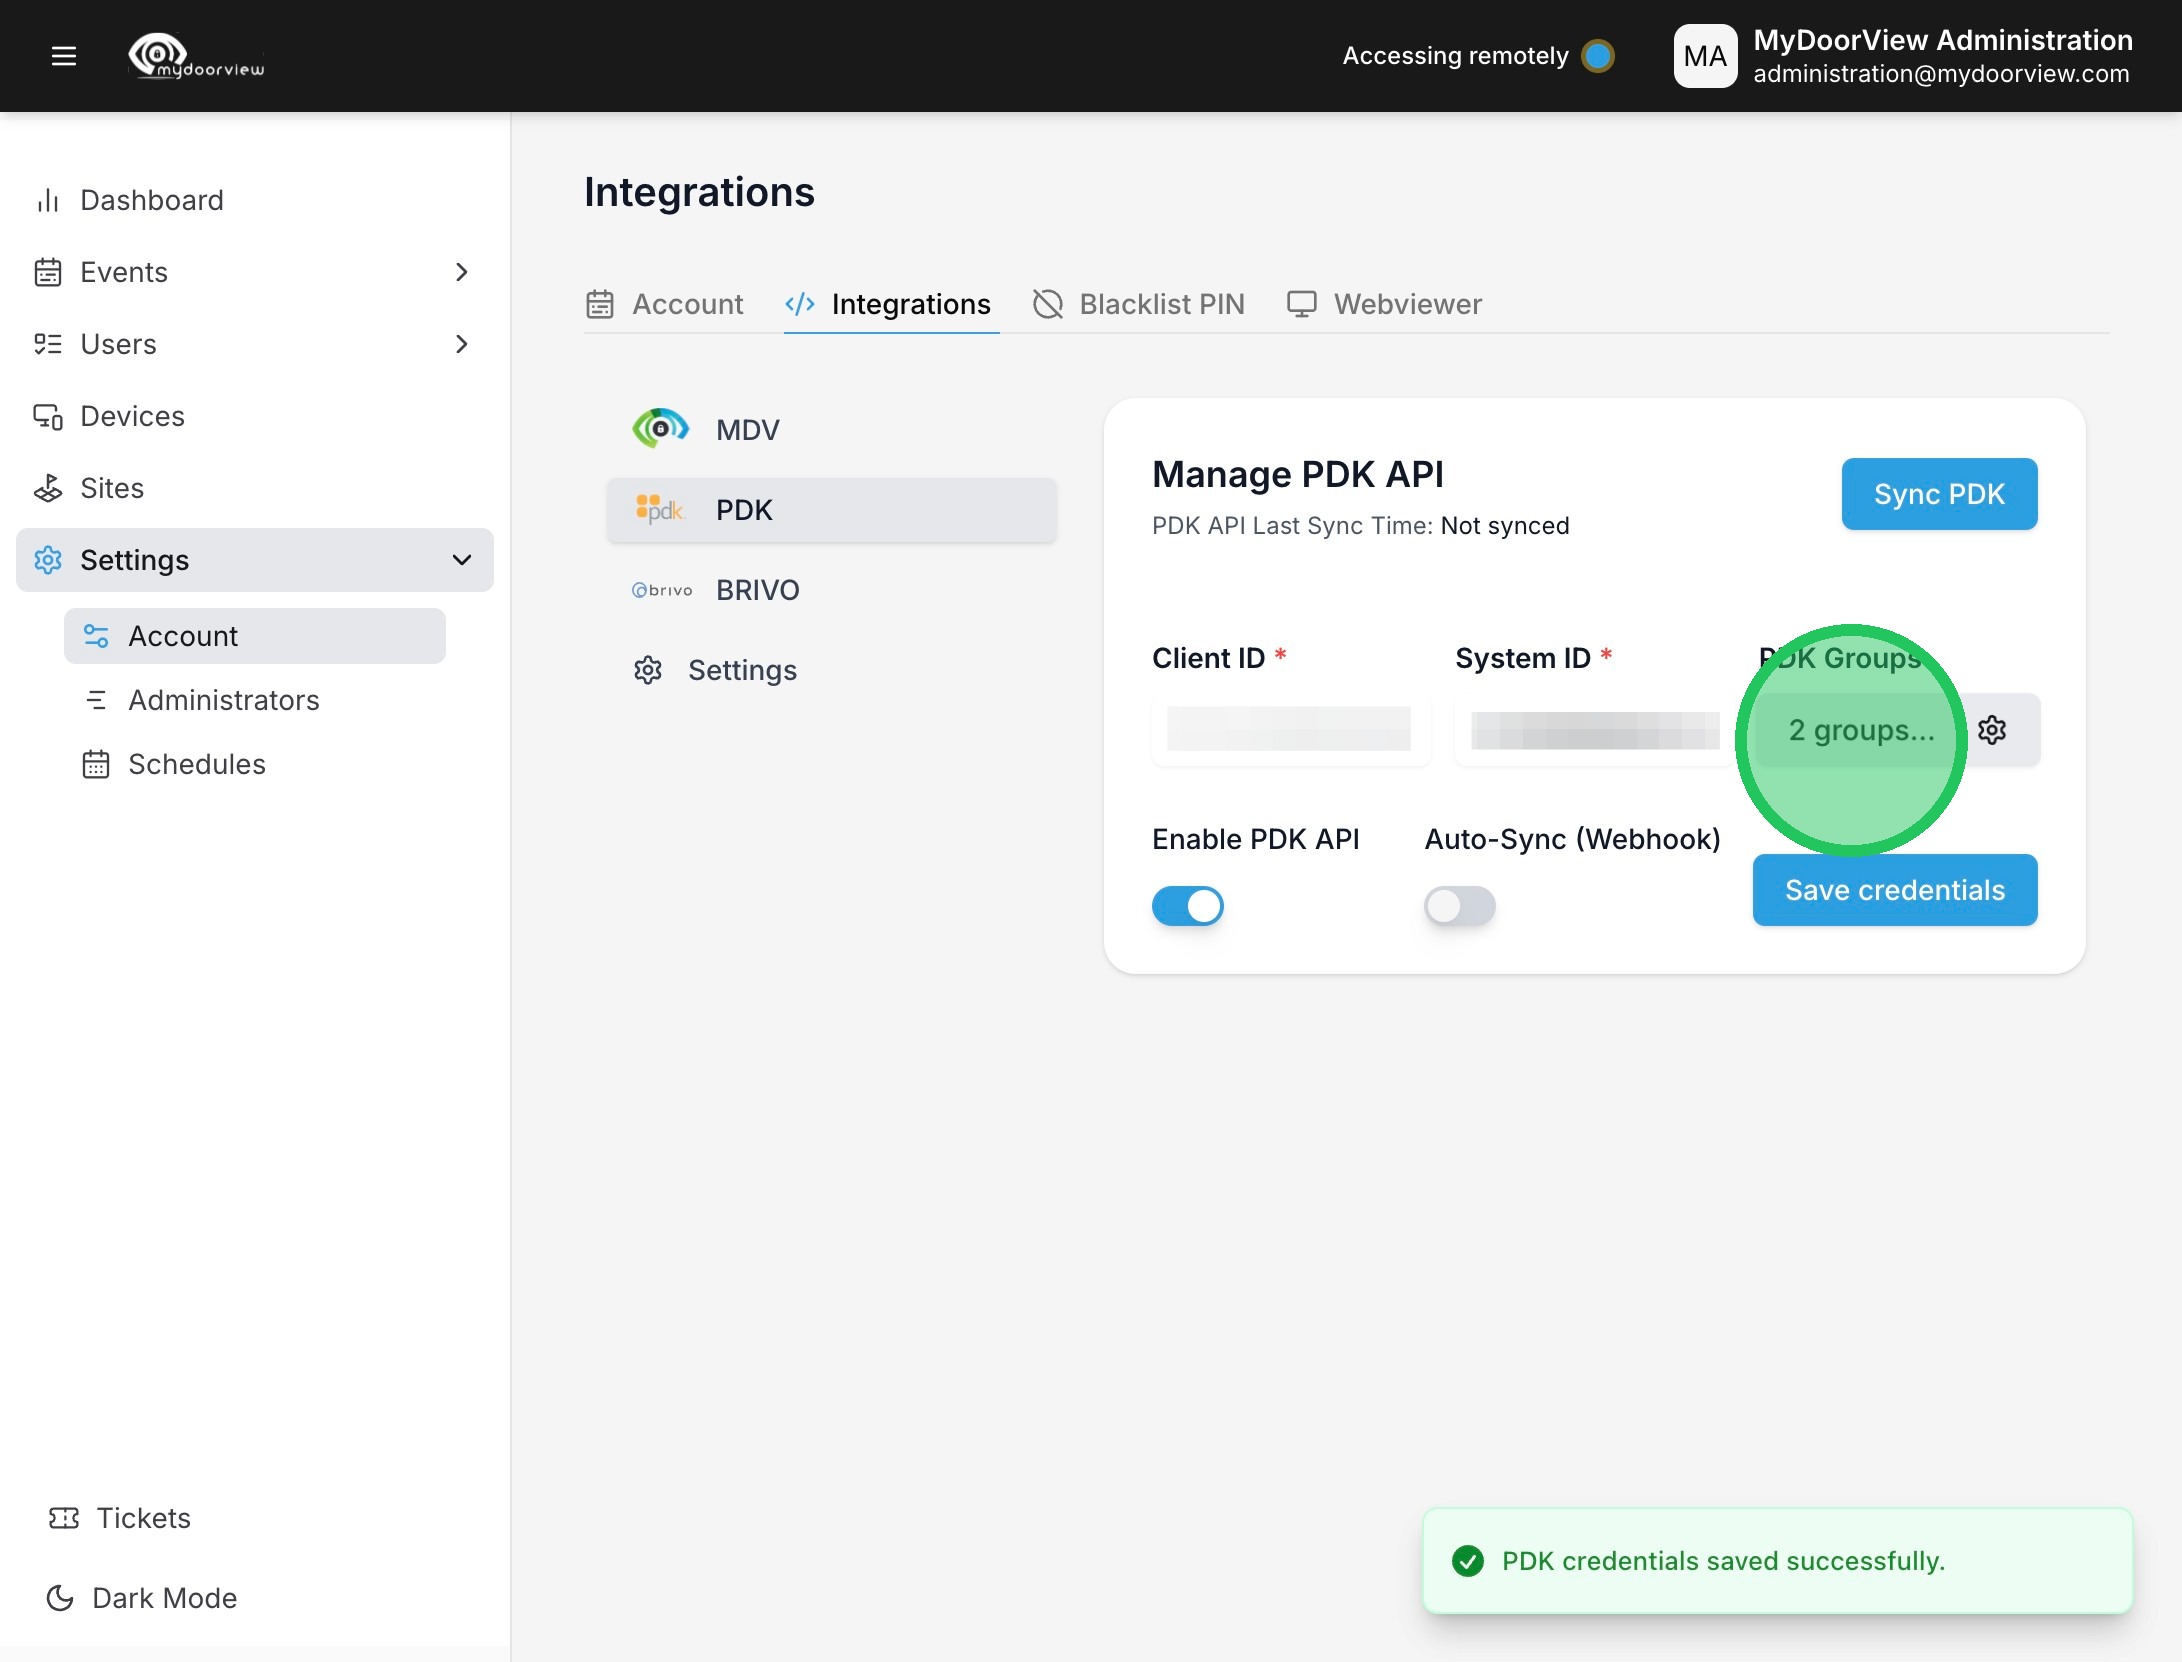
6. Click to enable the PDK API.
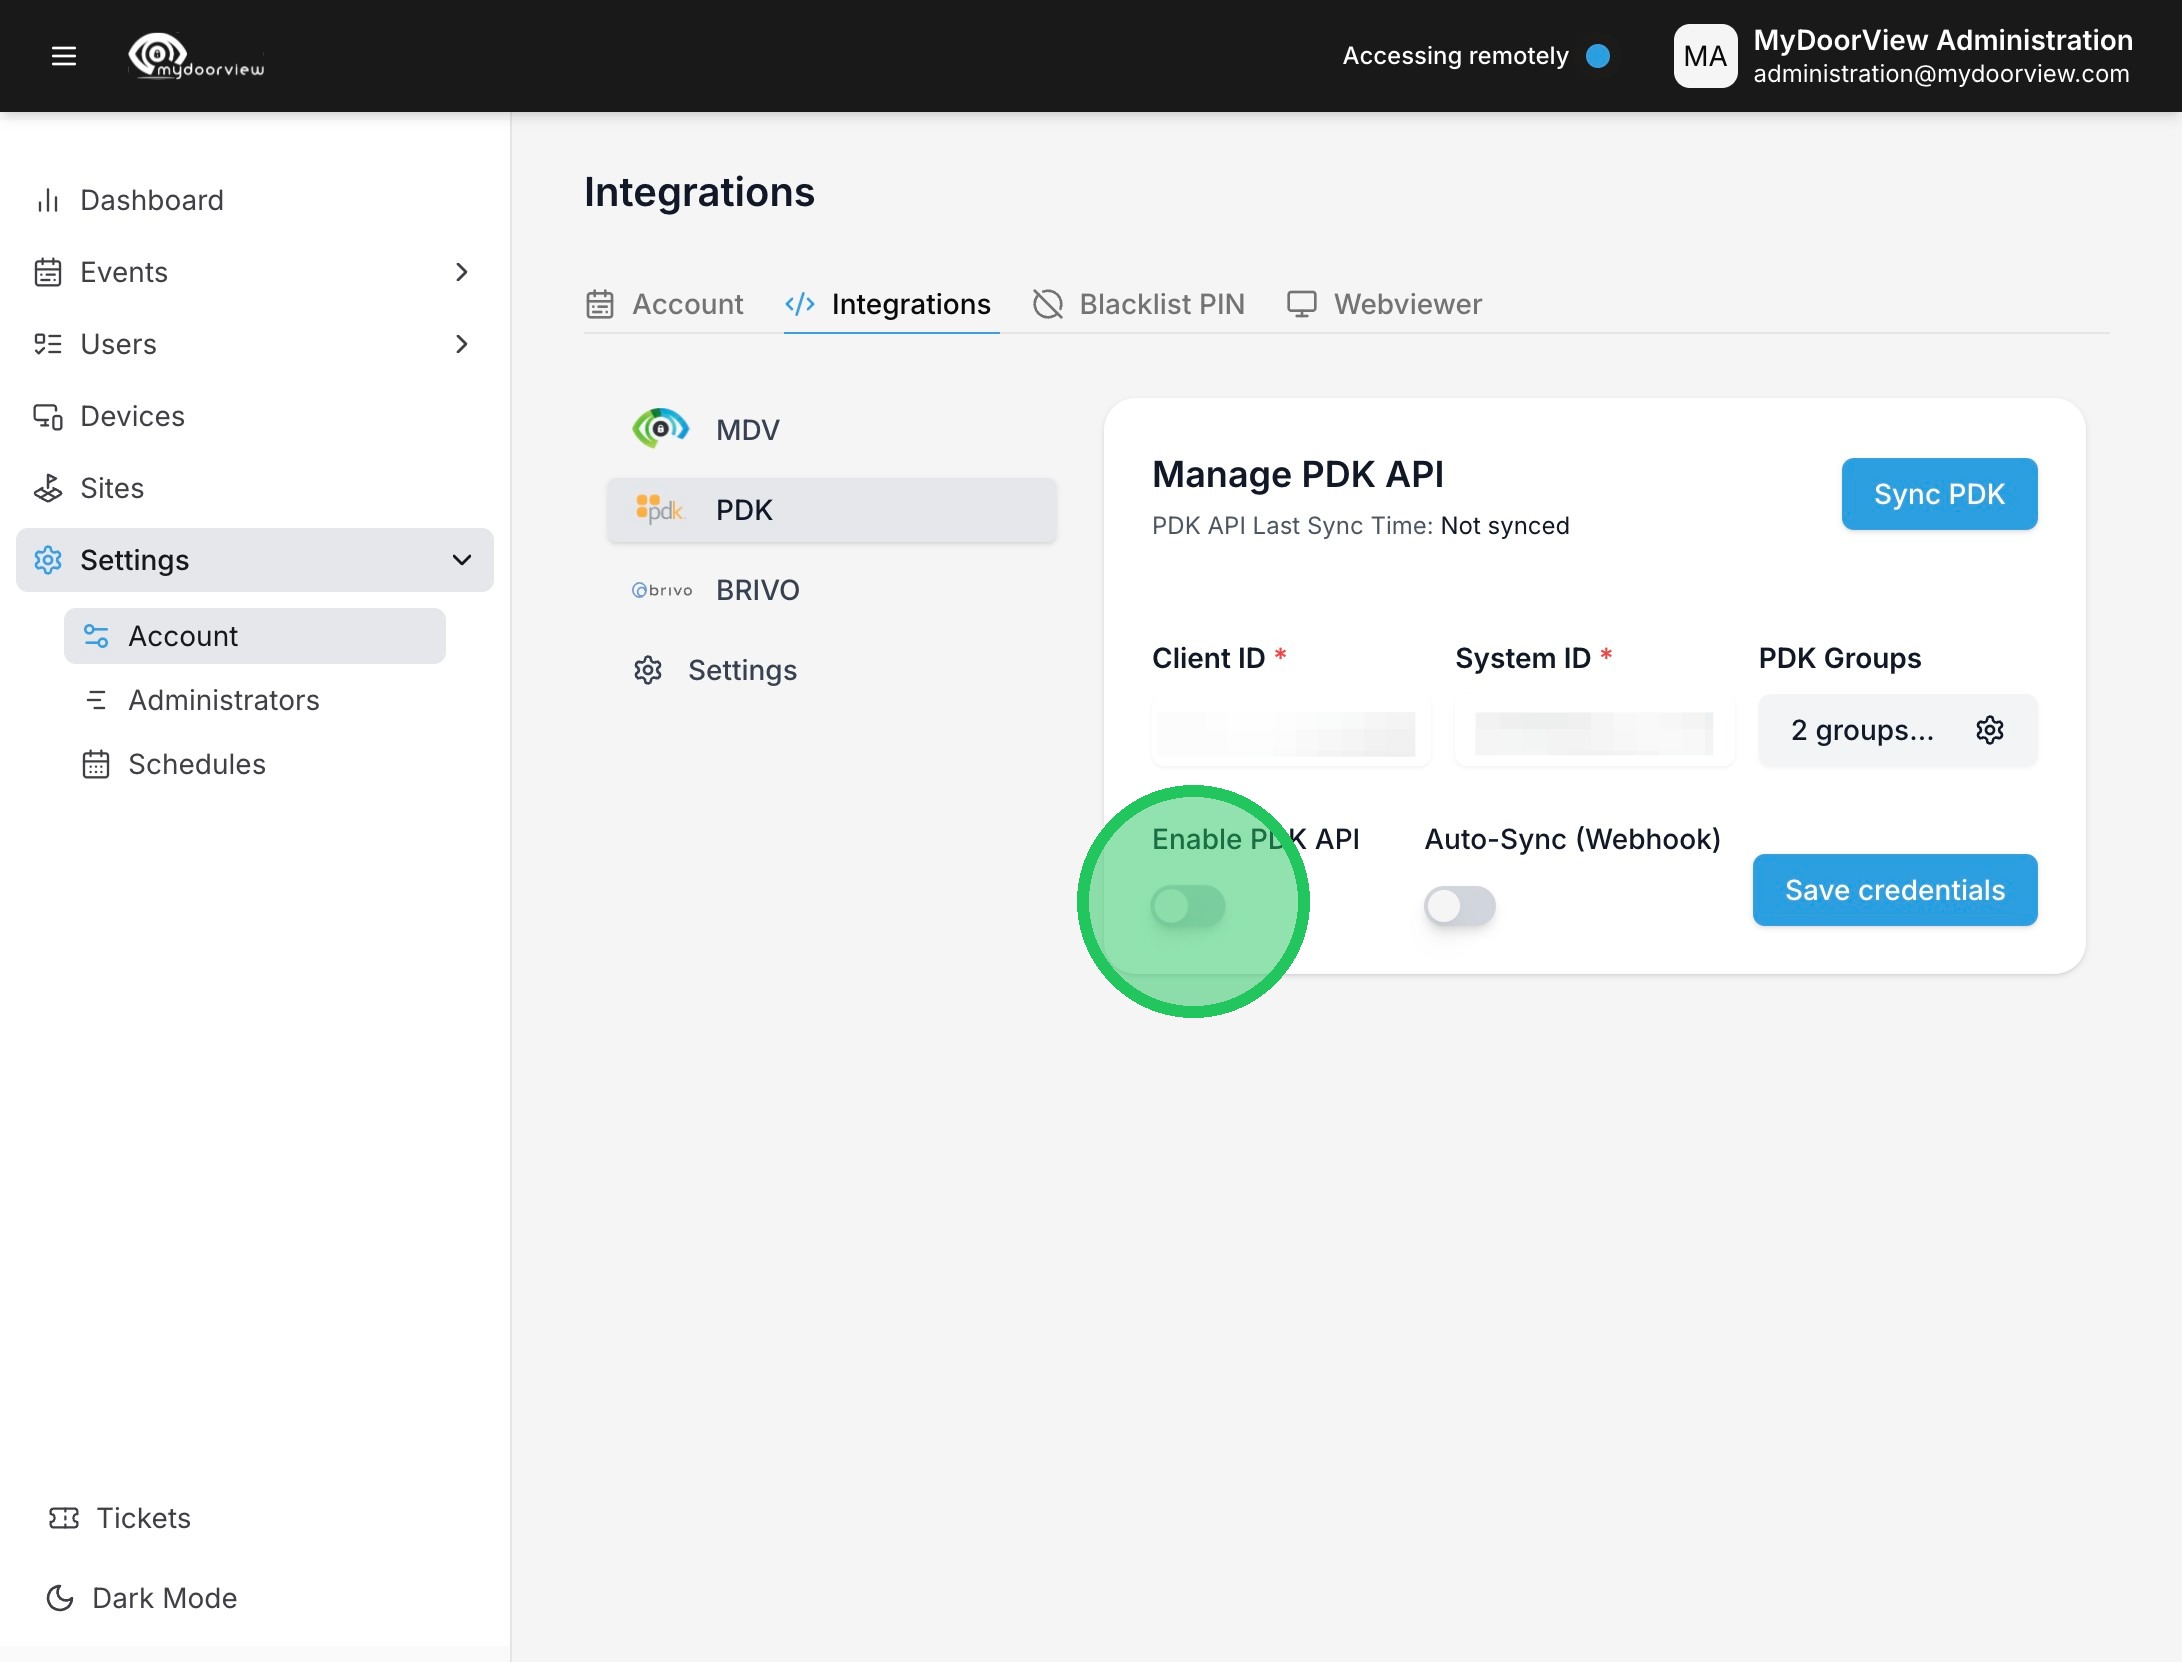
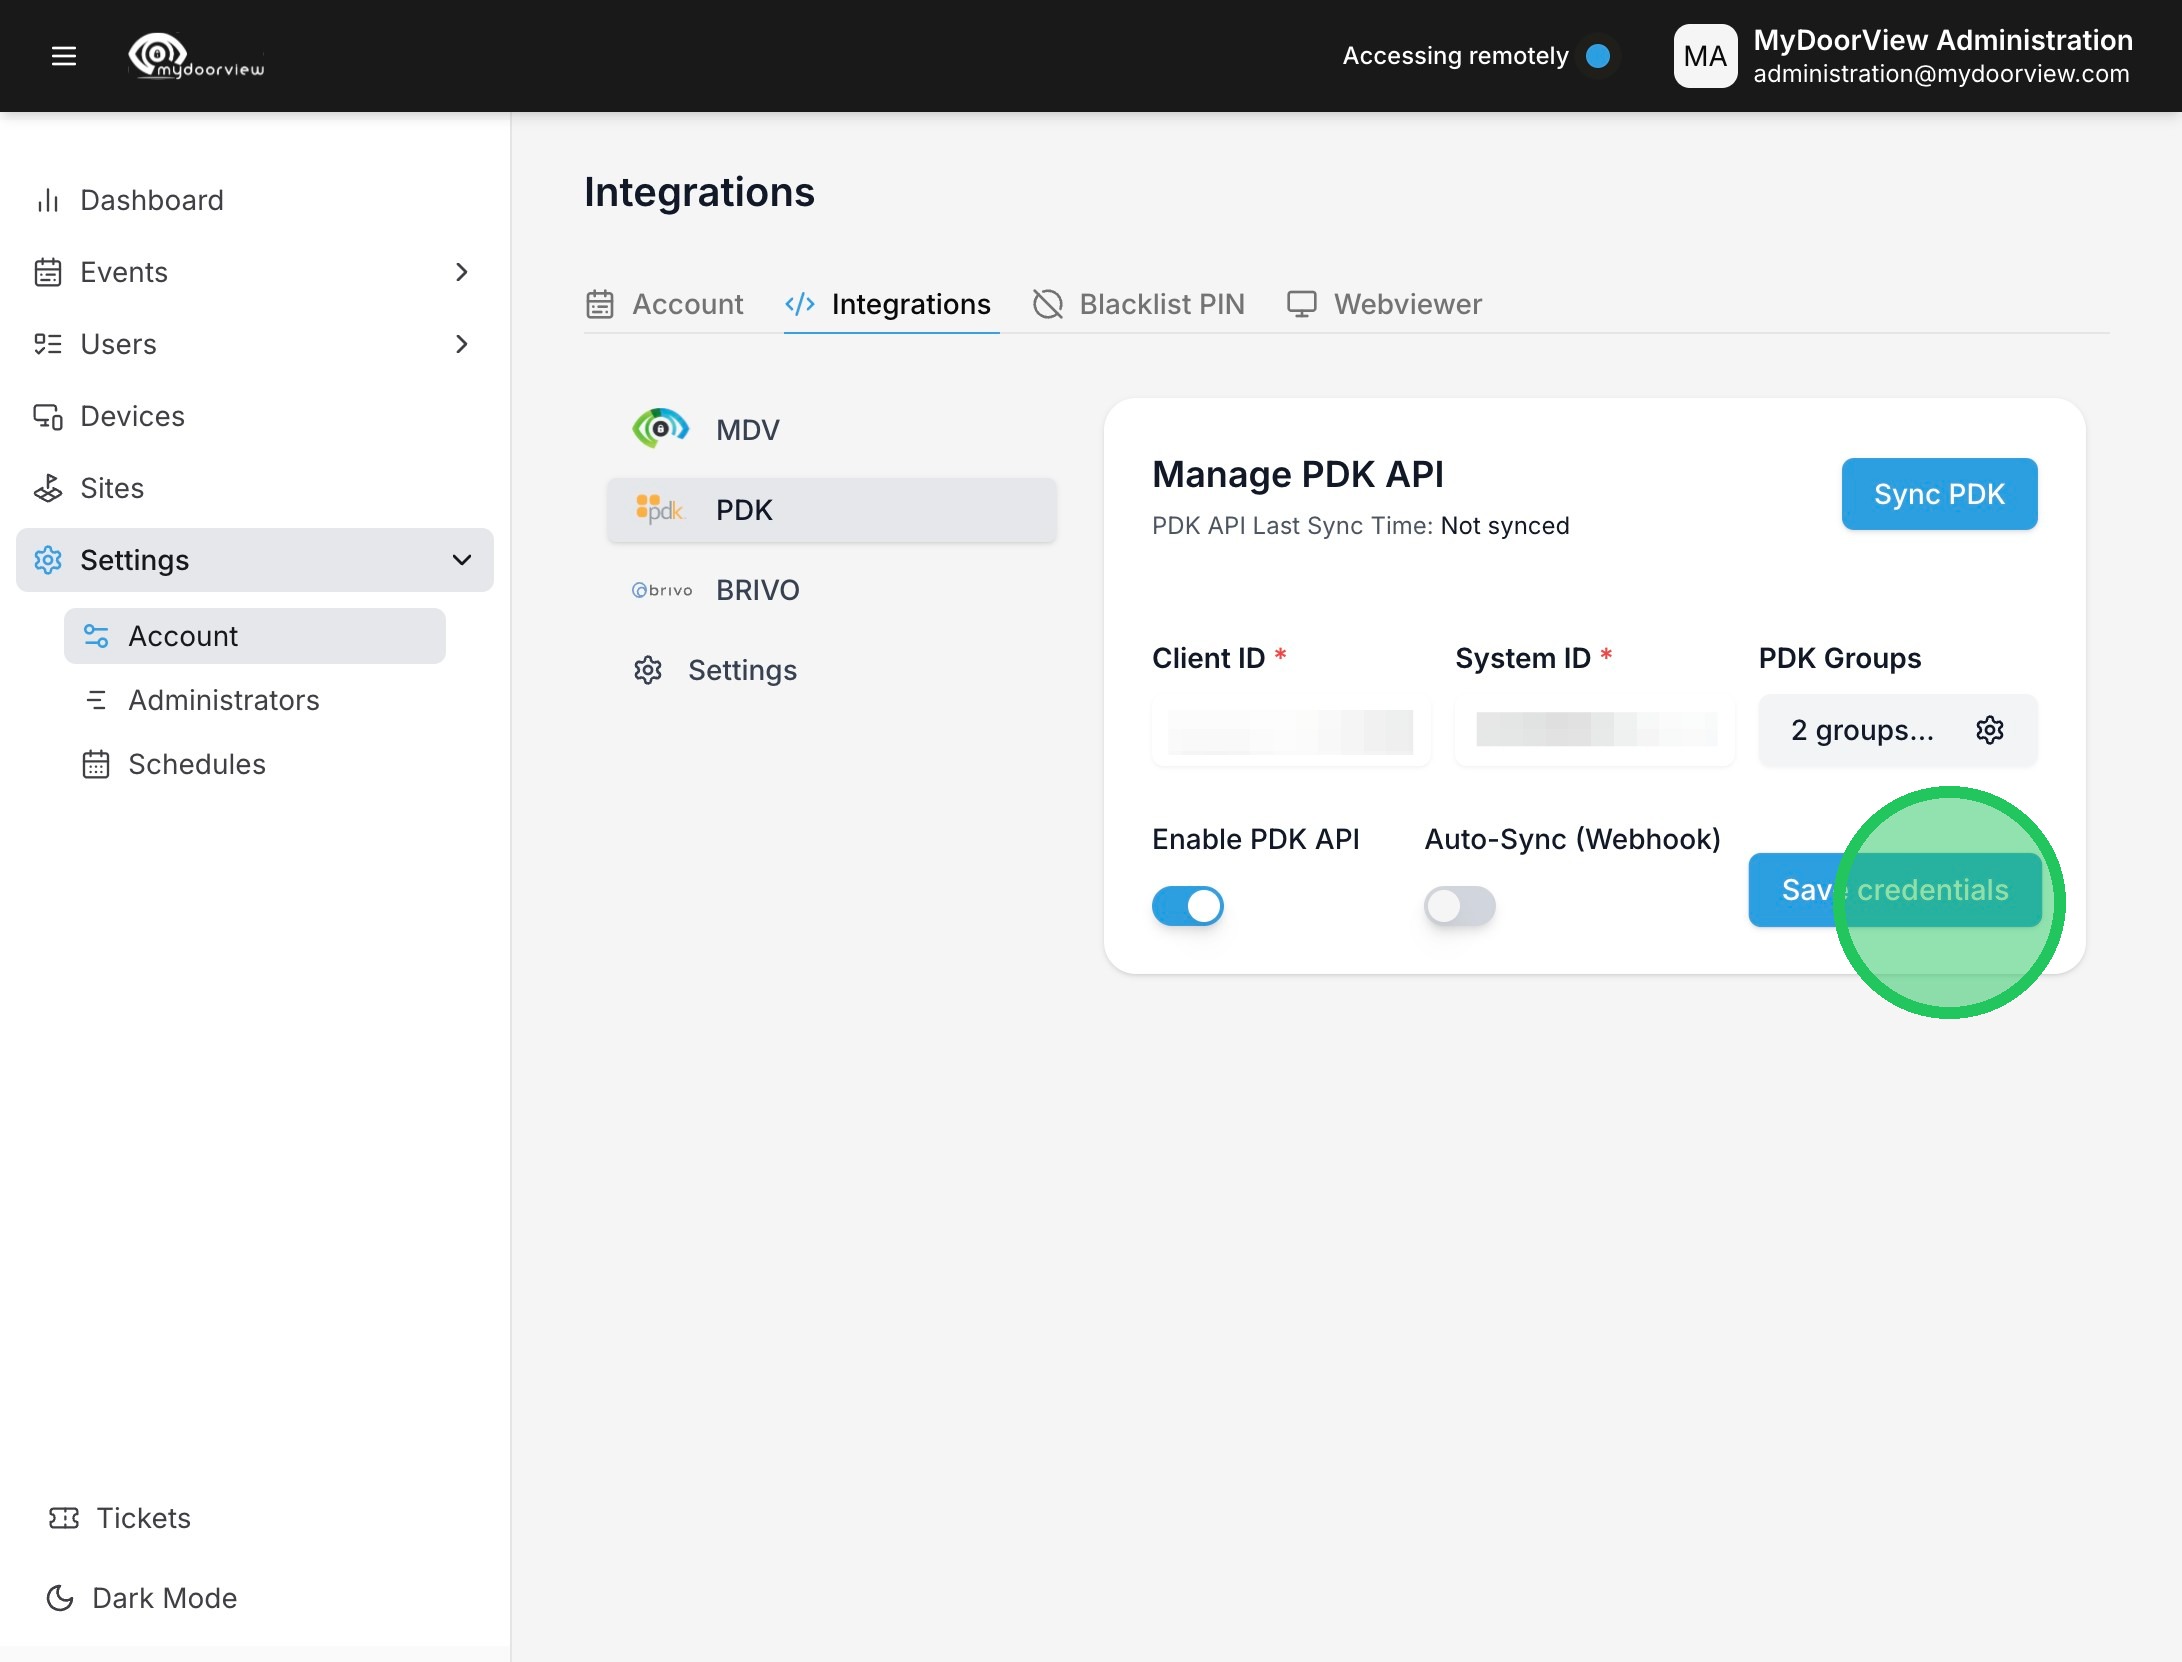
7. Enter in the Customer ID and System ID and click "Save credentials"
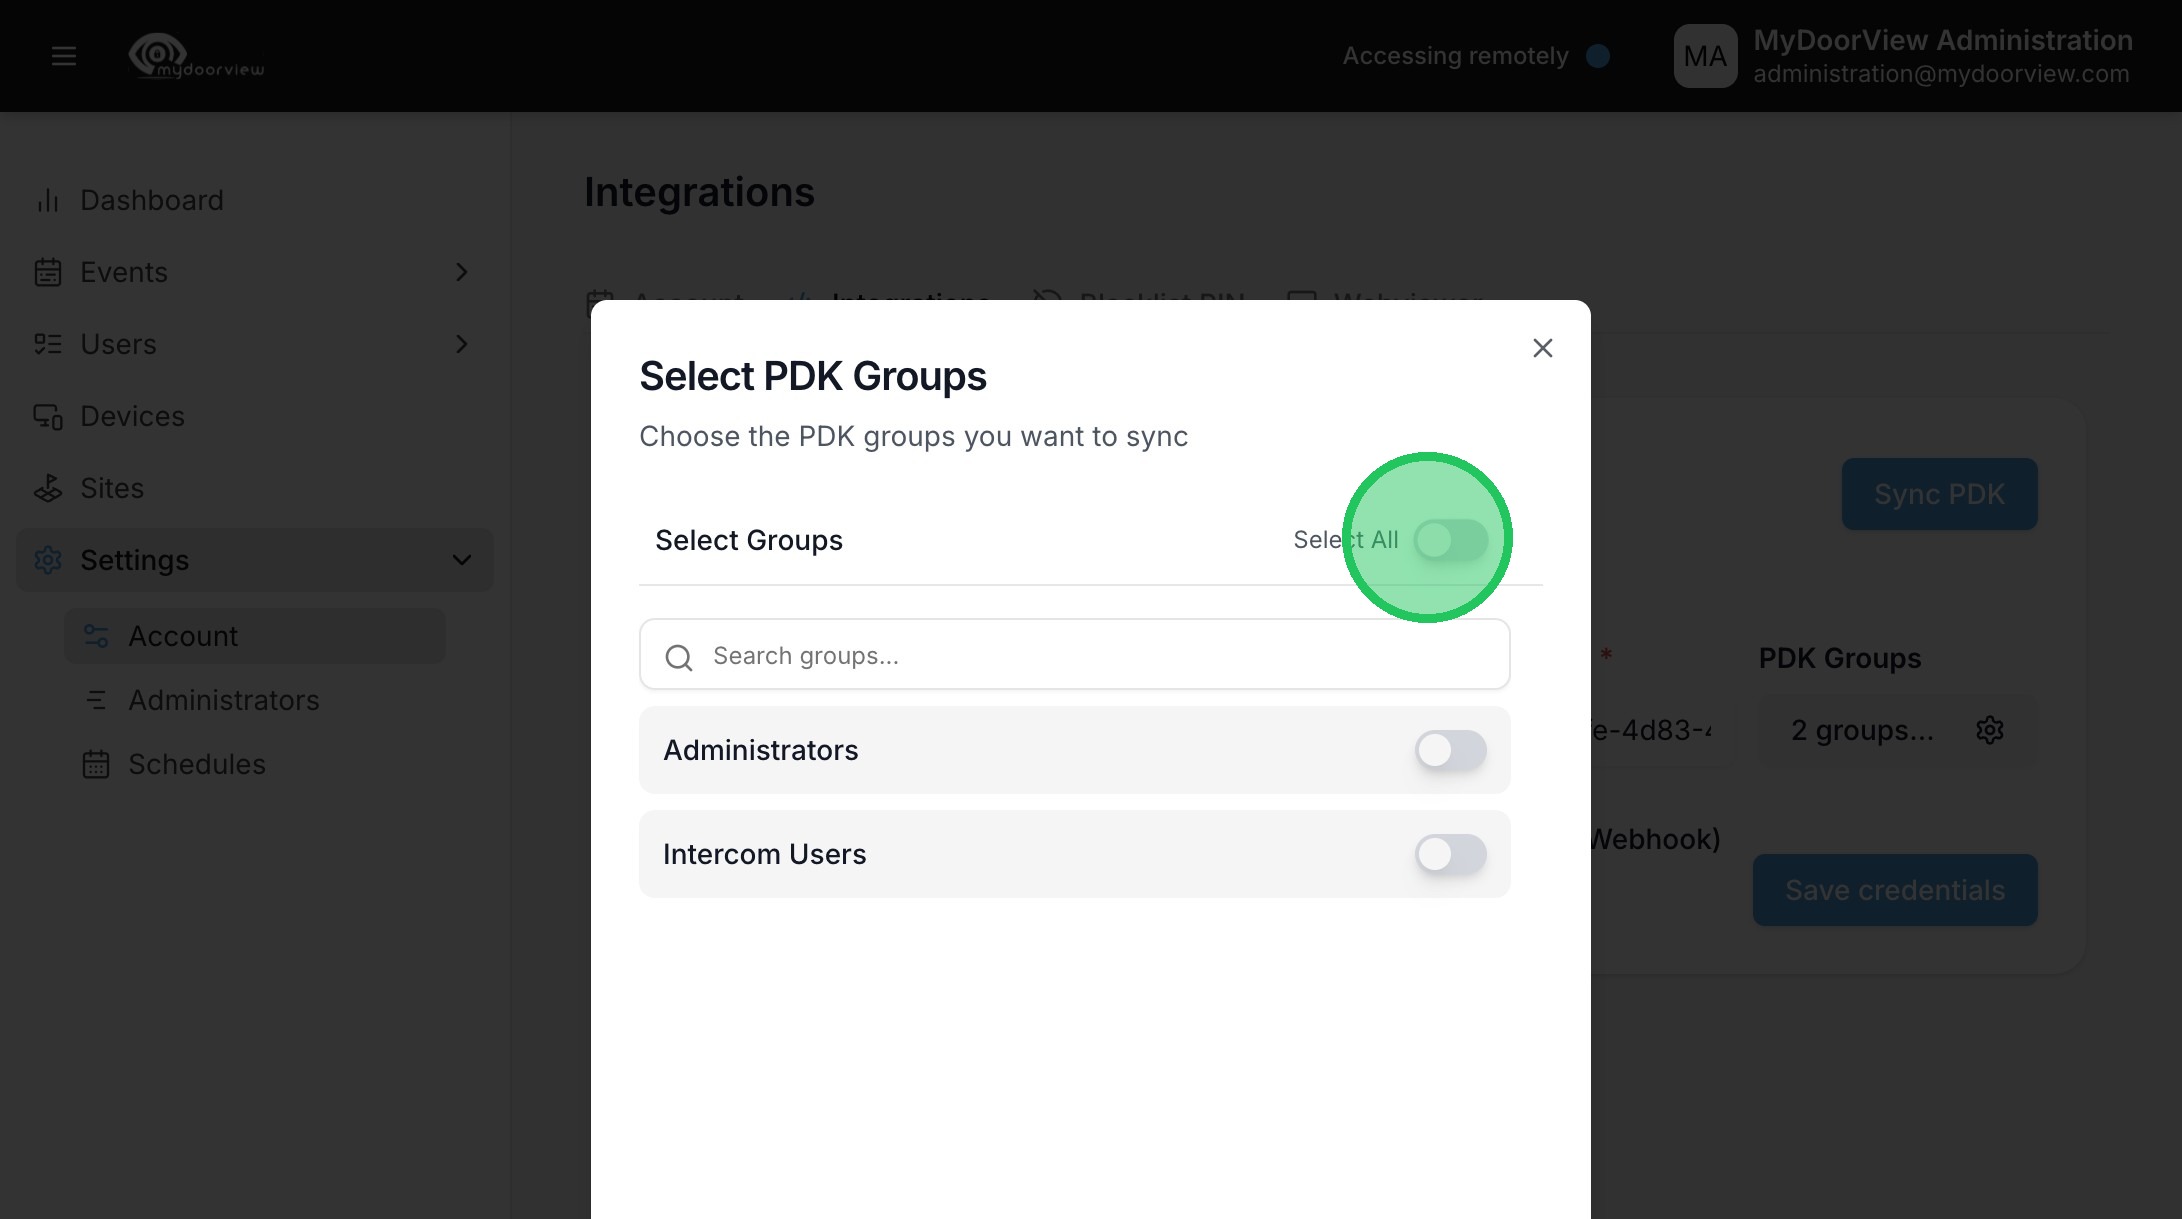
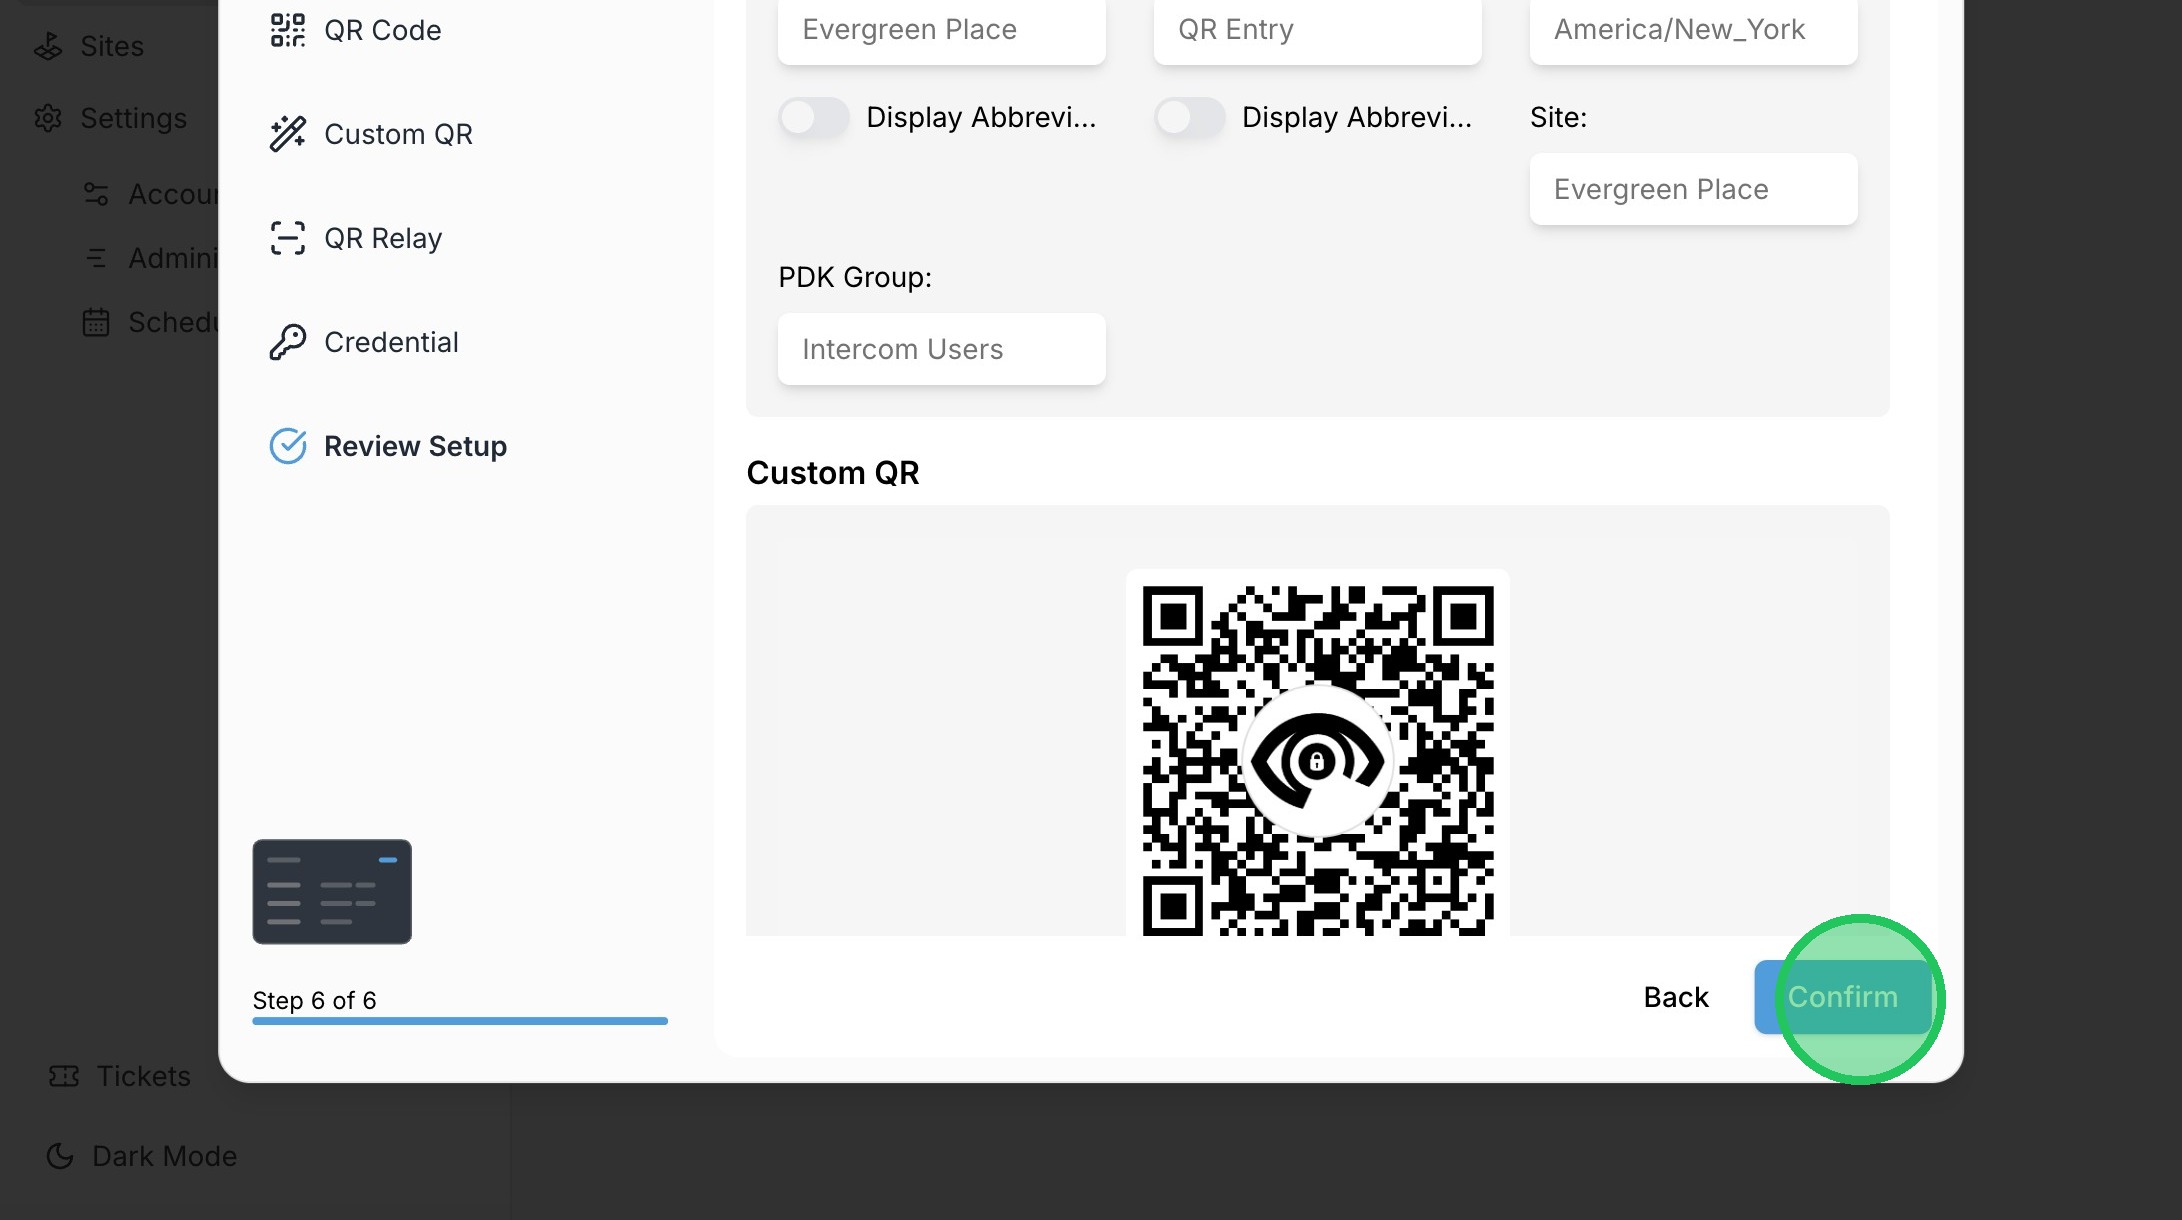
8. Click the dropdown under PDK Groups to select Groups that will be synced. ***Note that a custom field named "Phone" should be added into the PDK Partition to sync phone numbers. Users with missing phone numbers will receive error messages when calls are attempted to the user or they attempt to login to the phone app.***
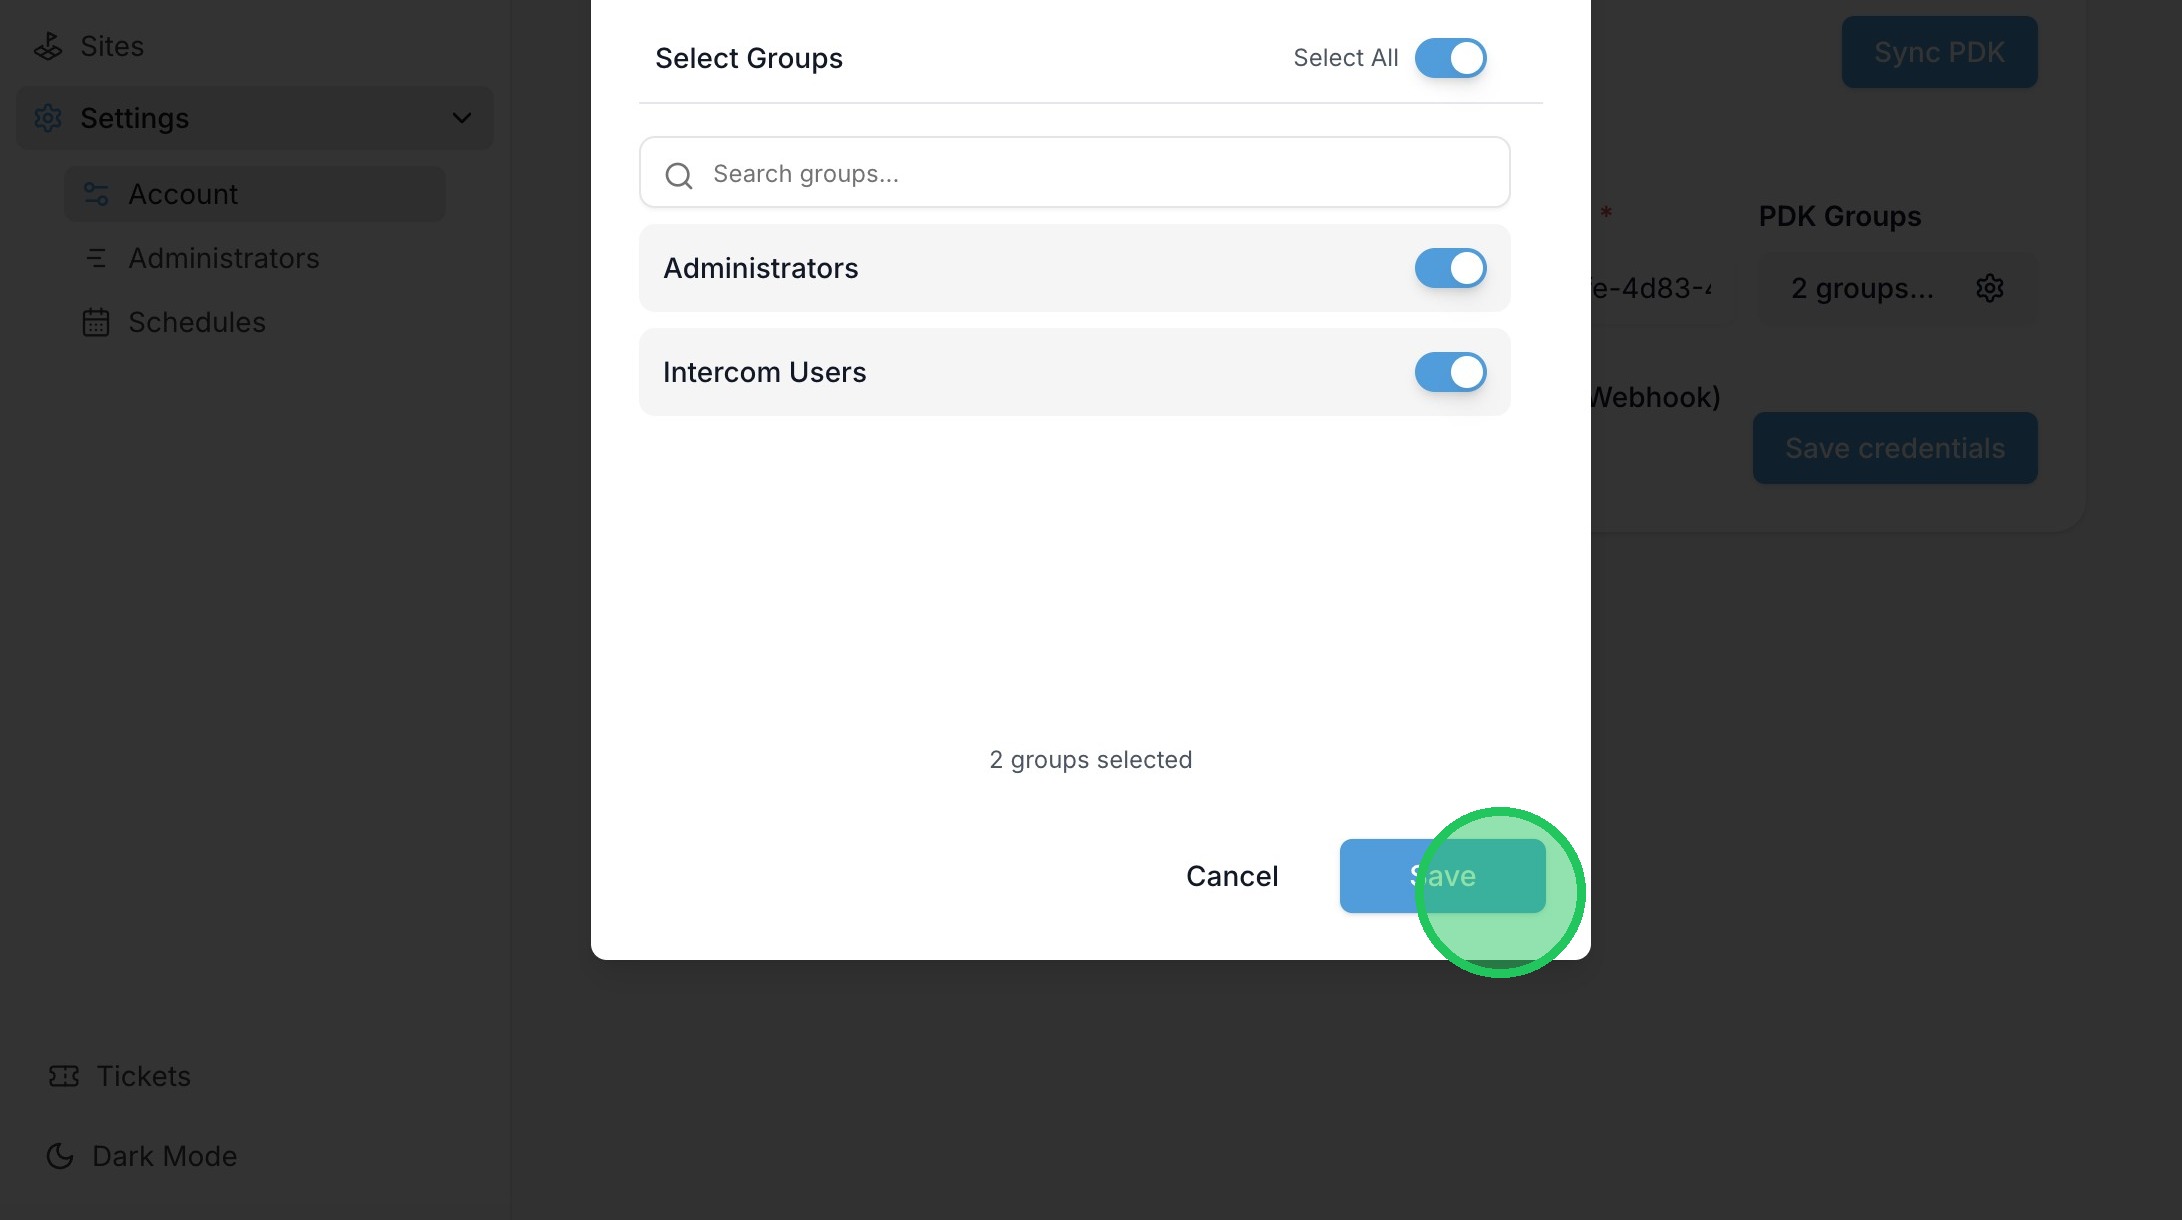
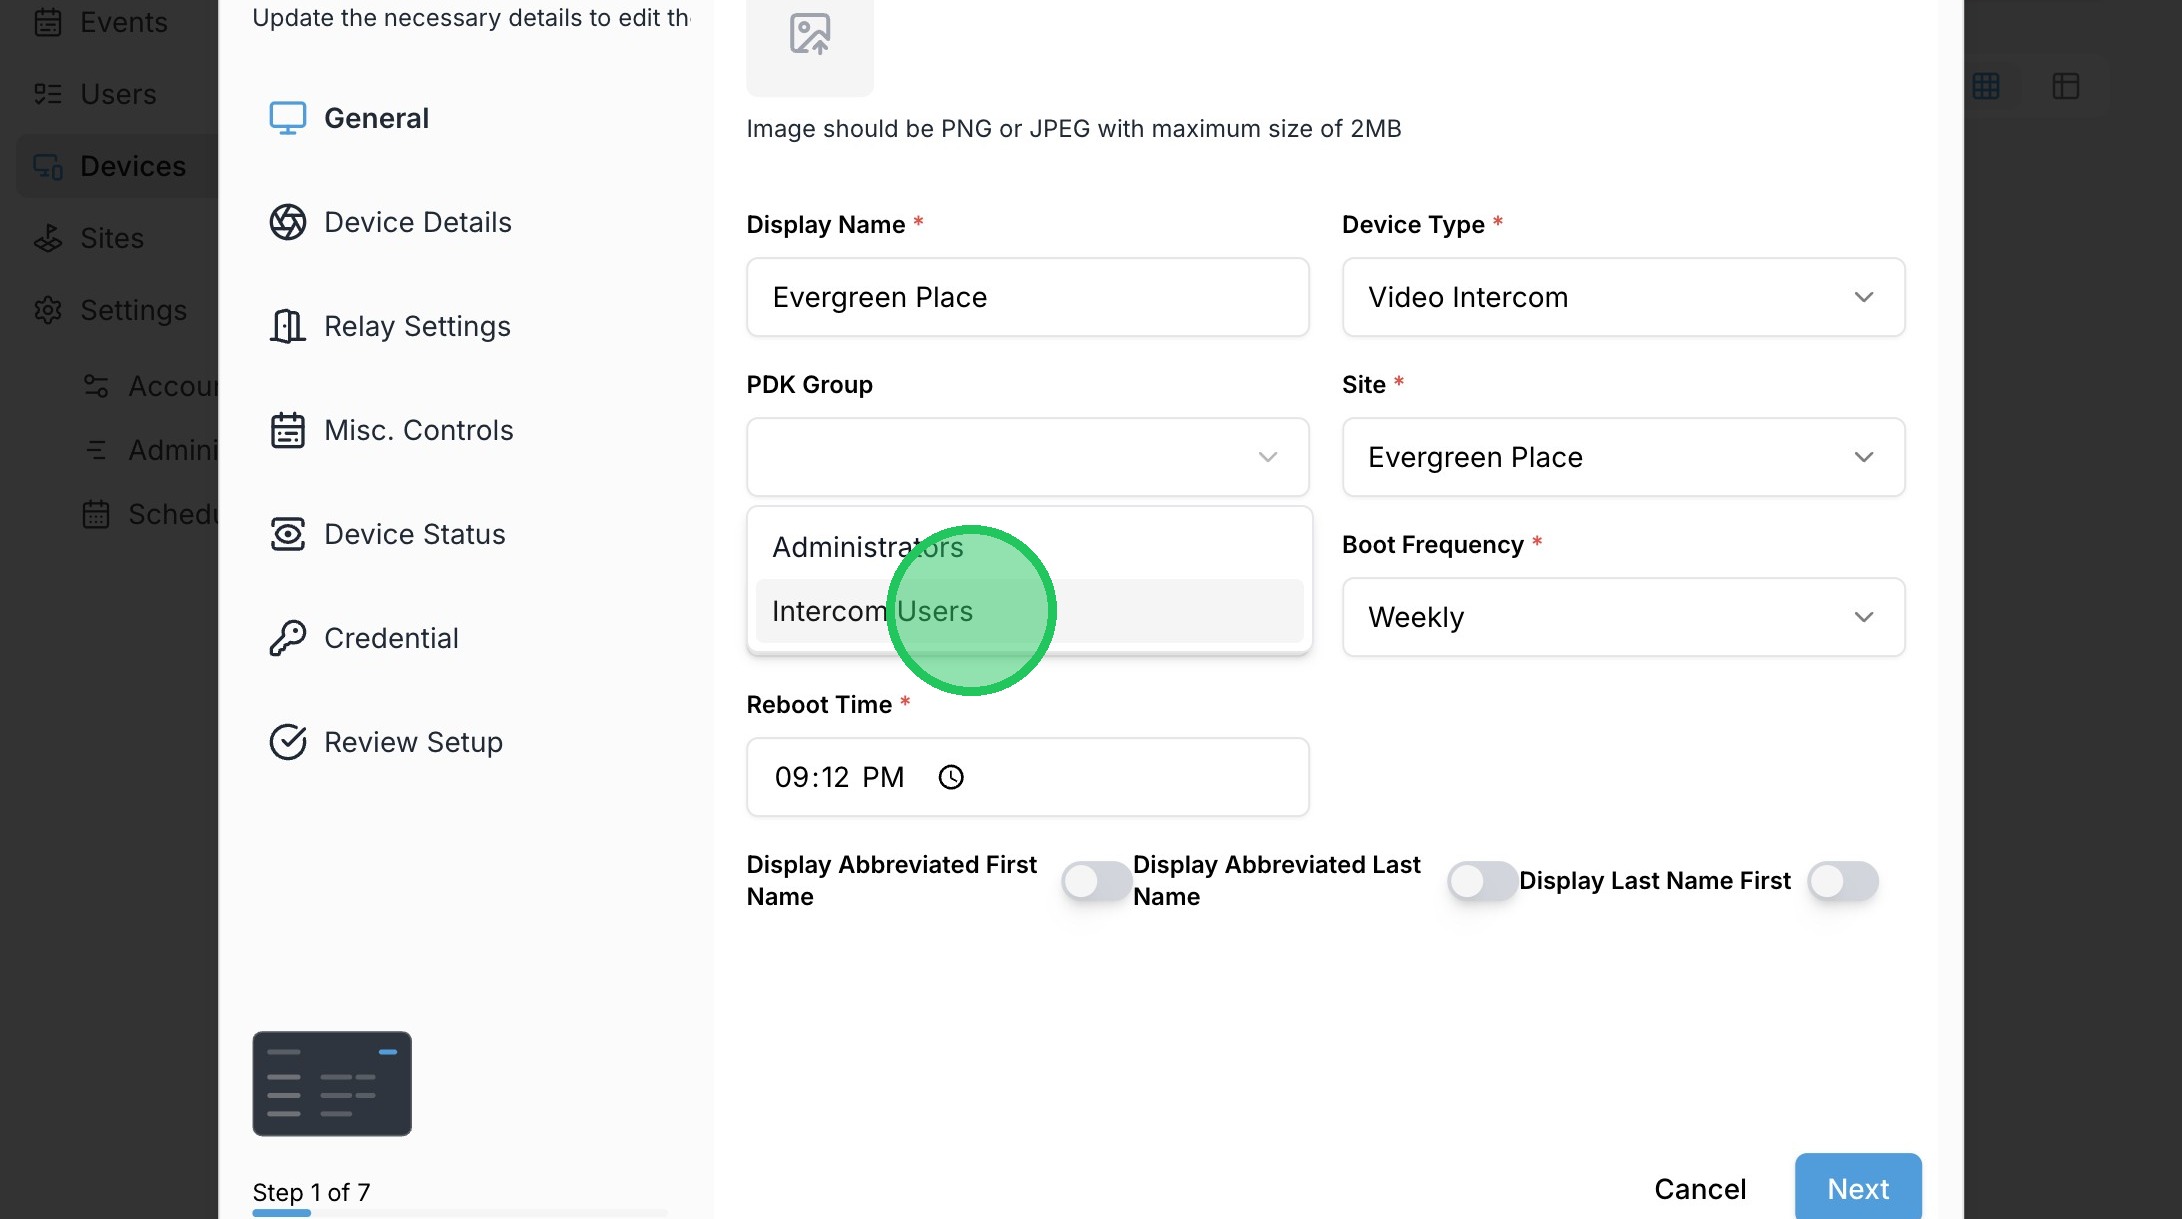
9. Click to select all or designate the appropriate group that will be synced into the account.
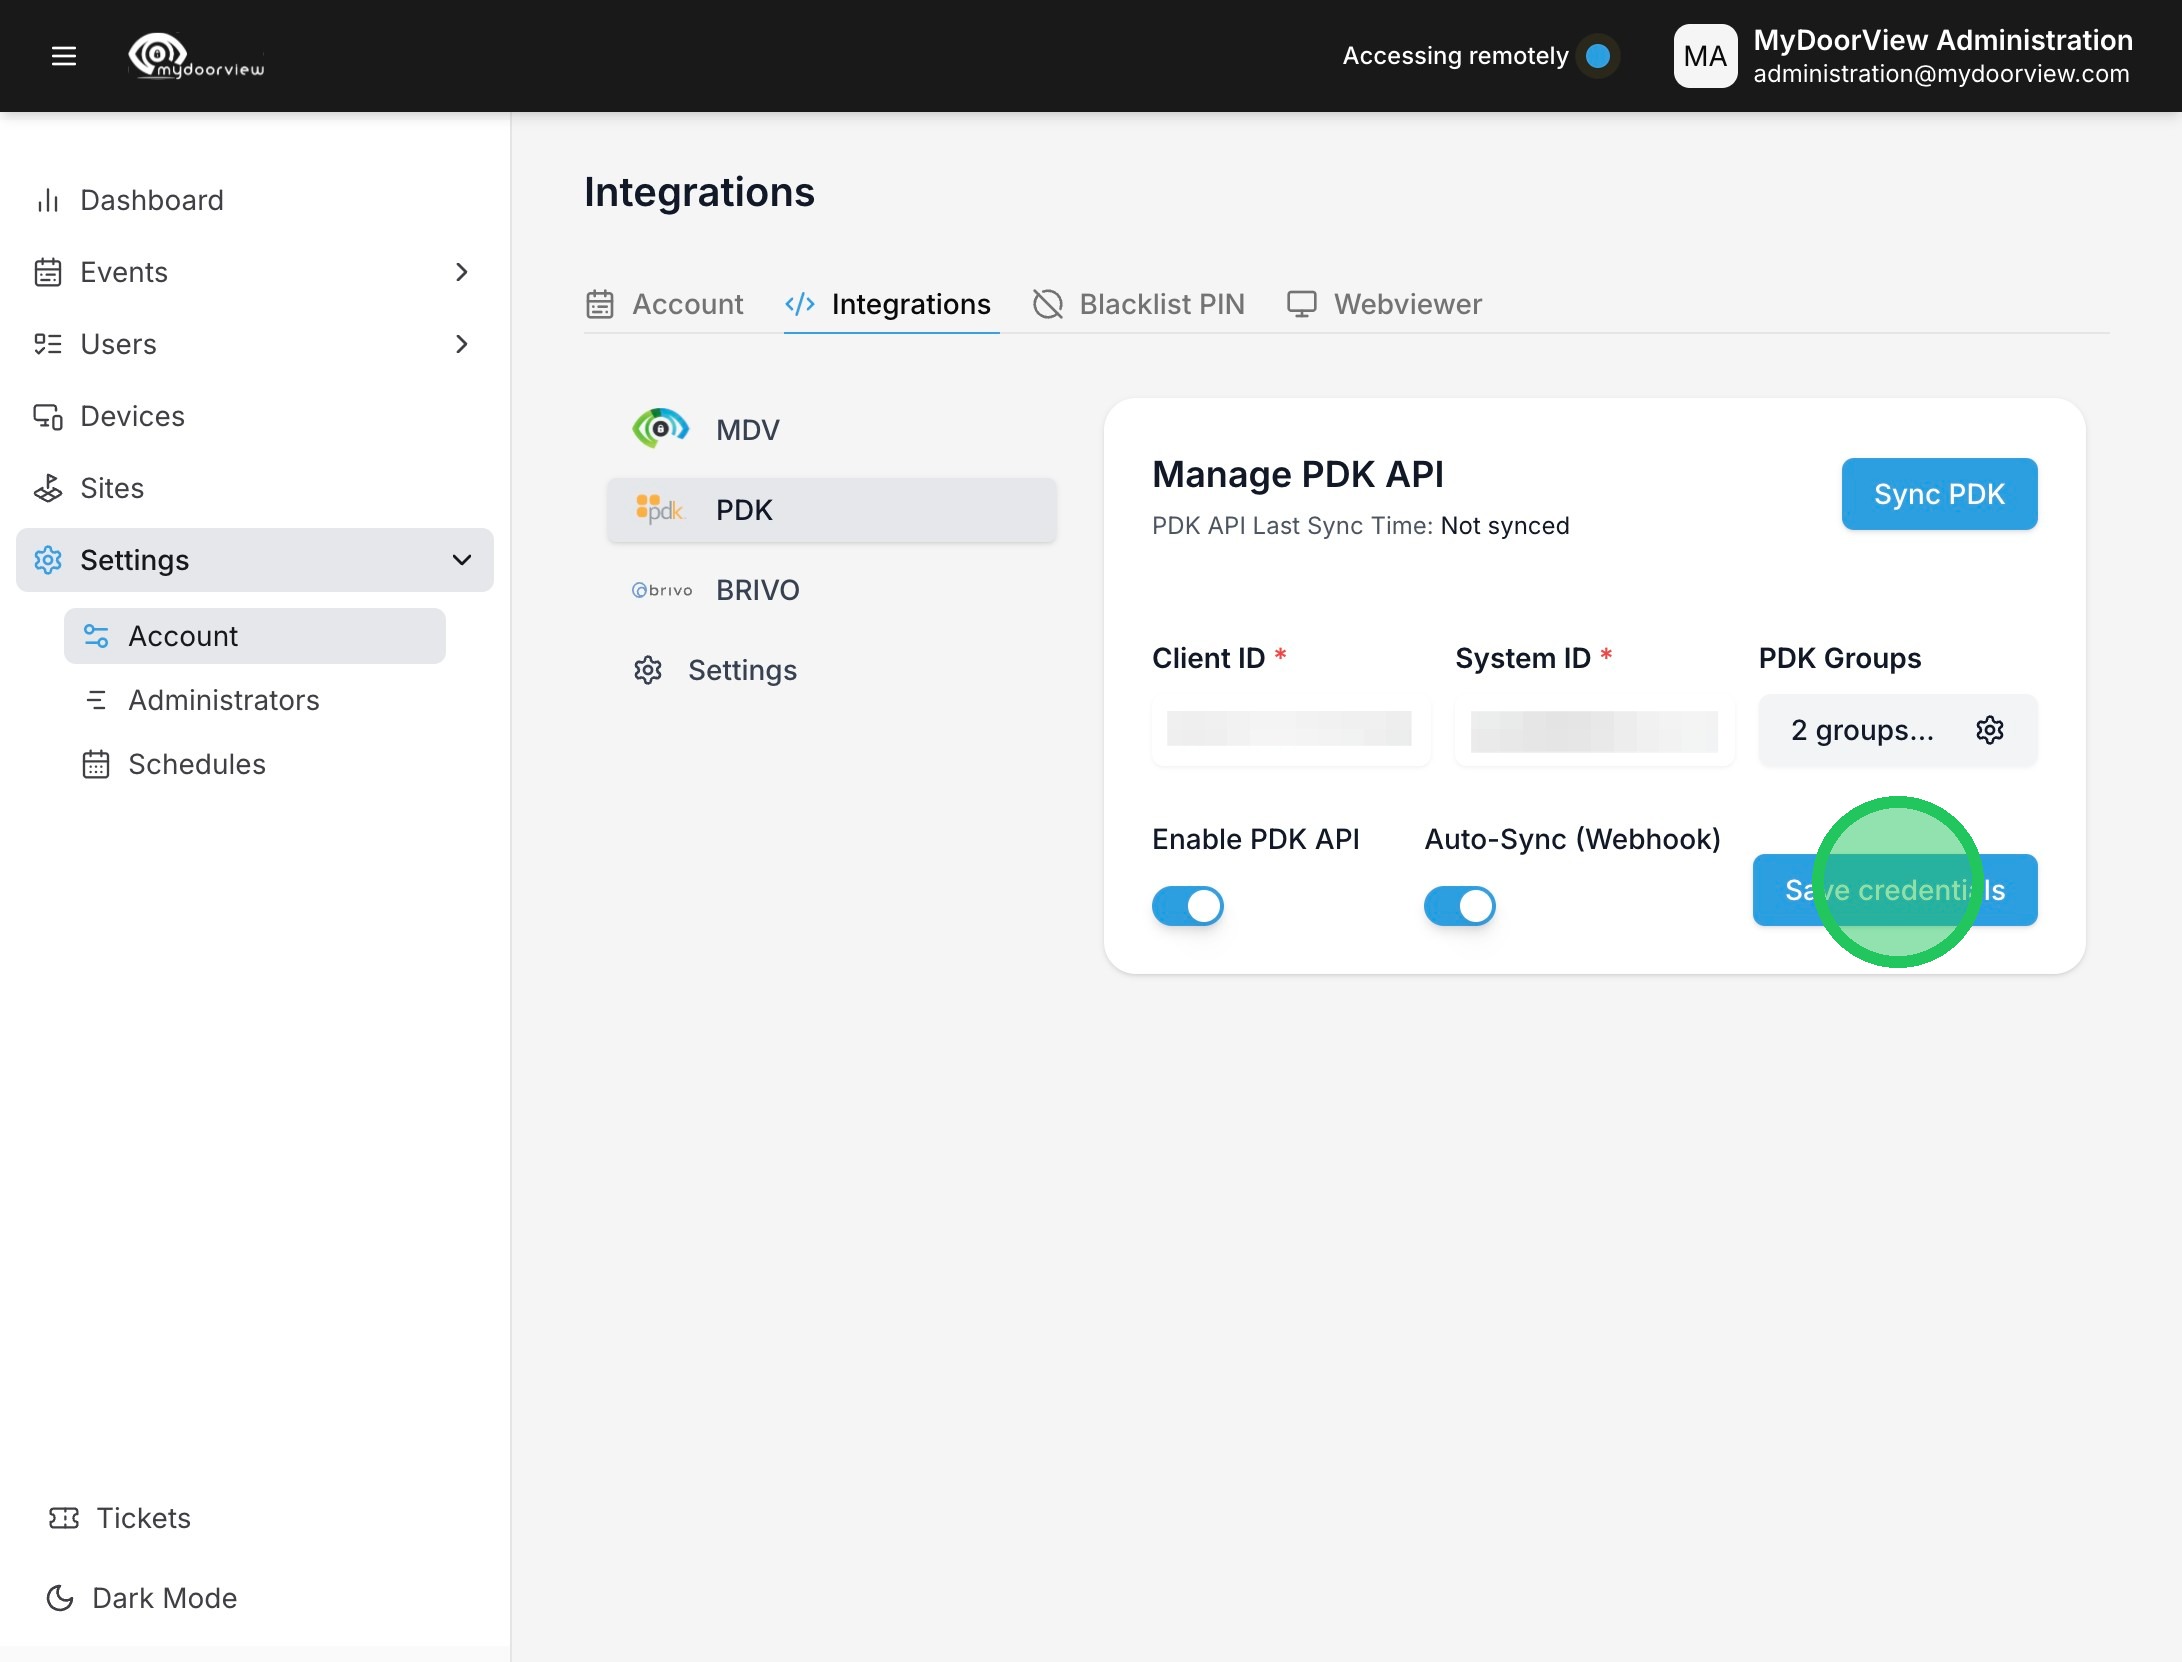
10. Click "Save"
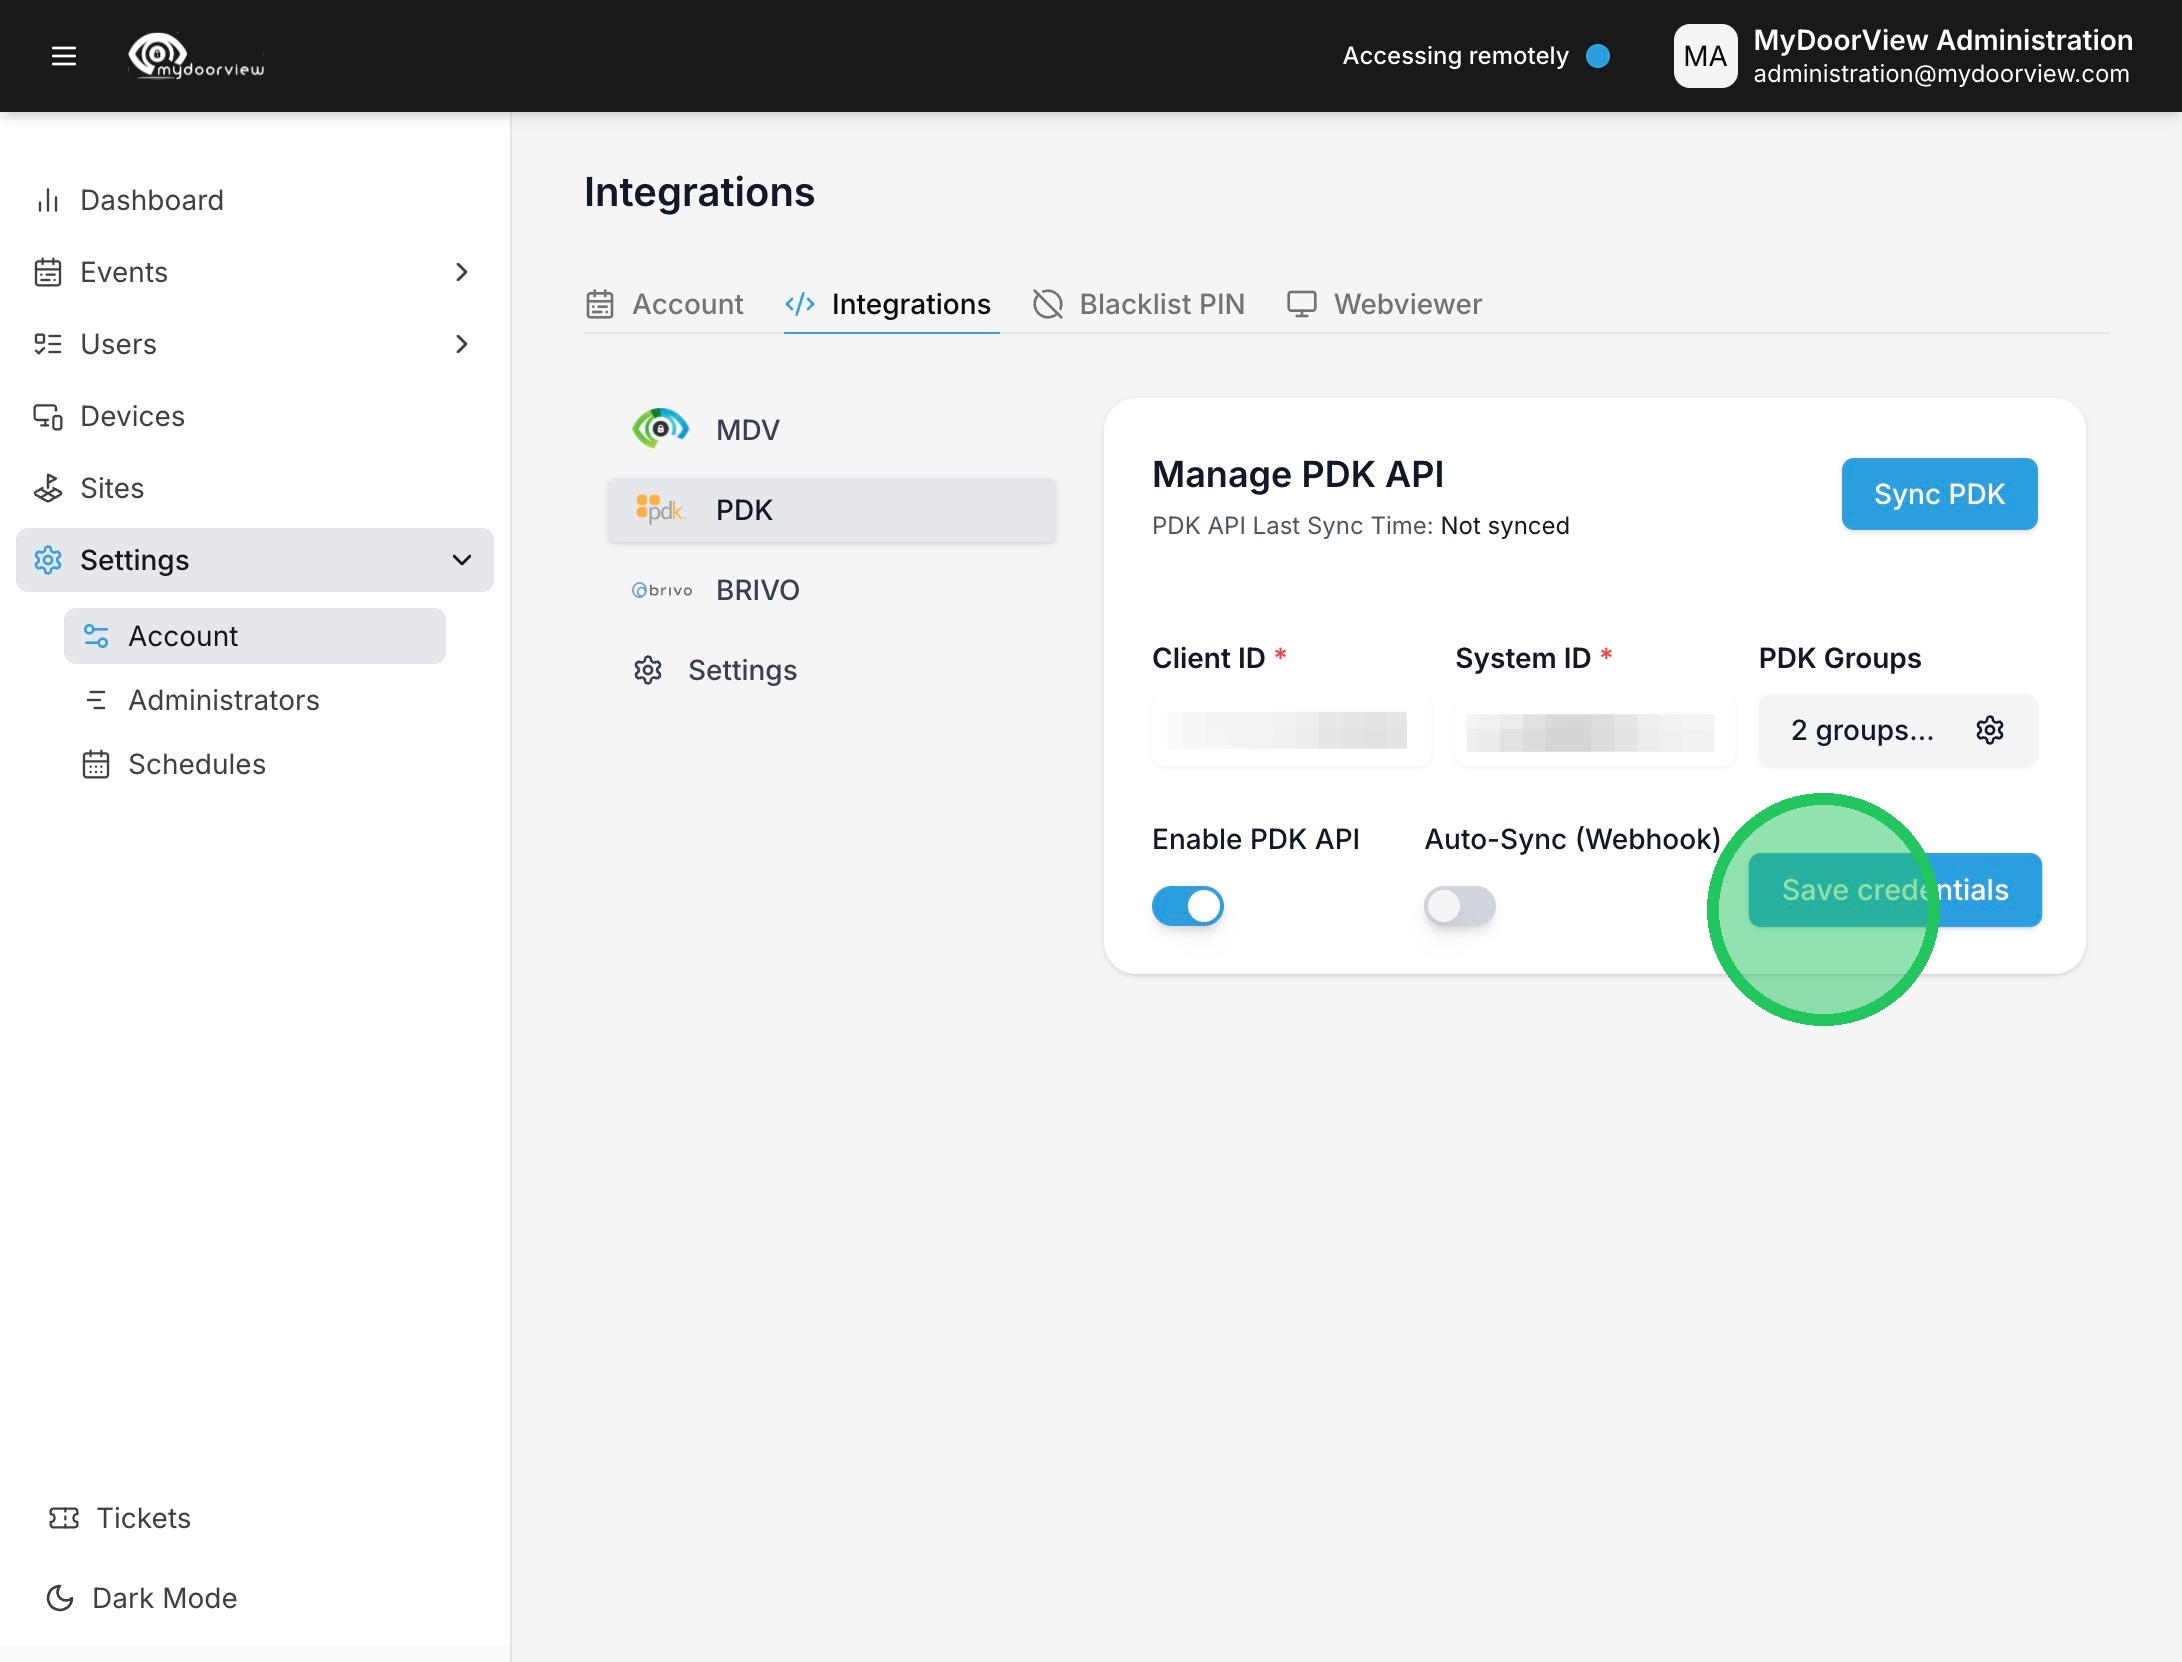
11. Click "Save credentials." (note that it's best to assign the groups to the devices before running the Sync PDK button, this ensures users are assigned to the devices as they're synced into the account)
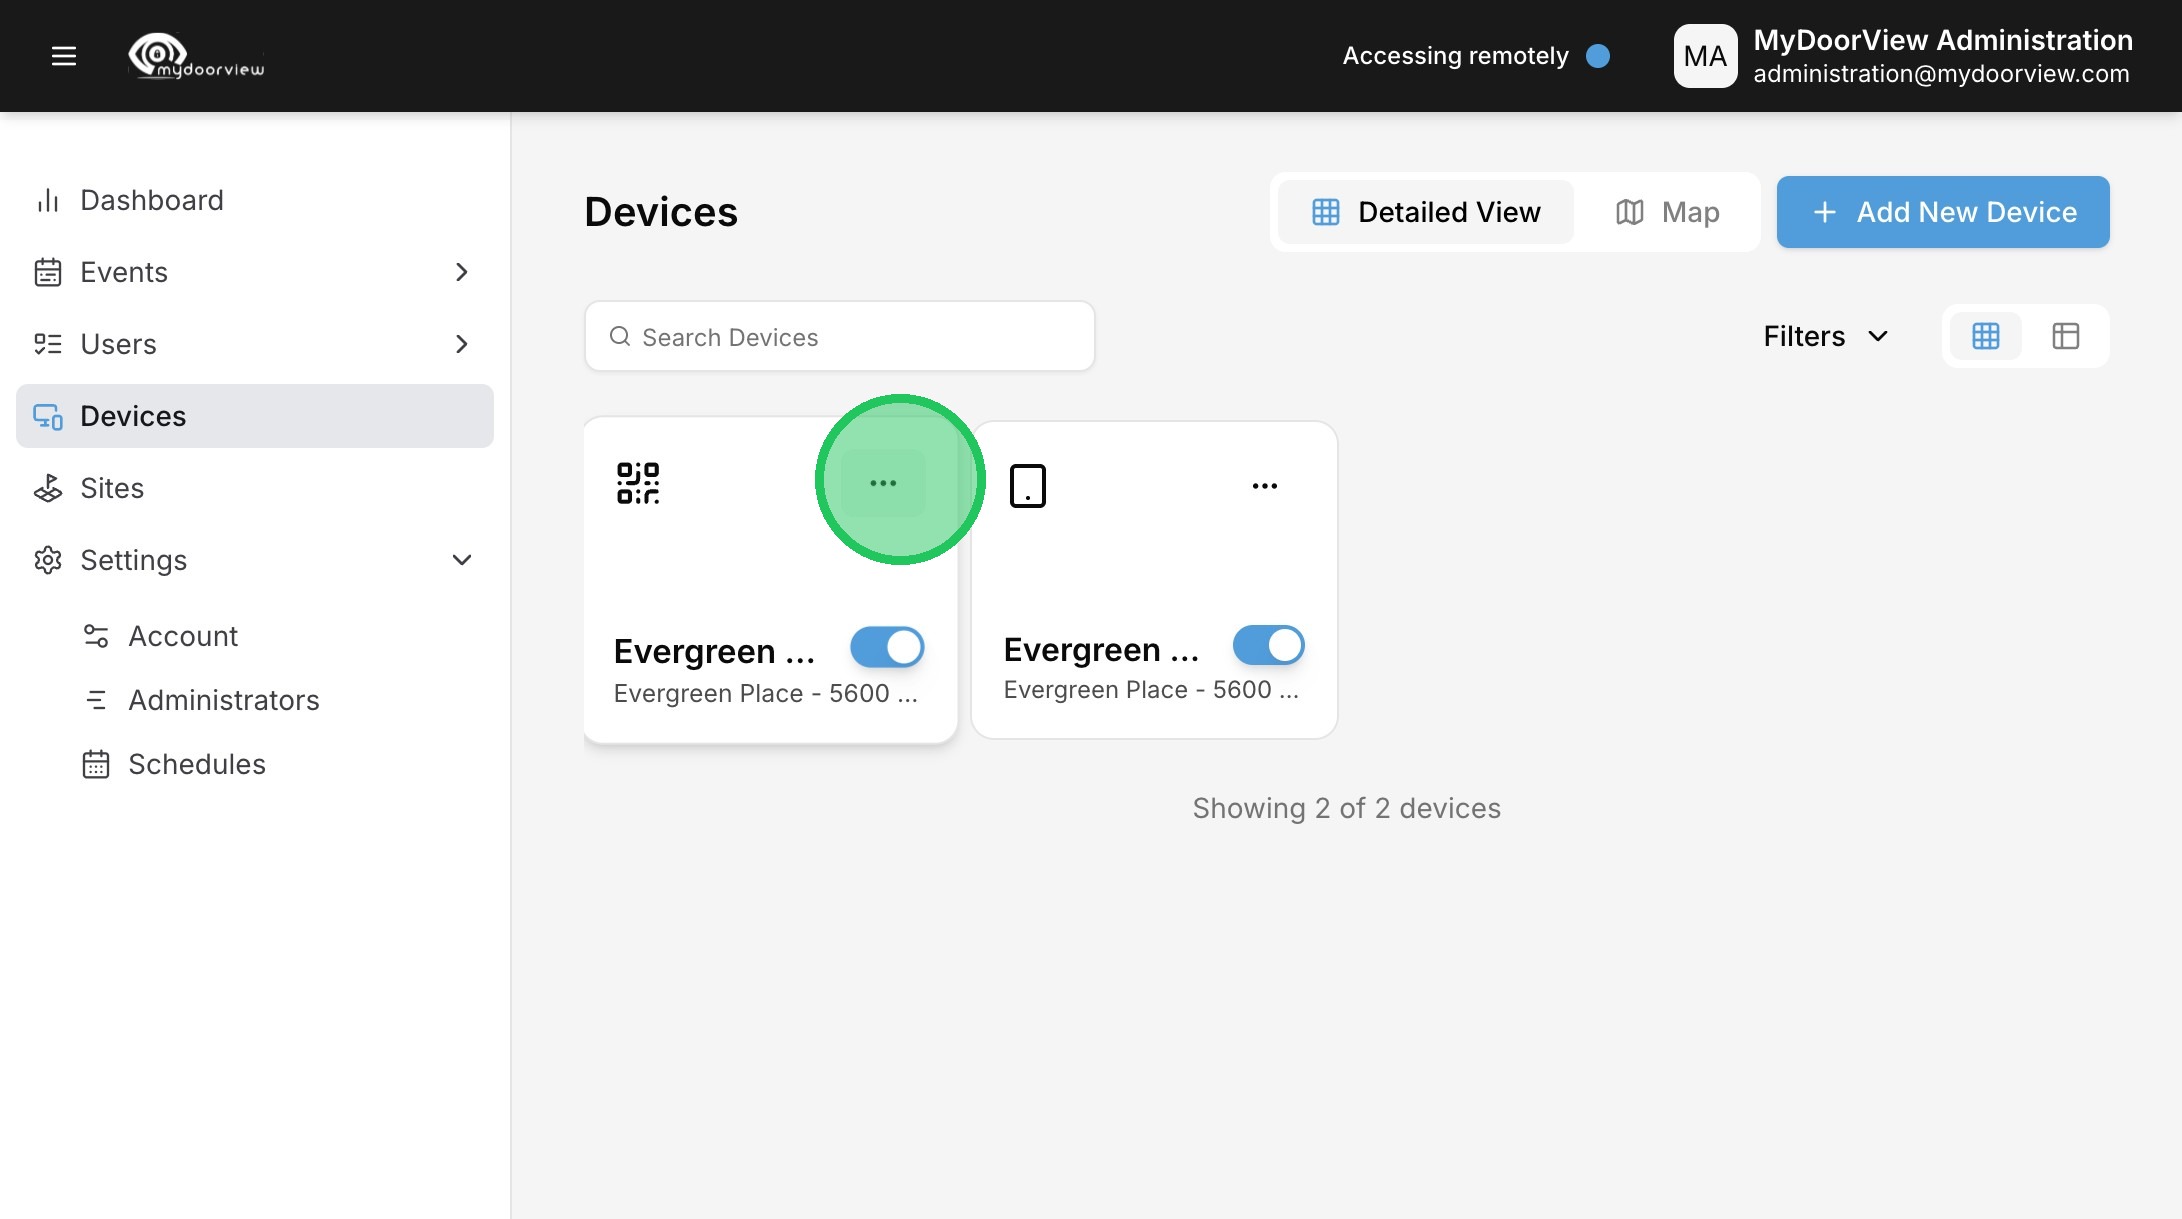
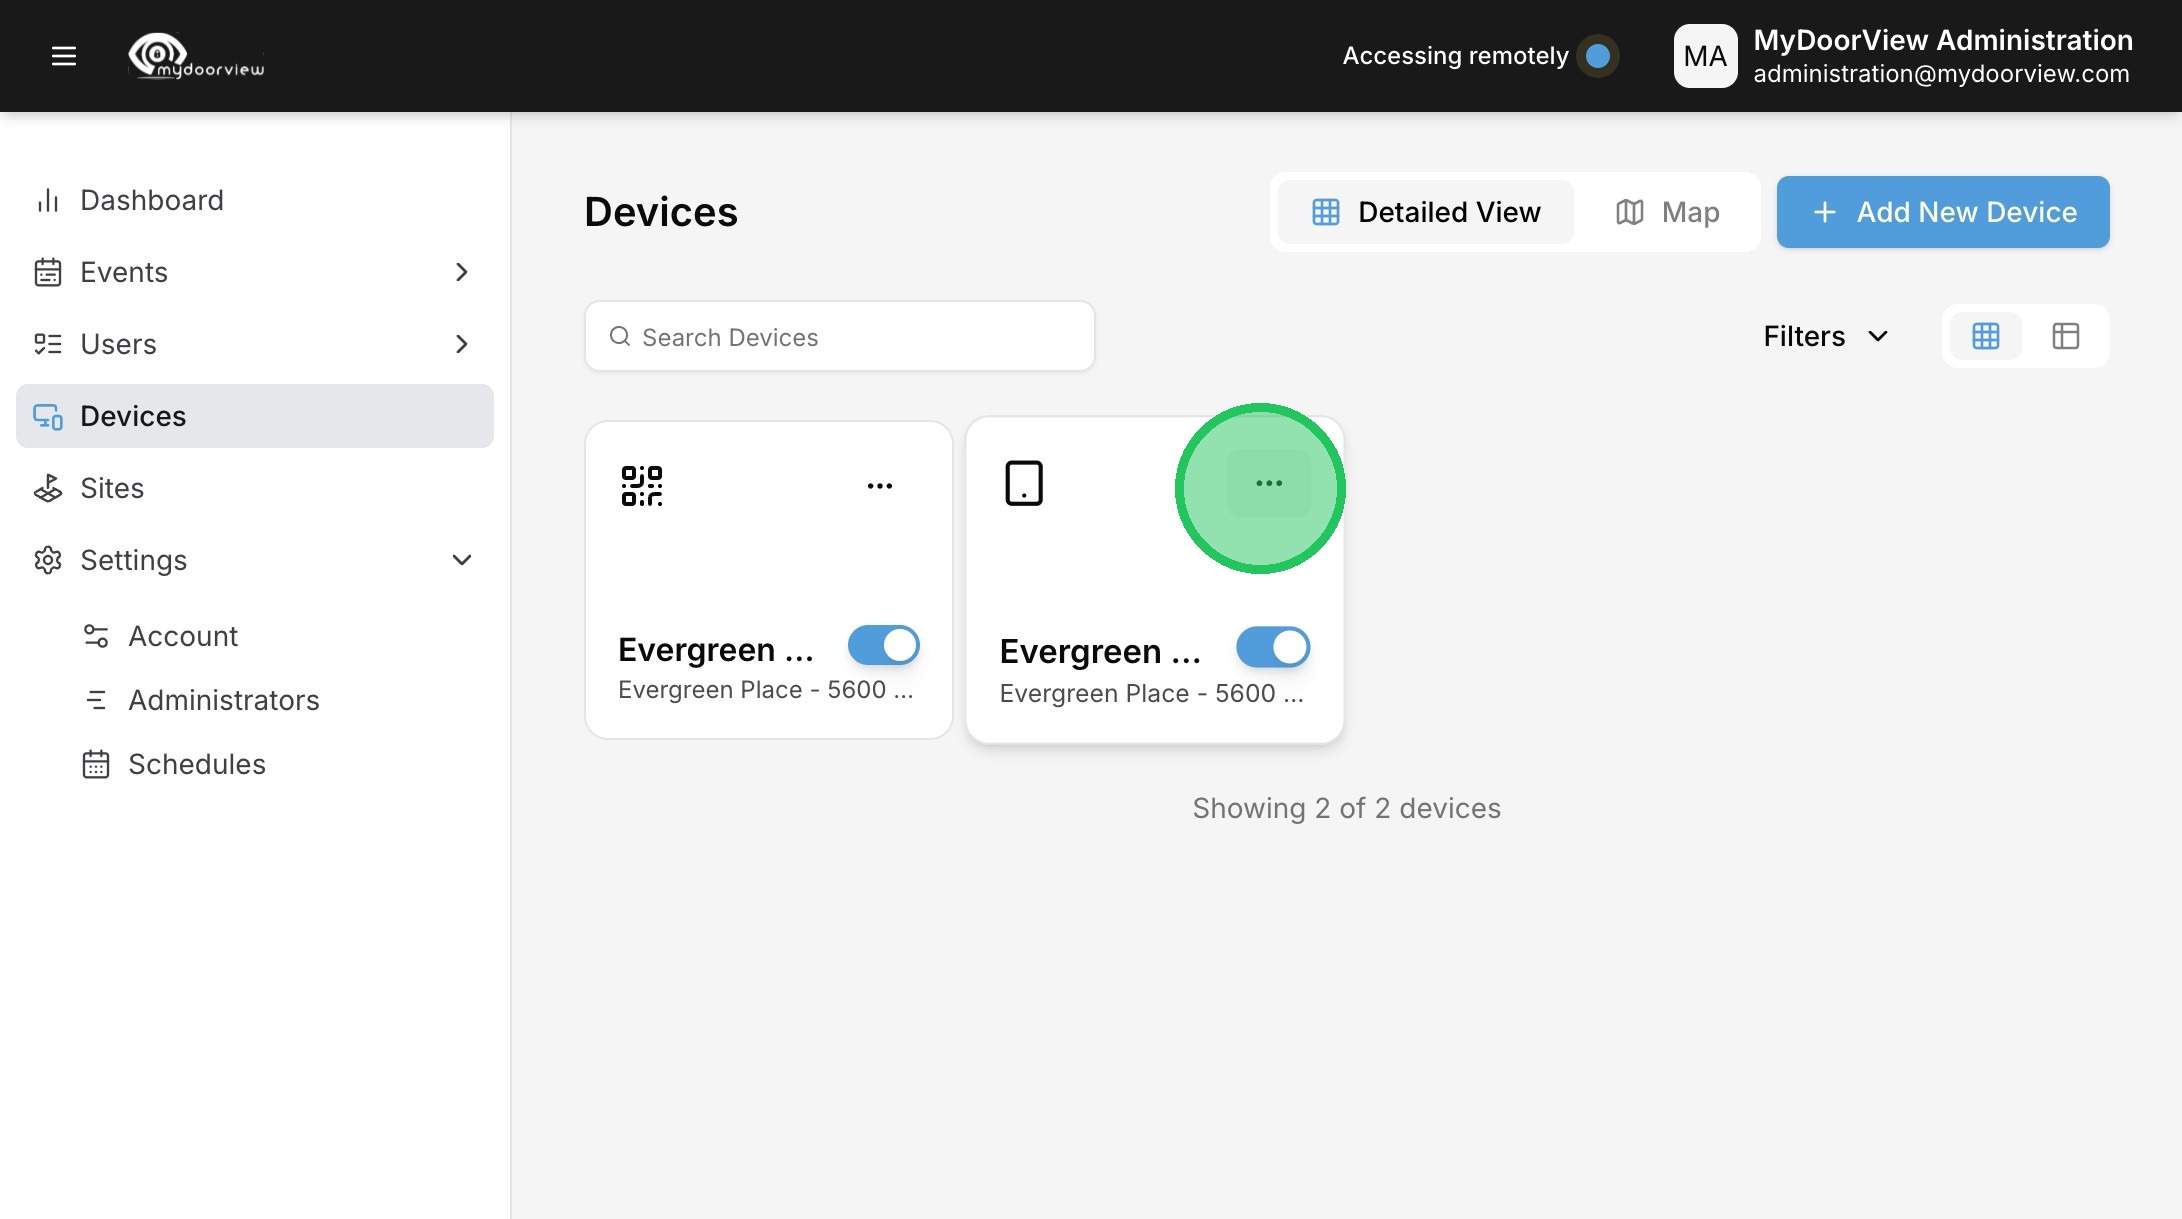
12. Click "Devices"

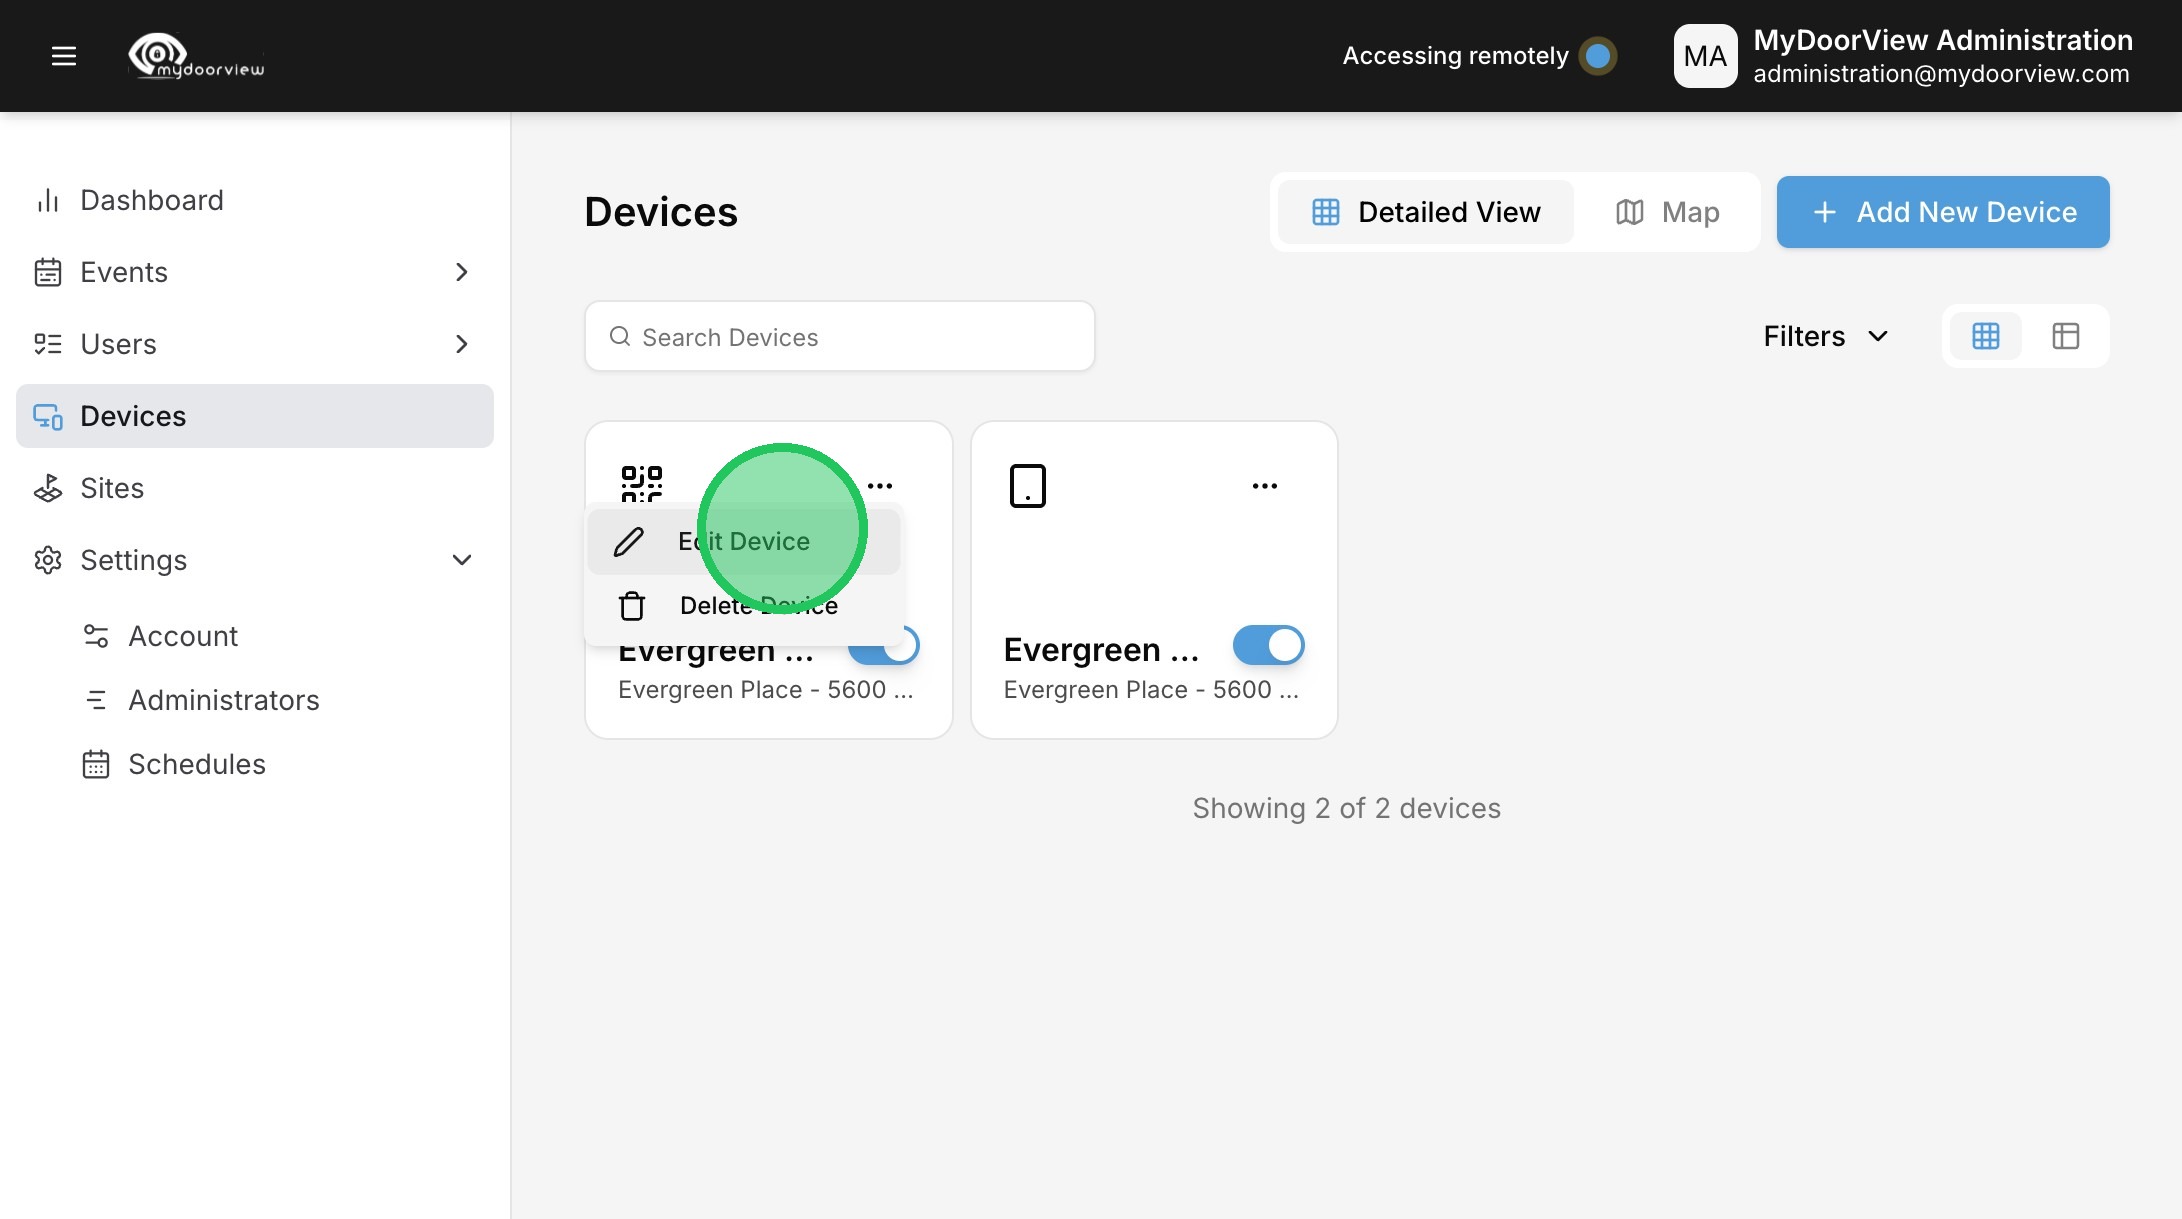
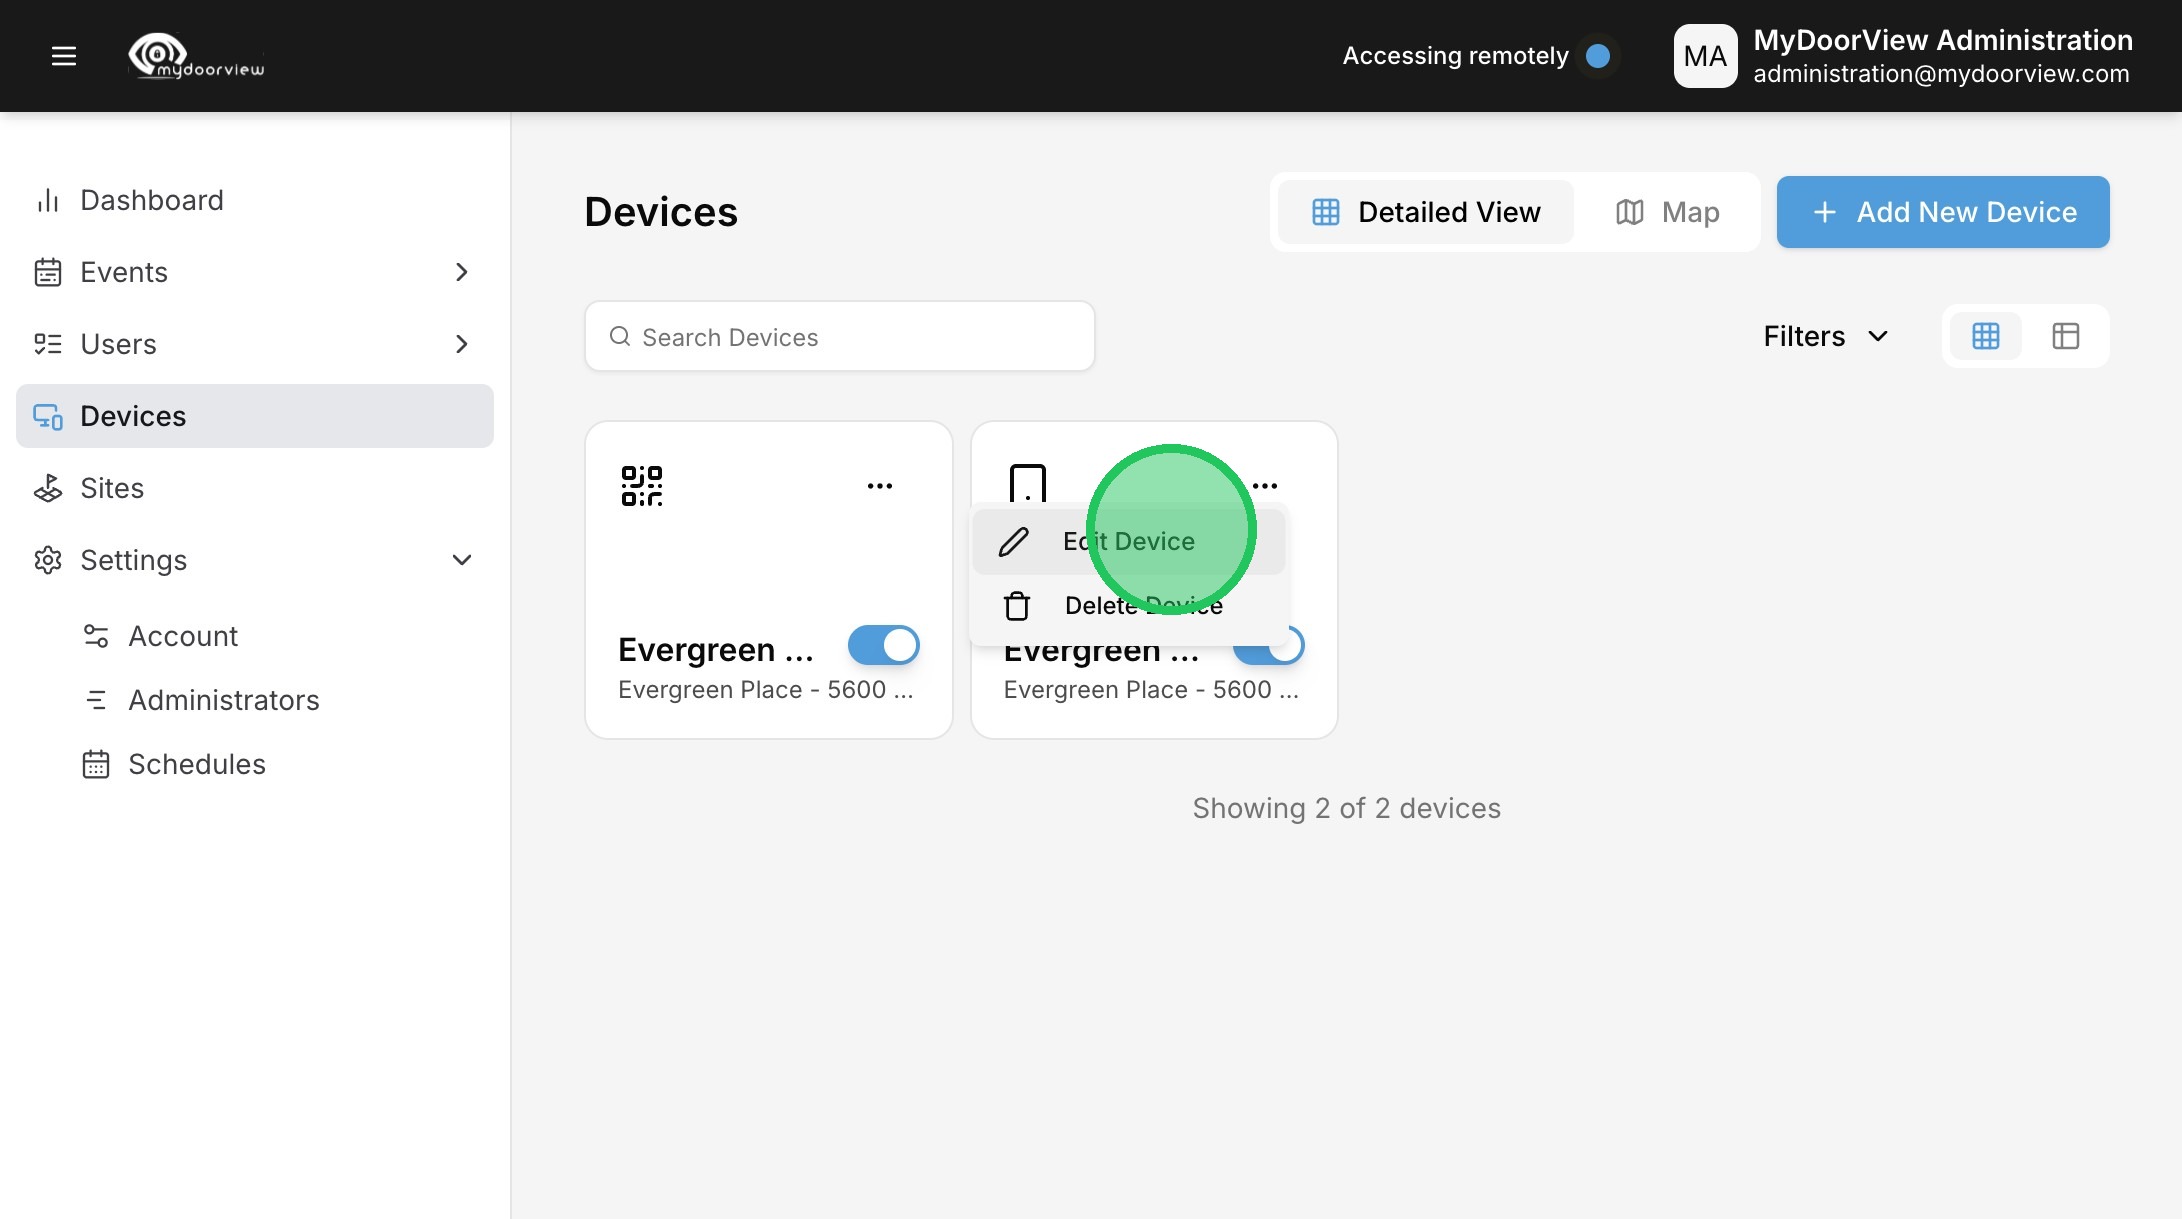
13. Click this button to edit the device.
14. Click "Edit Device"
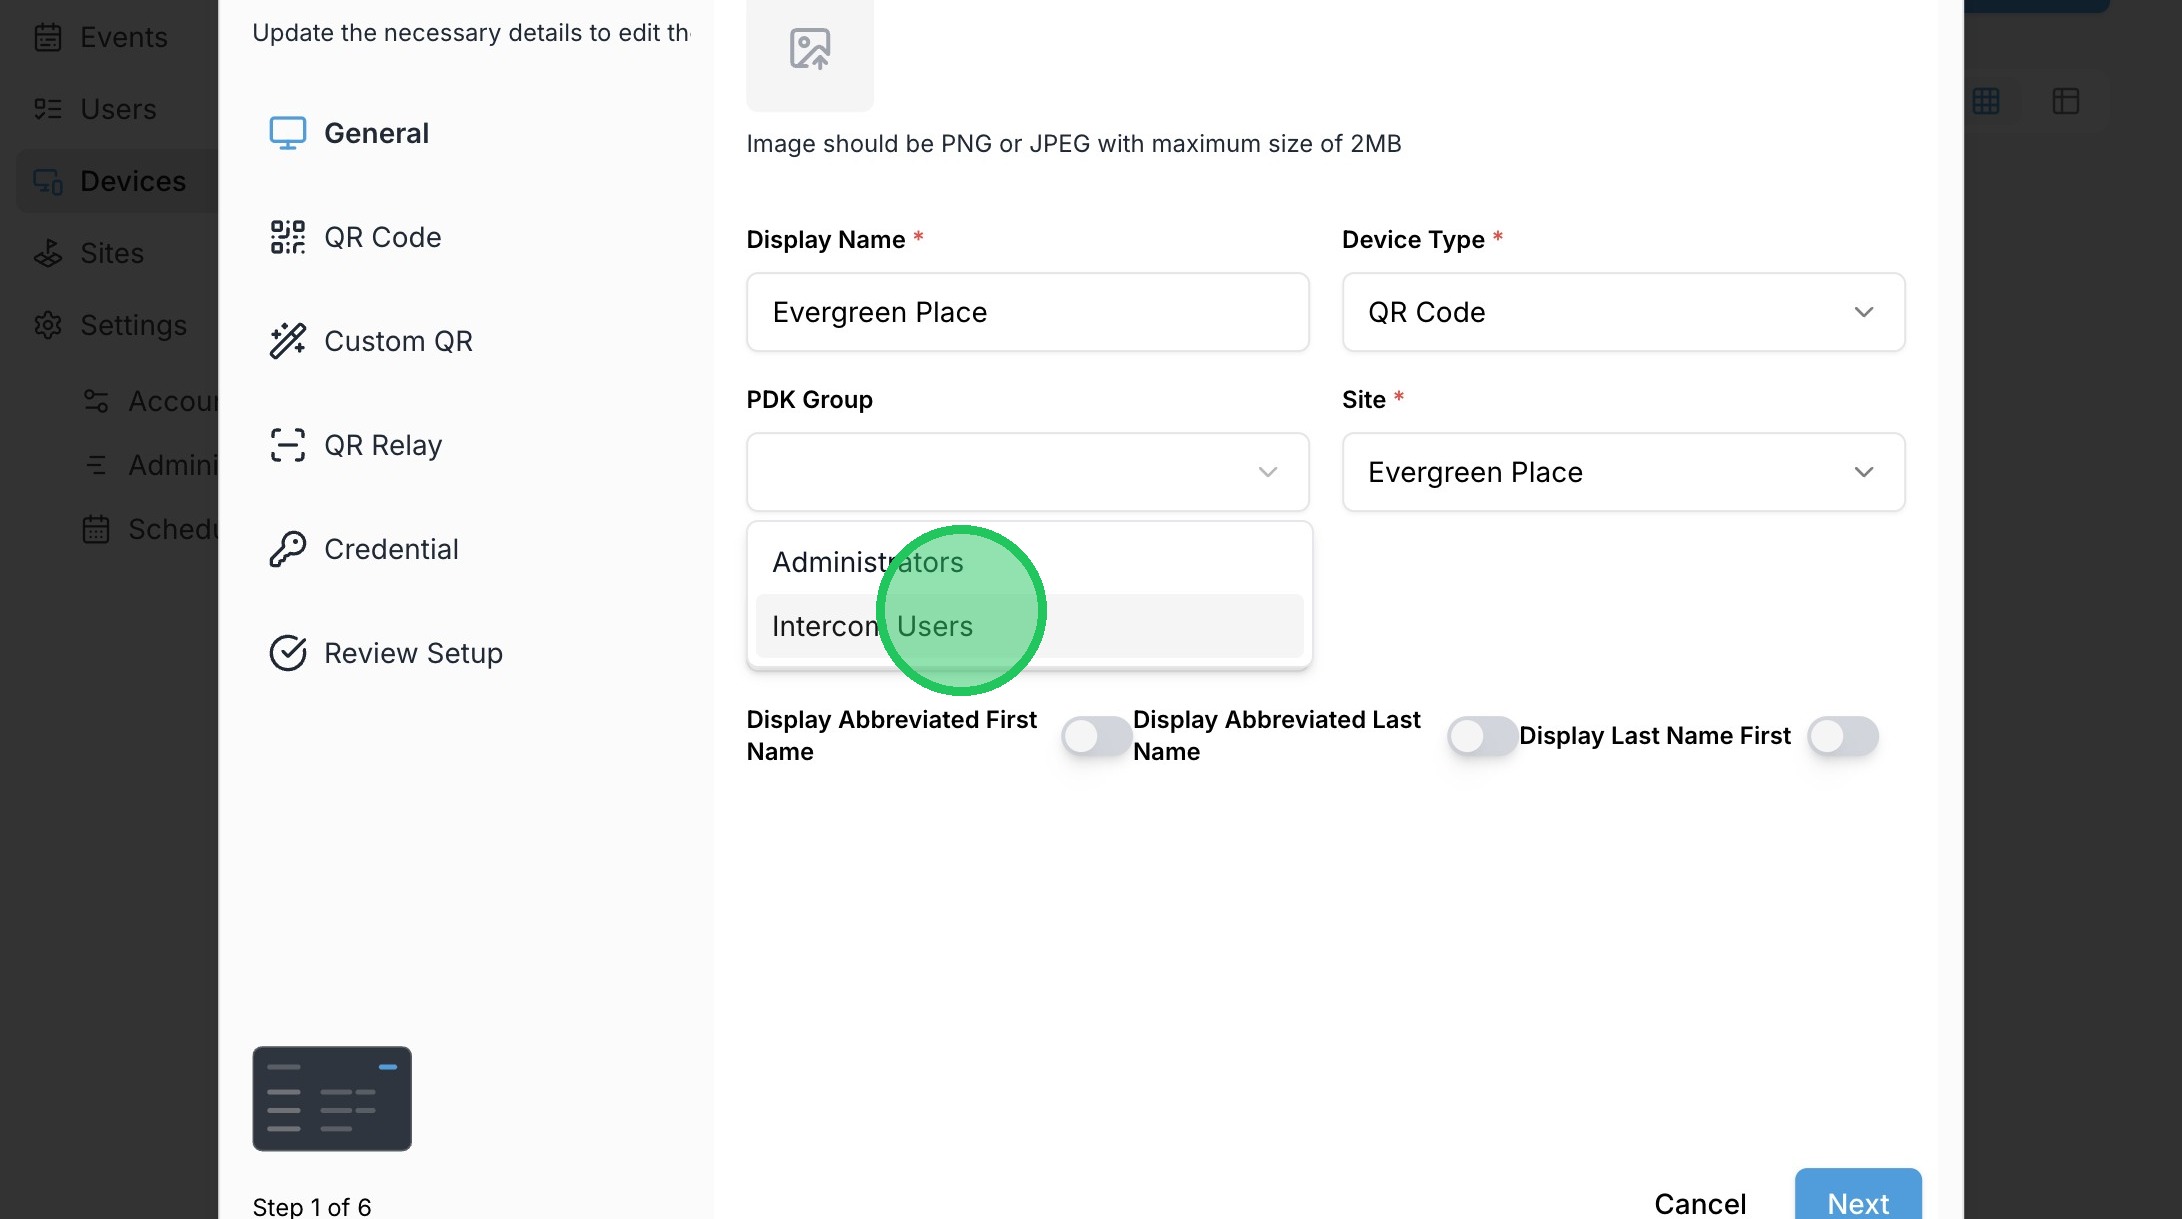
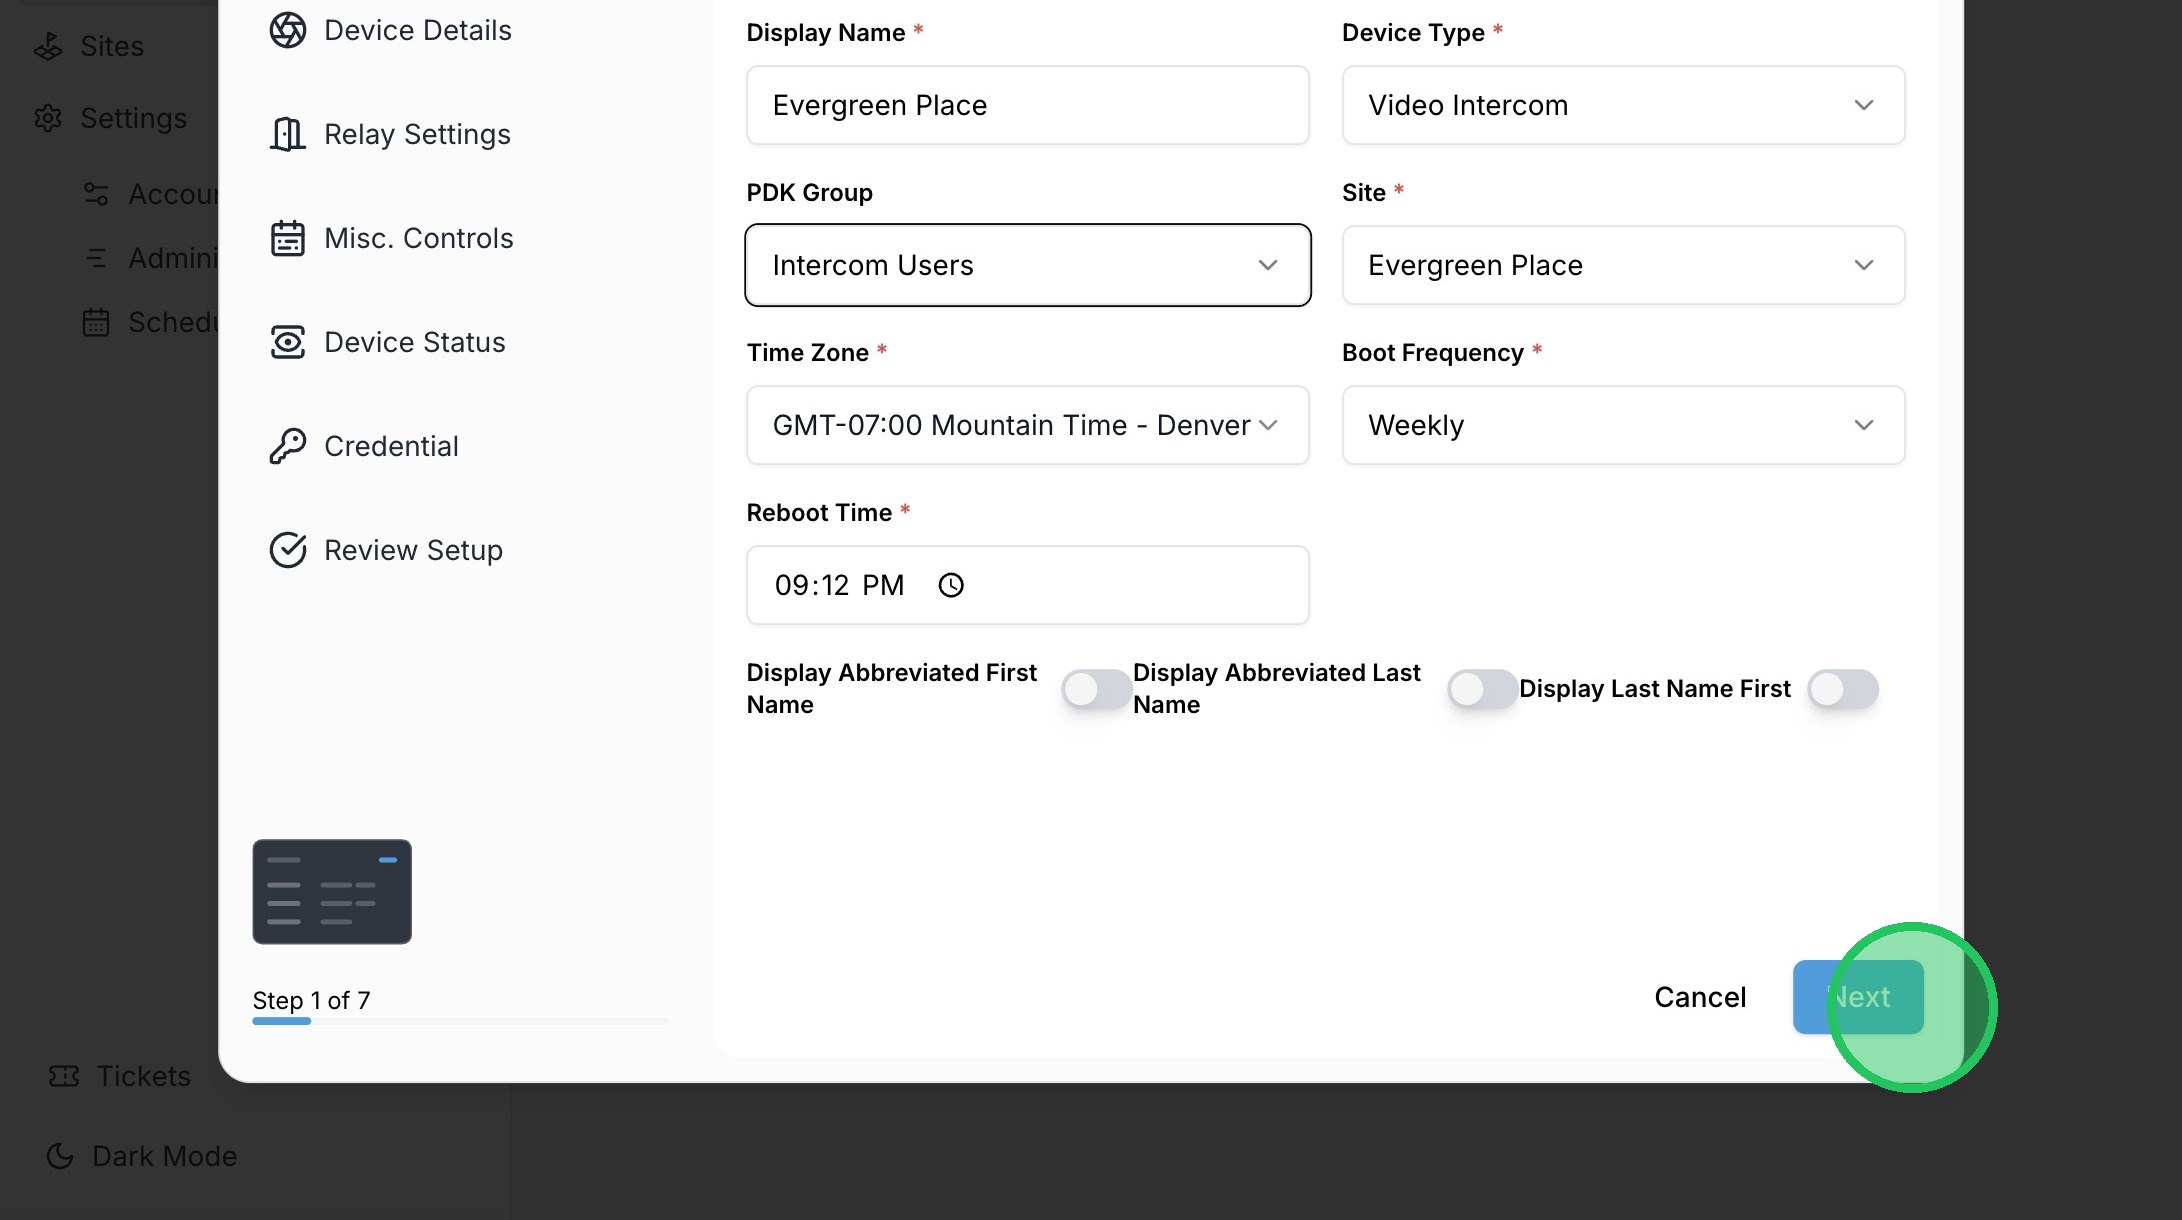
15. Click the dropdown to select the PDK Group that will be assigned to the device.

16. Select the Group.
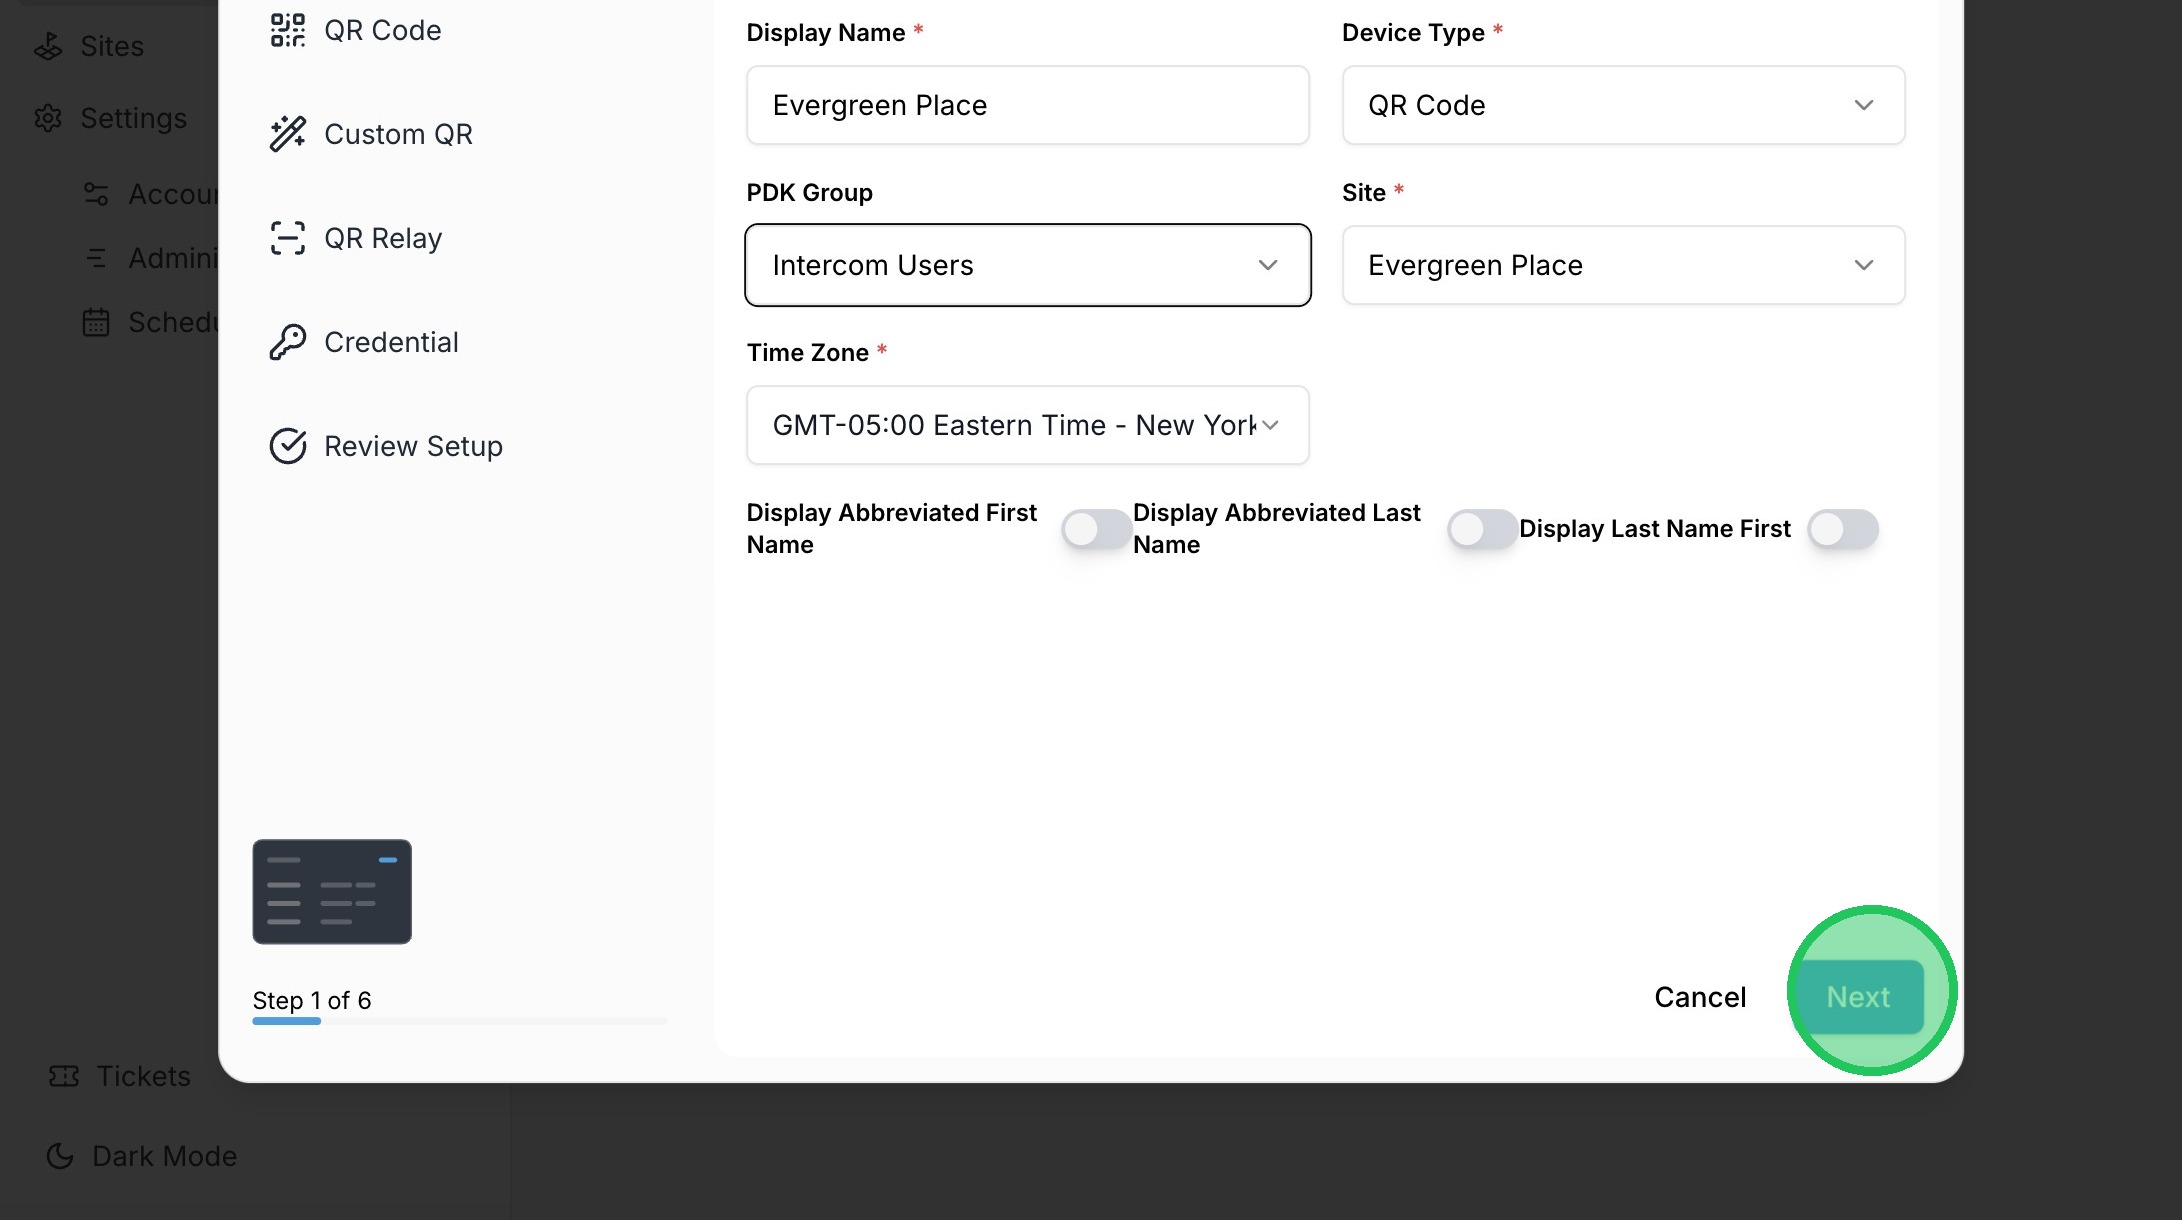
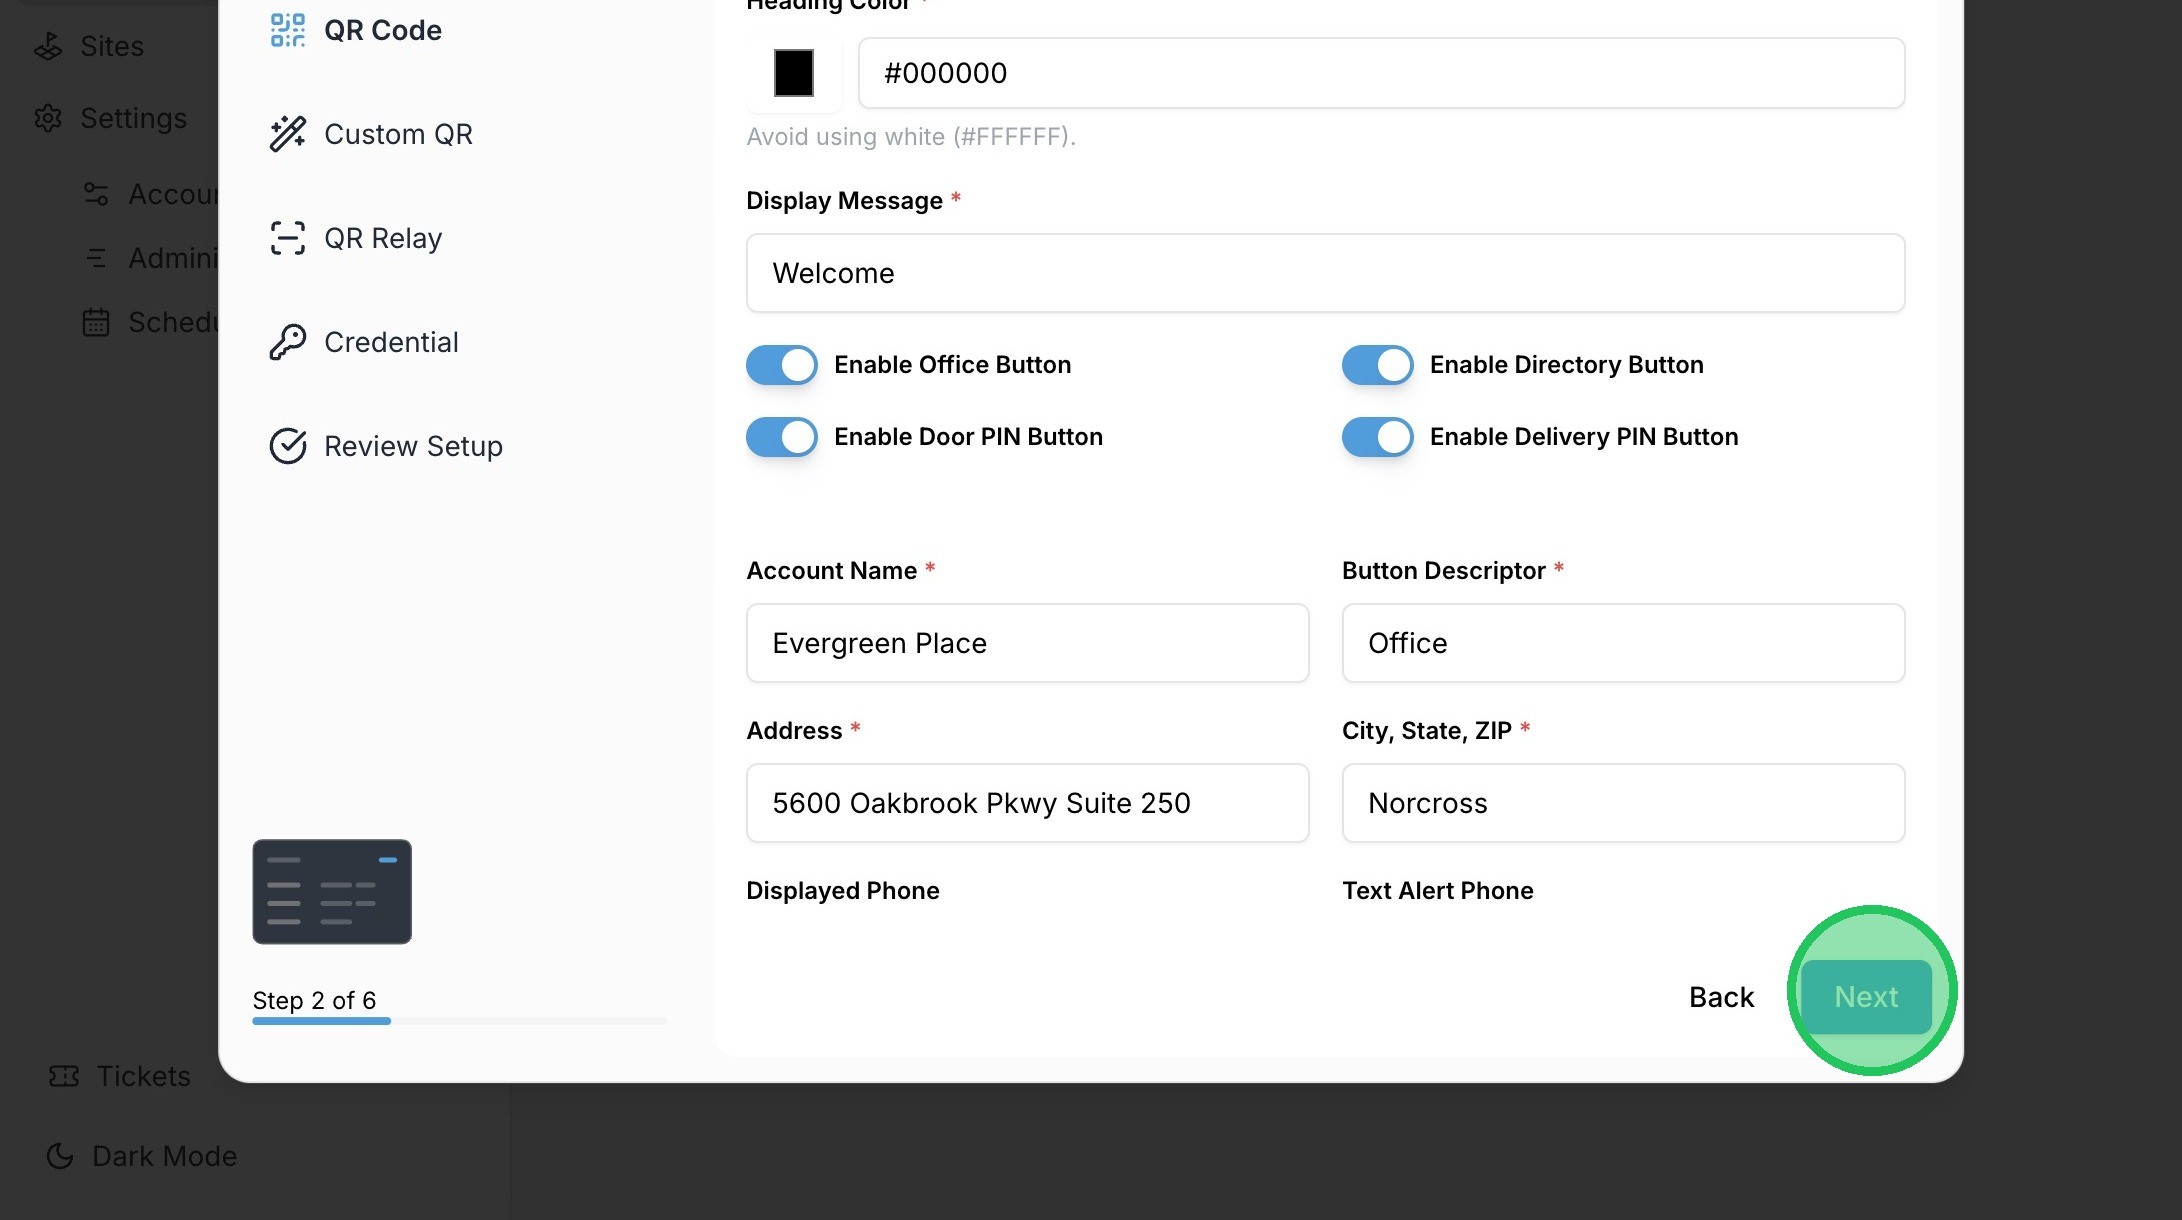
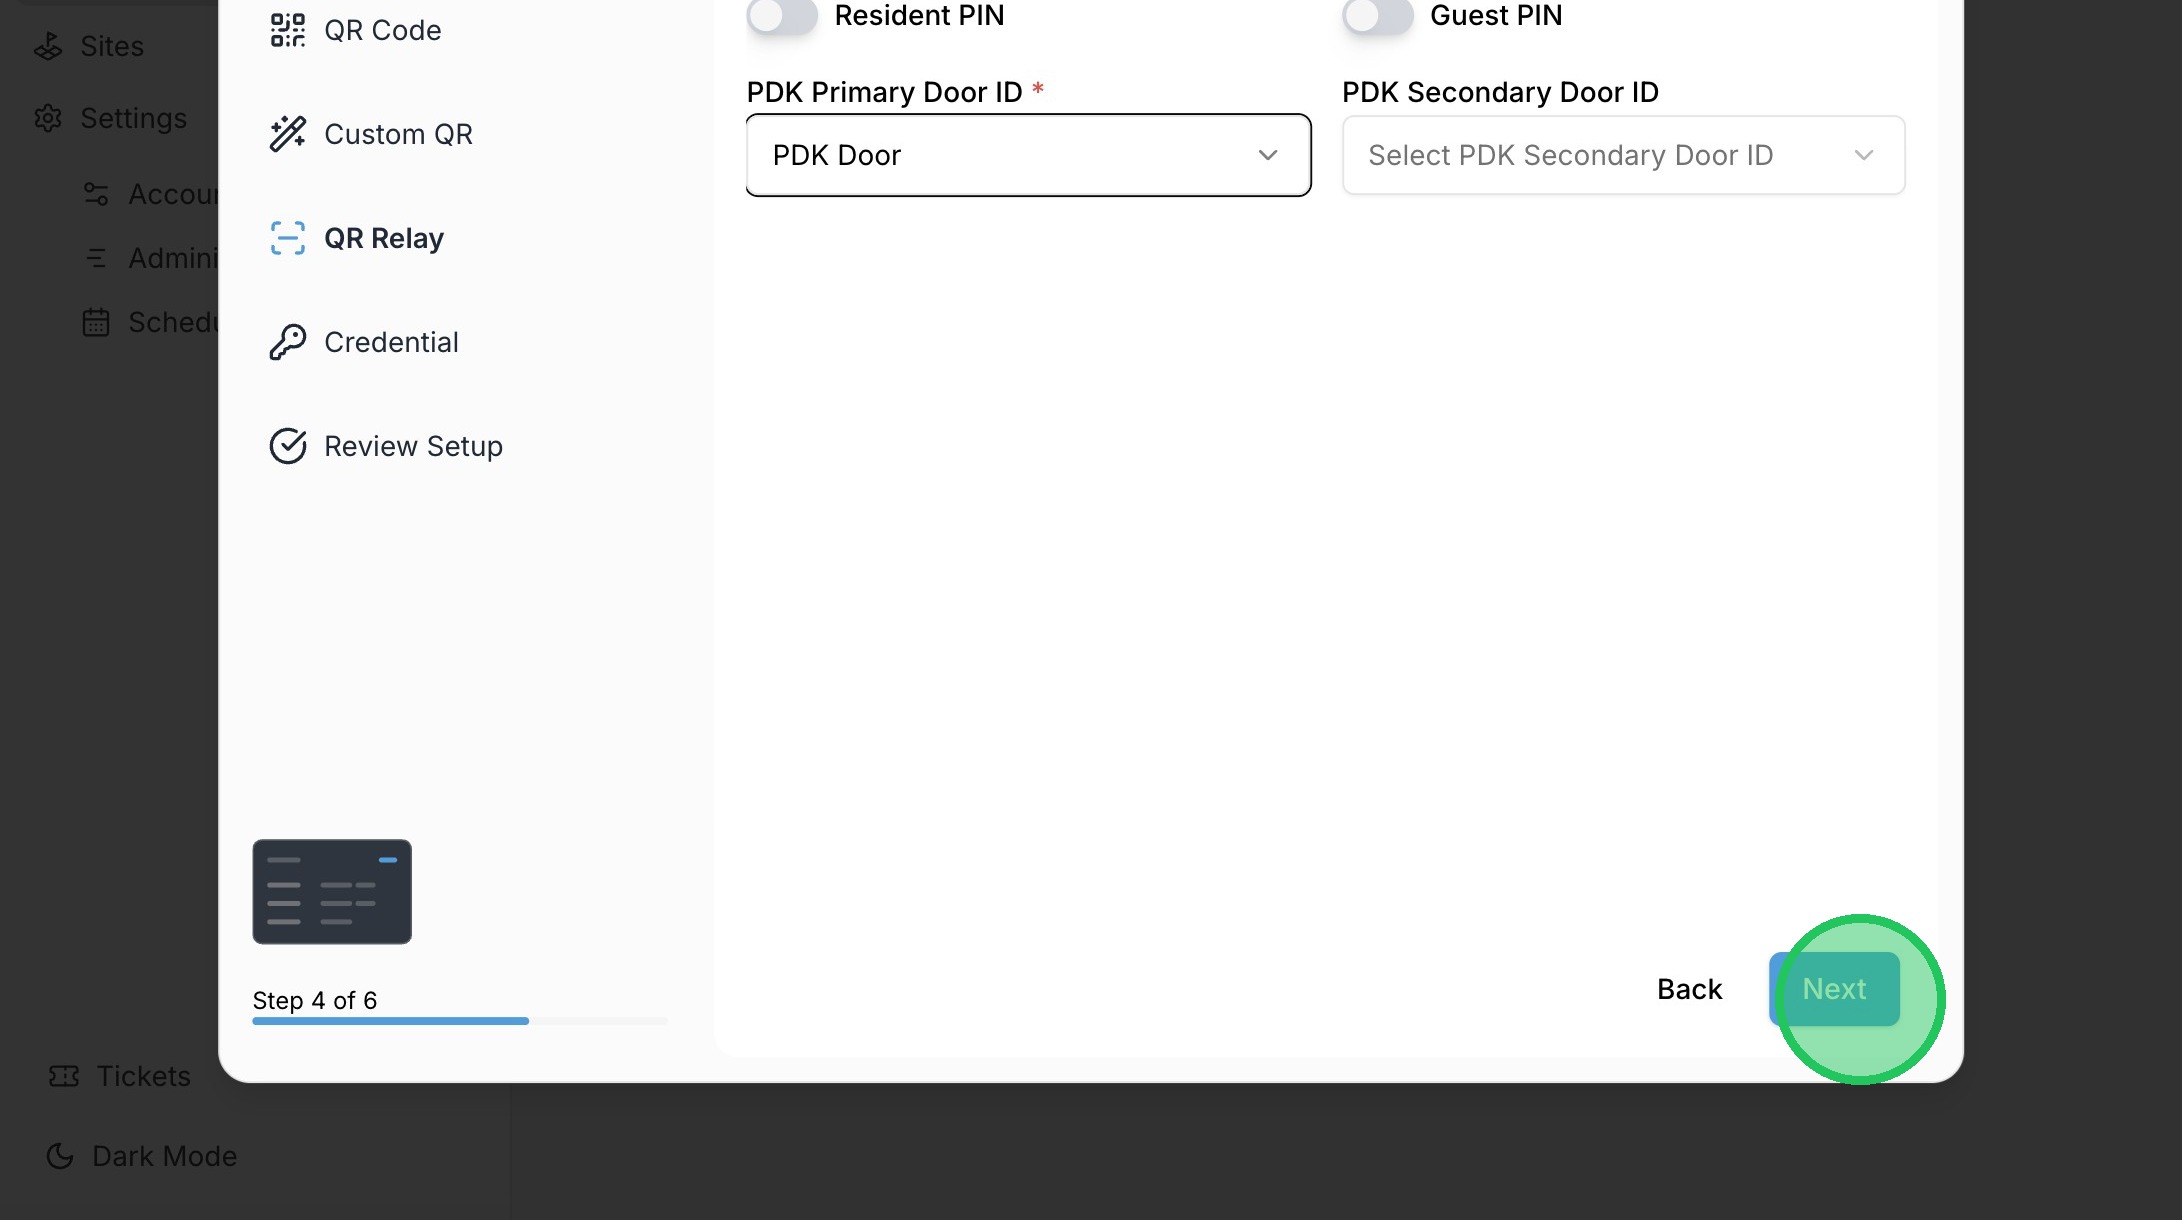
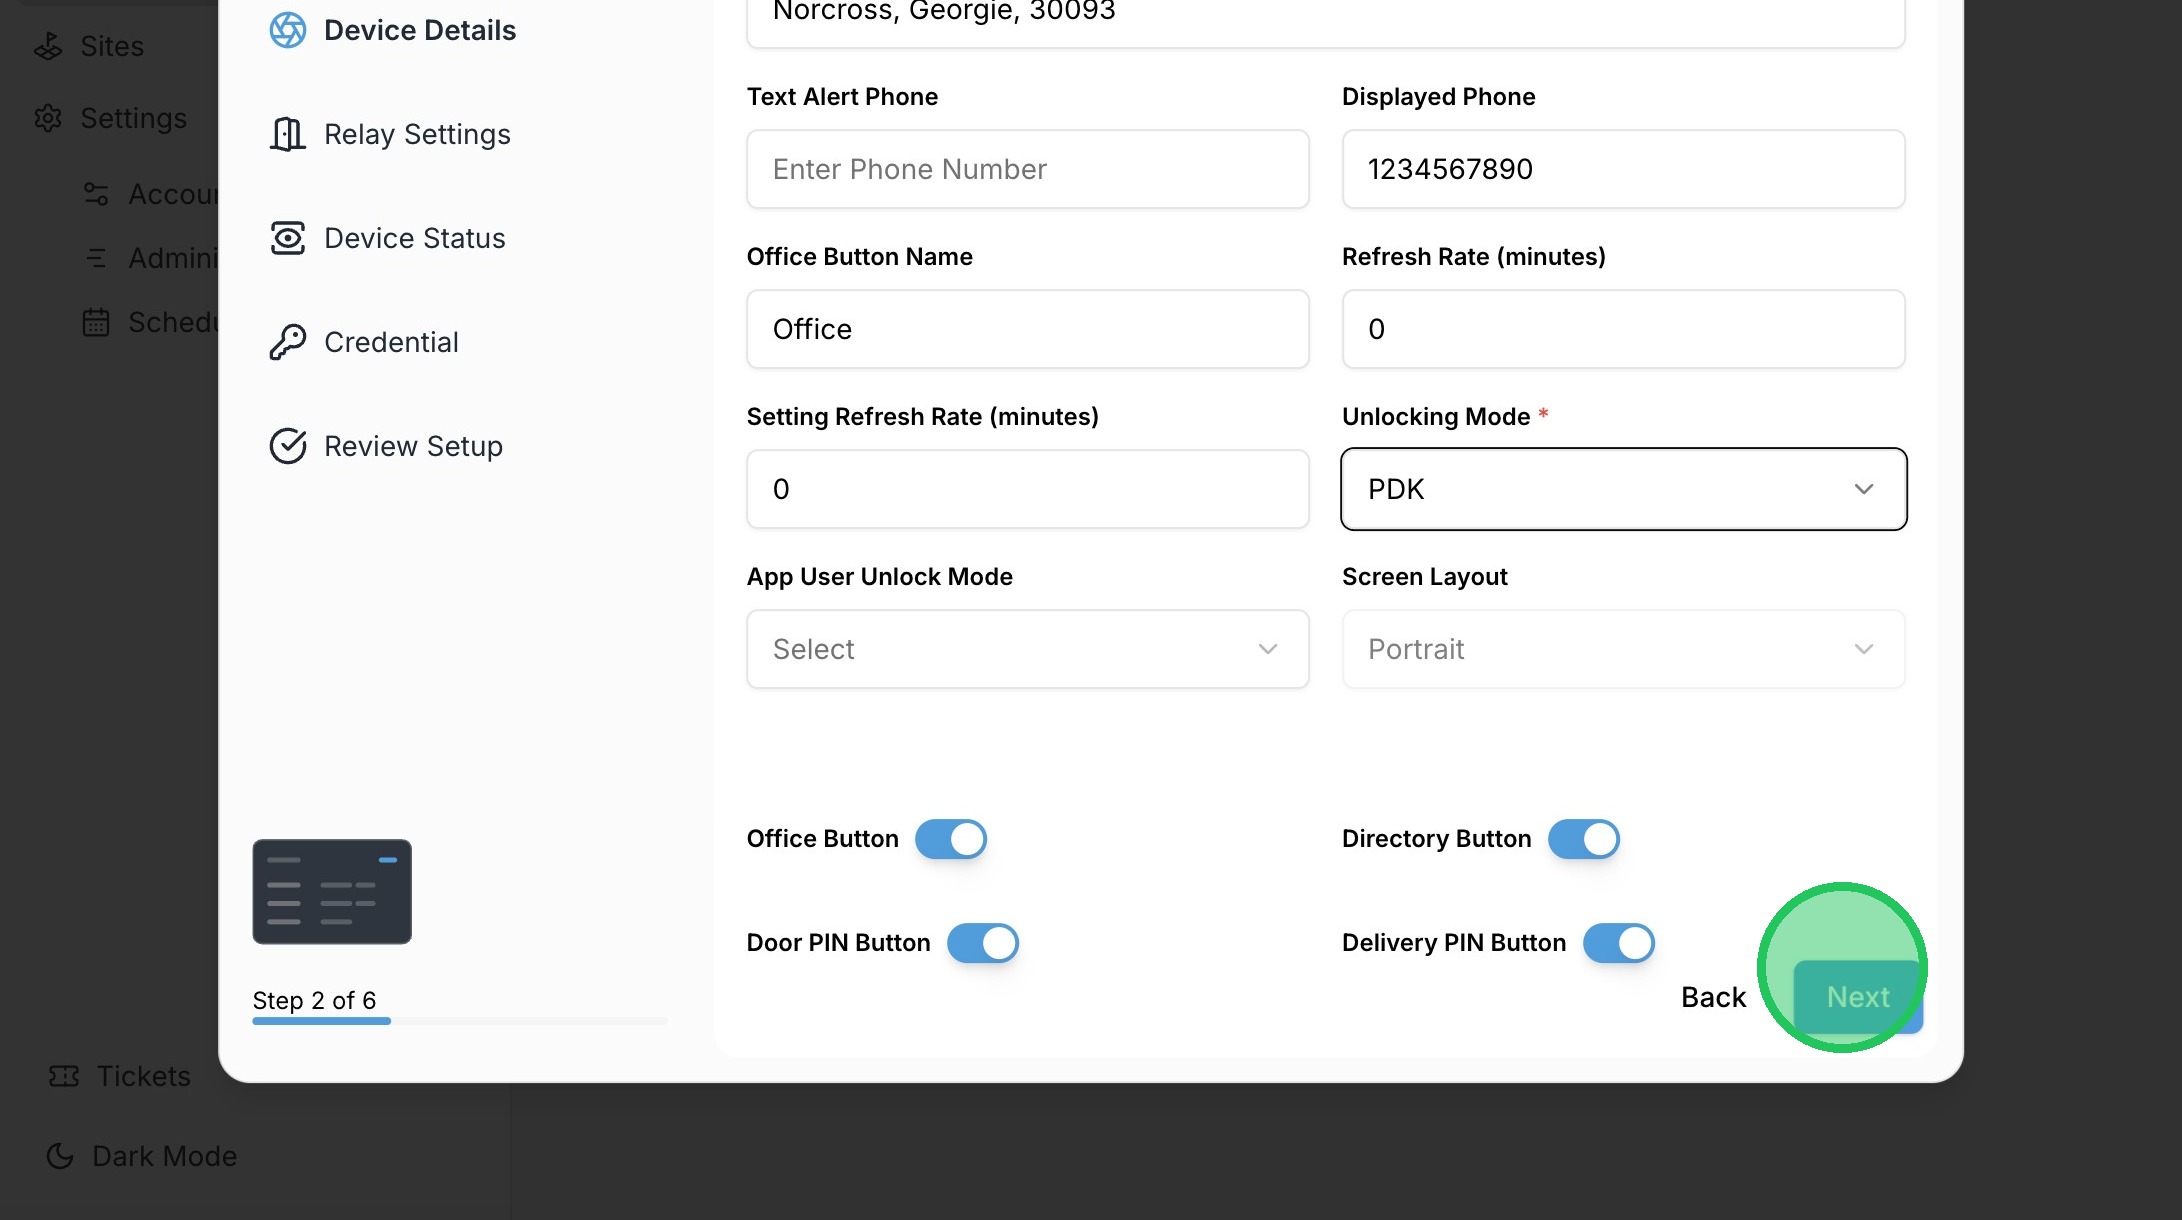
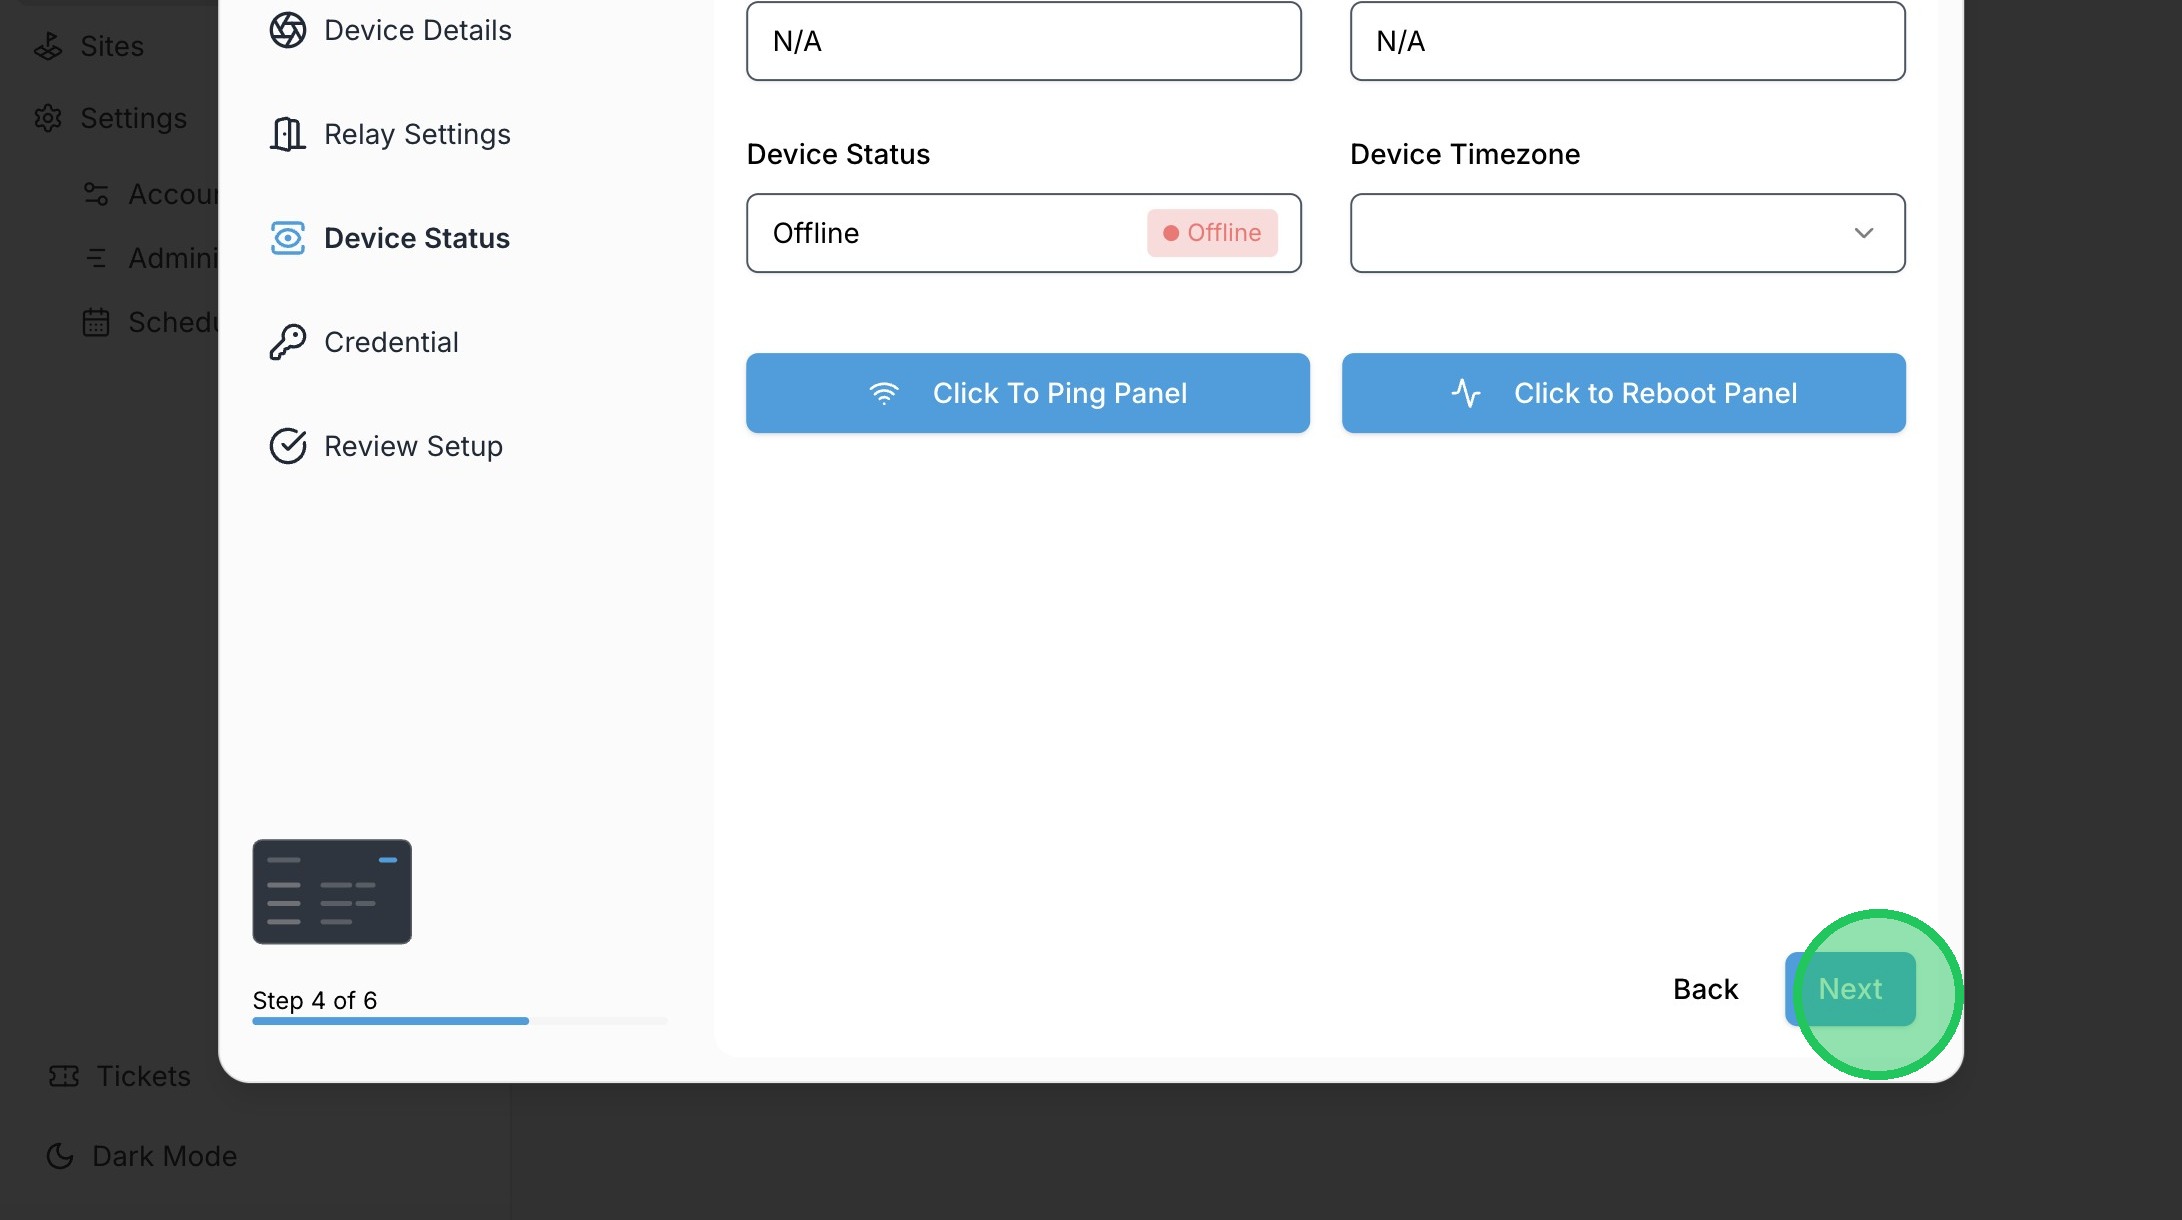
17. Click "Next"
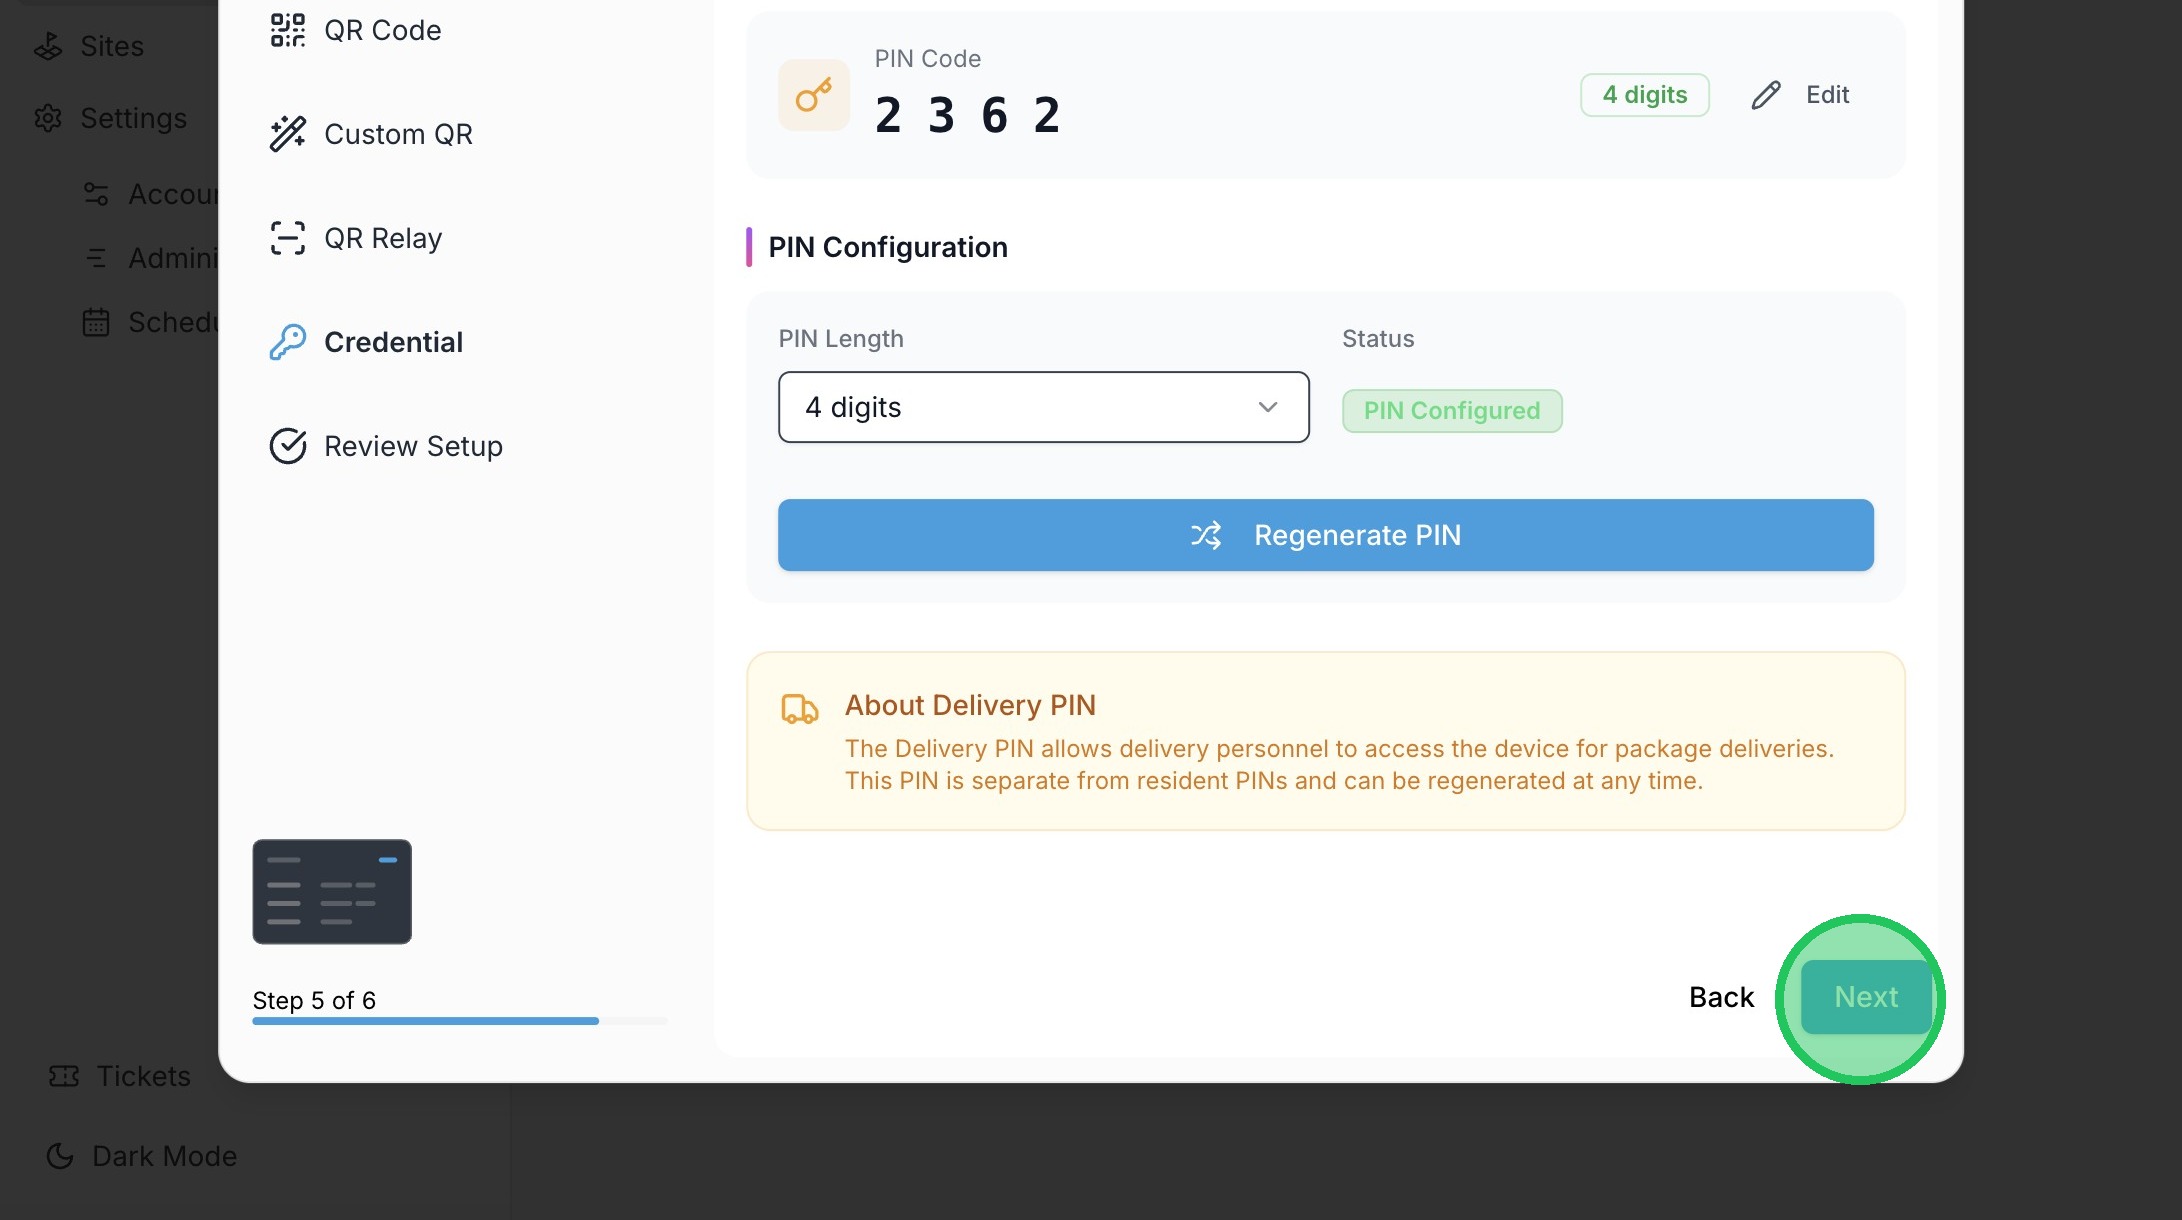
18. Click "Next"
19. Click "Next"
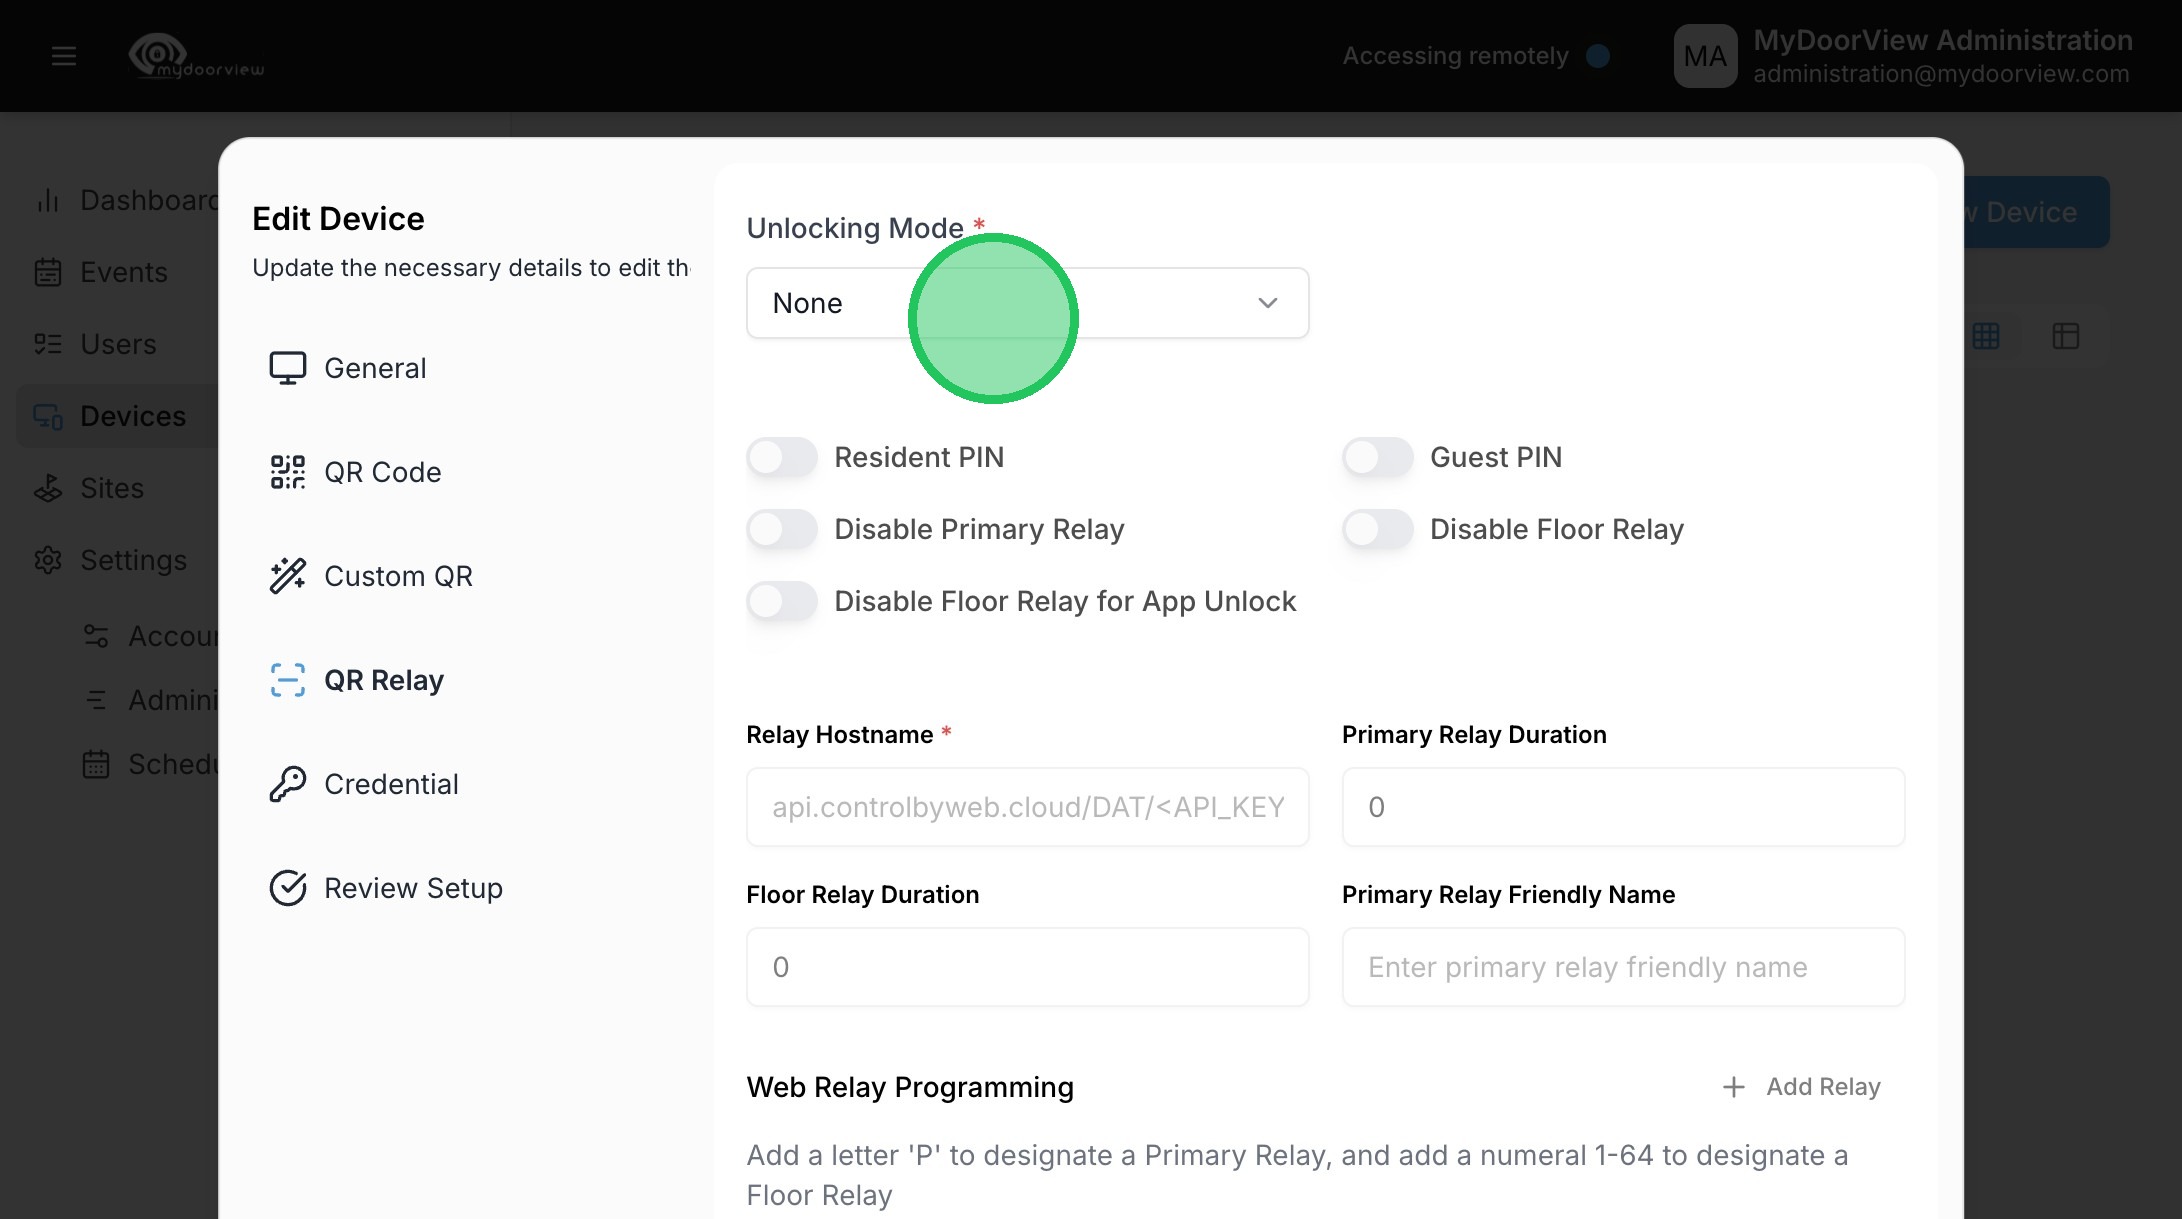
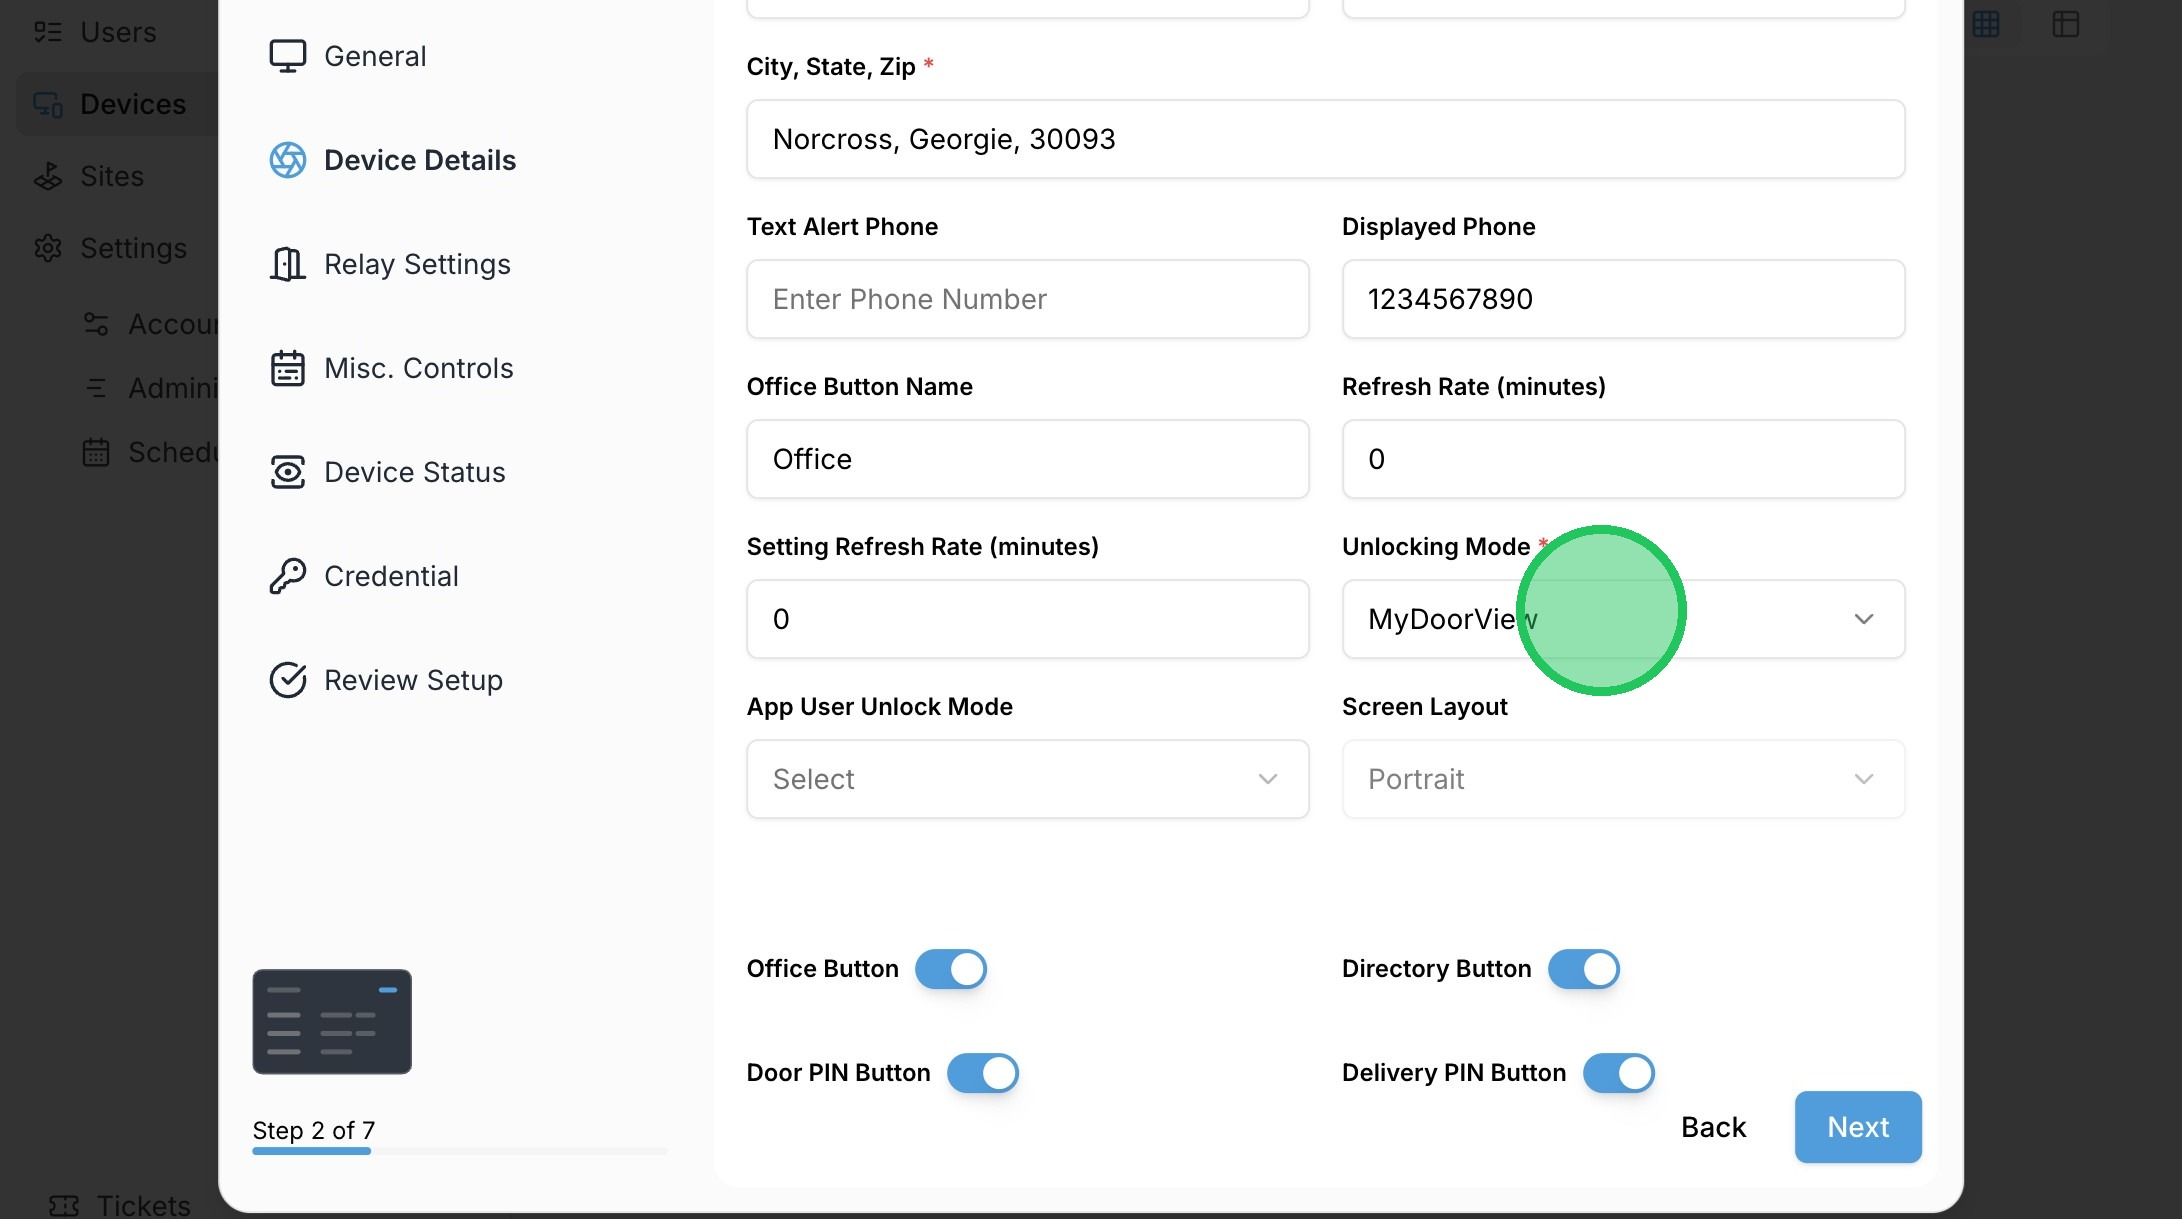
20. Click the dropdown to select the Unlocking Mode"None"
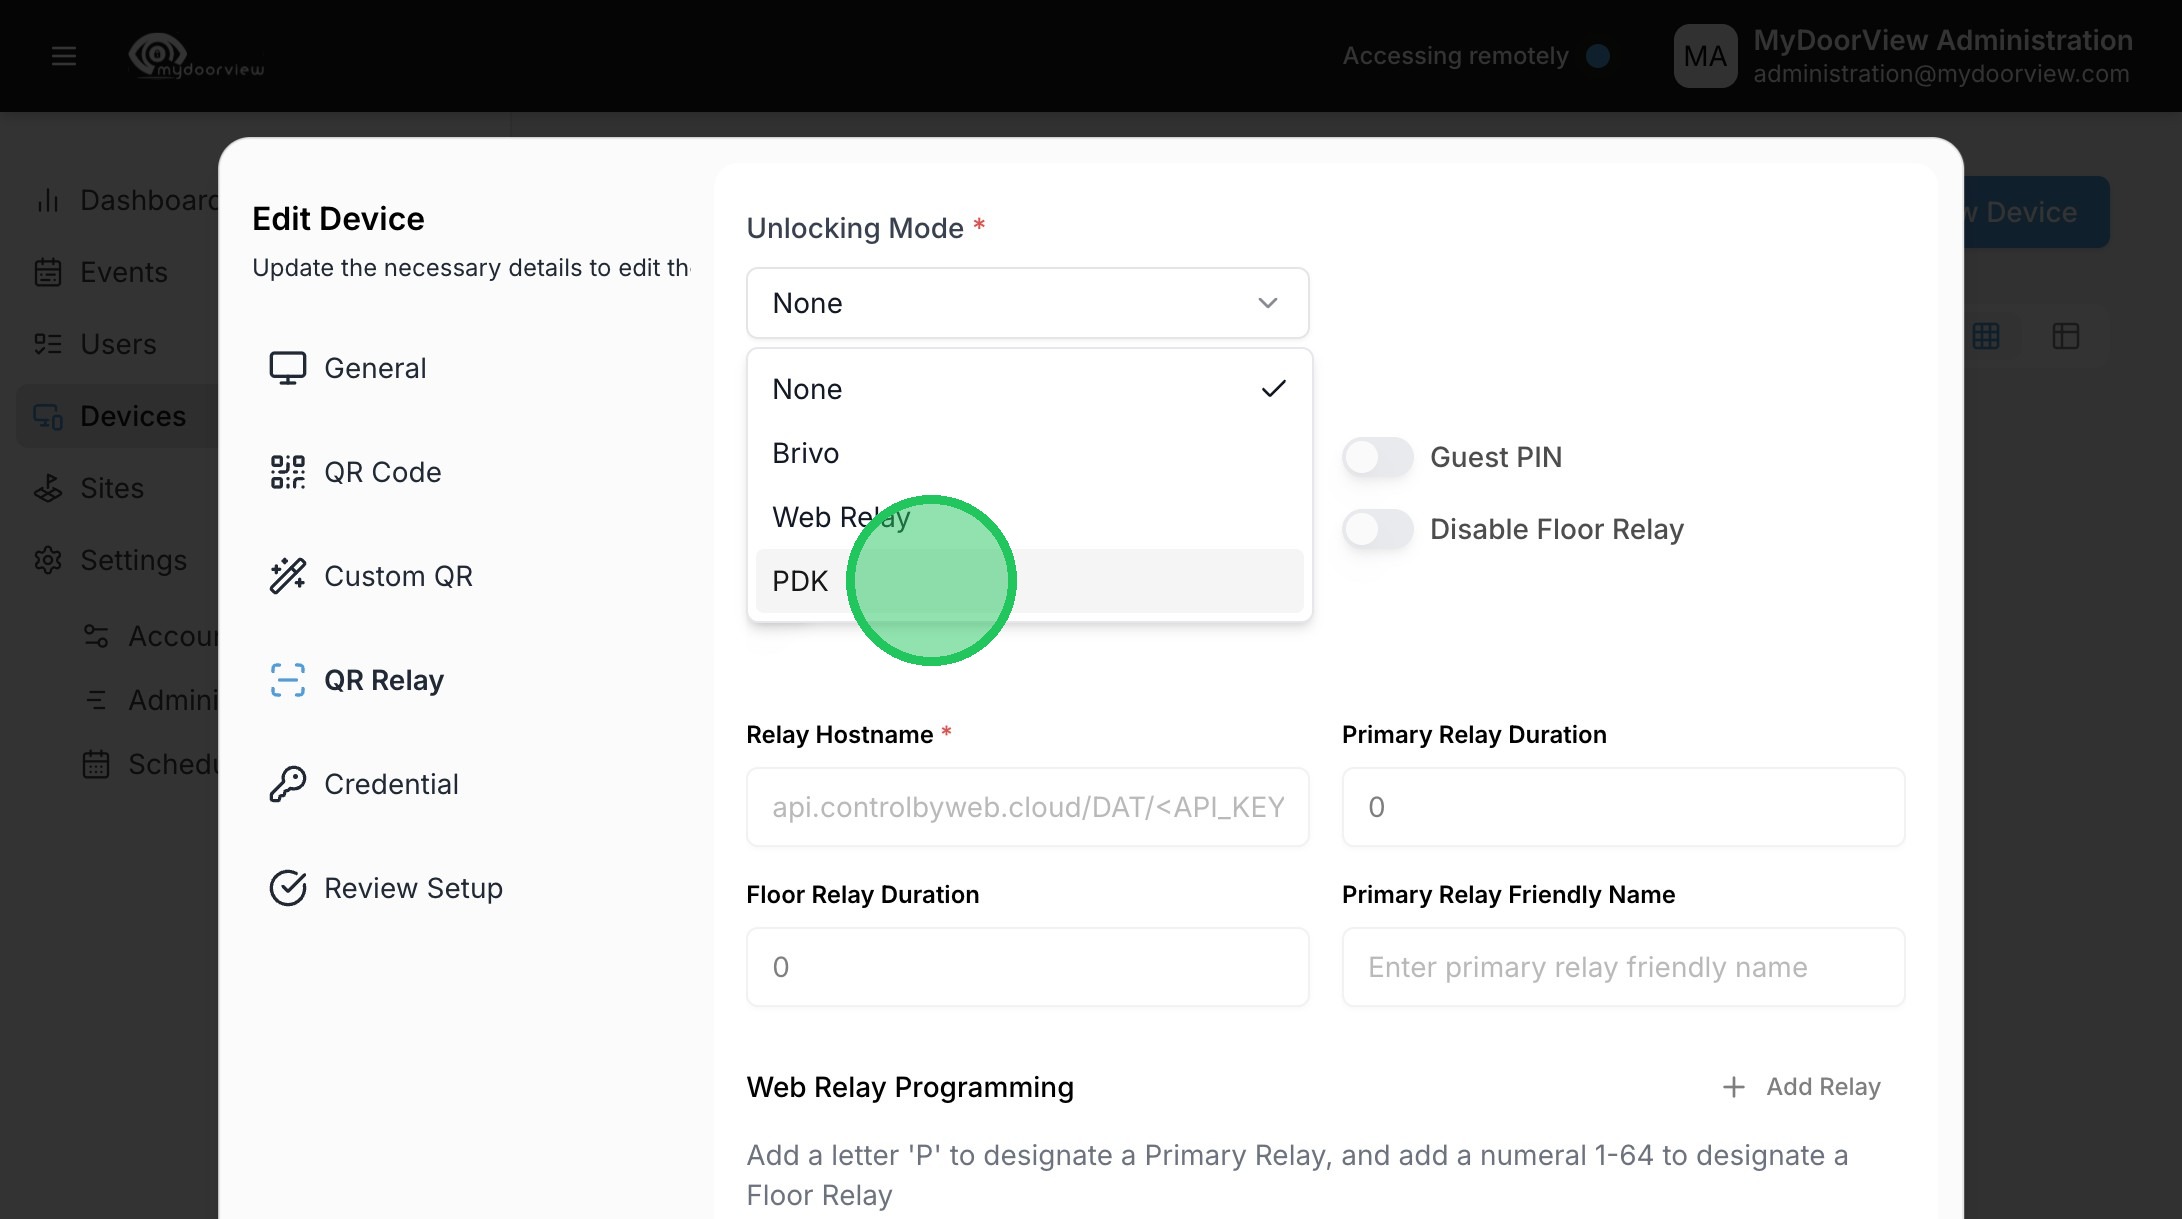
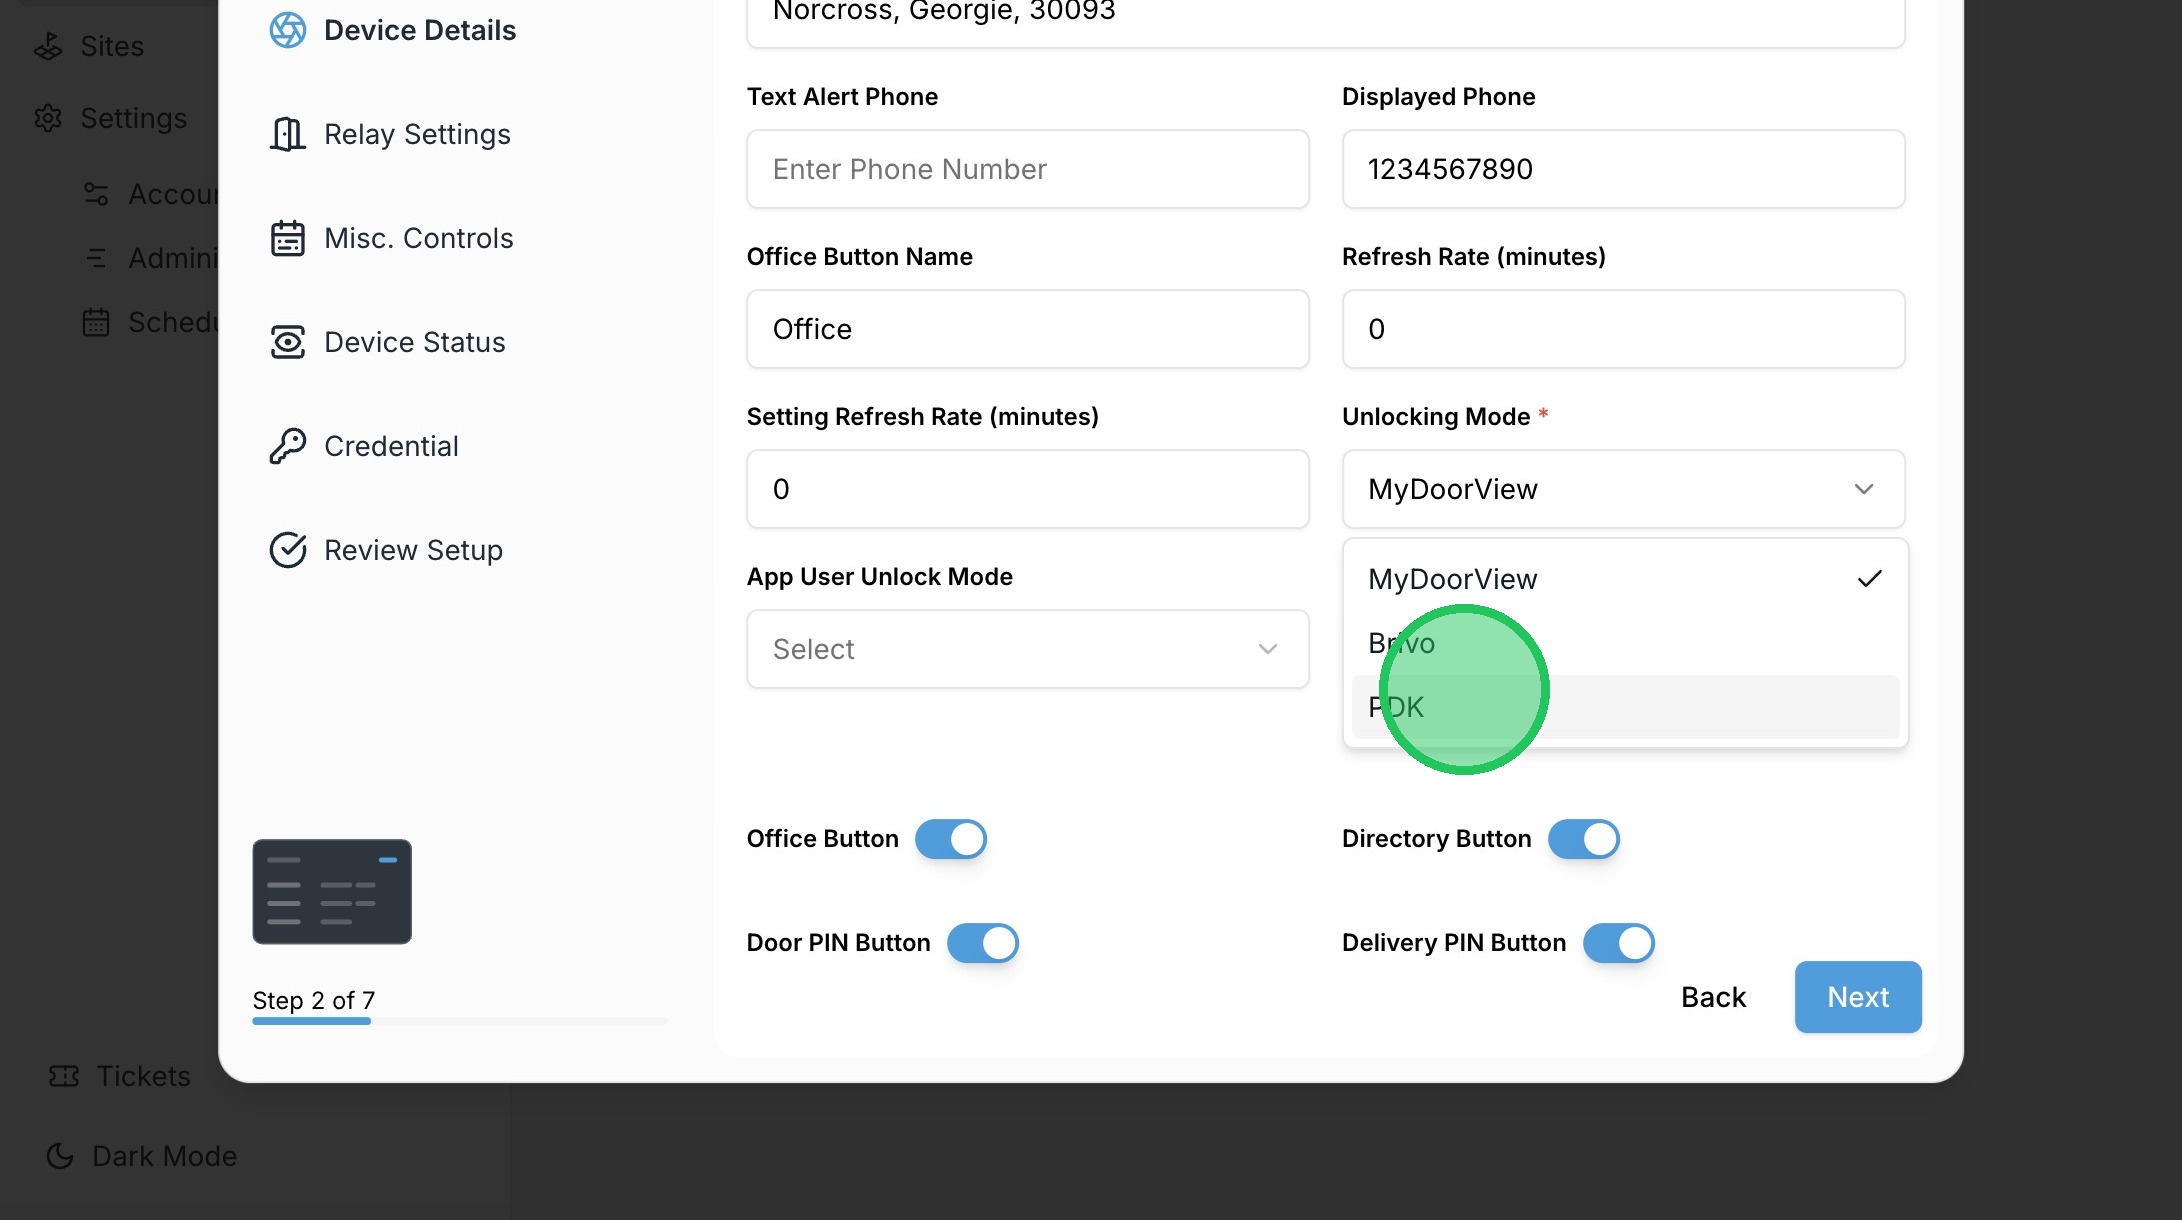
21. Click "PDK"
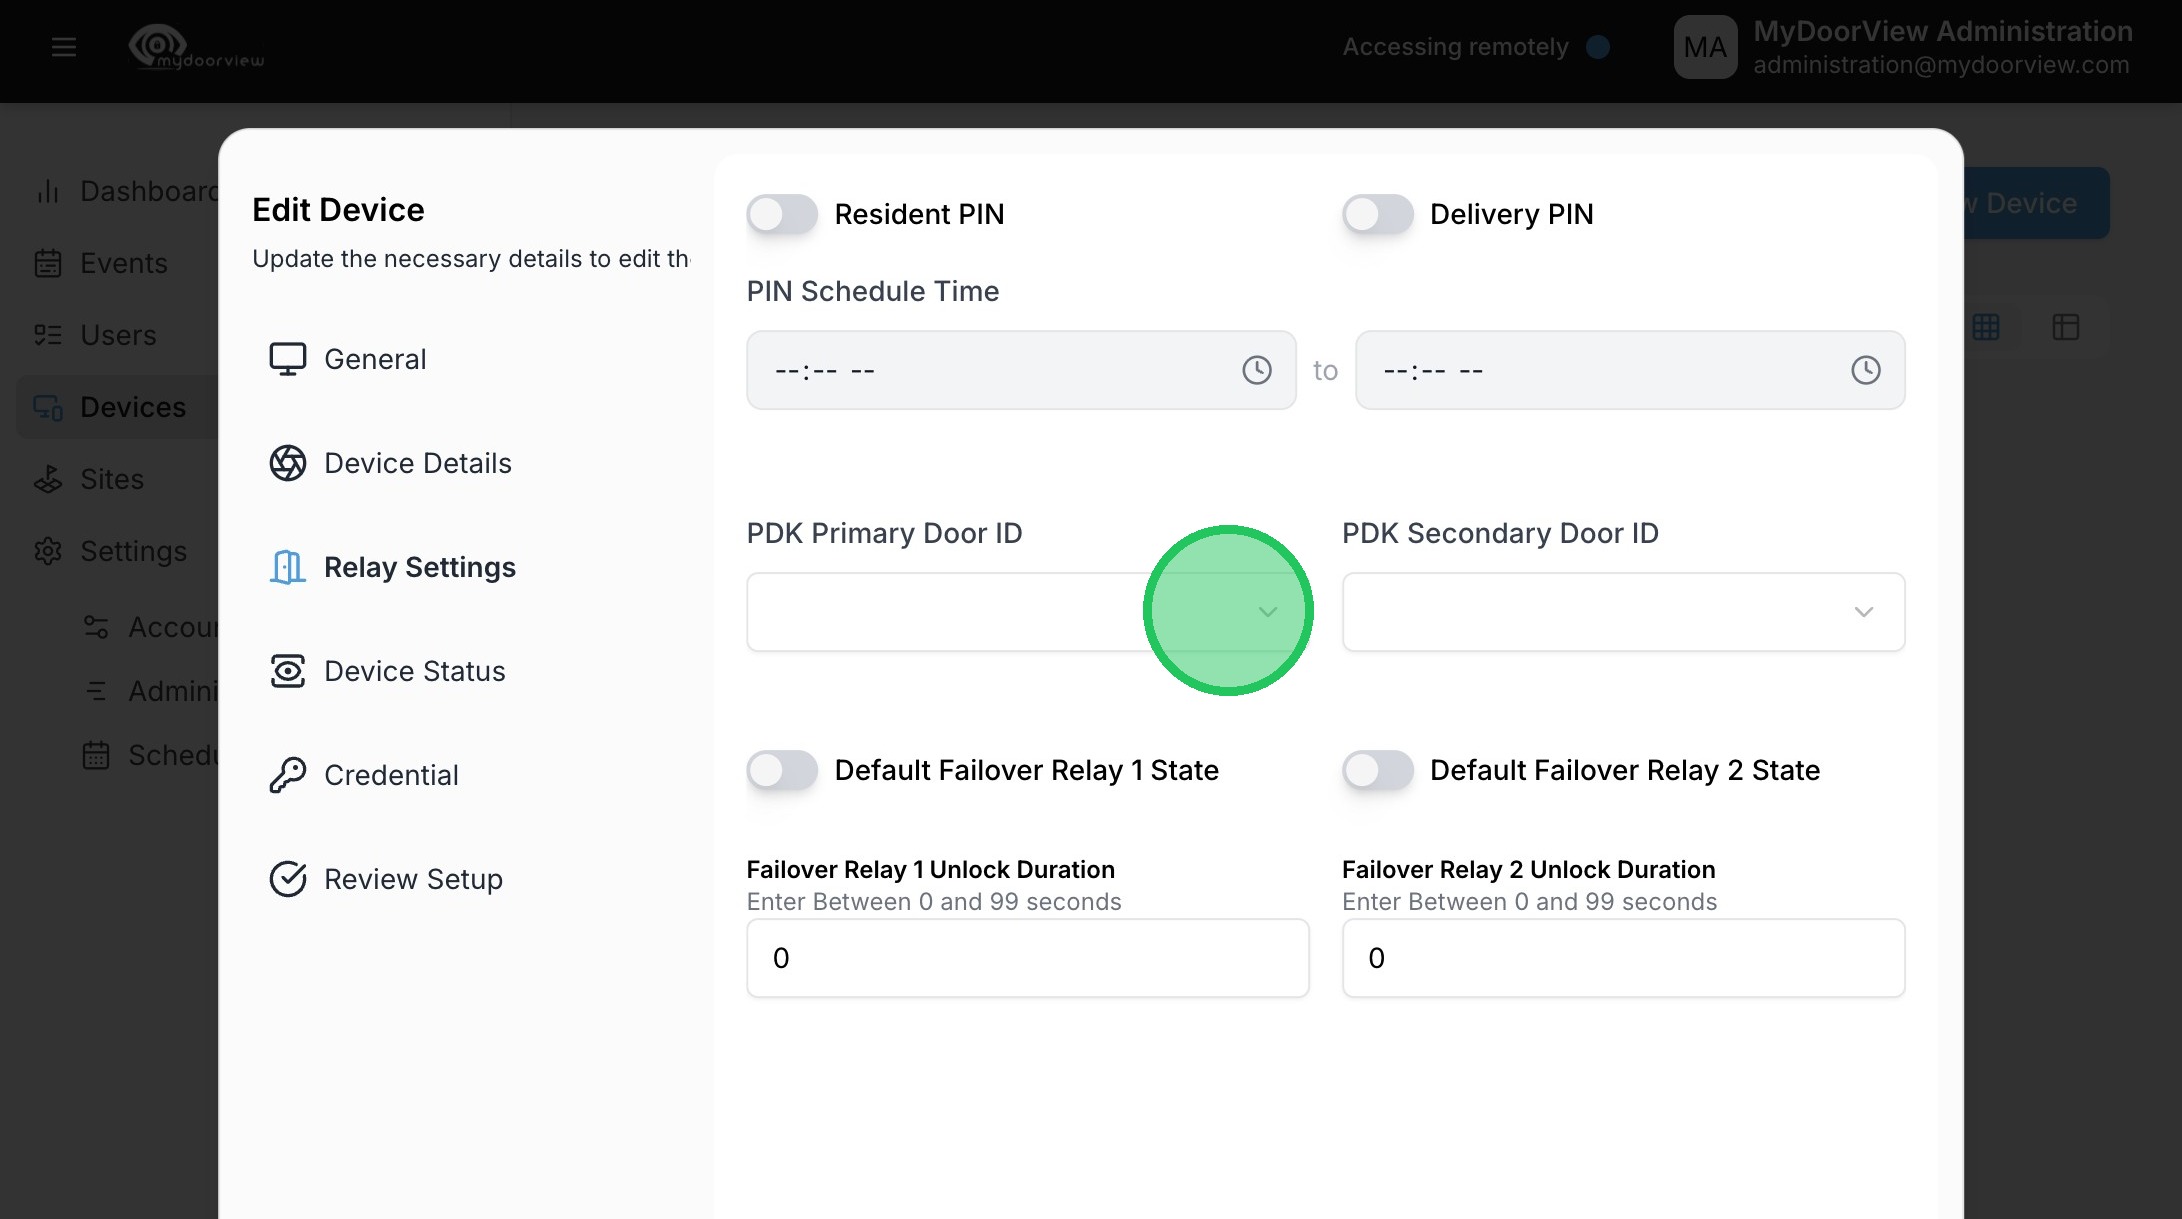
22. Click "Select PDK Primary Door ID"
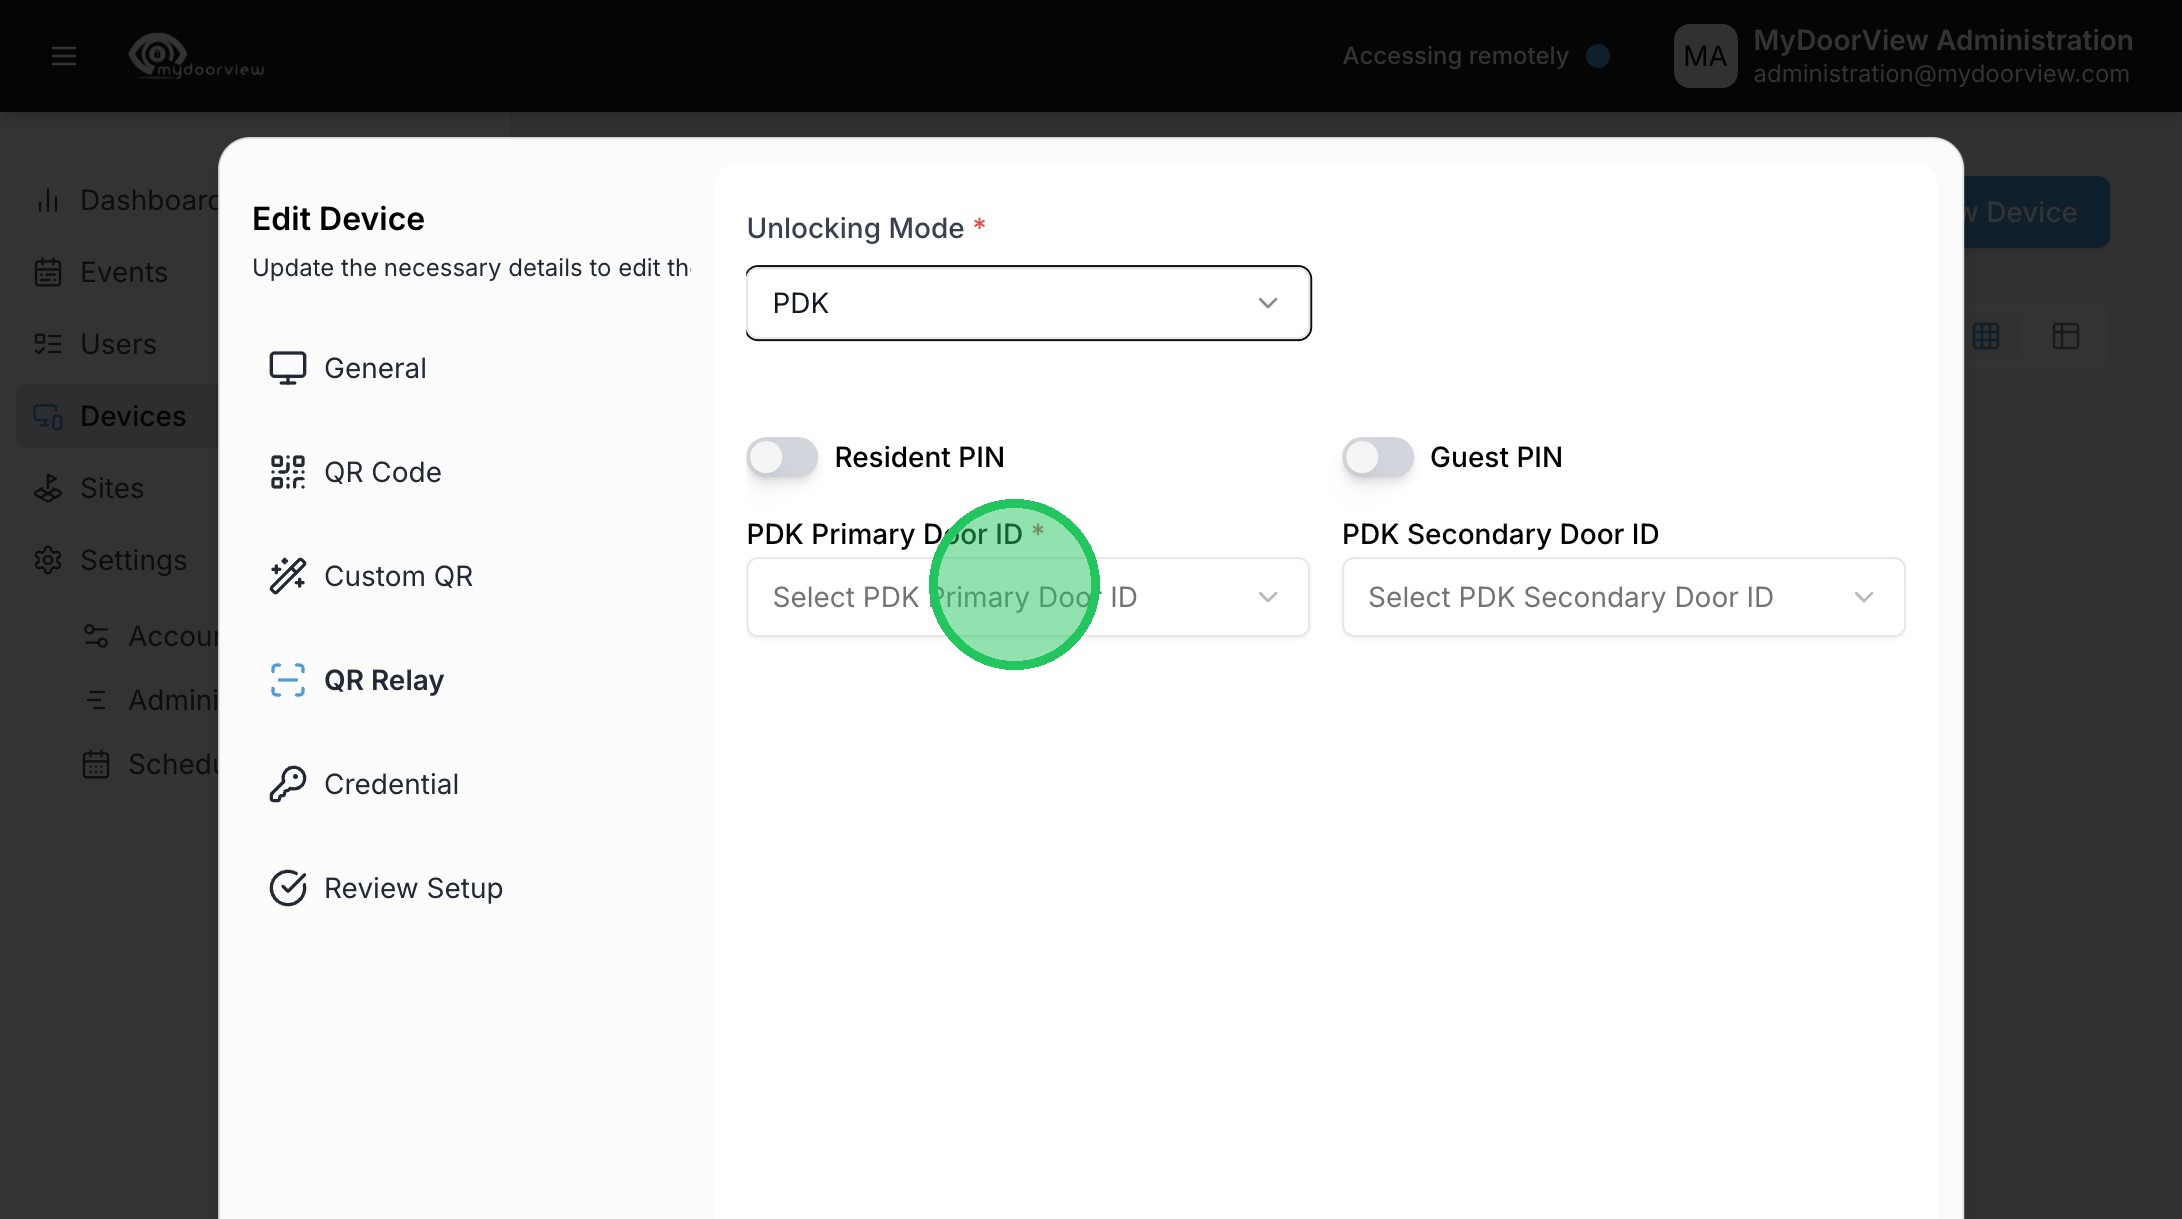
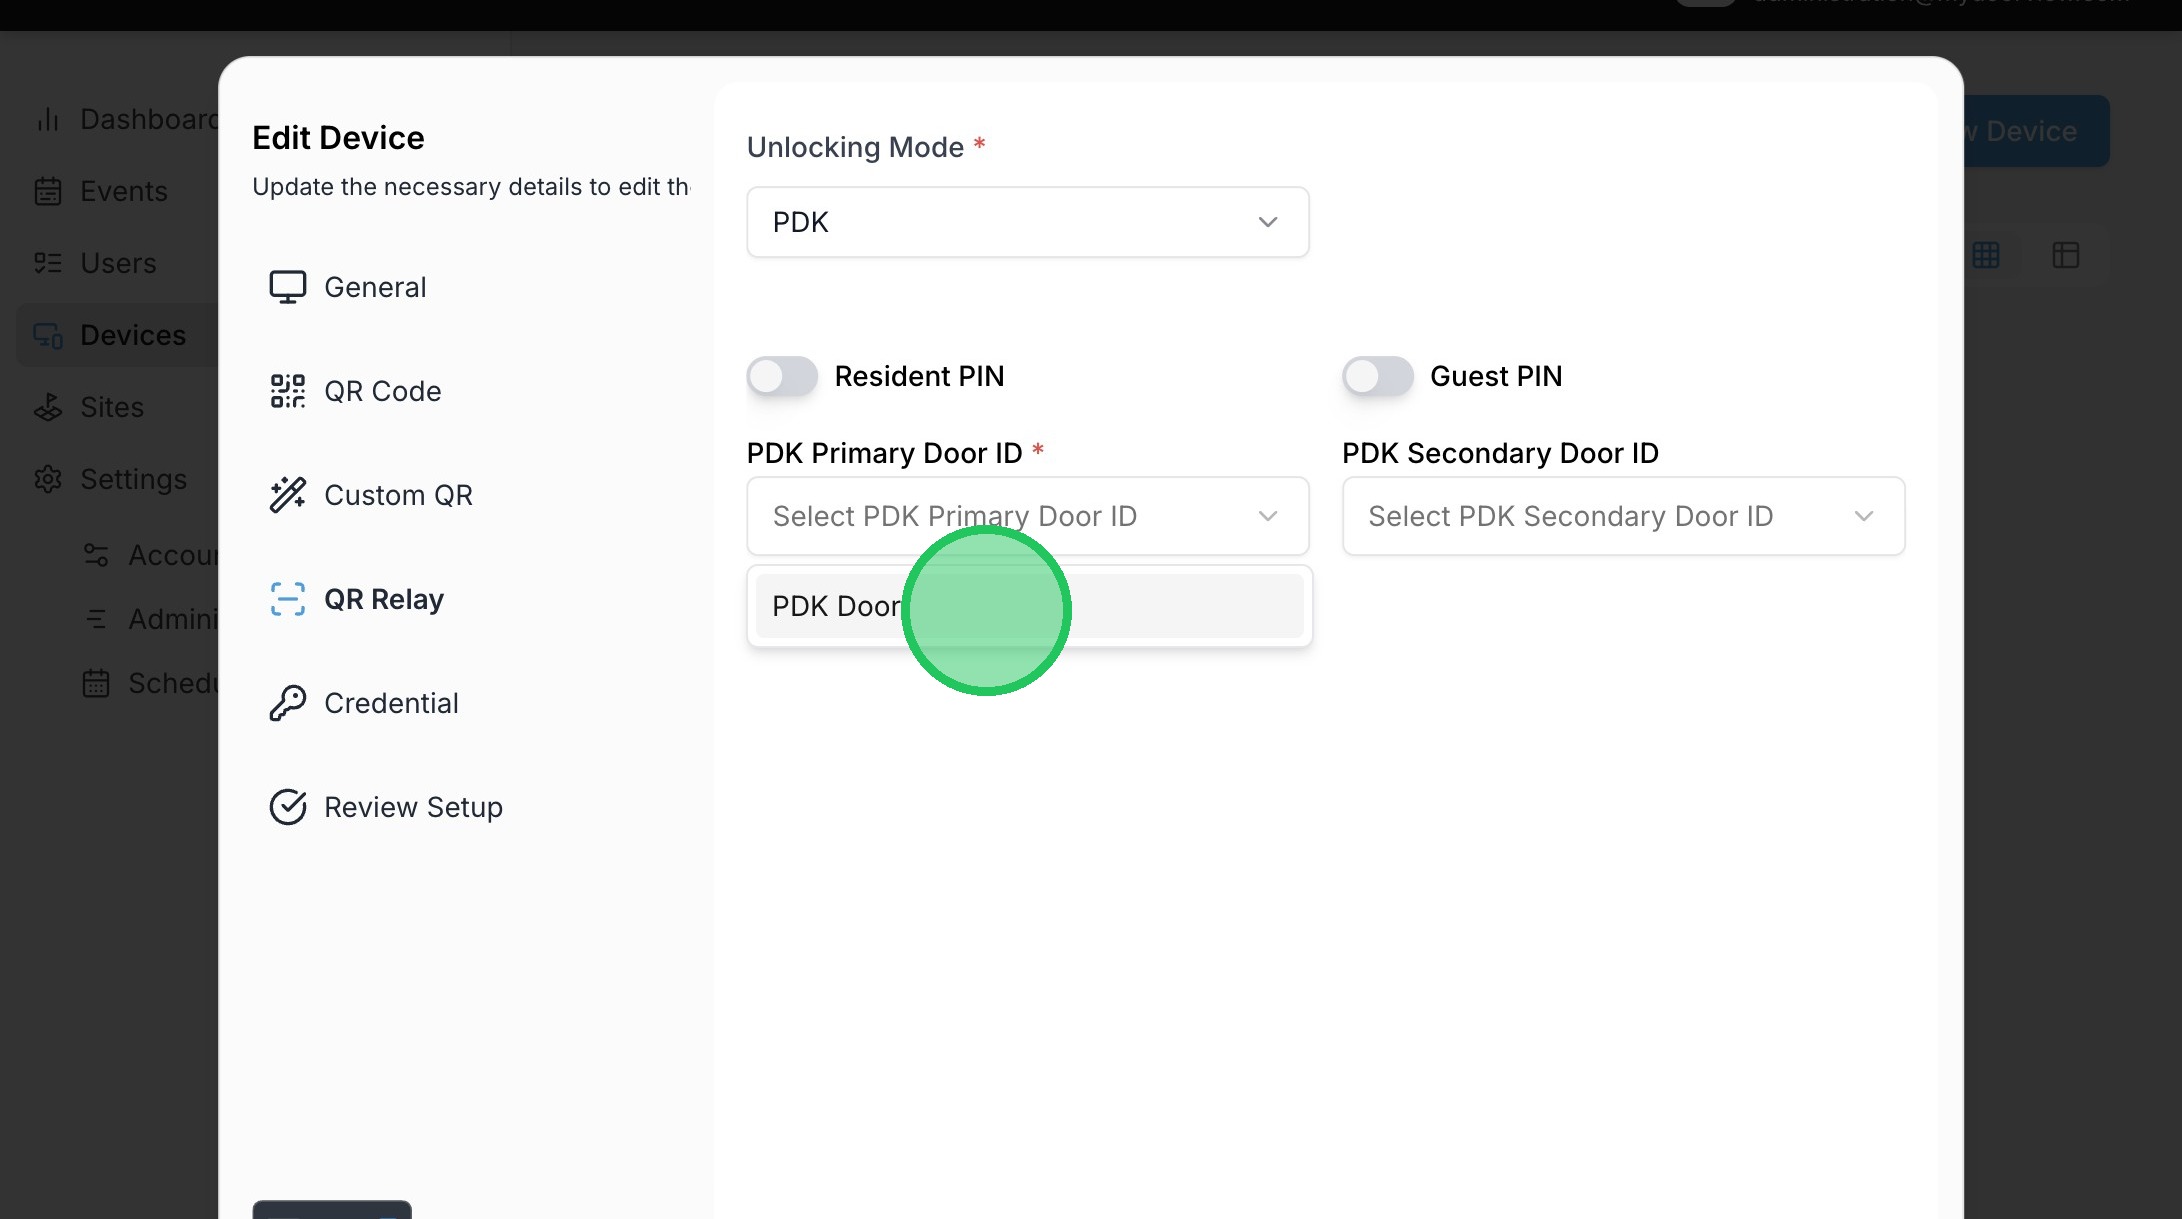
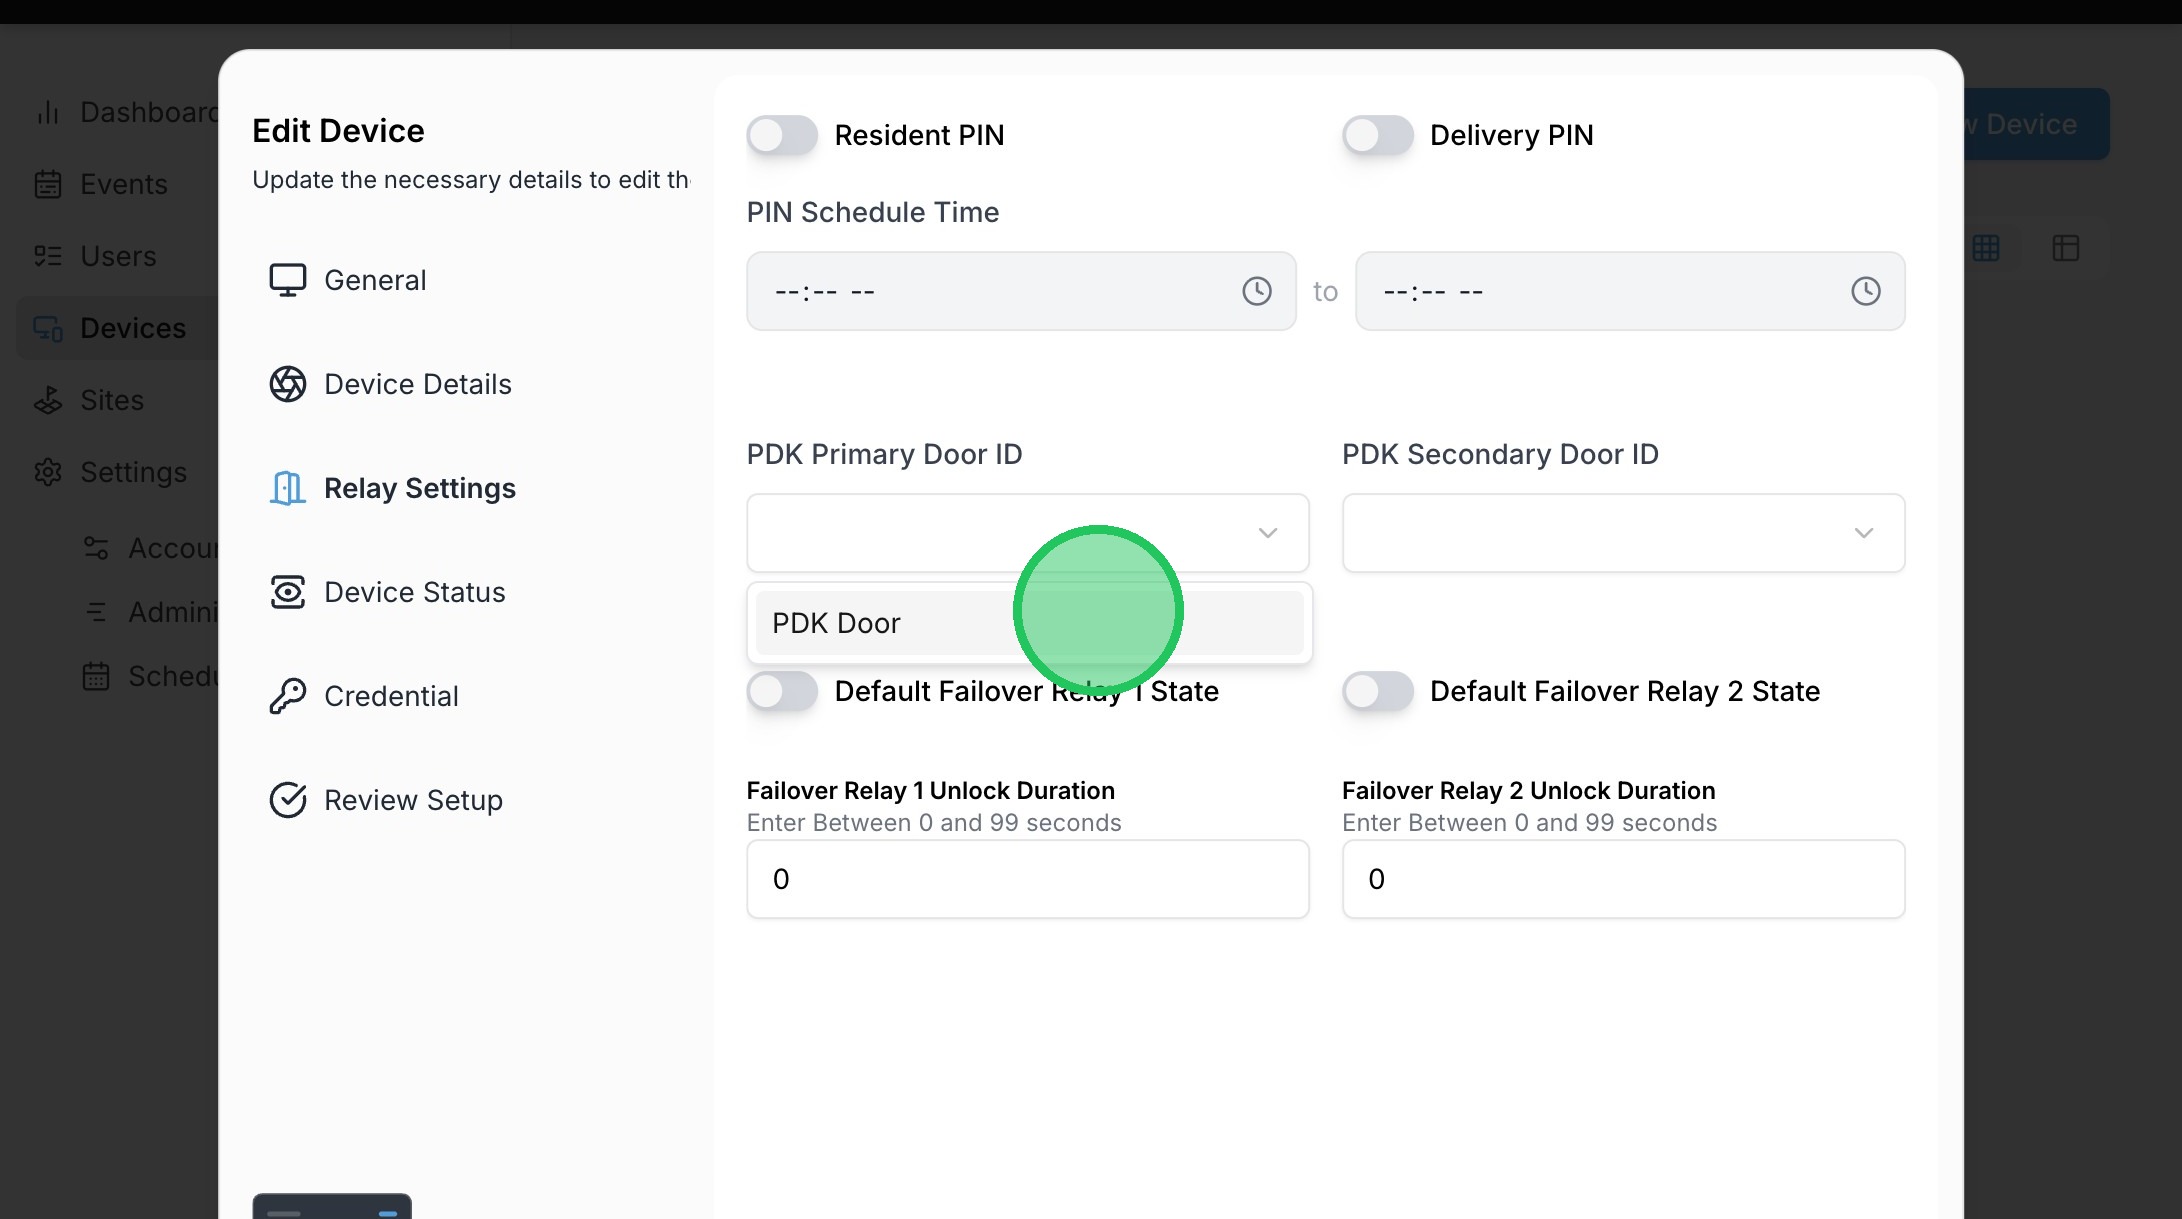
23. Click "PDK Door"
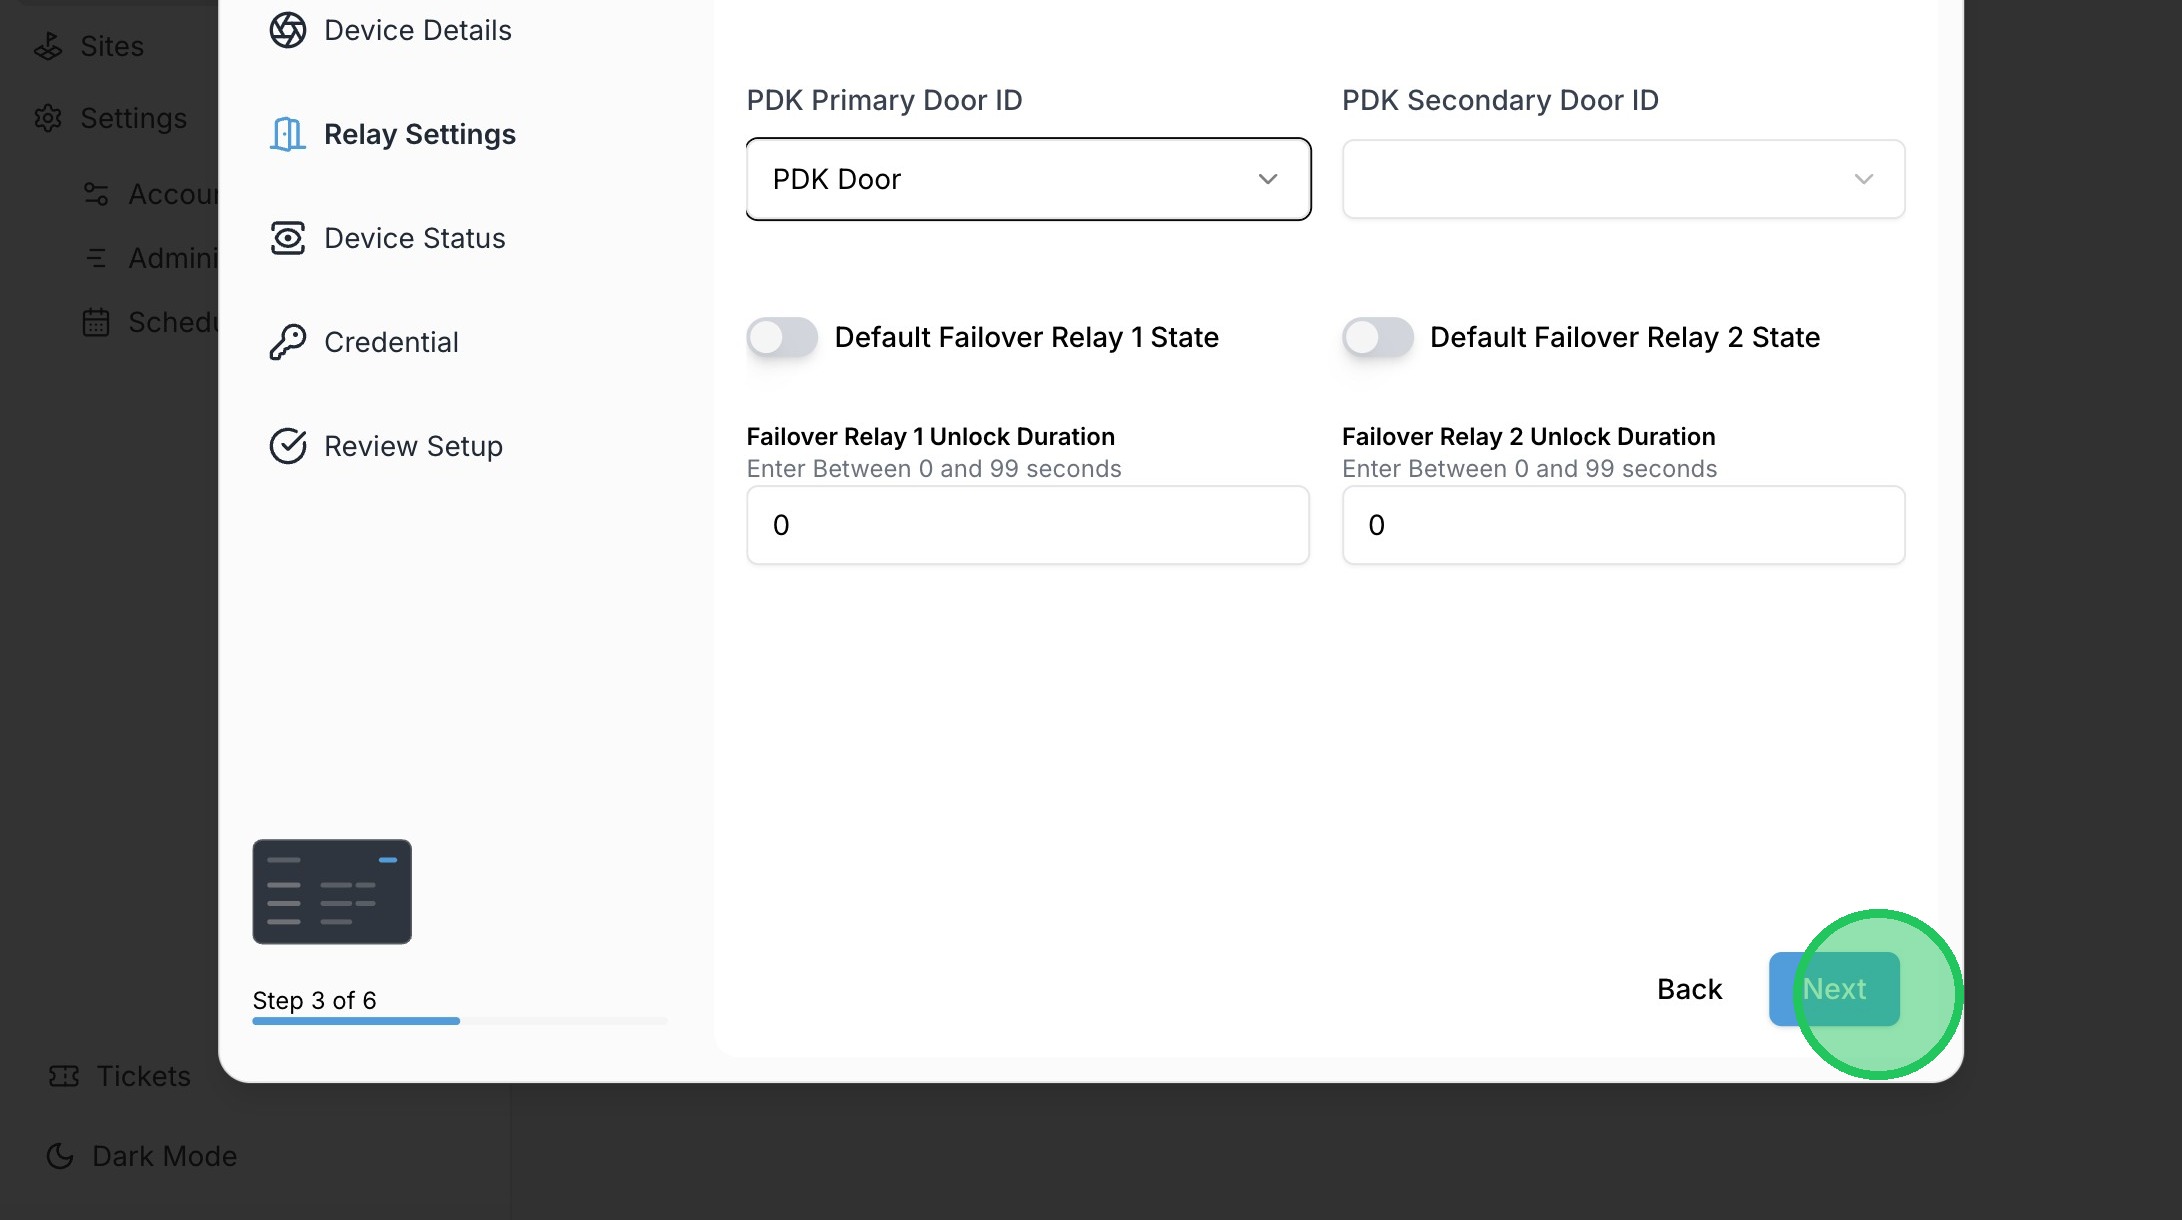
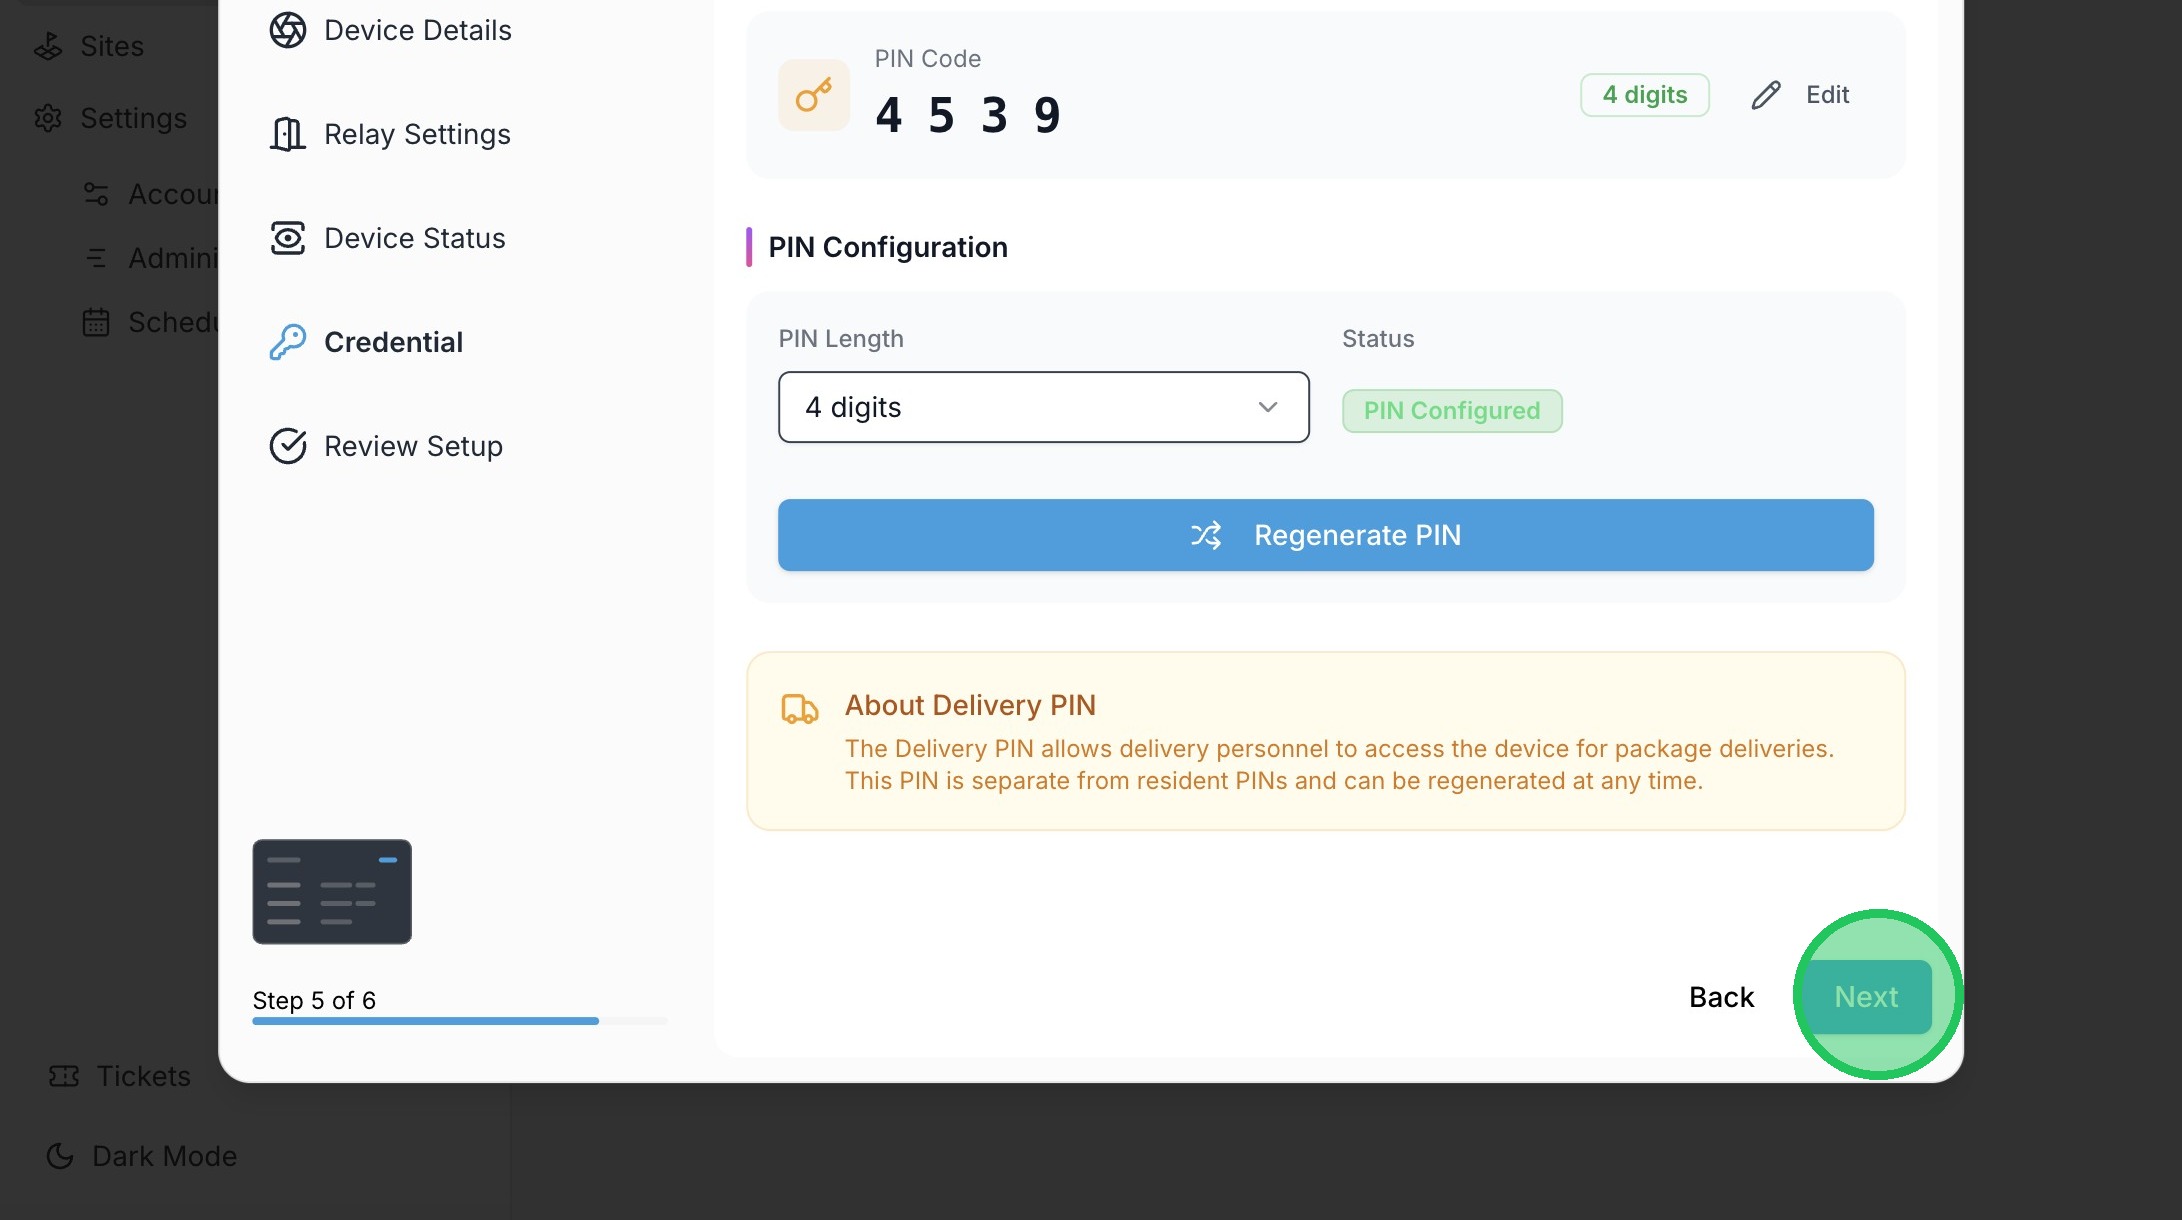
24. Click "Next"
25. Click "Next"
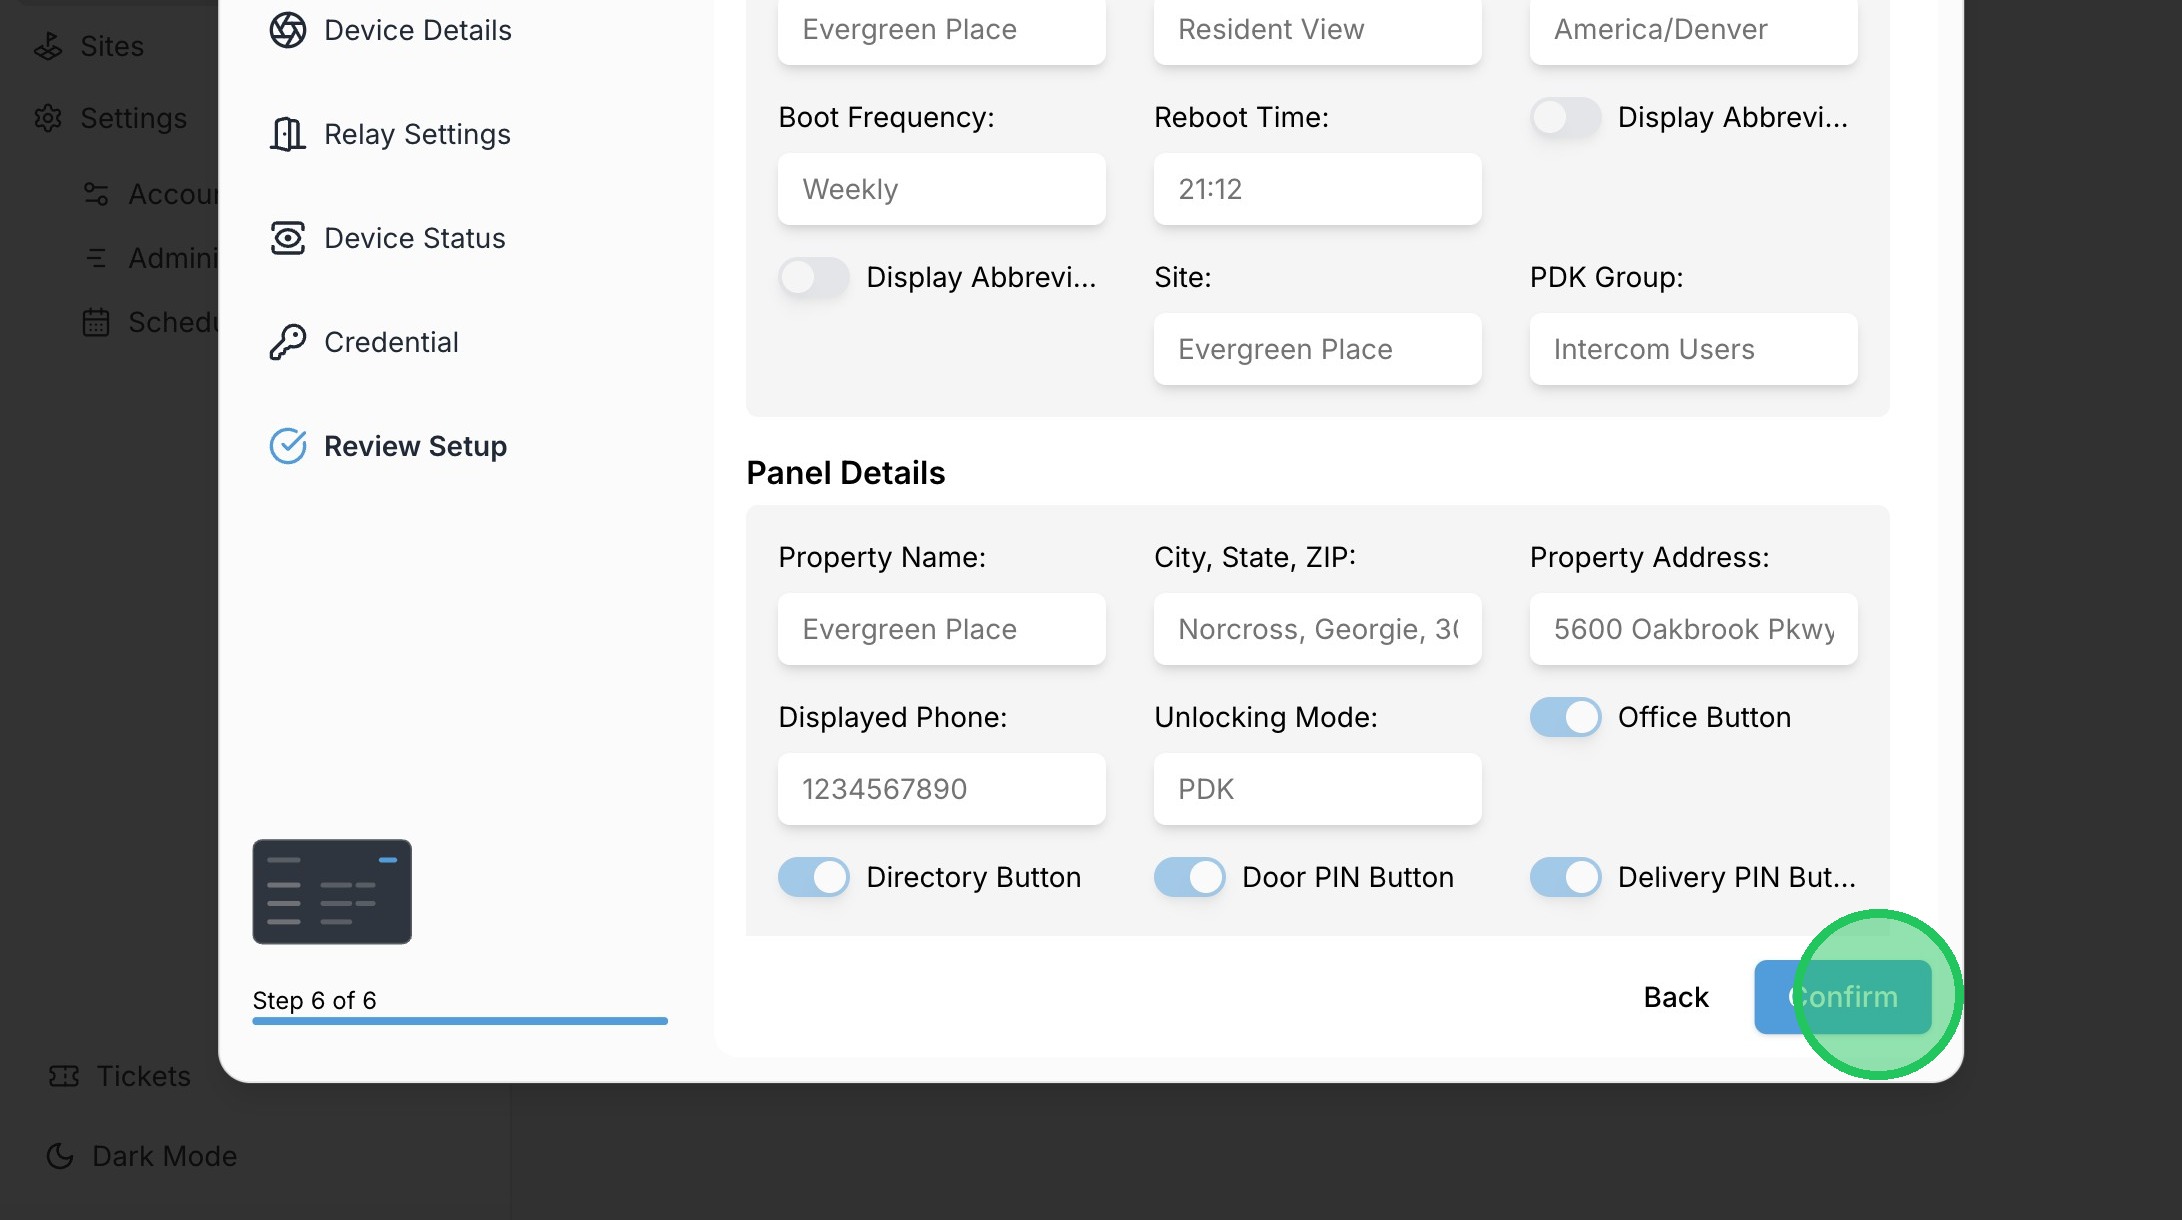
26. Click "Confirm" to save the changes.
27. Click this button to edit a physical intercom.
28. Click "Edit Device"
29. Click the dropdown to select the PDK Group
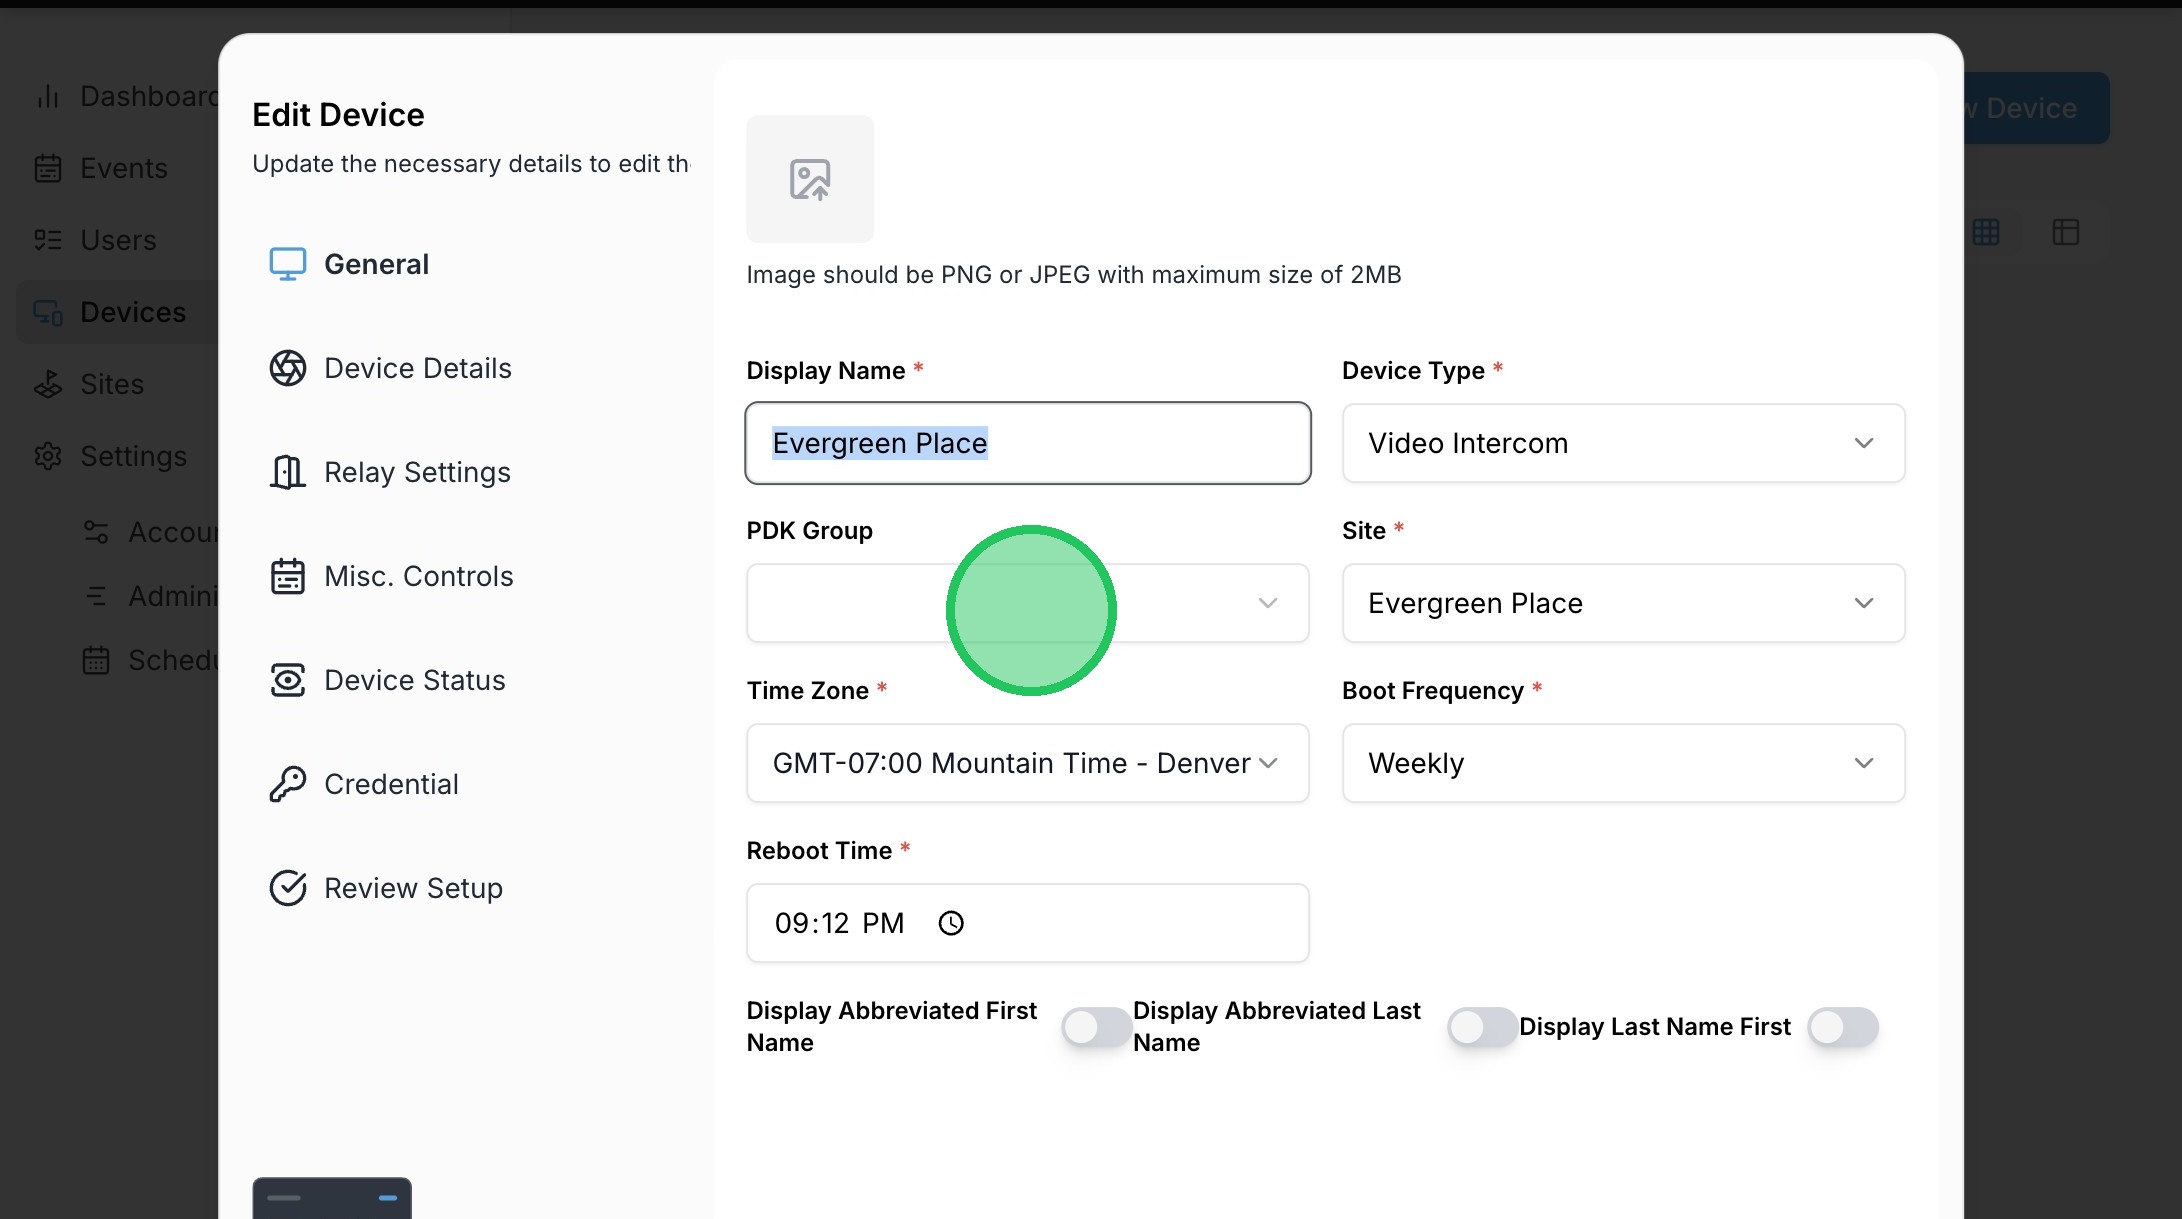
30. Select the desired group to assign to this device.
31. Click "Next"
32. Click the Unlocking Mode dropdown.
33. Click "PDK"
34. Click "Next"
35. Click the dropdown to designate the PDK Door that the device will be unlocking.
36. Select the appropriate door.
37. Click "Next"
38. Click "Next"
39. Click "Next"
40. Click "Confirm"
41. Click "Account"
42. Click "Integrations"
43. Click "PDK"

44. Click to turn on the auto-sync.
45. Click to save the changes.
46. Click "Sync PDK" to sync the users. Users should now be automatically assigned to the device the matching Groups were assigned to.