MyDoorView & Brivo API Integration Process
1. You will need to get an API key from Brivo to start the process. This link explains the entire process: Brivo-Post Sale API Integration Steps
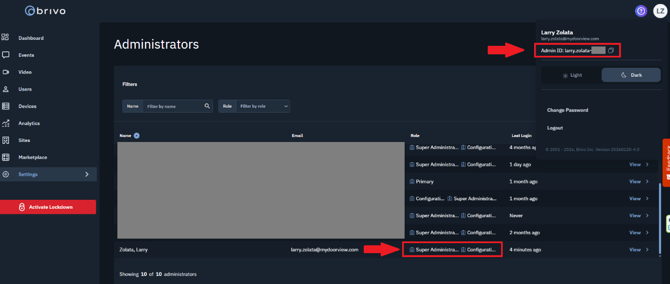
2. After that, you will need to make sure that the Brivo account user for that account has Super Administrator privileges.
The picture below shows where that info is found on the Brivo Access website. If you click on the circle at the top right with the user initials, there should be Admin ID as shown below. If Admin ID is not shown, then the proper Admin credentials are not in effect for that account.
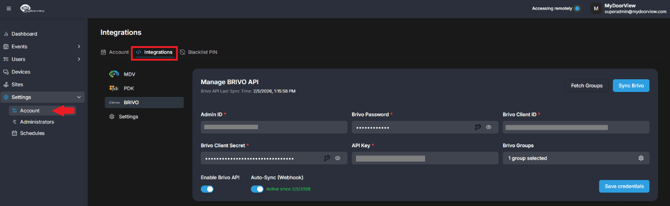
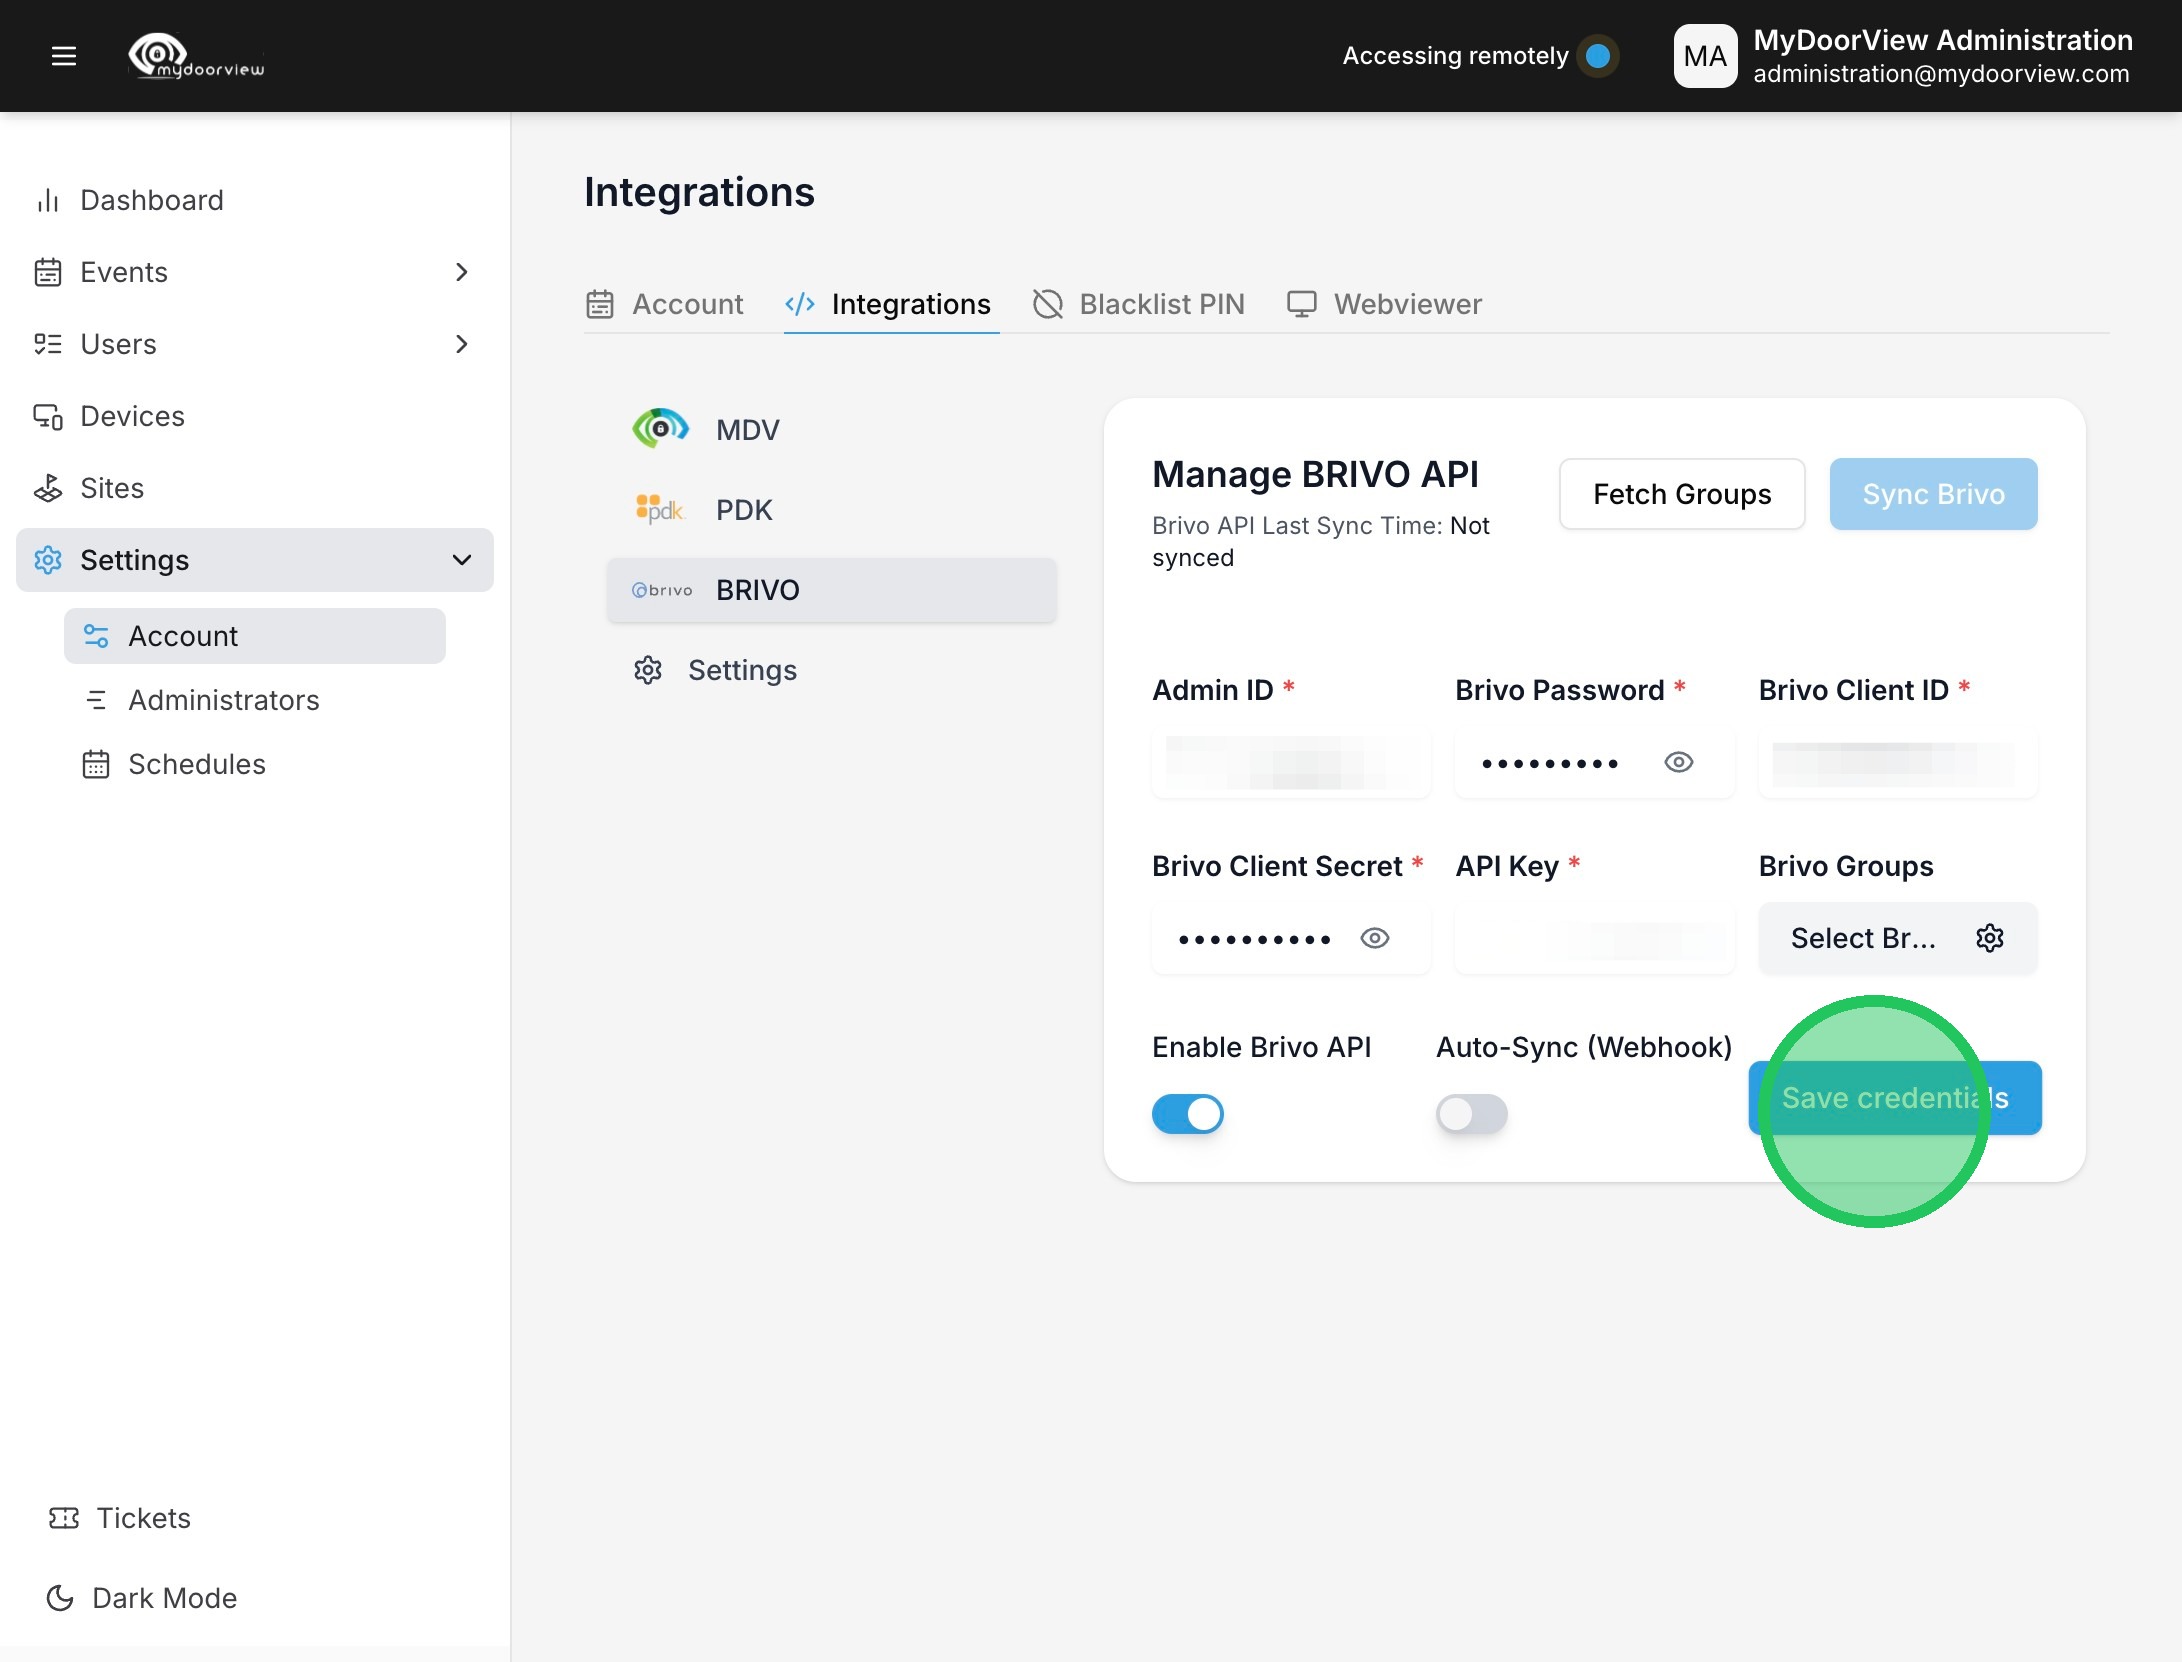
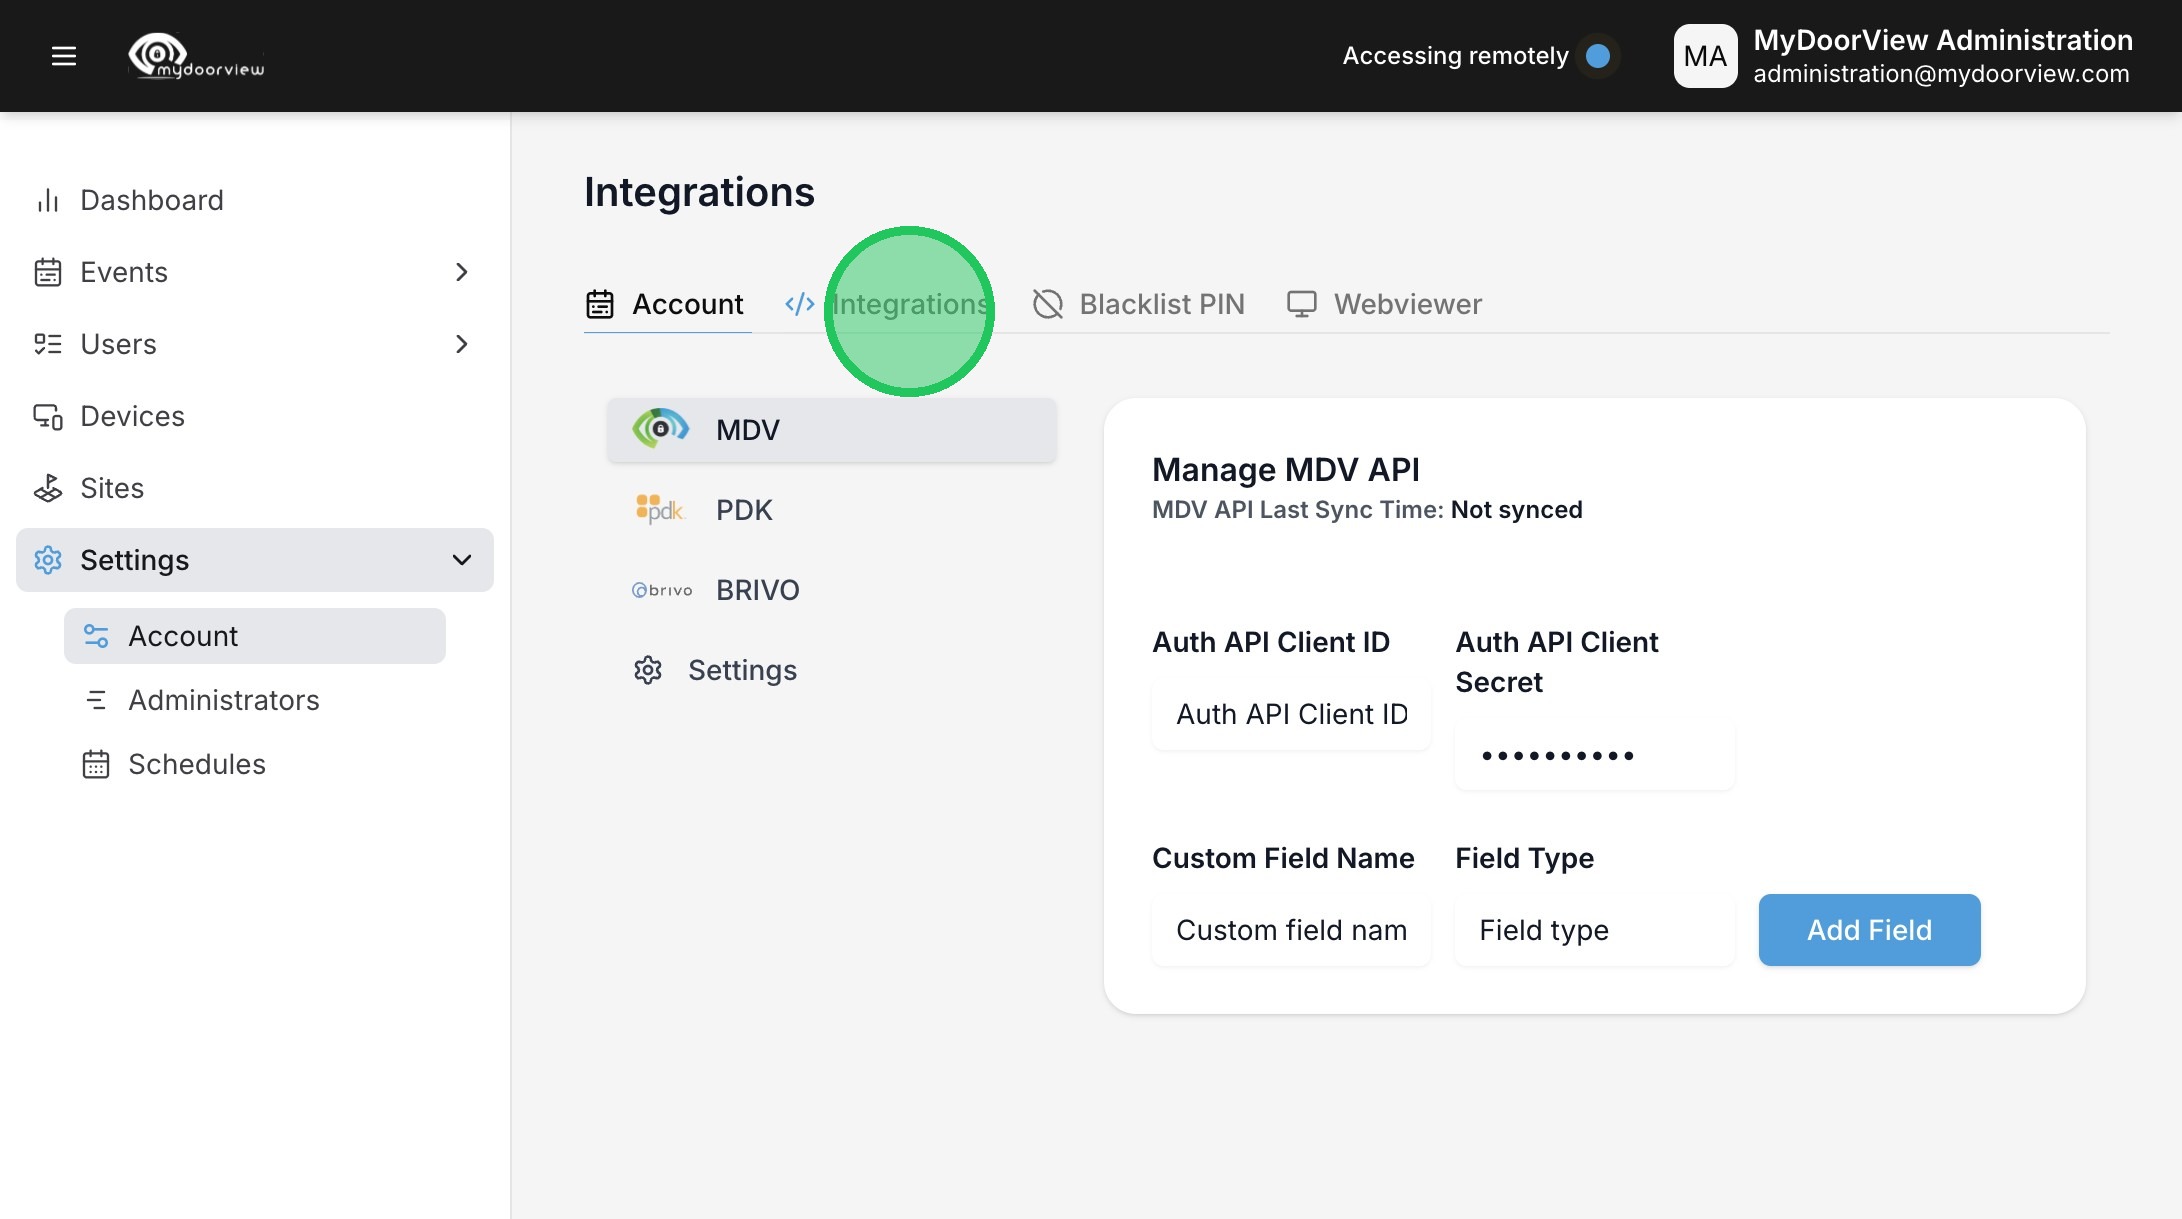
The image below shows the Brivo API Credentials location for the client account in the new MDV portal.
You will want to log into your Dealer Portal and connect remotely to the end-user account.
The new dealer portal can be found at https://partner.mydoorview.com/. The Brivo Credentials are added to the Client/End-User Account (not the dealer account).
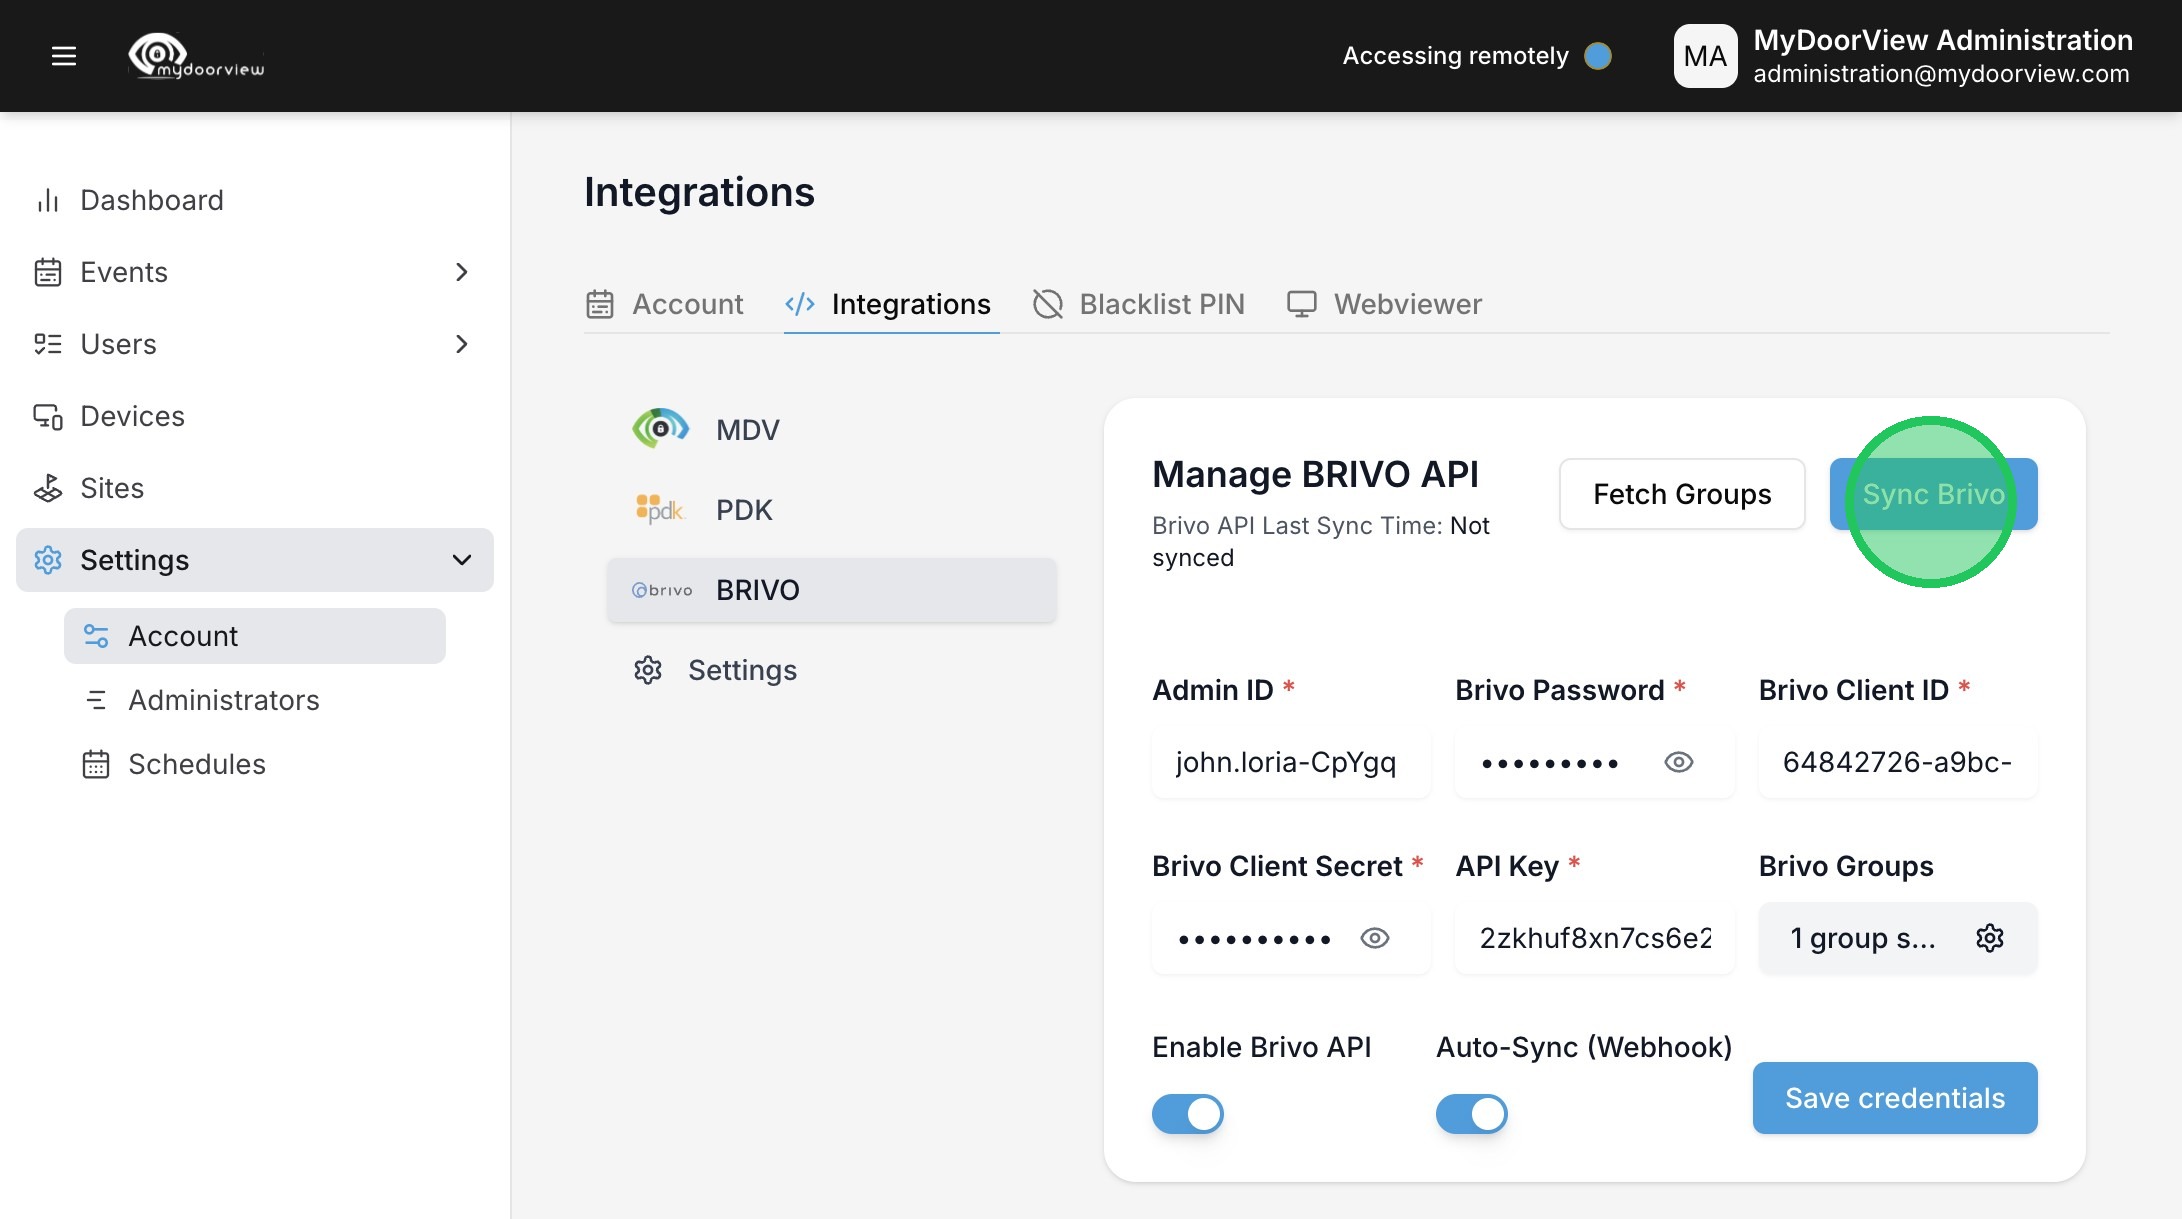
The steps below show the process to enable the API Integration in the Brivo & MyDoorView portals.
Note: The old MyDoorView portal at mdvaccess.com should NOT be used. The new dealer portal can be found at https://partner.mydoorview.com
MyDoorView & Brivo API Integration Steps
Below are the step-by-step instructions for retrieving the Brivo Client ID and Client Secret credentials needed for API integration:
- Log in to the Brivo portal
- Navigate to Marketplace > Integrations
- Click on Generate API Token
- When prompted, fill out the fields as follows:
- Application Name: mydoorview
- Application Description: CALLBOX
- Application Type: Password
- Save the information
- You’ll now see an API token box named mydoorview. Click on it to view and copy the Client ID and Client Secret
MyDoorView Portal Setting up a Brivo Integration for a Panel and Mobile Intercom
1. Follow the remote access guide from partner.mydoorview.com and remote into the account. ***Note that end user administrators cannot access device and integration settings. This can only be managed by dealers/integrators***
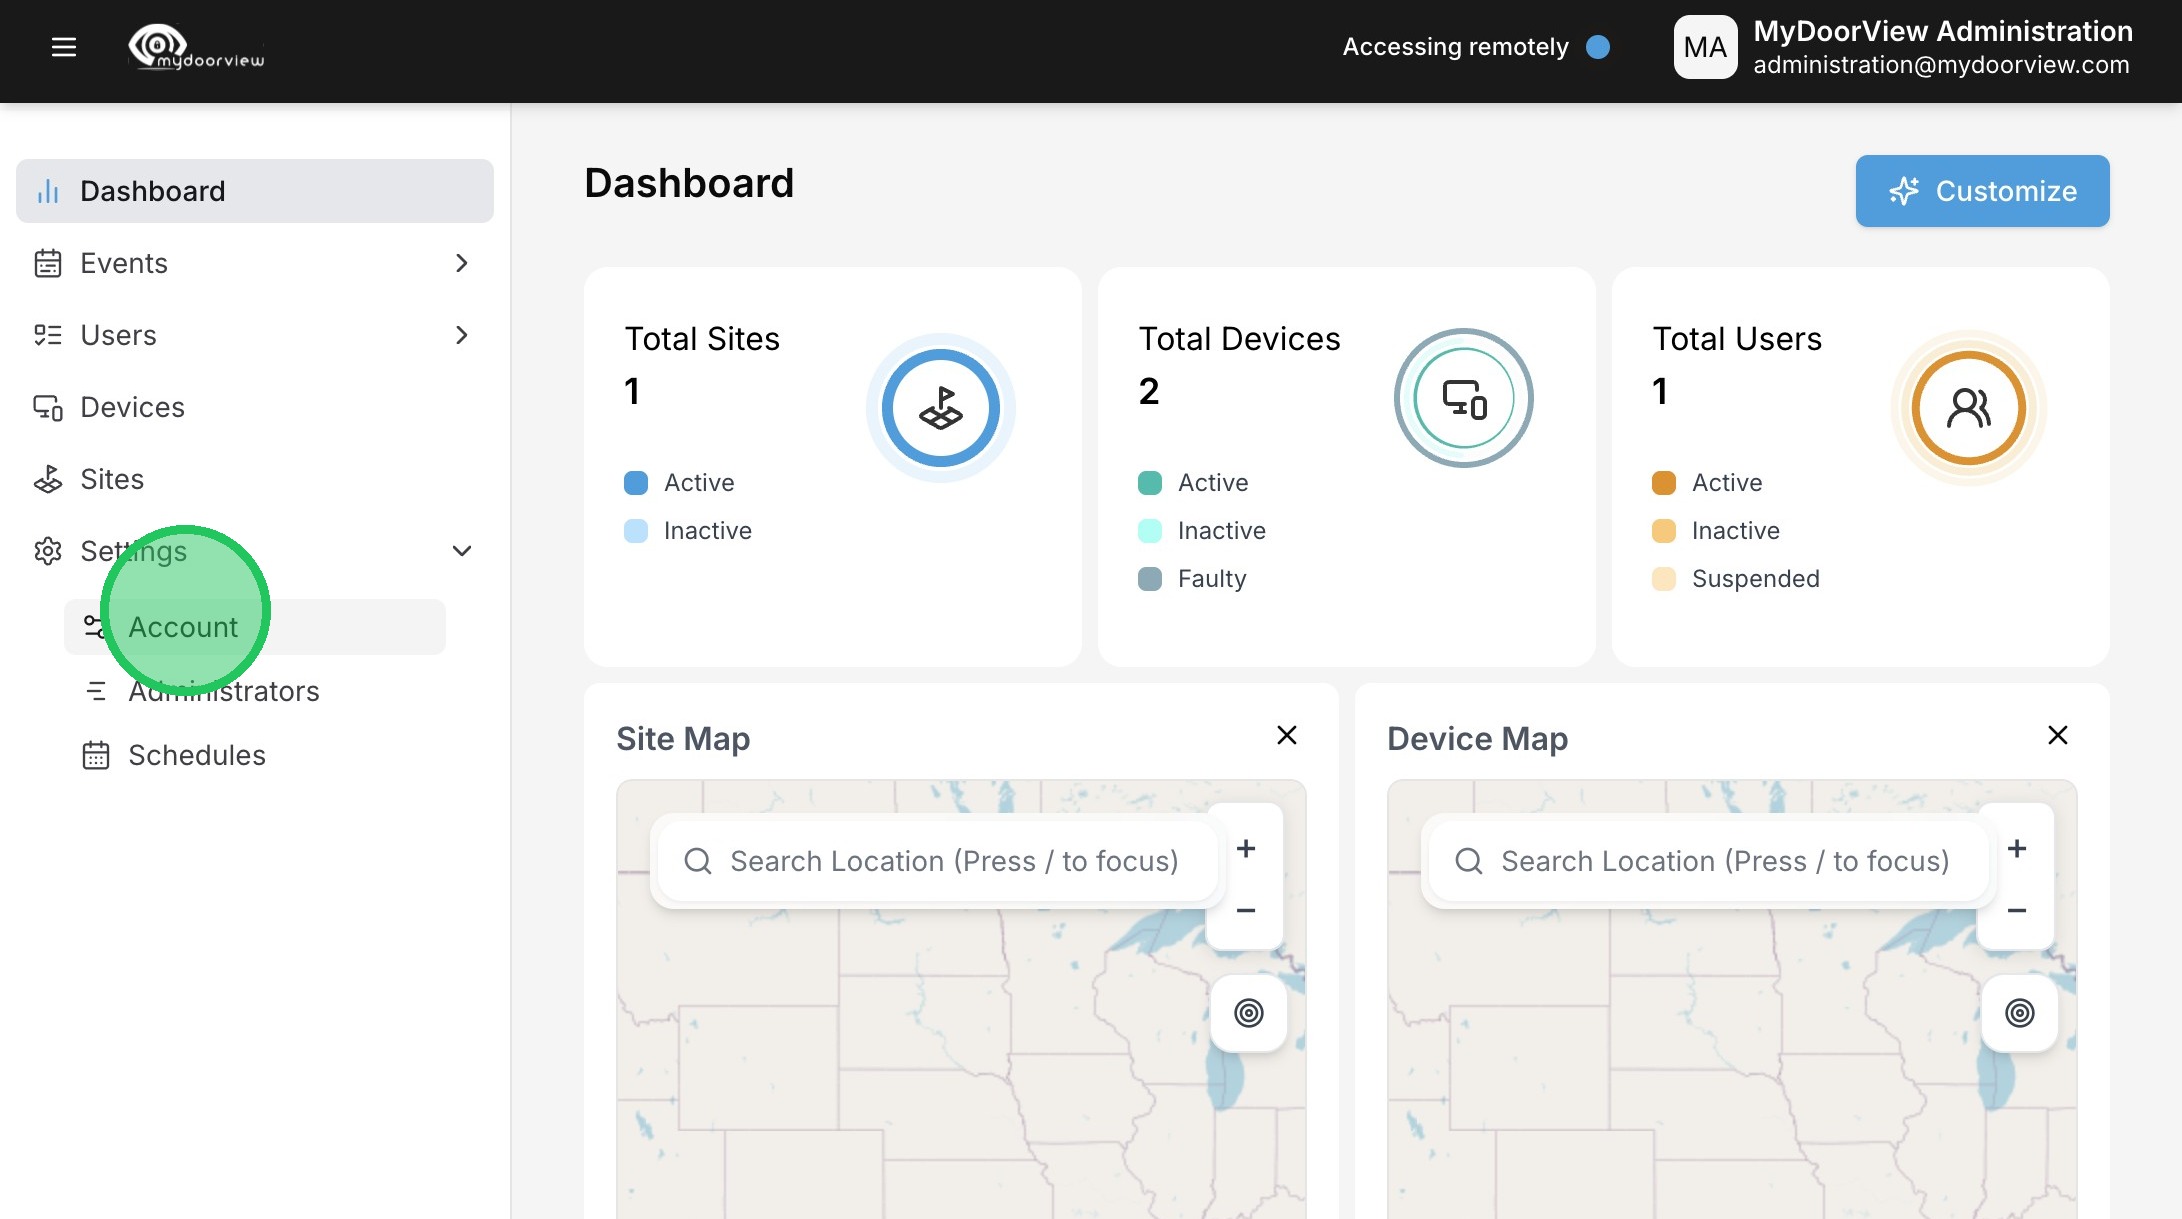
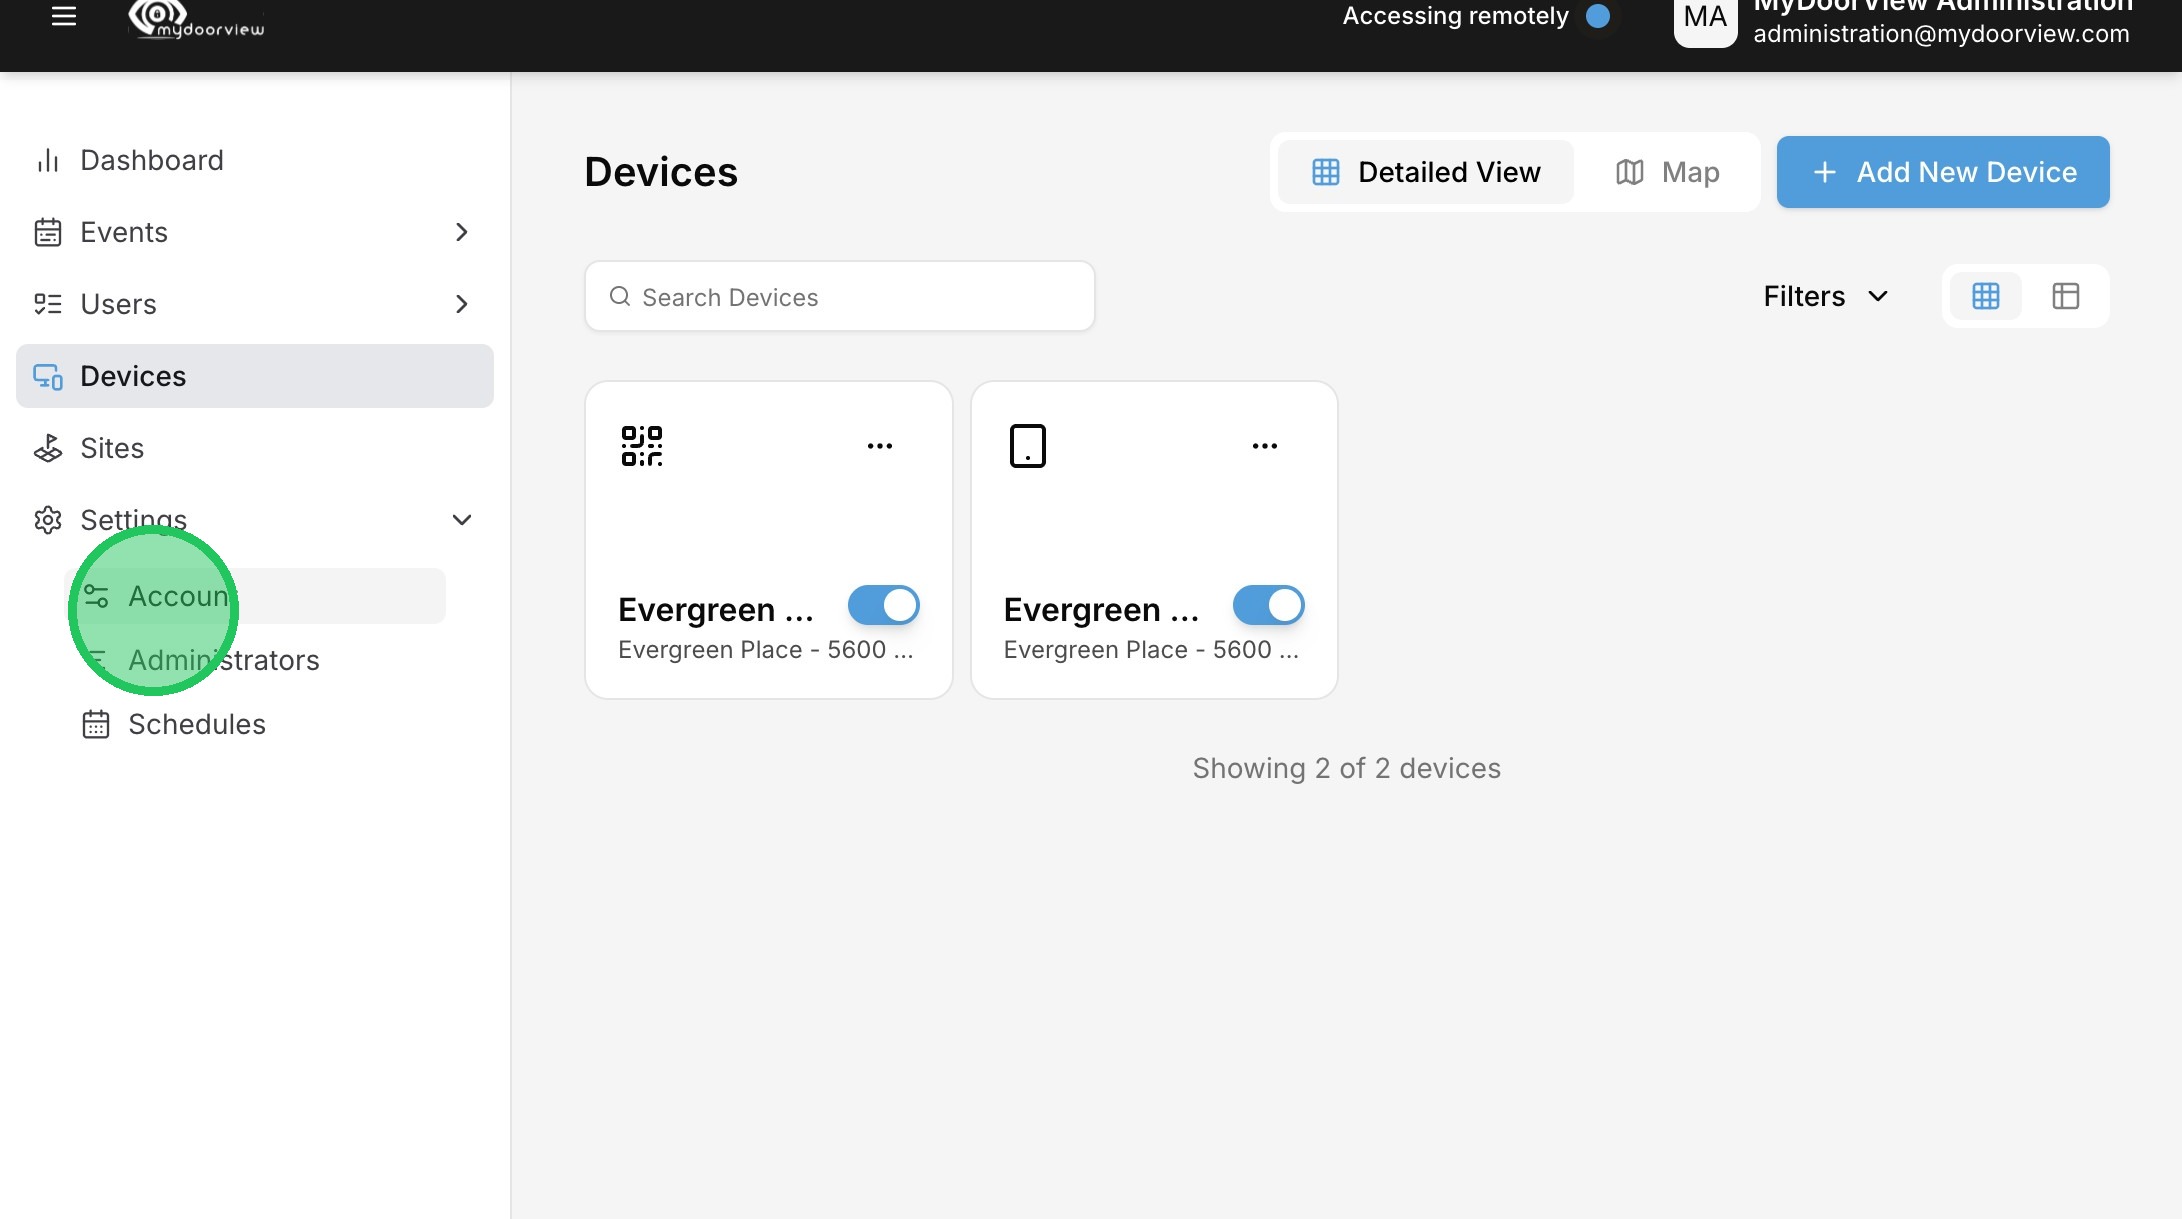
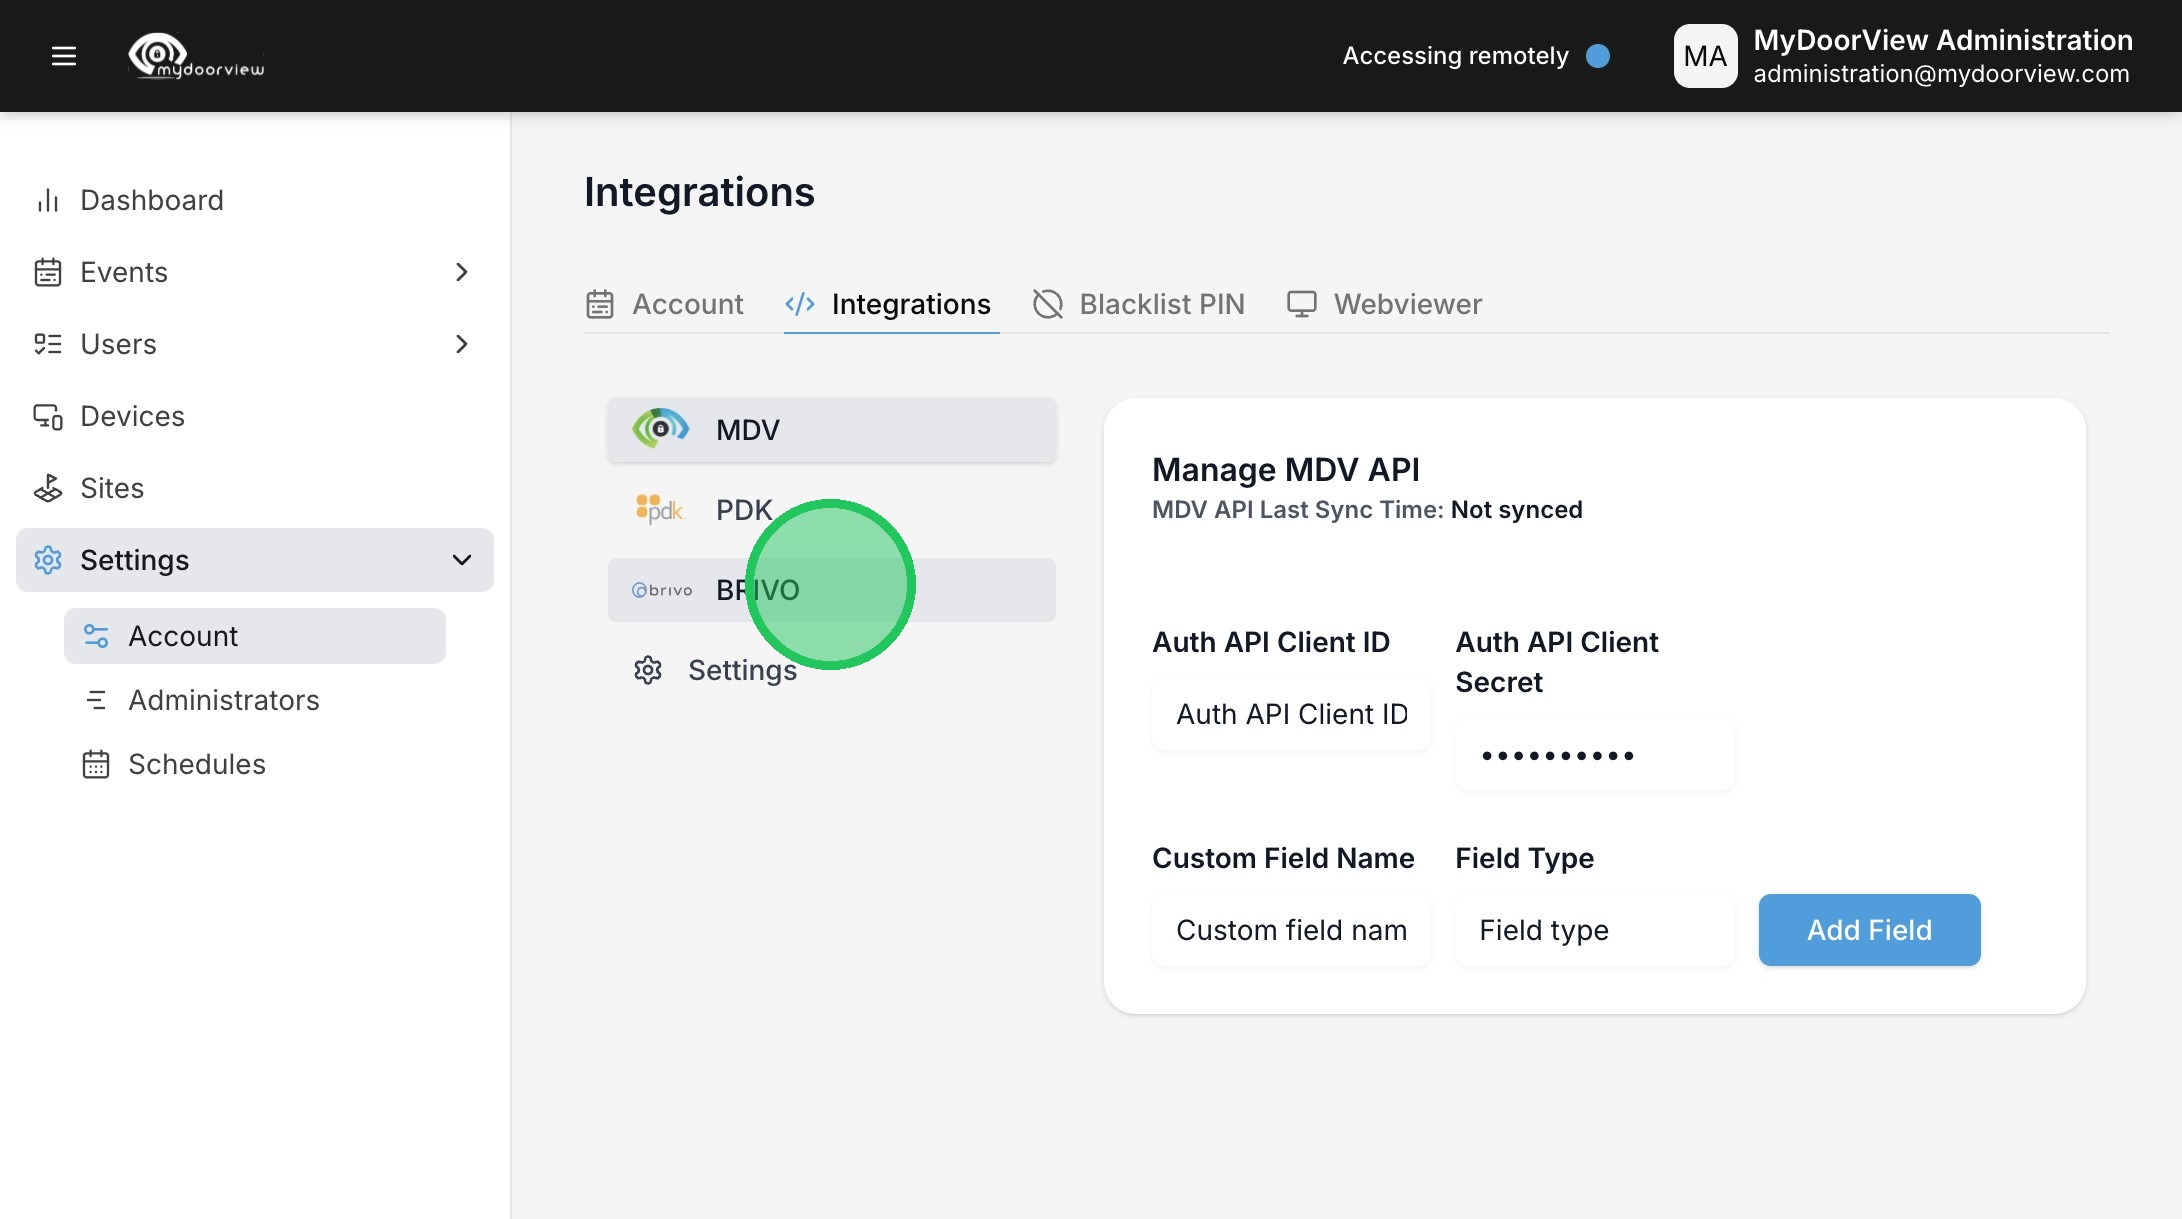
2. Click "Account"
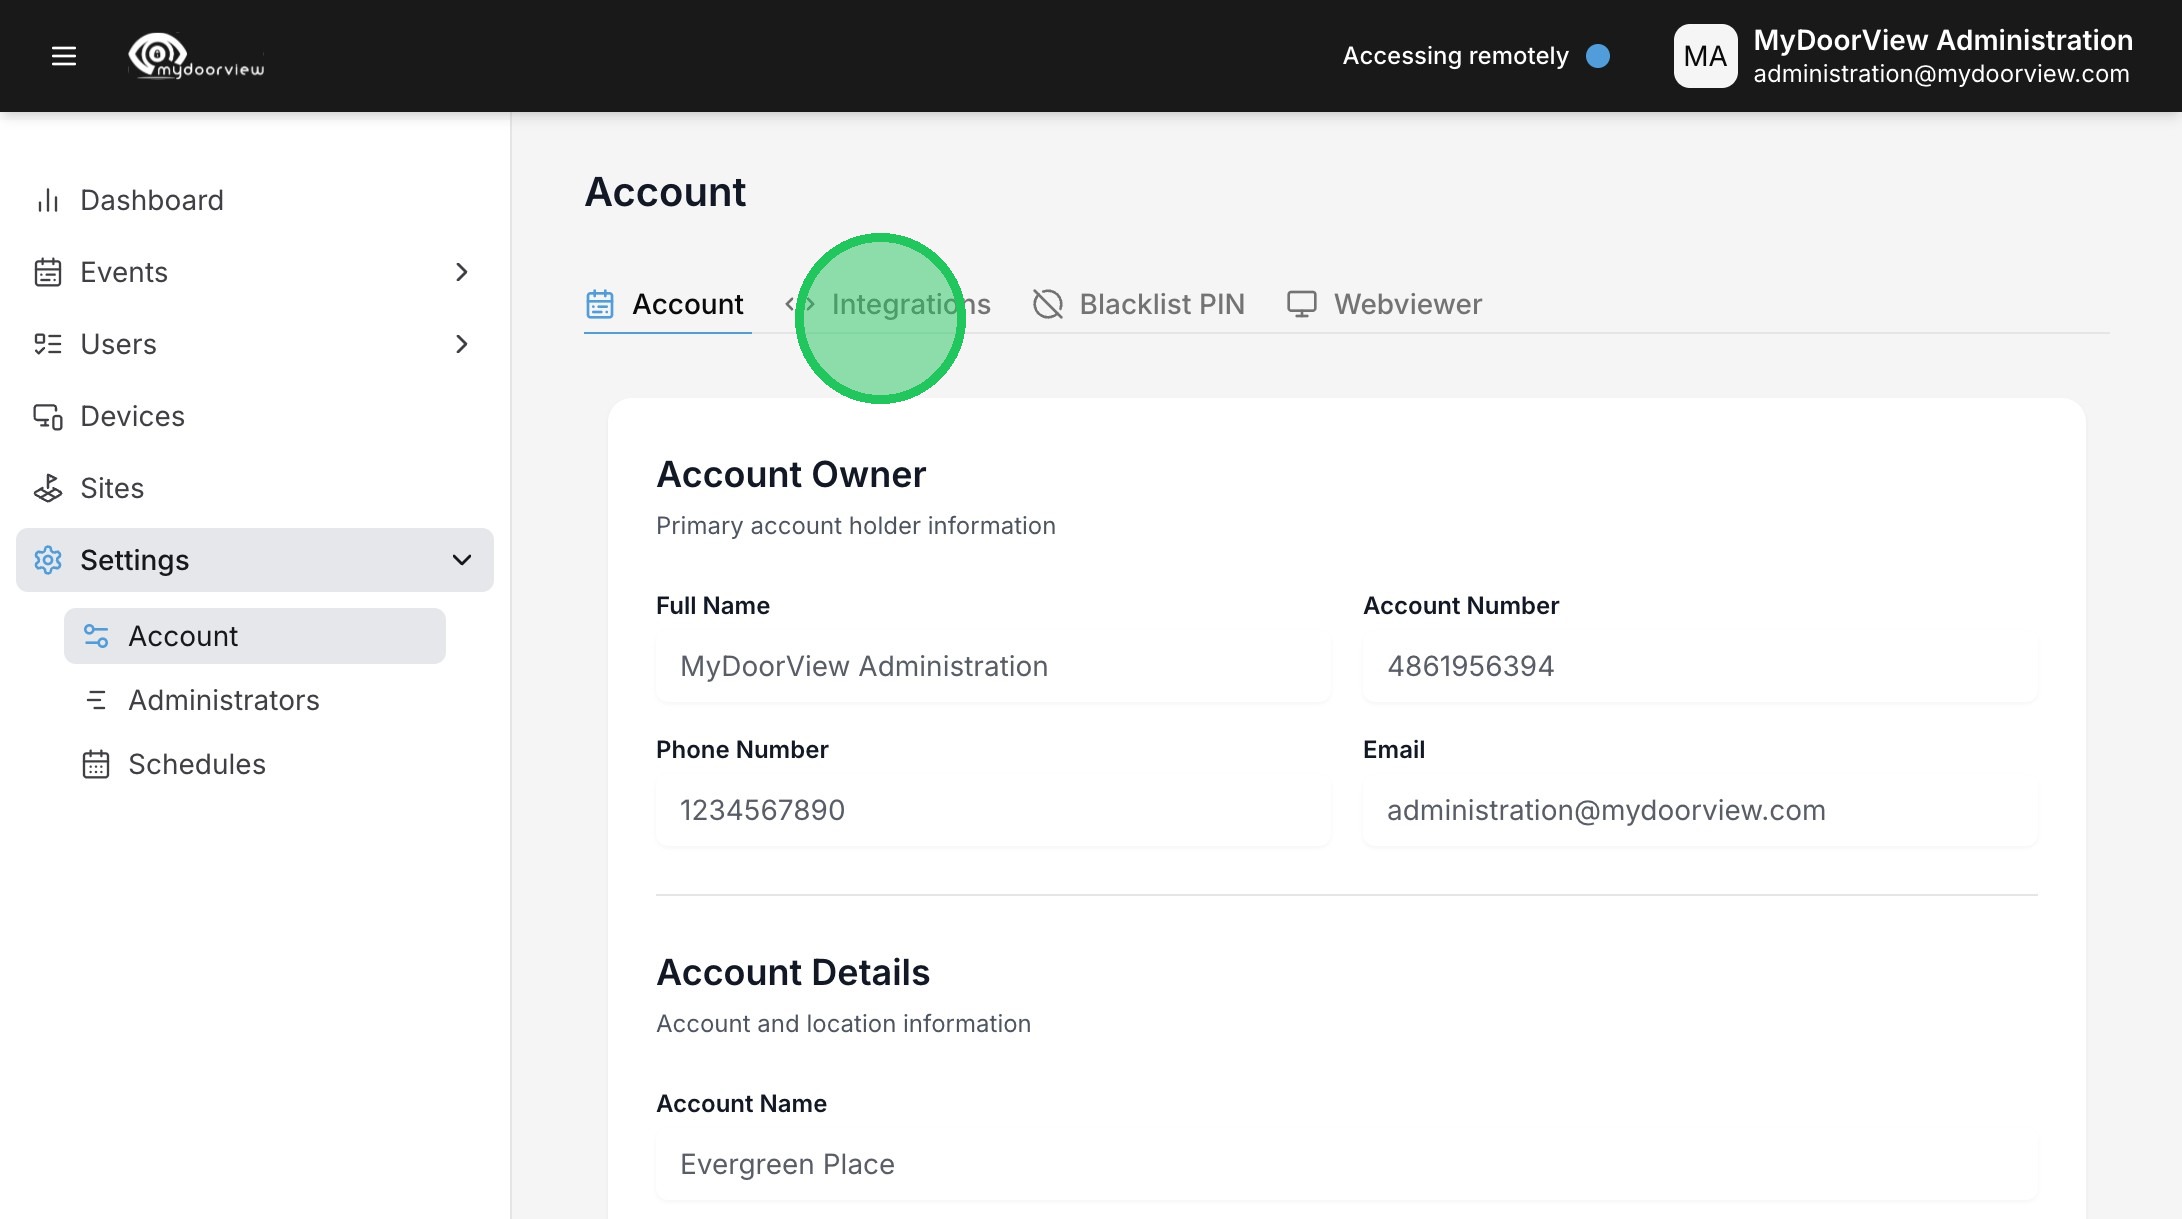
3. Click "Integrations"
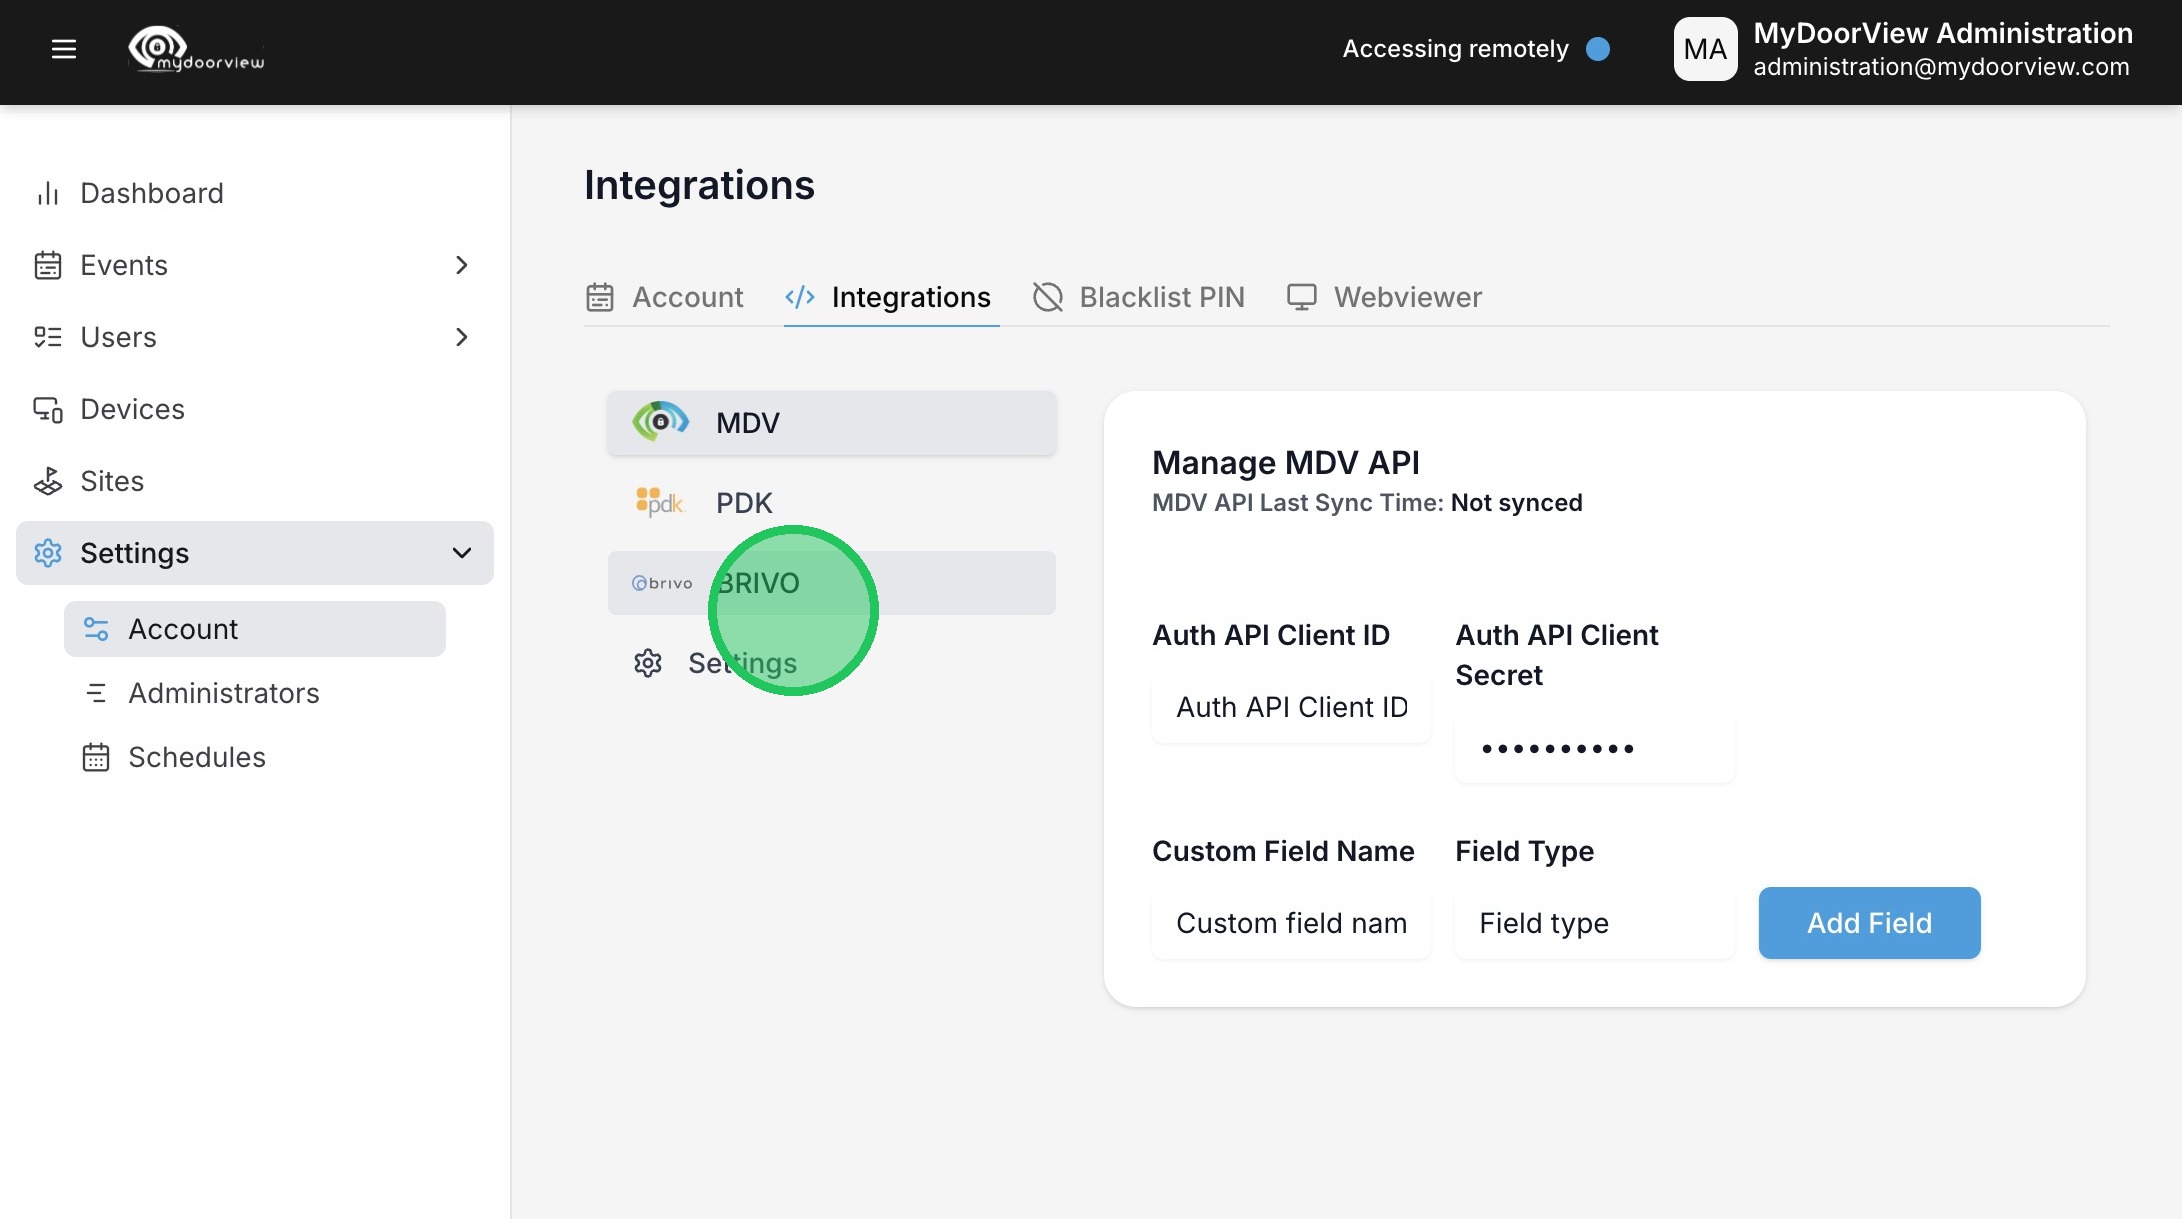
4. Click "BRIVO"
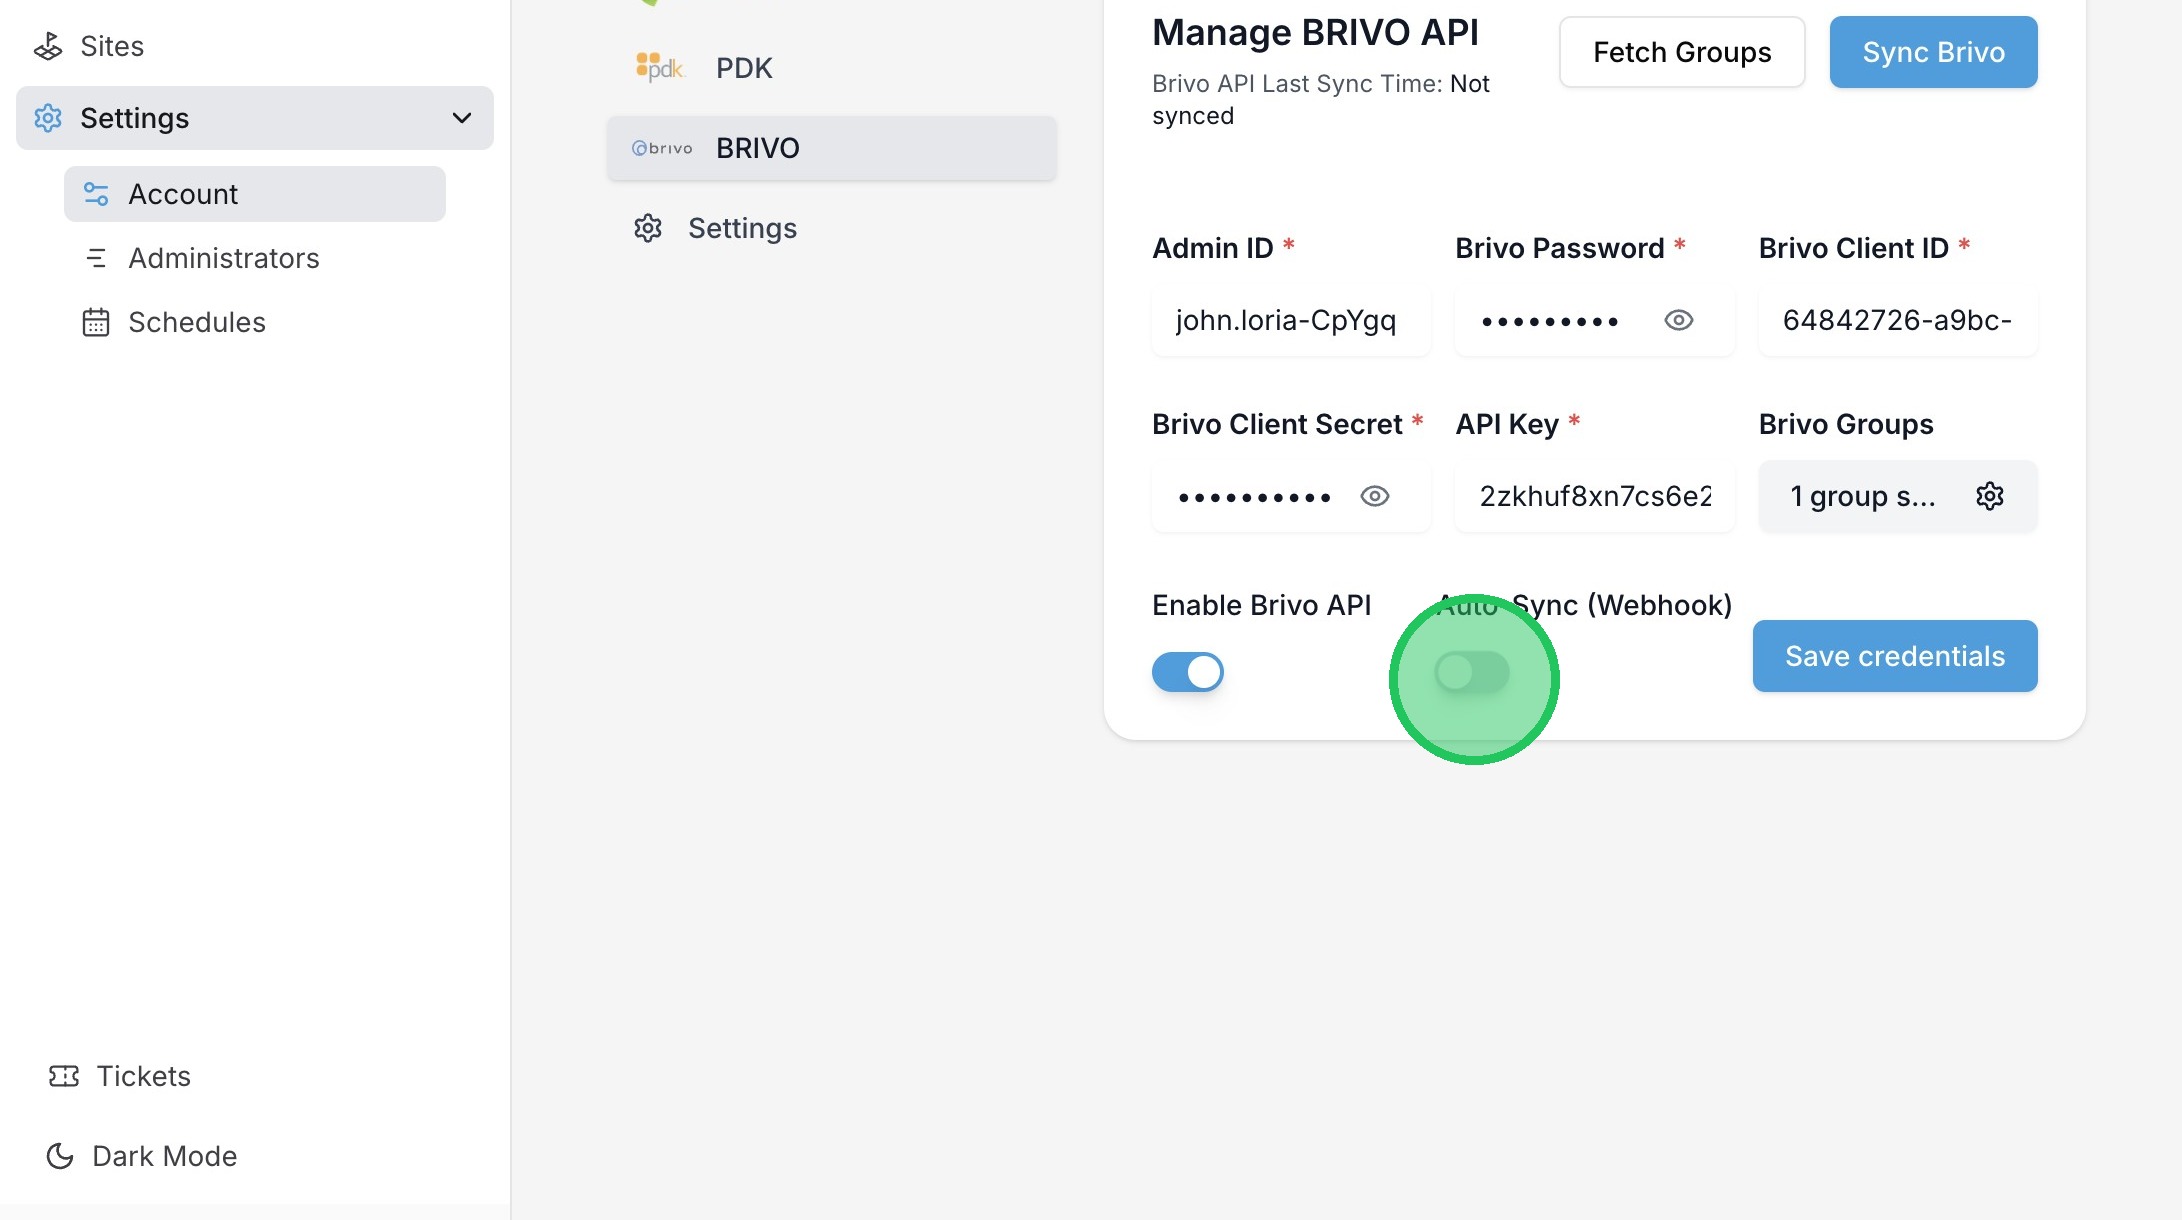
5. Click to enable the Brivo API.
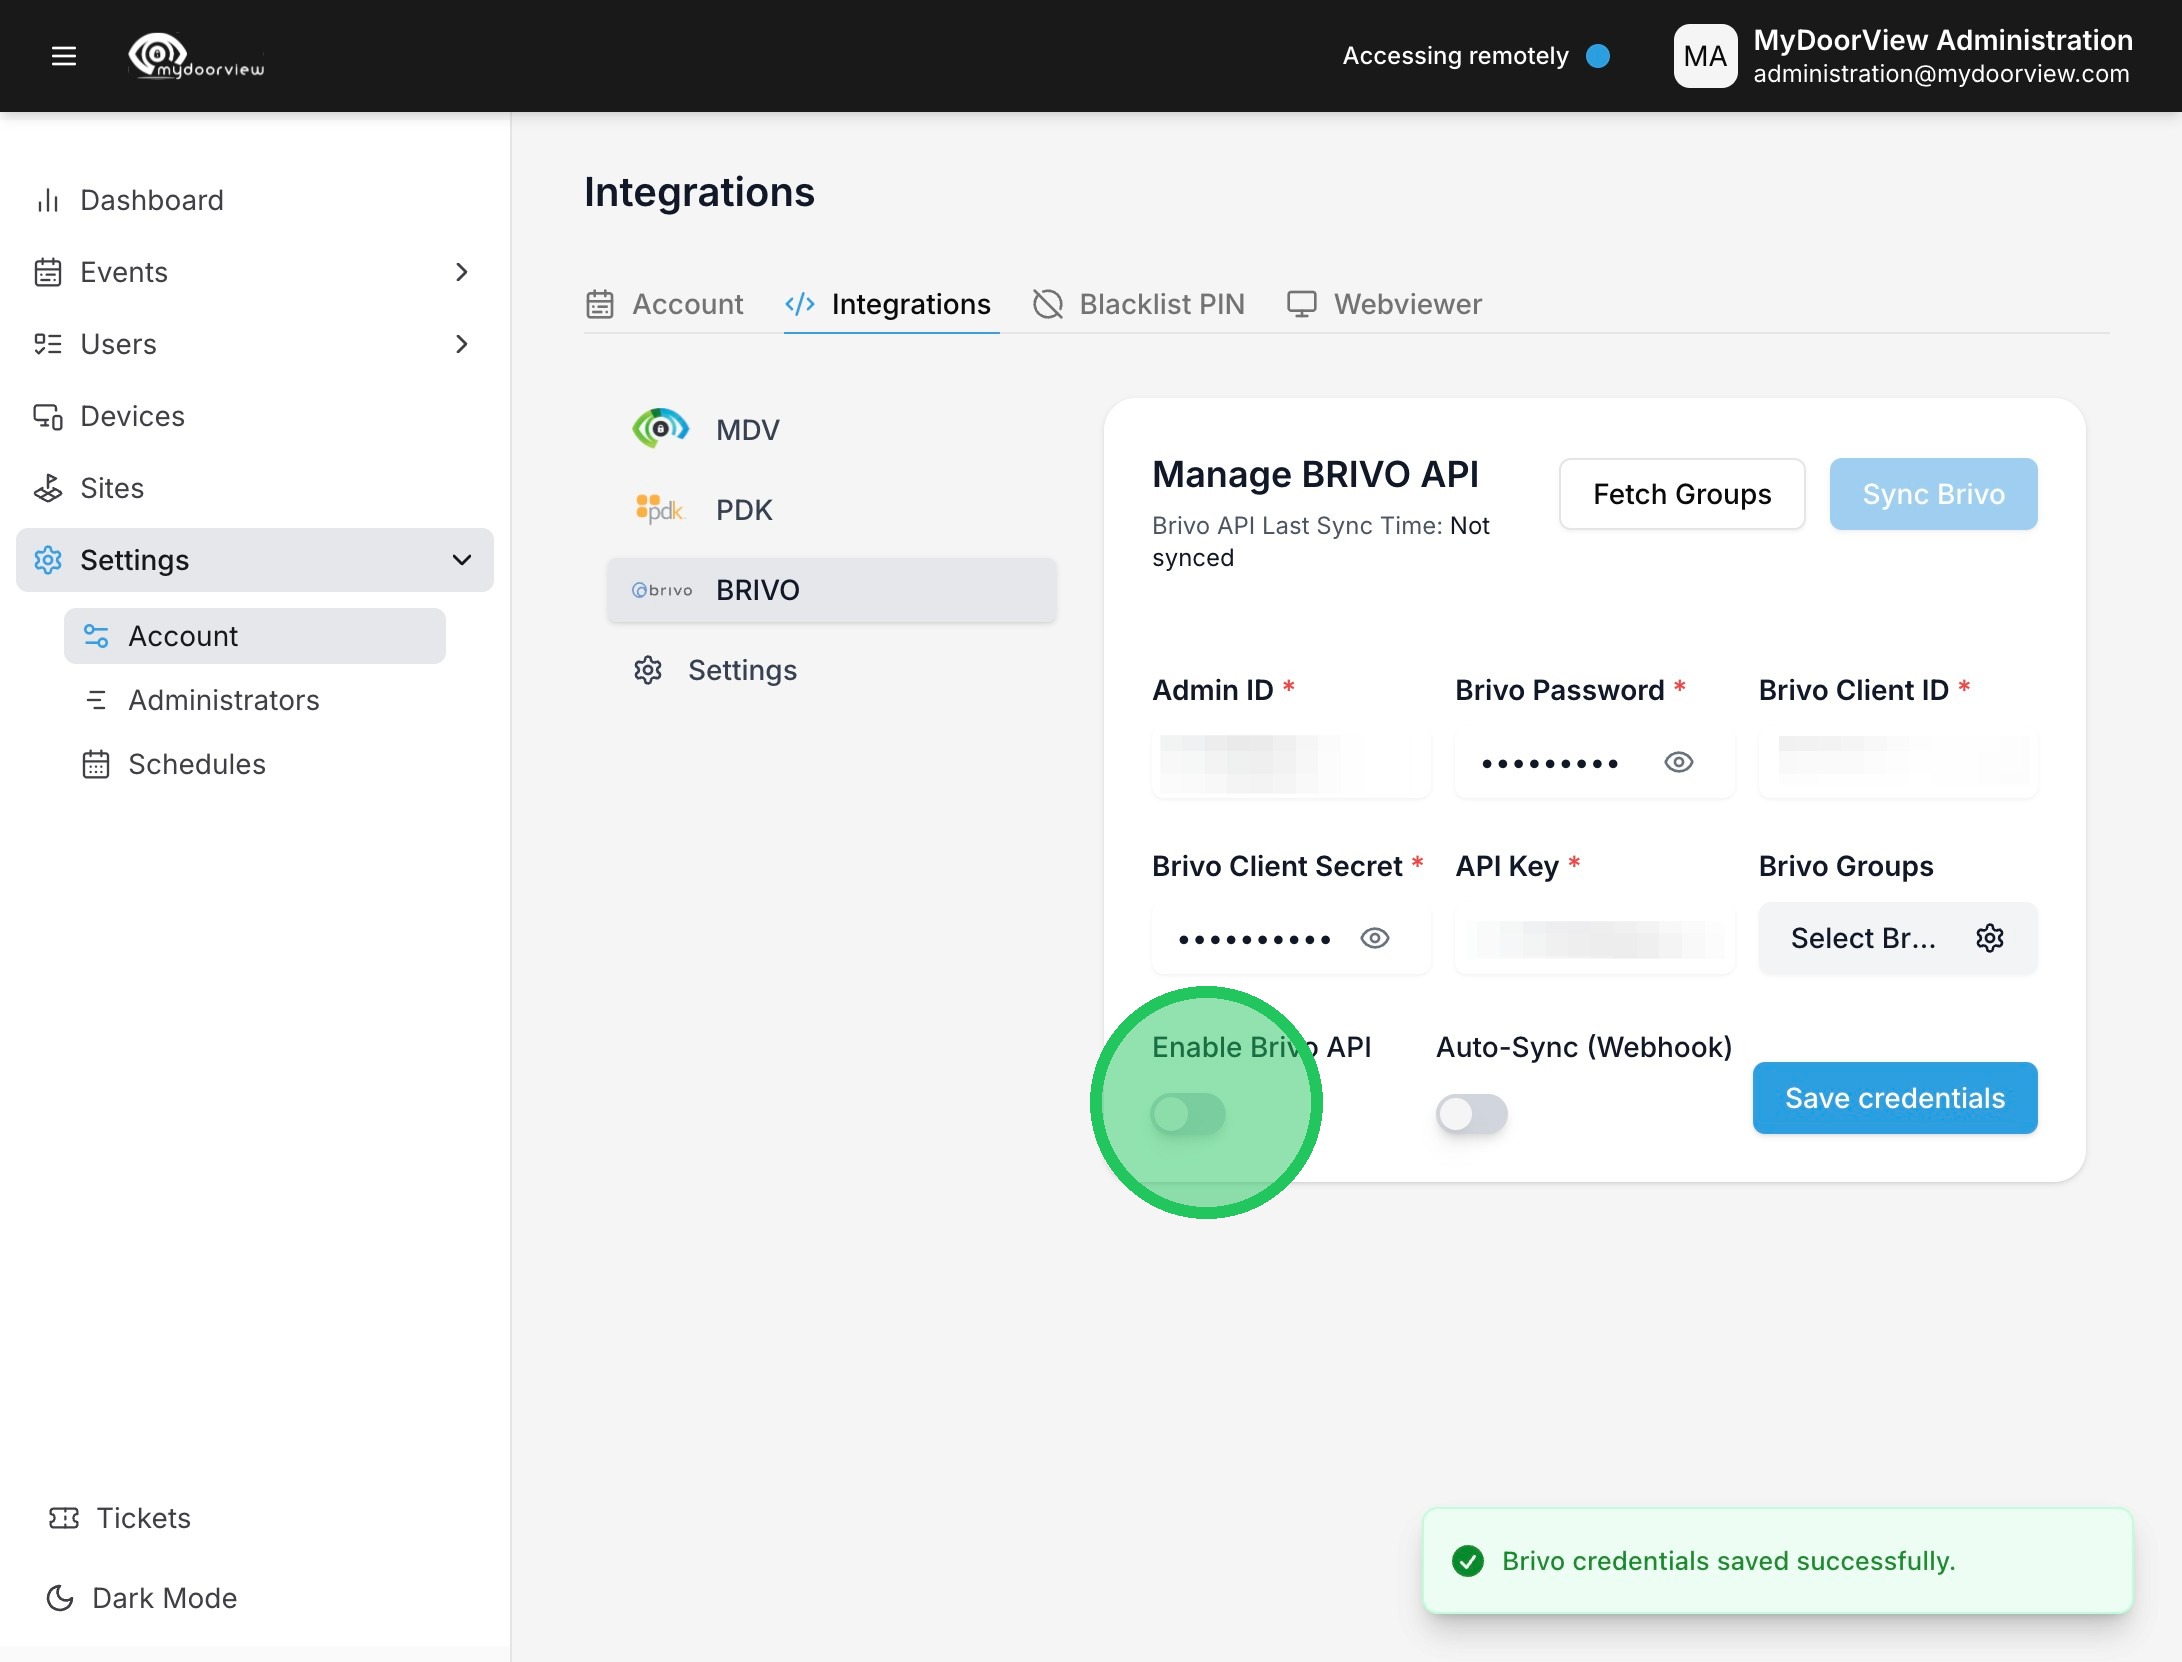
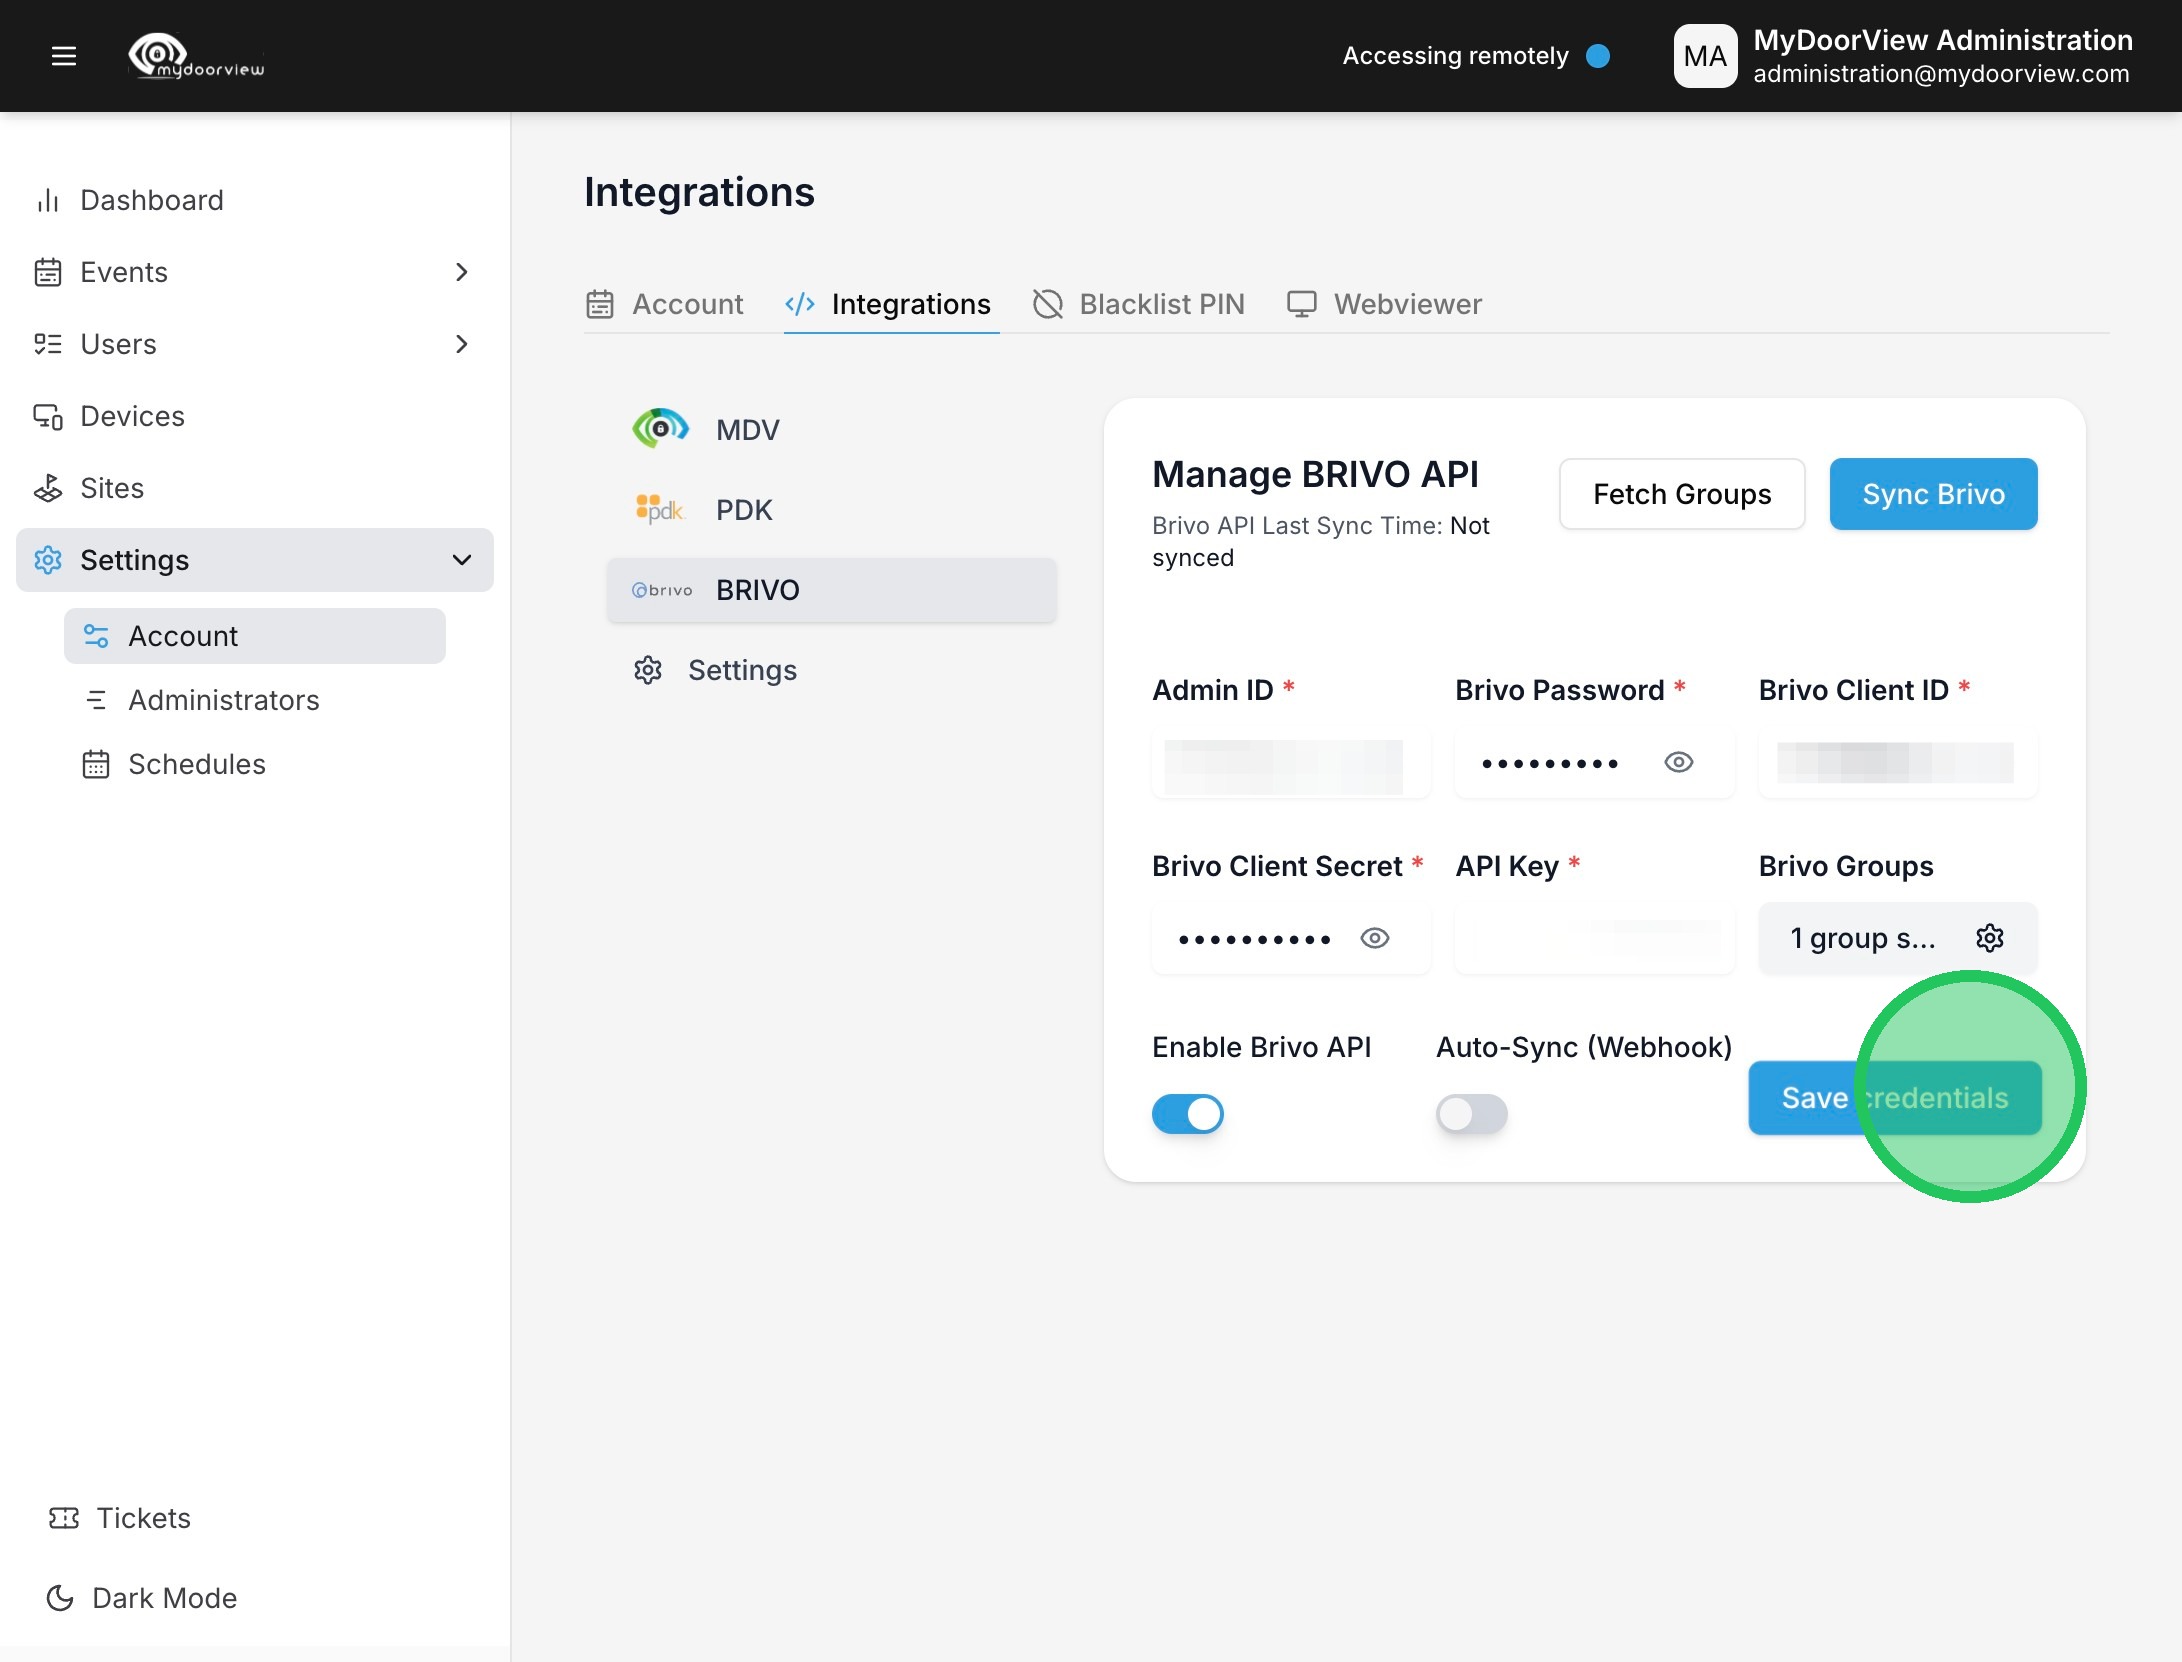
6. Enter credentials and click "Save credentials"
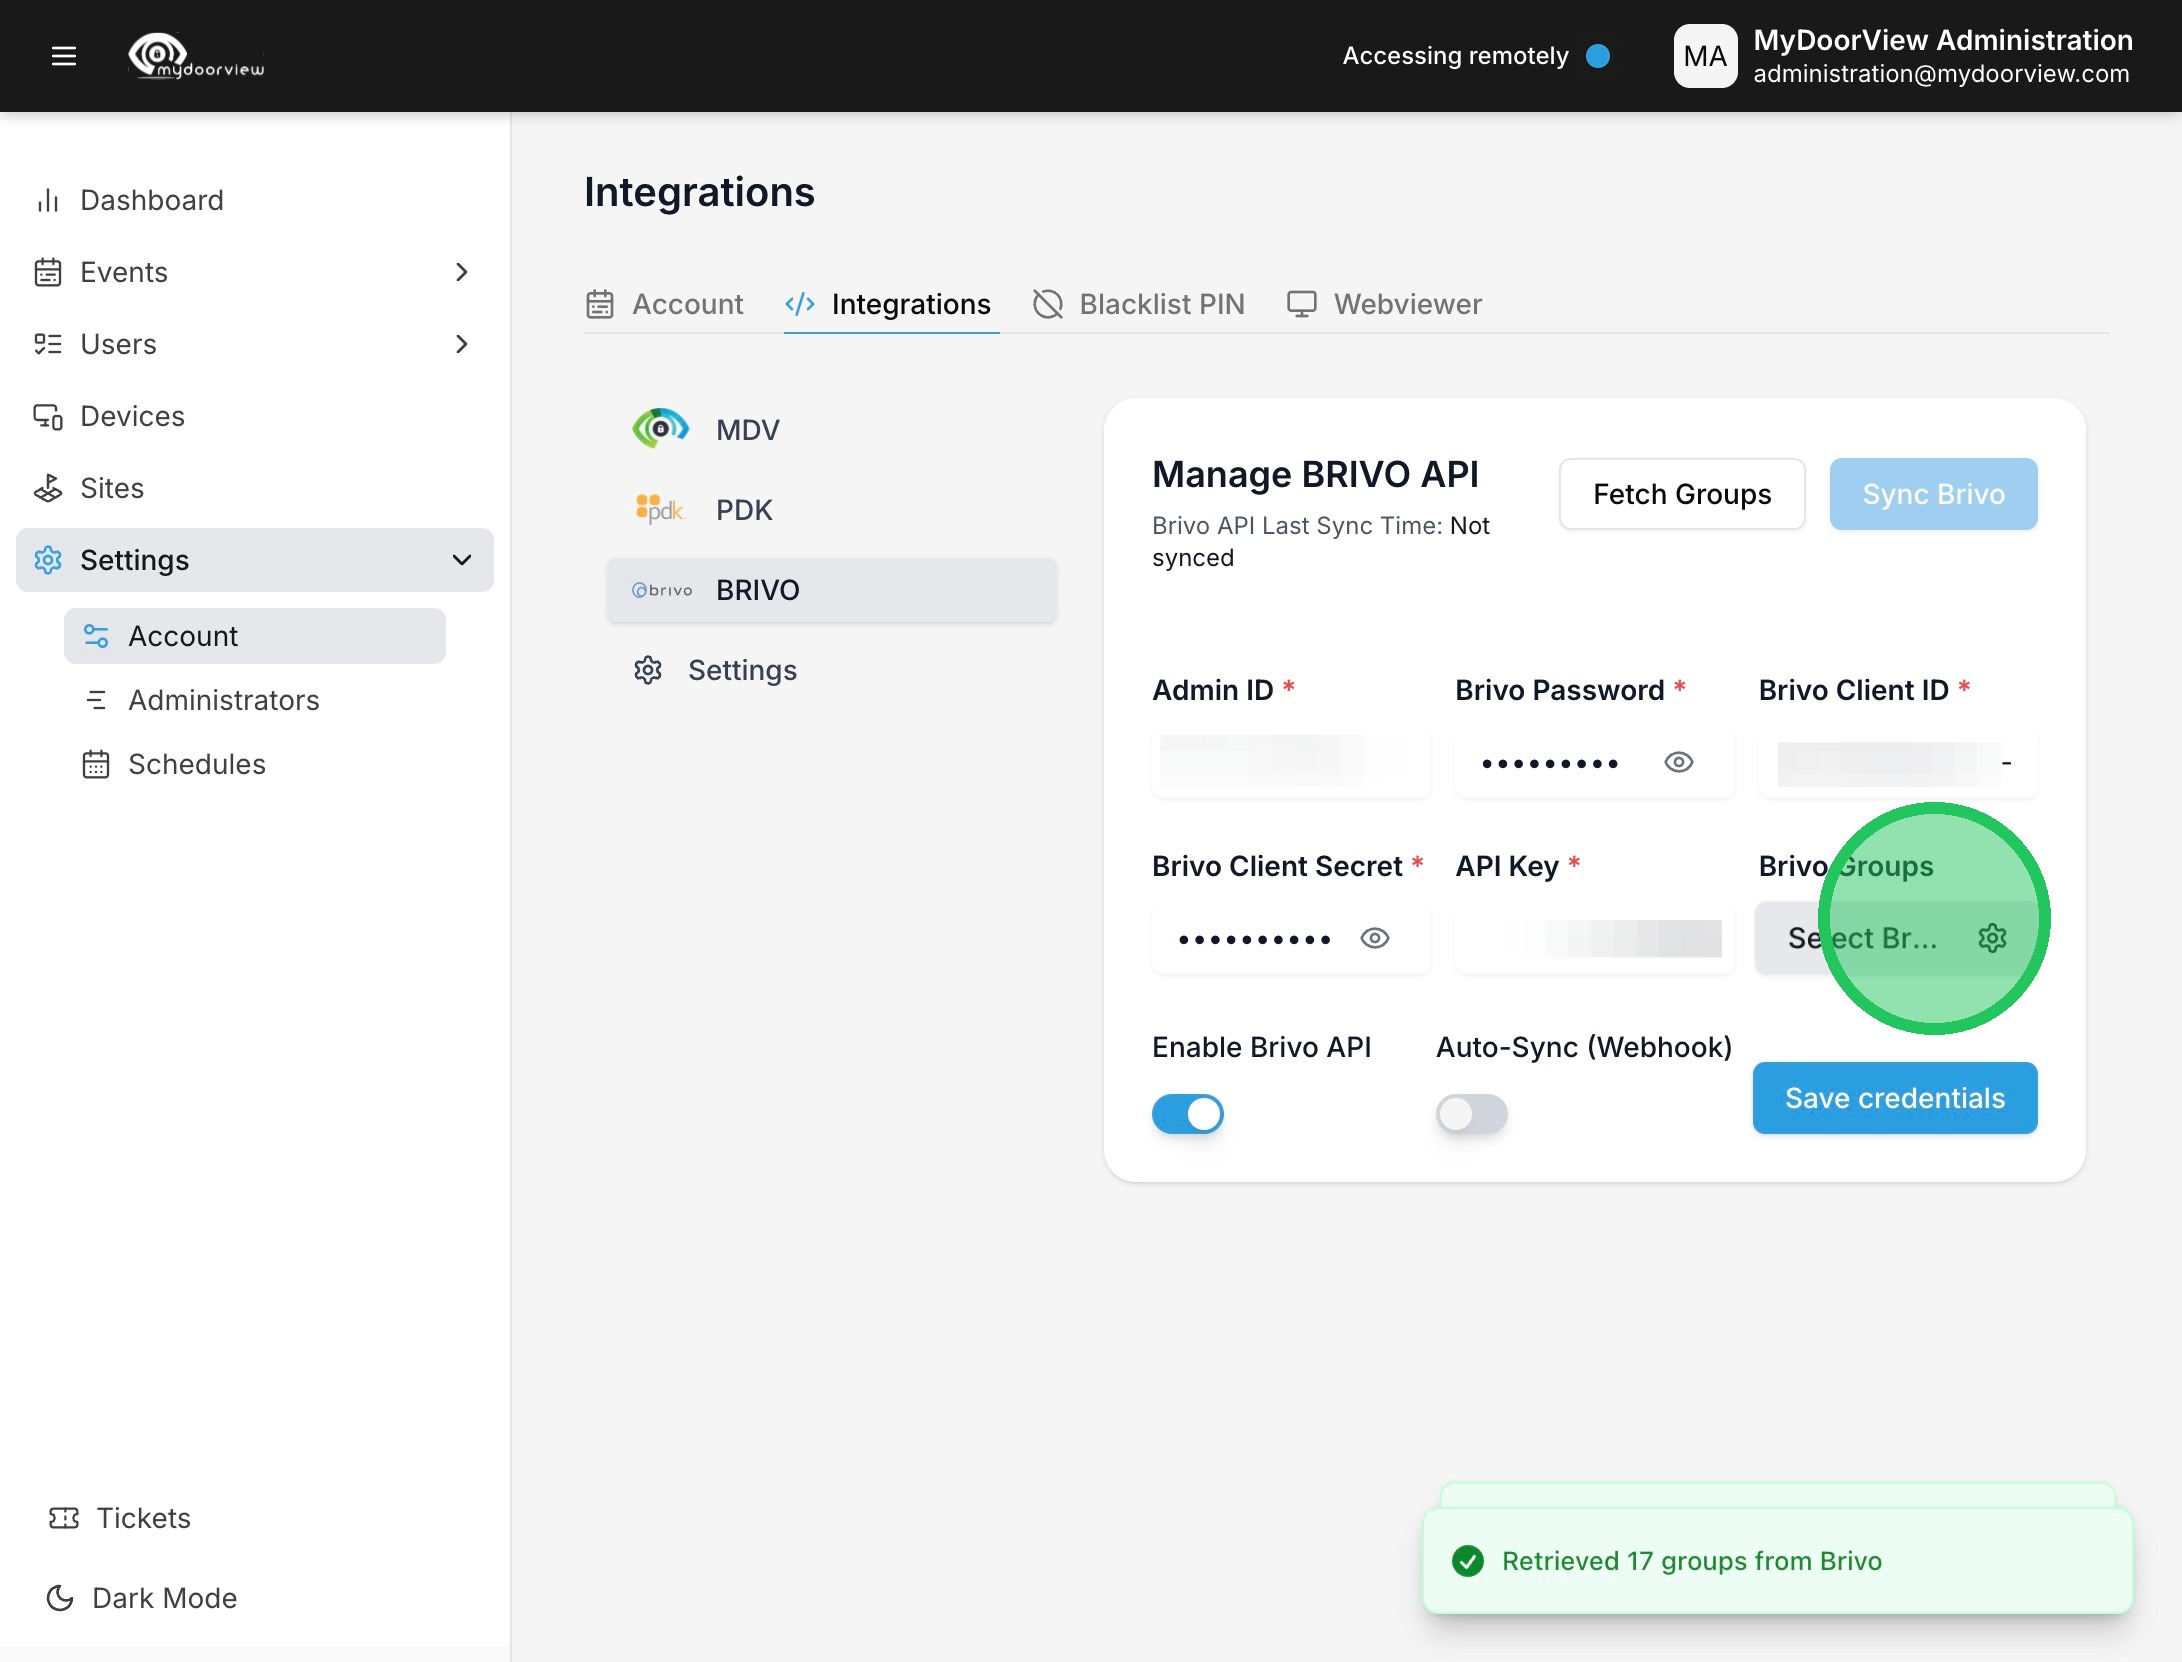
7. Click "Fetch Groups"

8. Click "Select Brivo Groups"
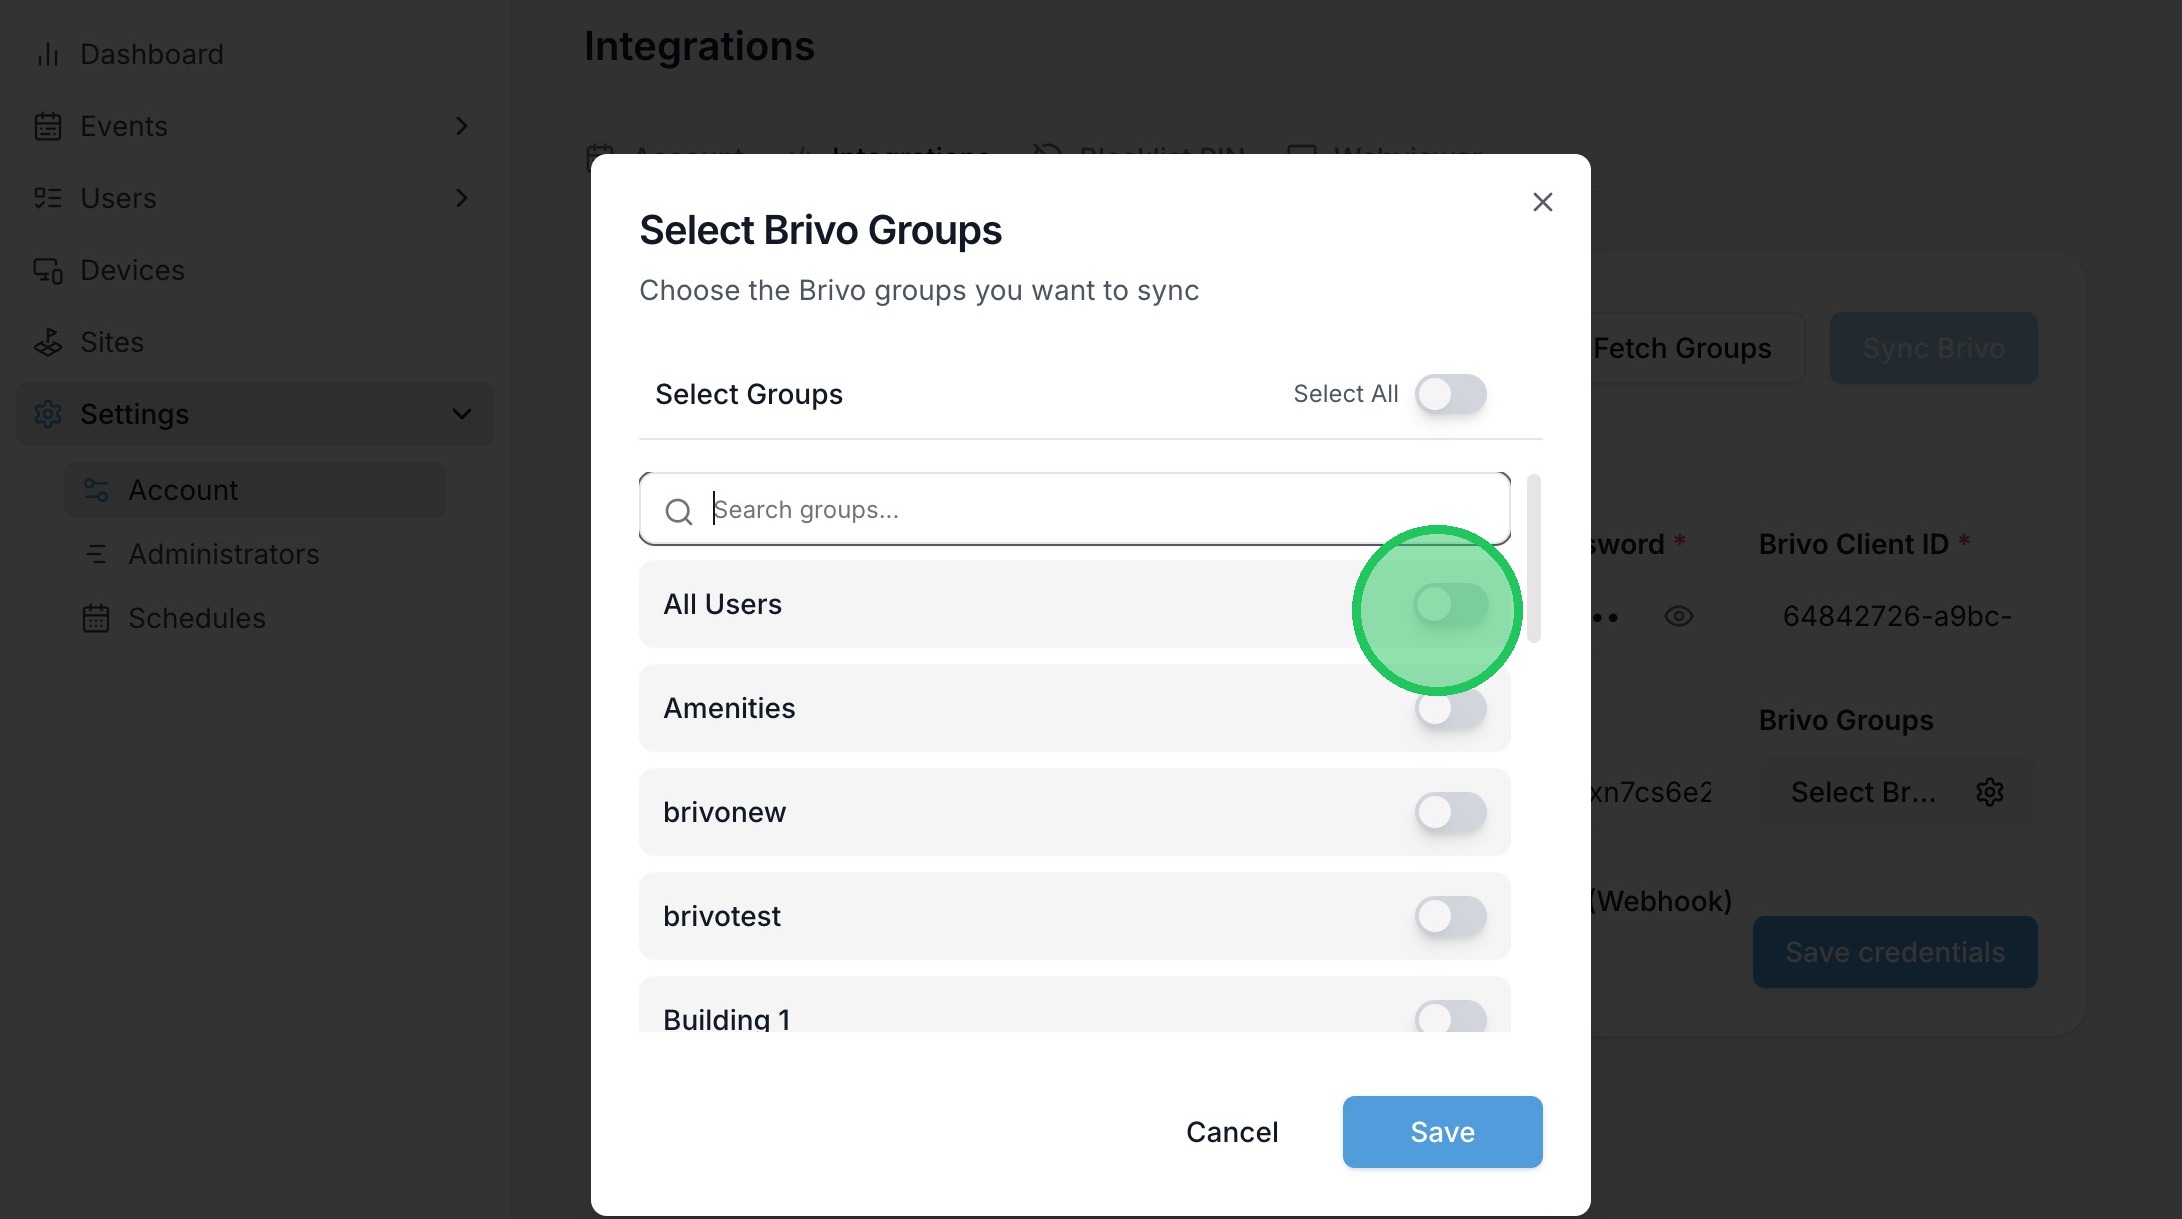
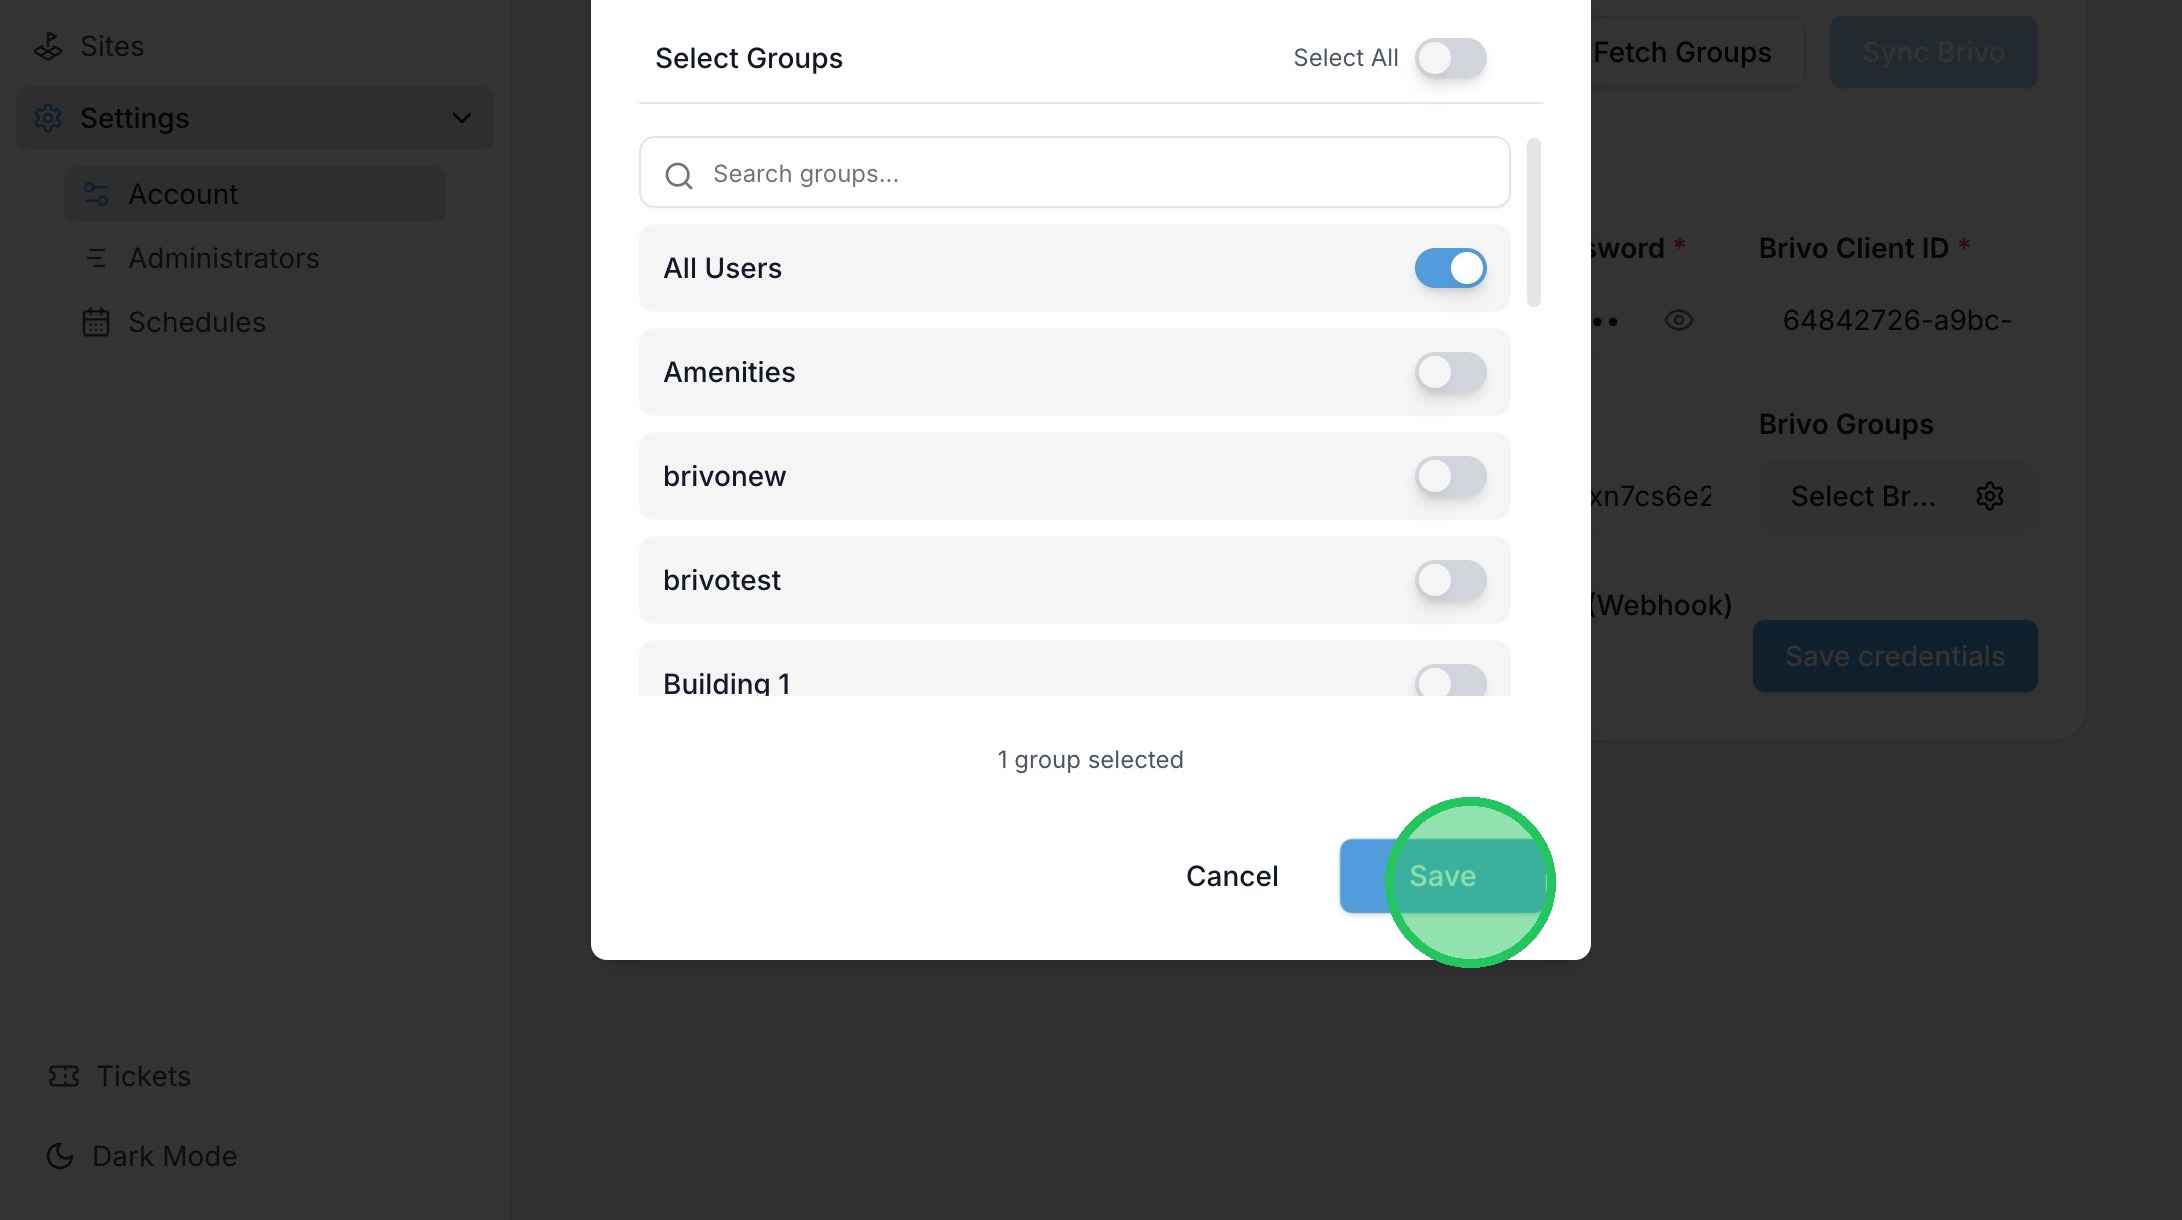
9. Select the Group that will be synced into the account.
10. Click "Save"
11. Click "Save credentials"
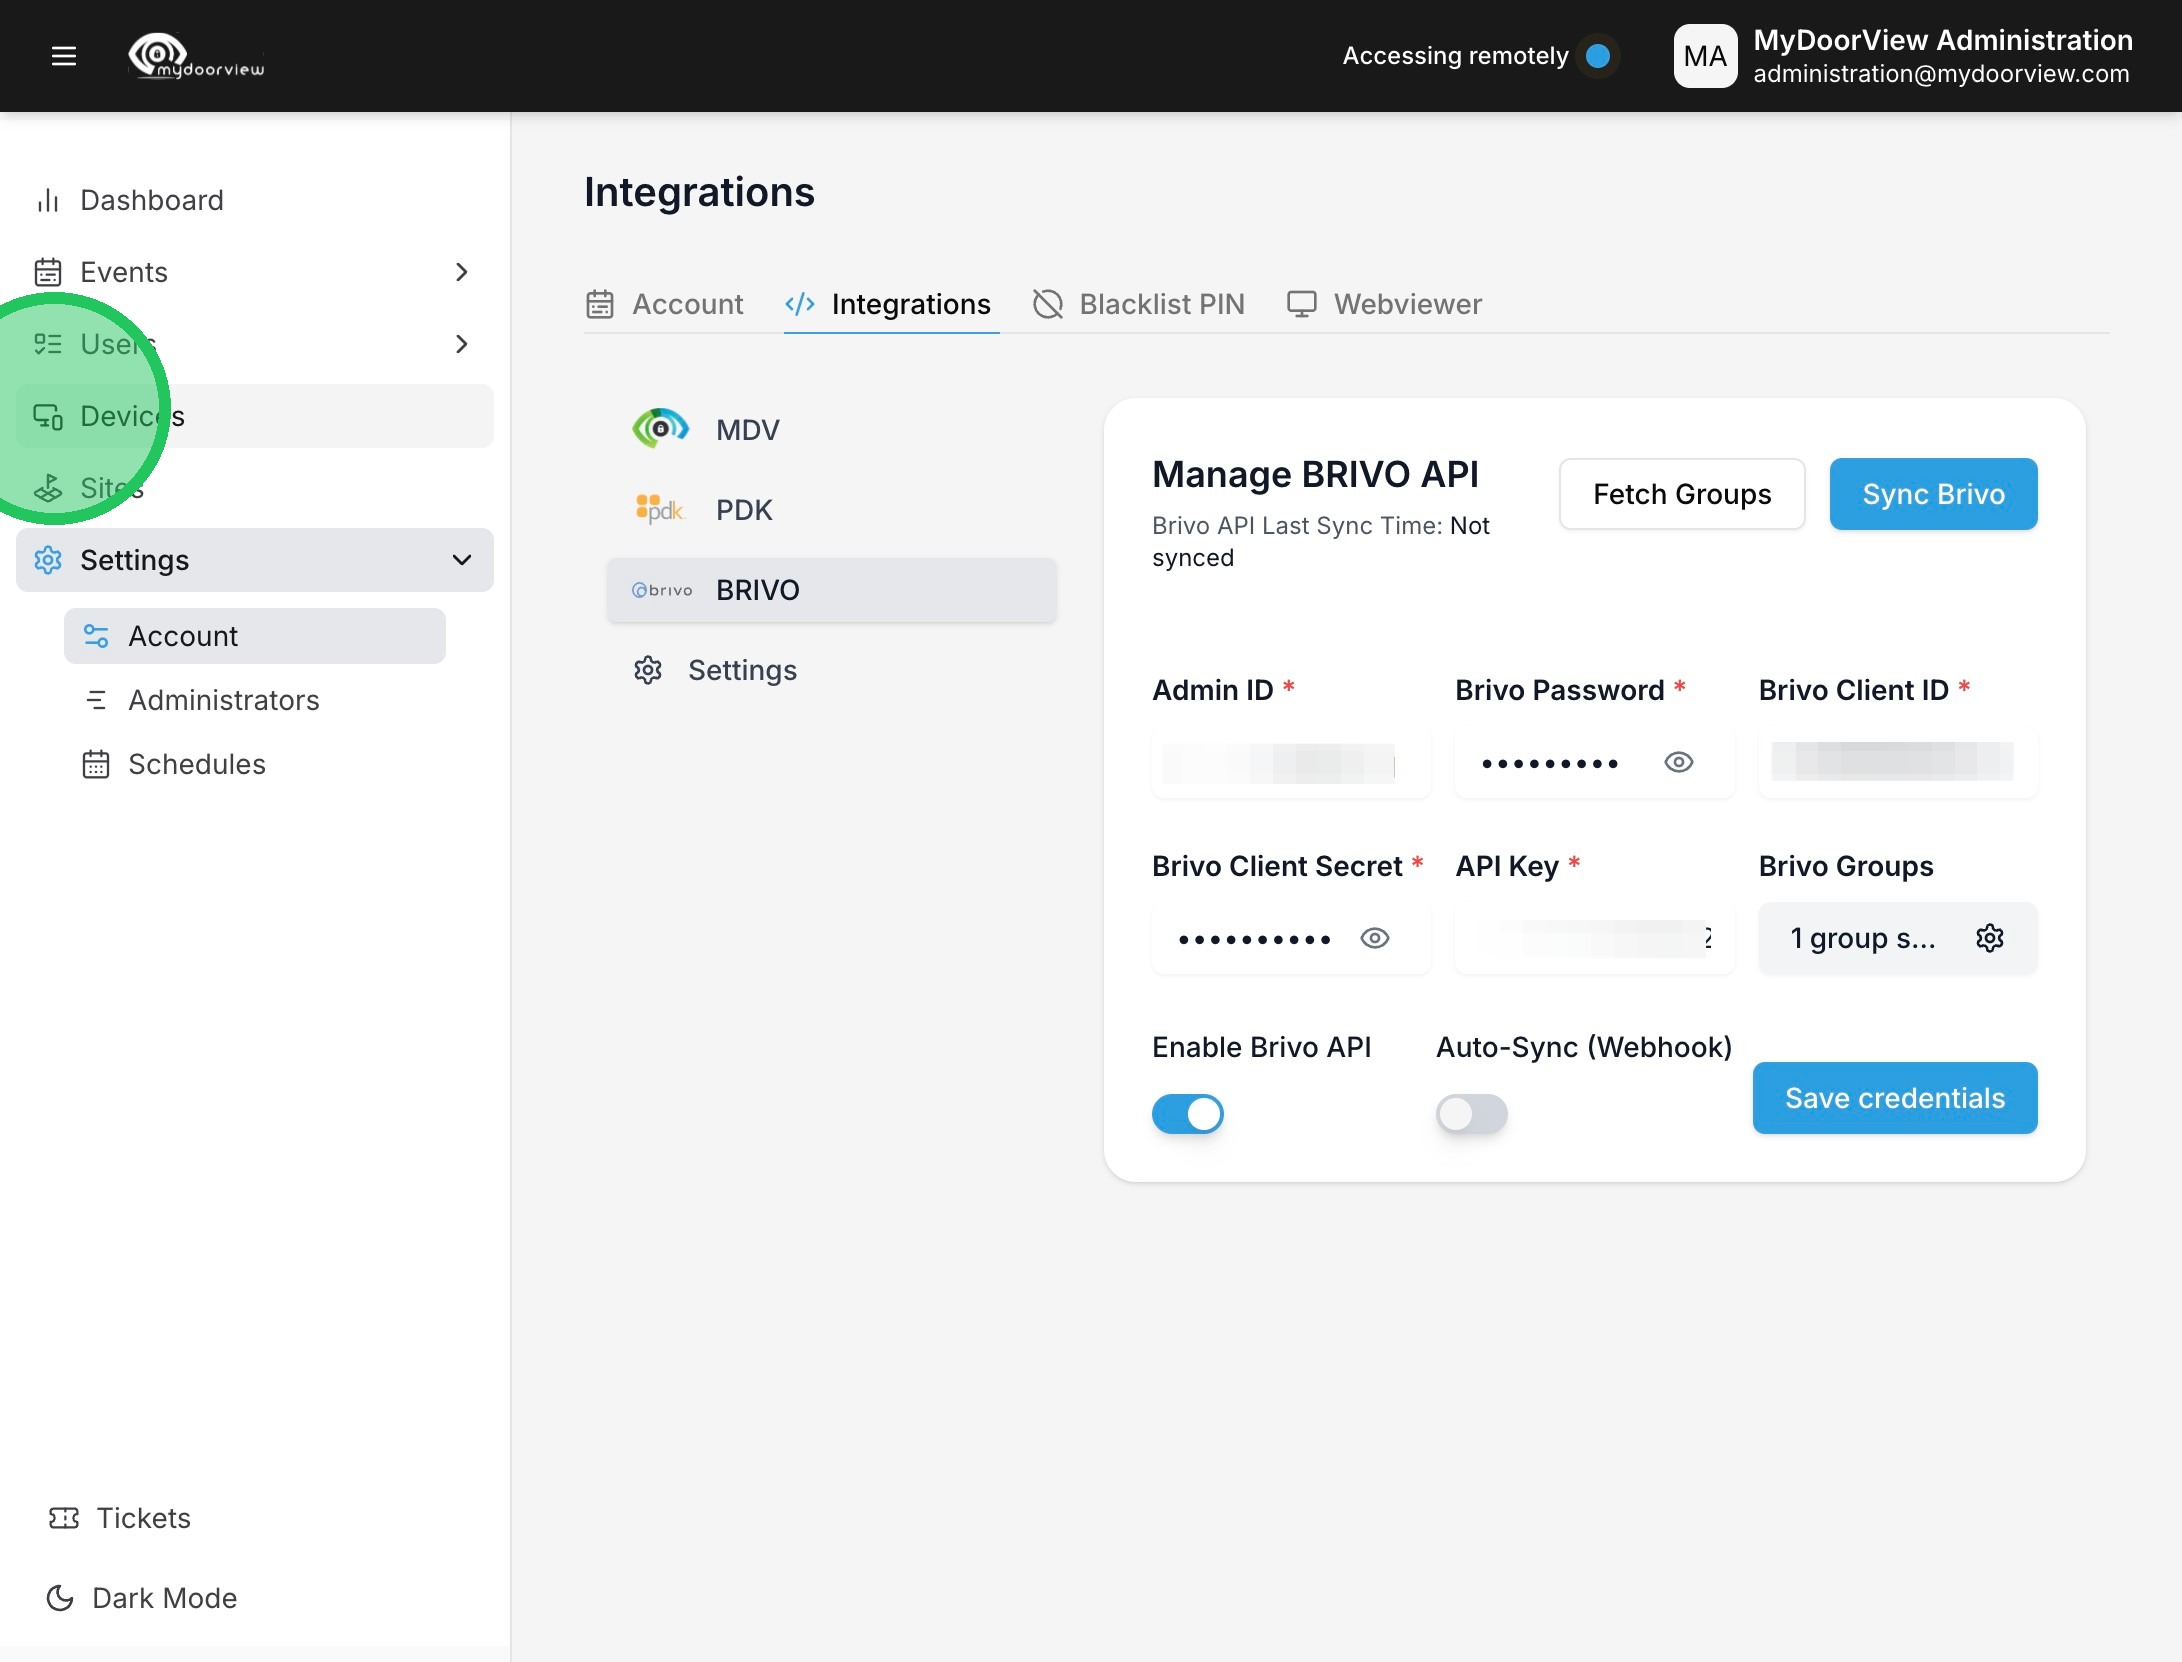
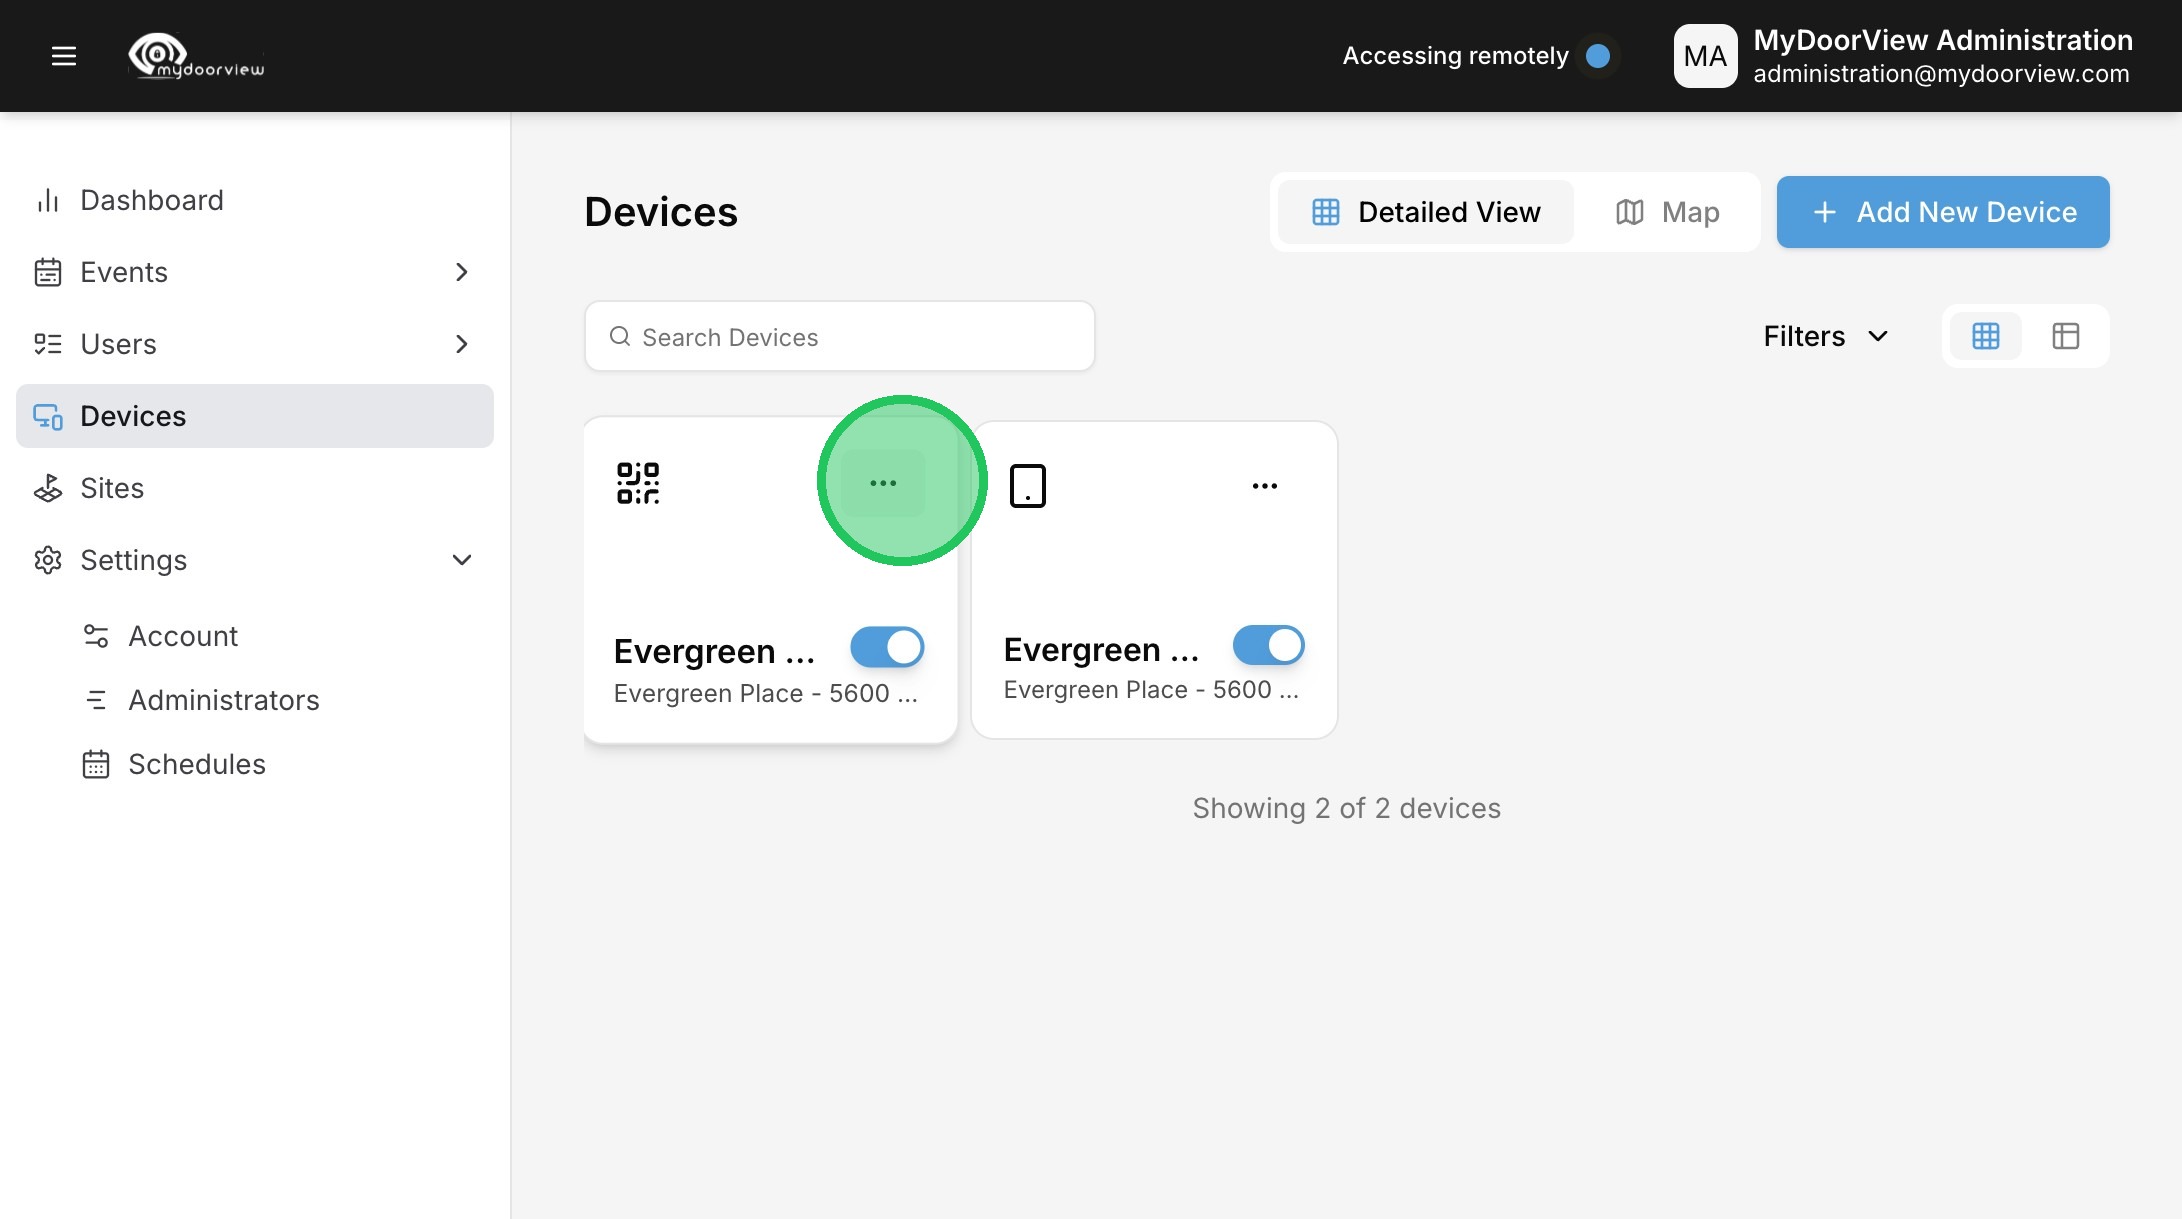
12. Click "Devices"
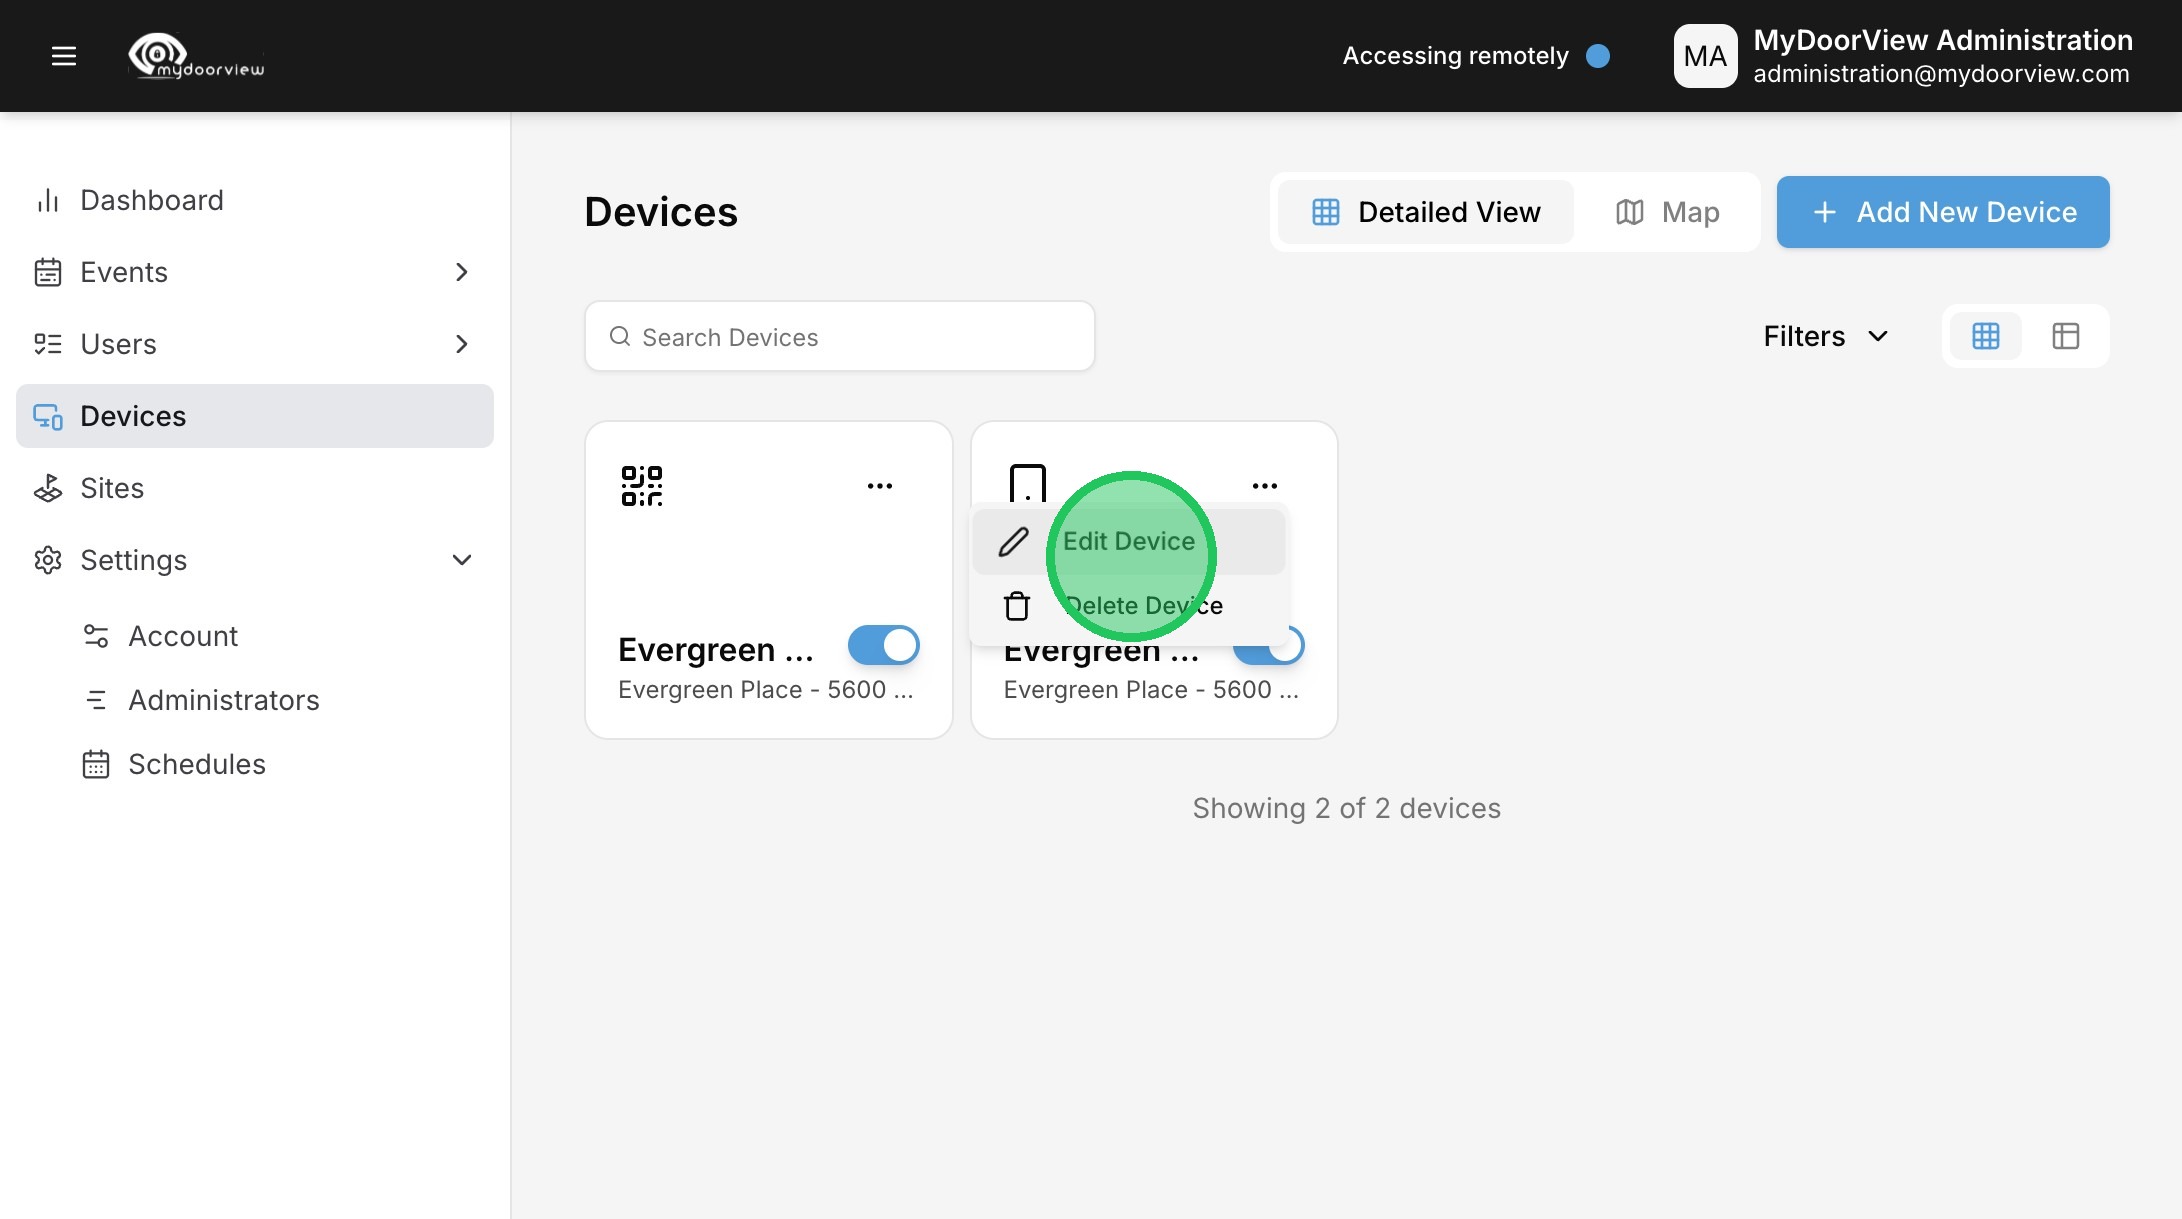
13. Click the ellipses to edit the device.

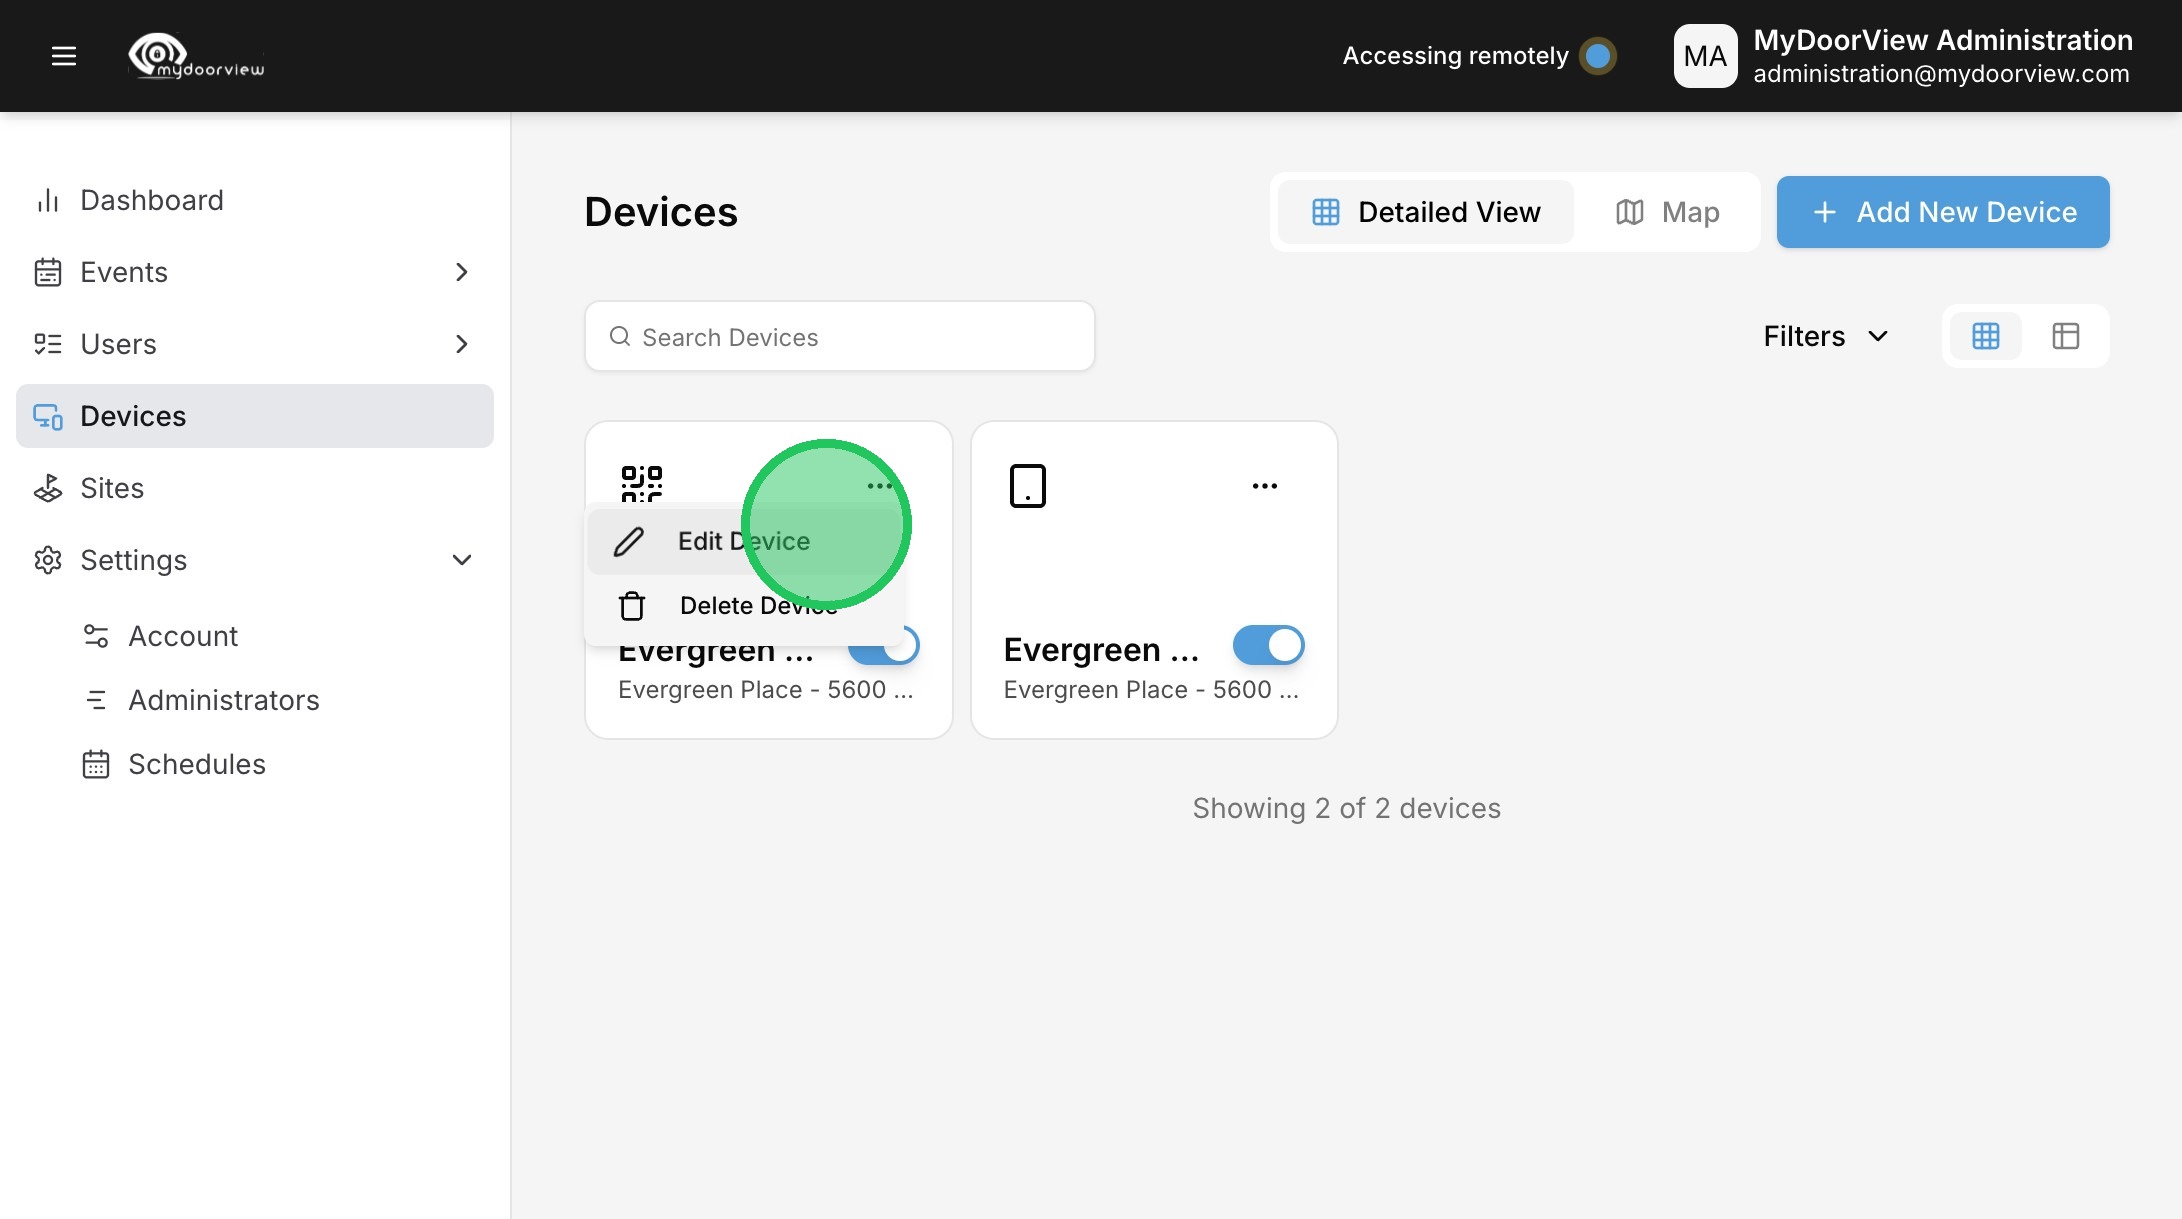
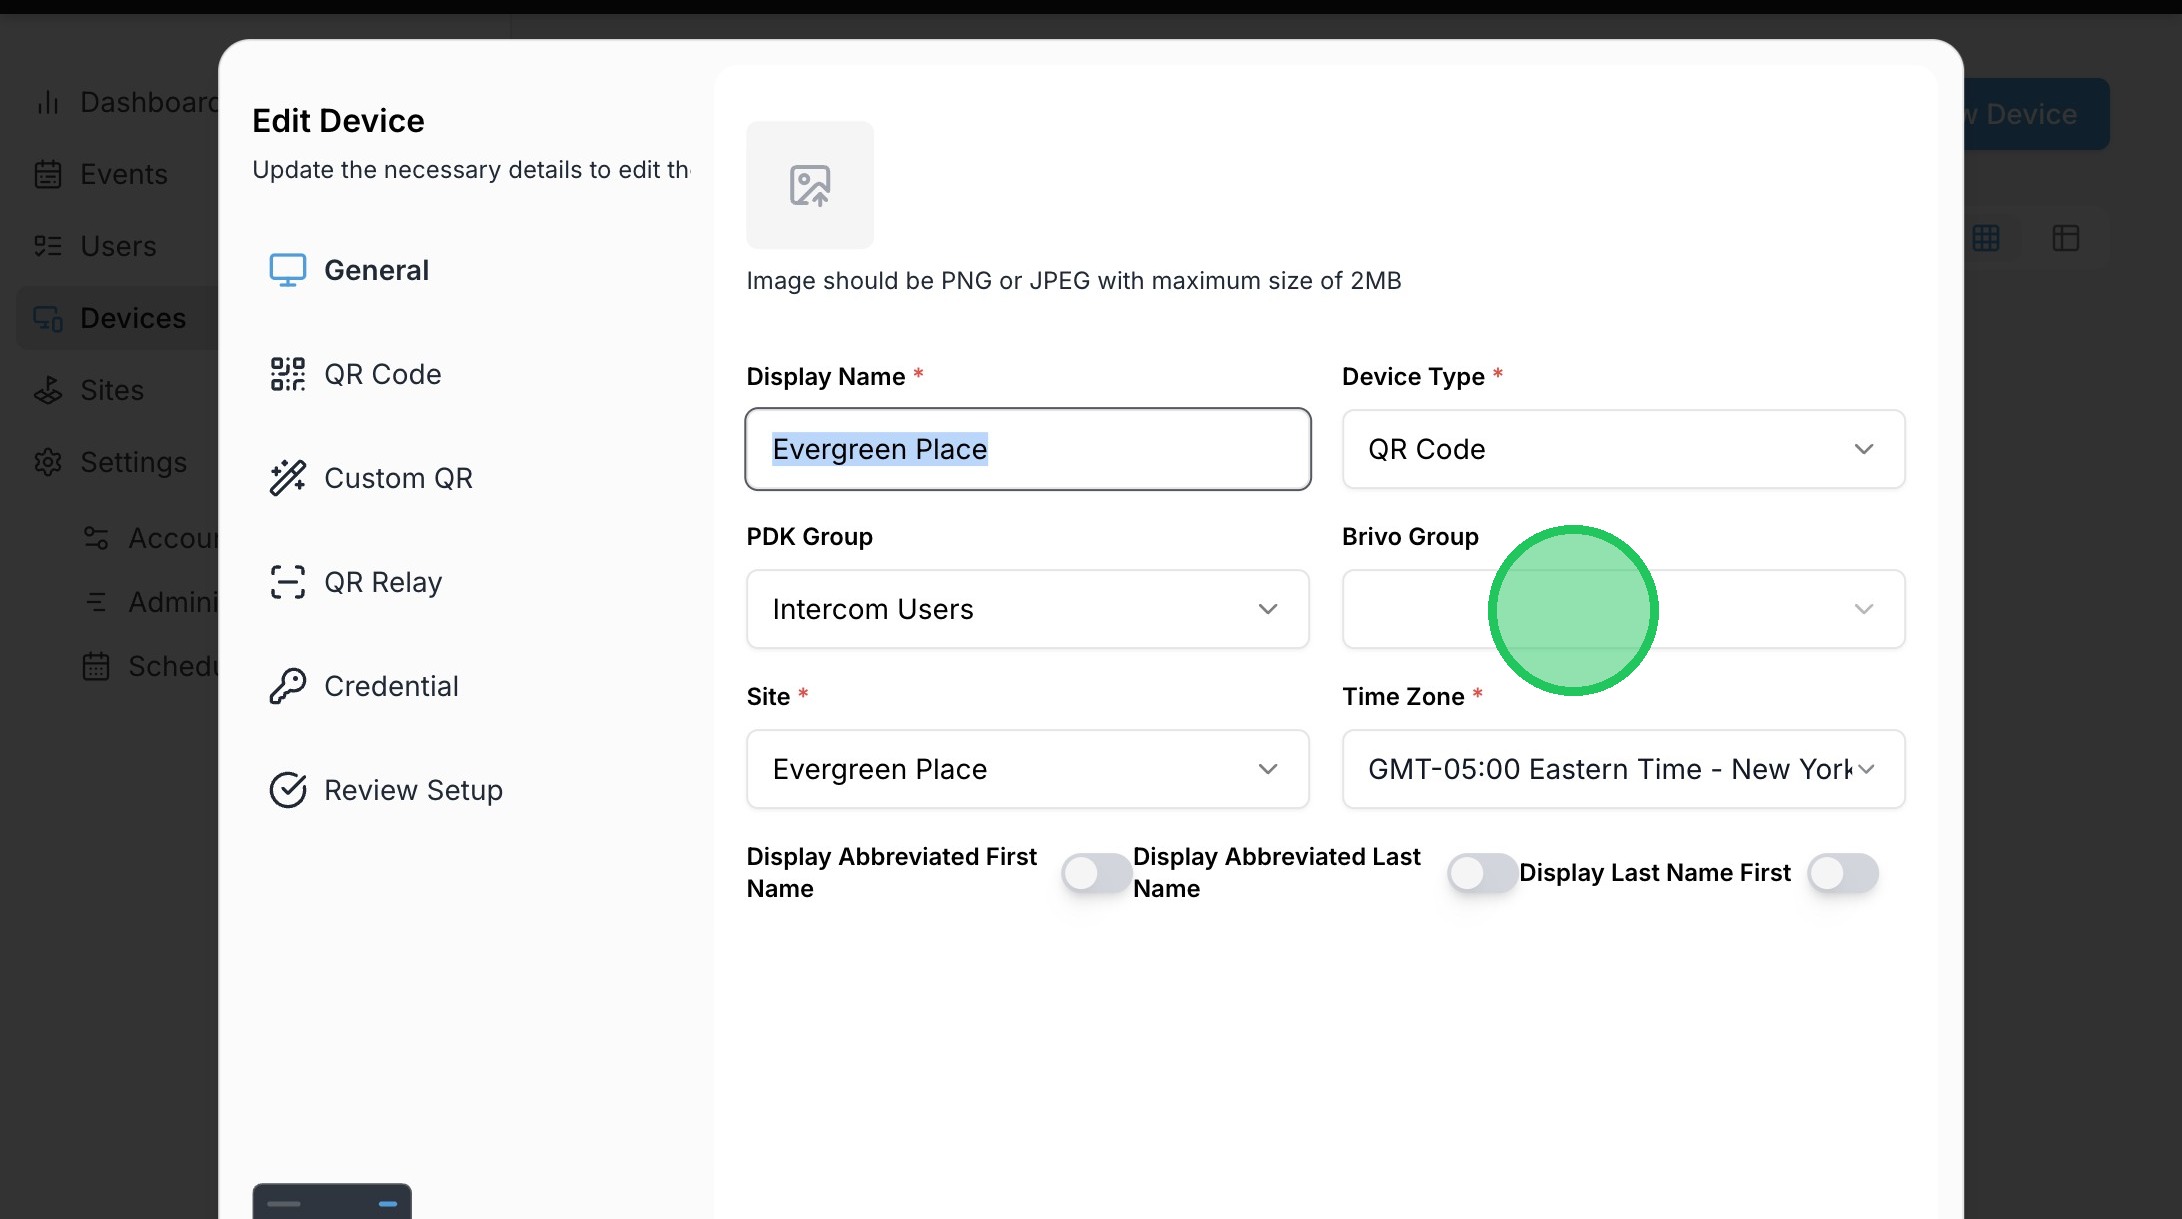
14. Click "Edit Device"
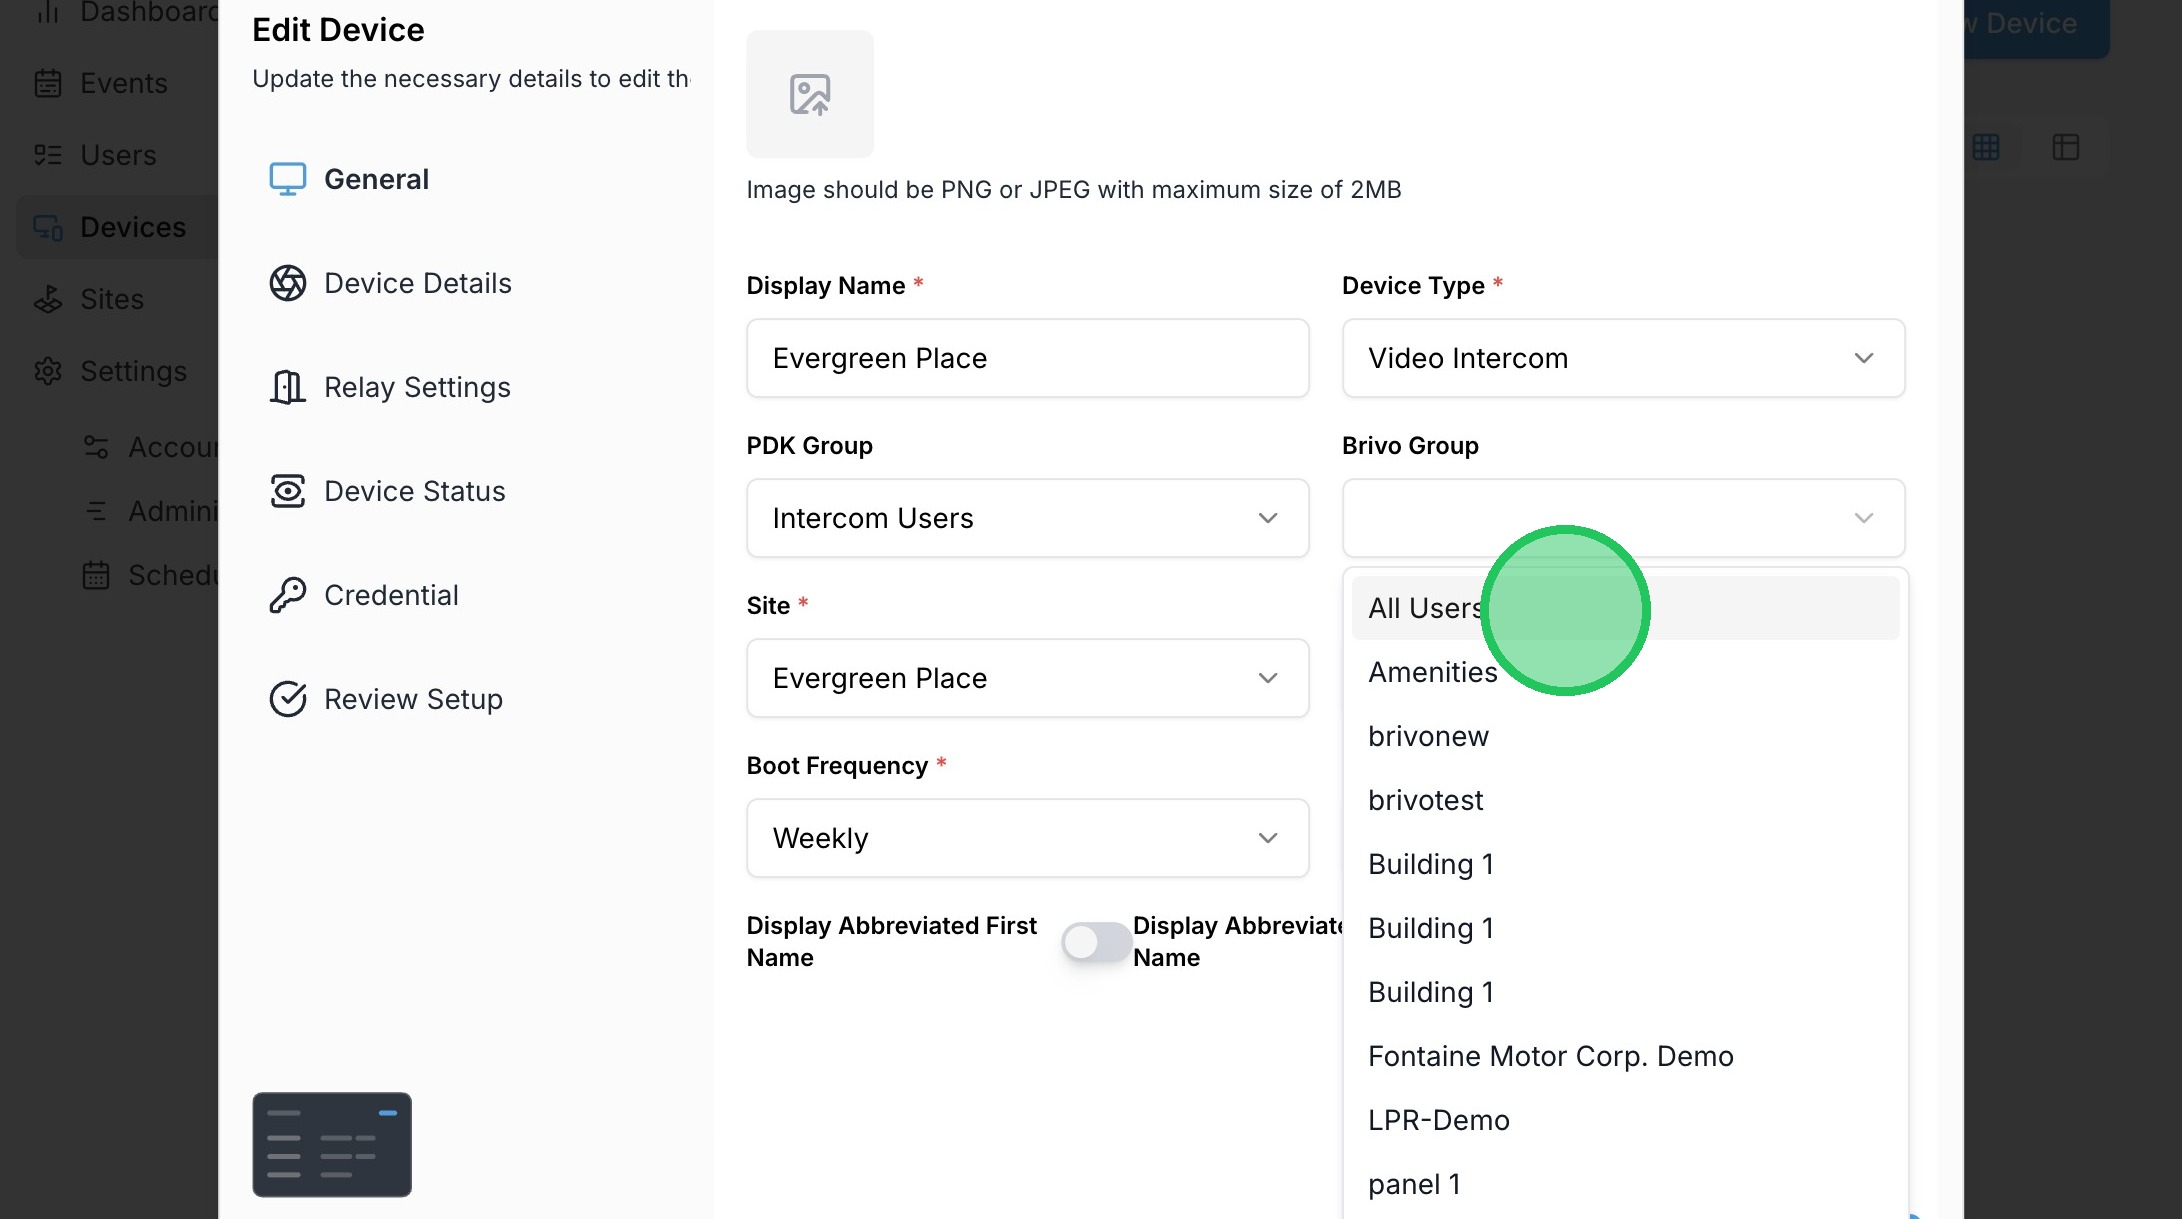
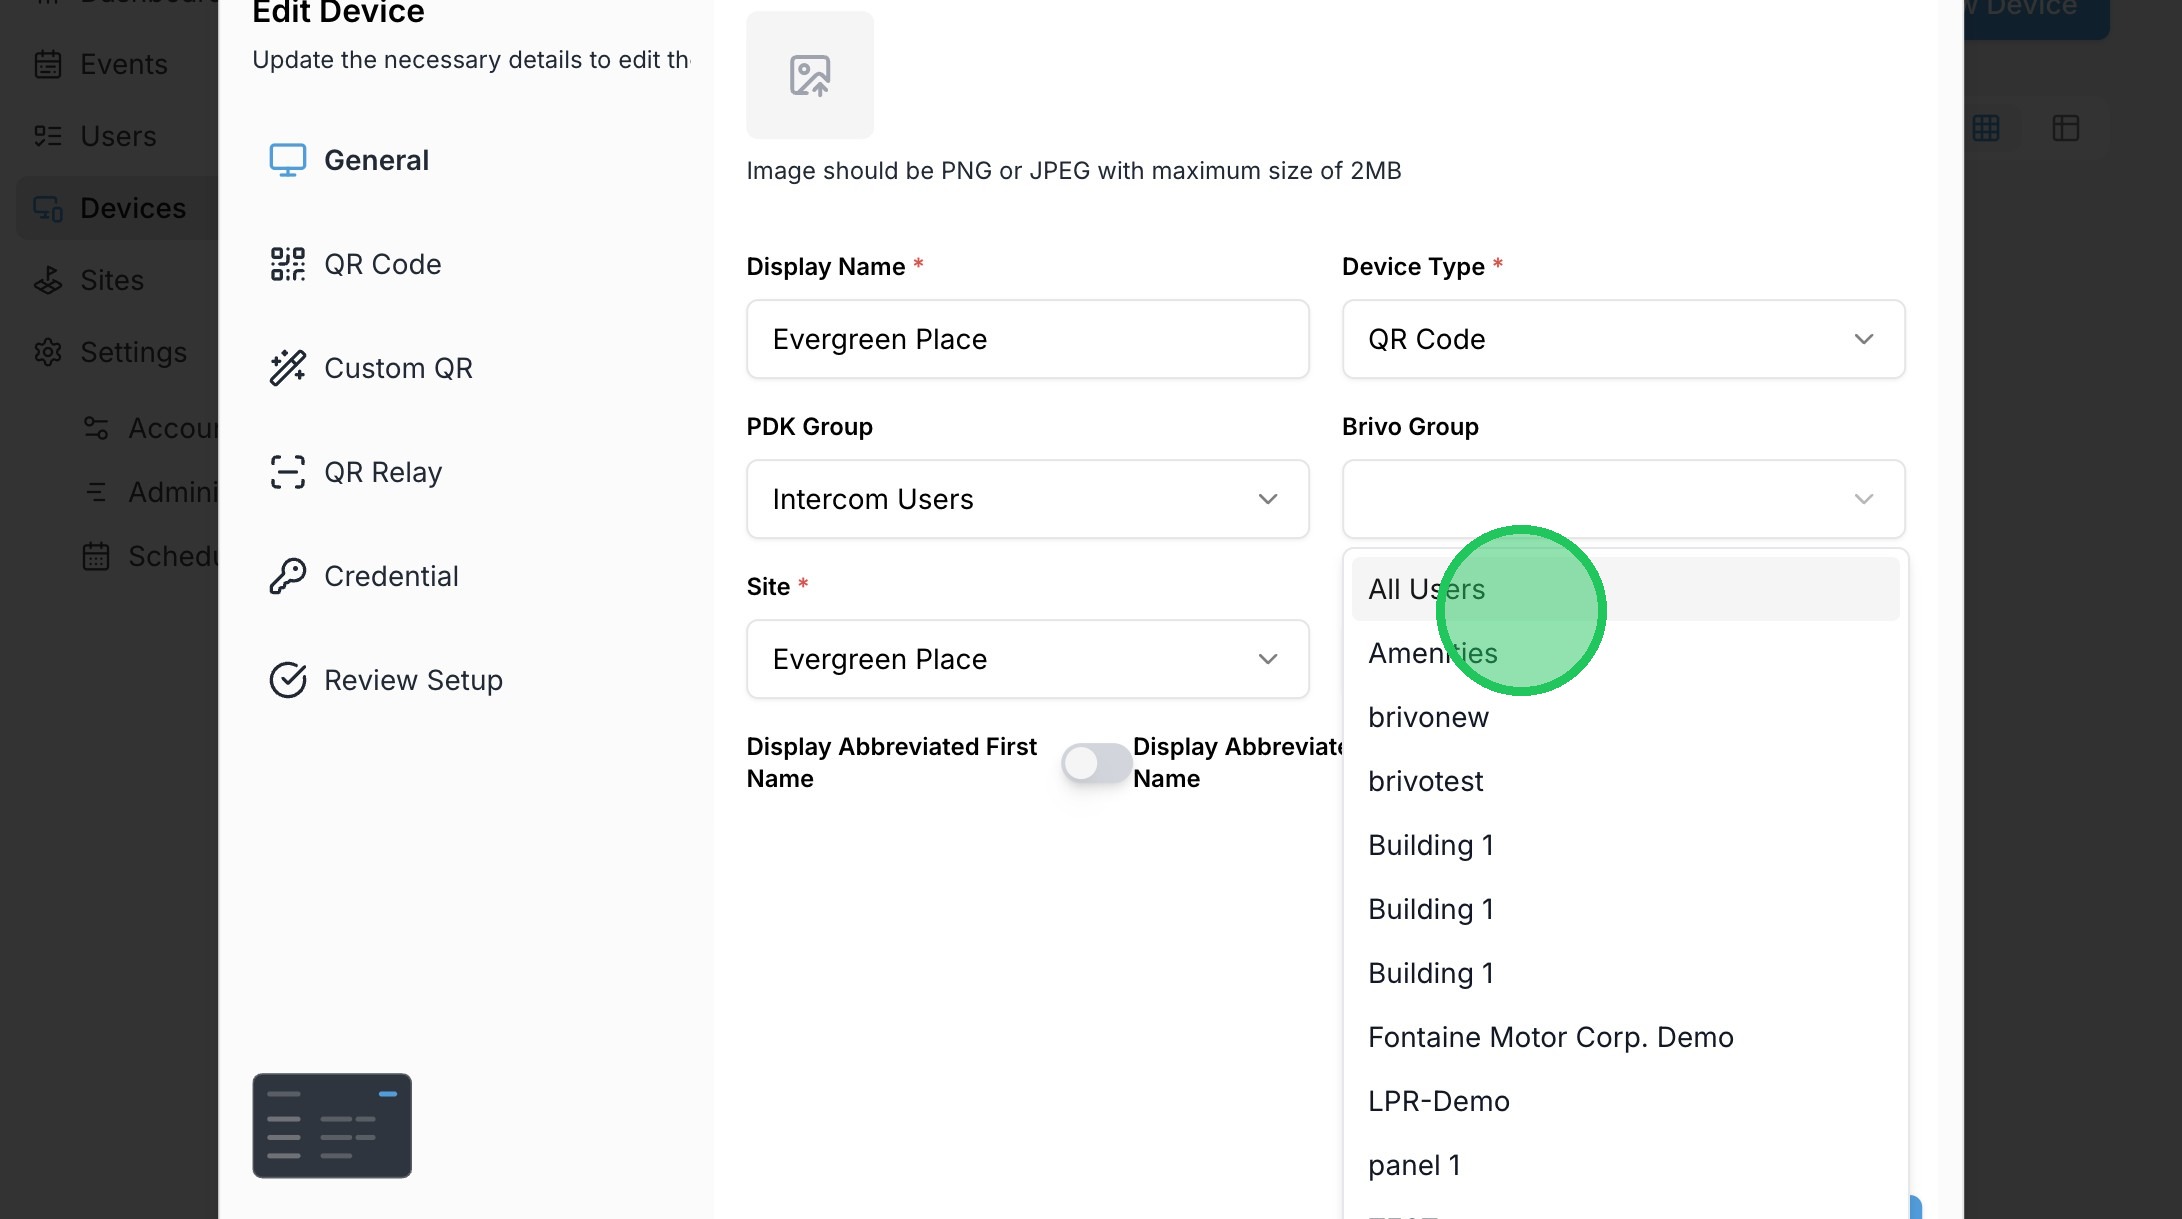
15. Click the Brivo Group dropdown.
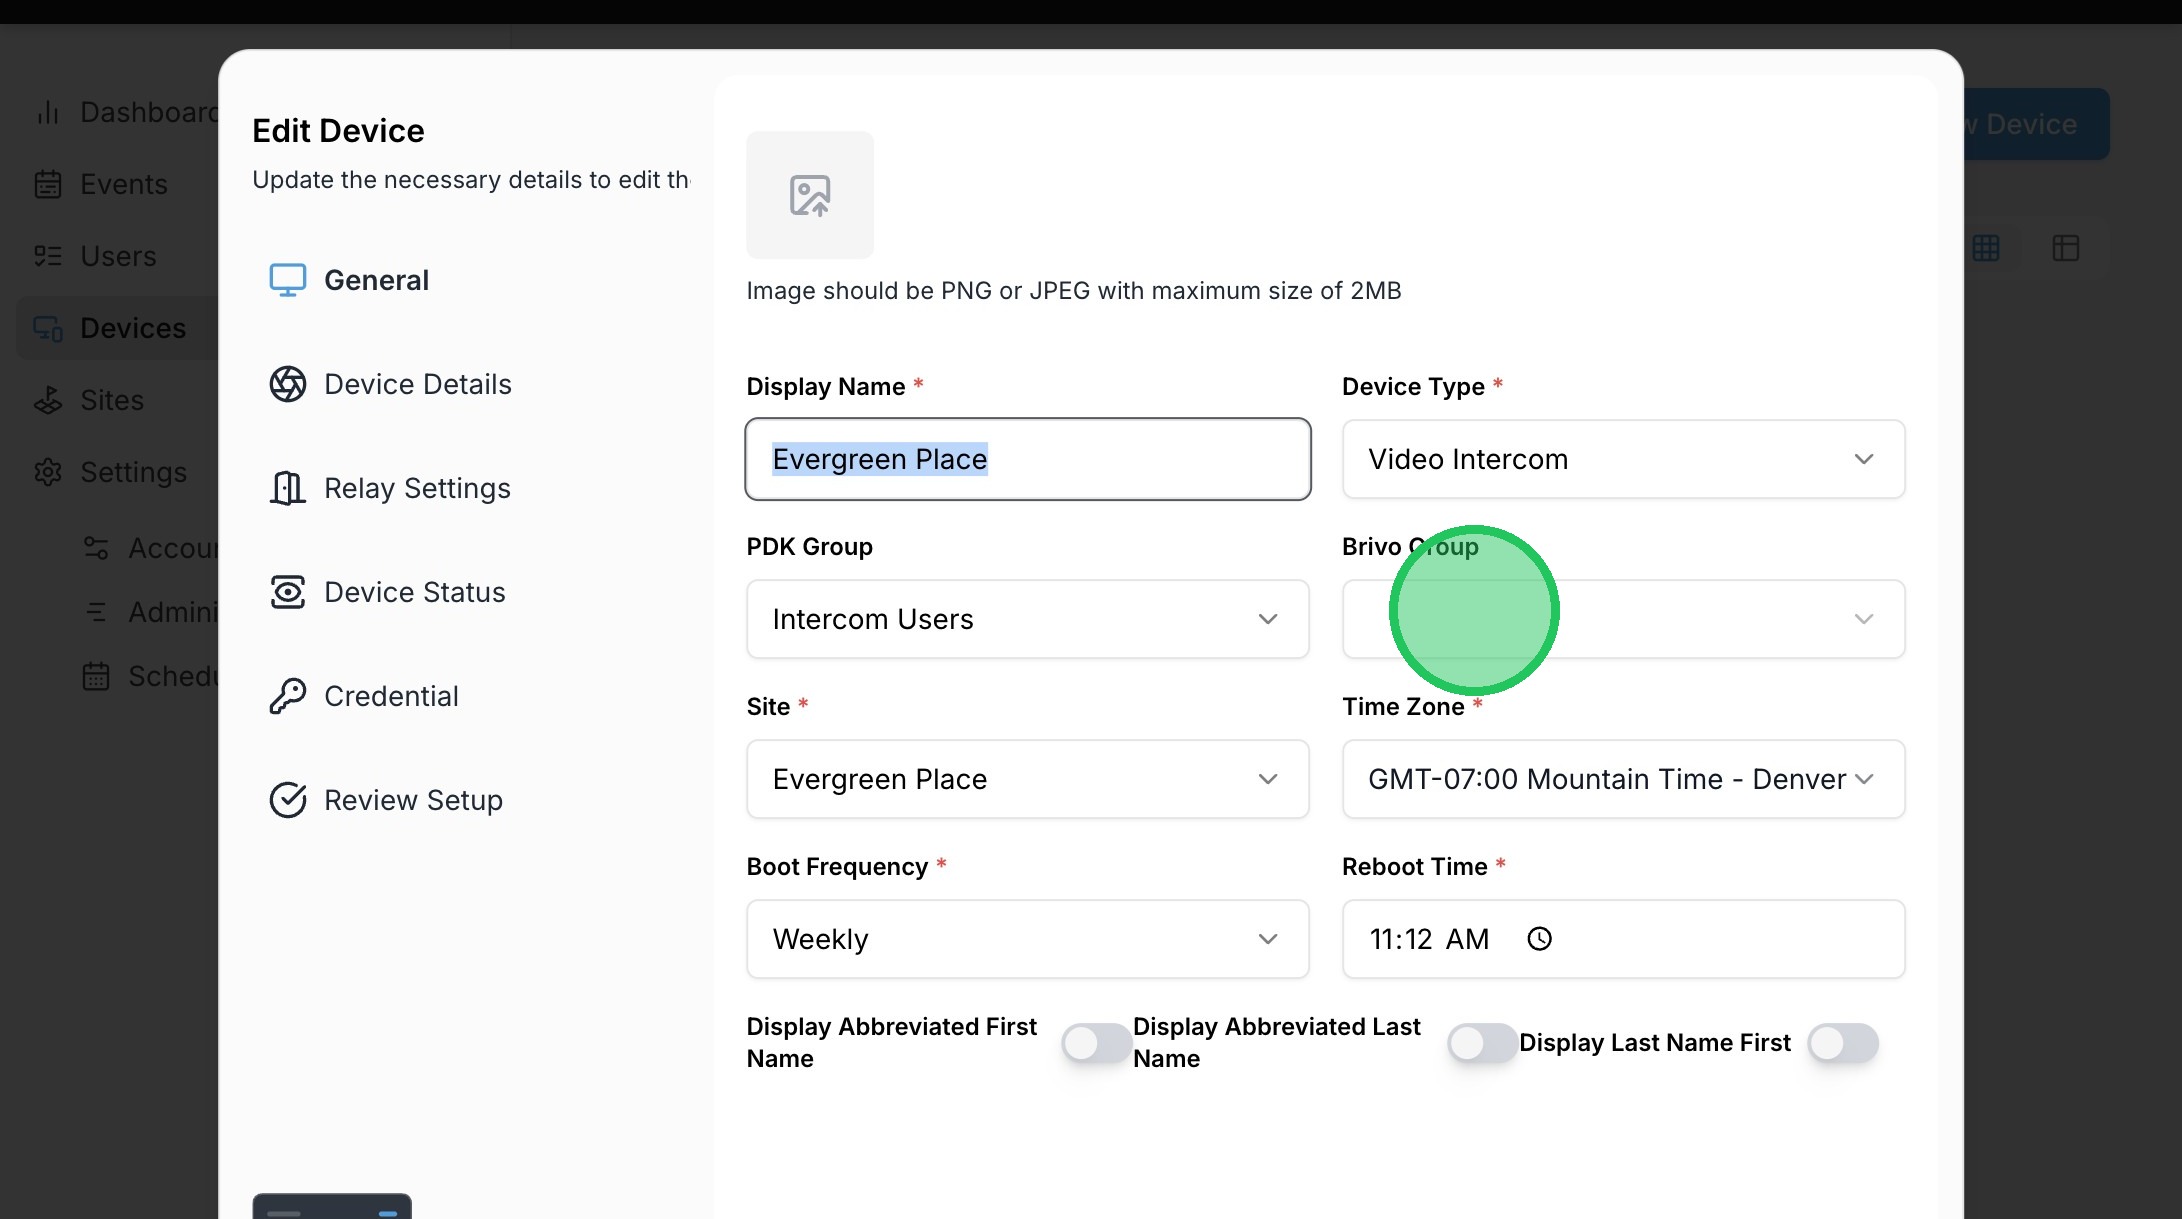
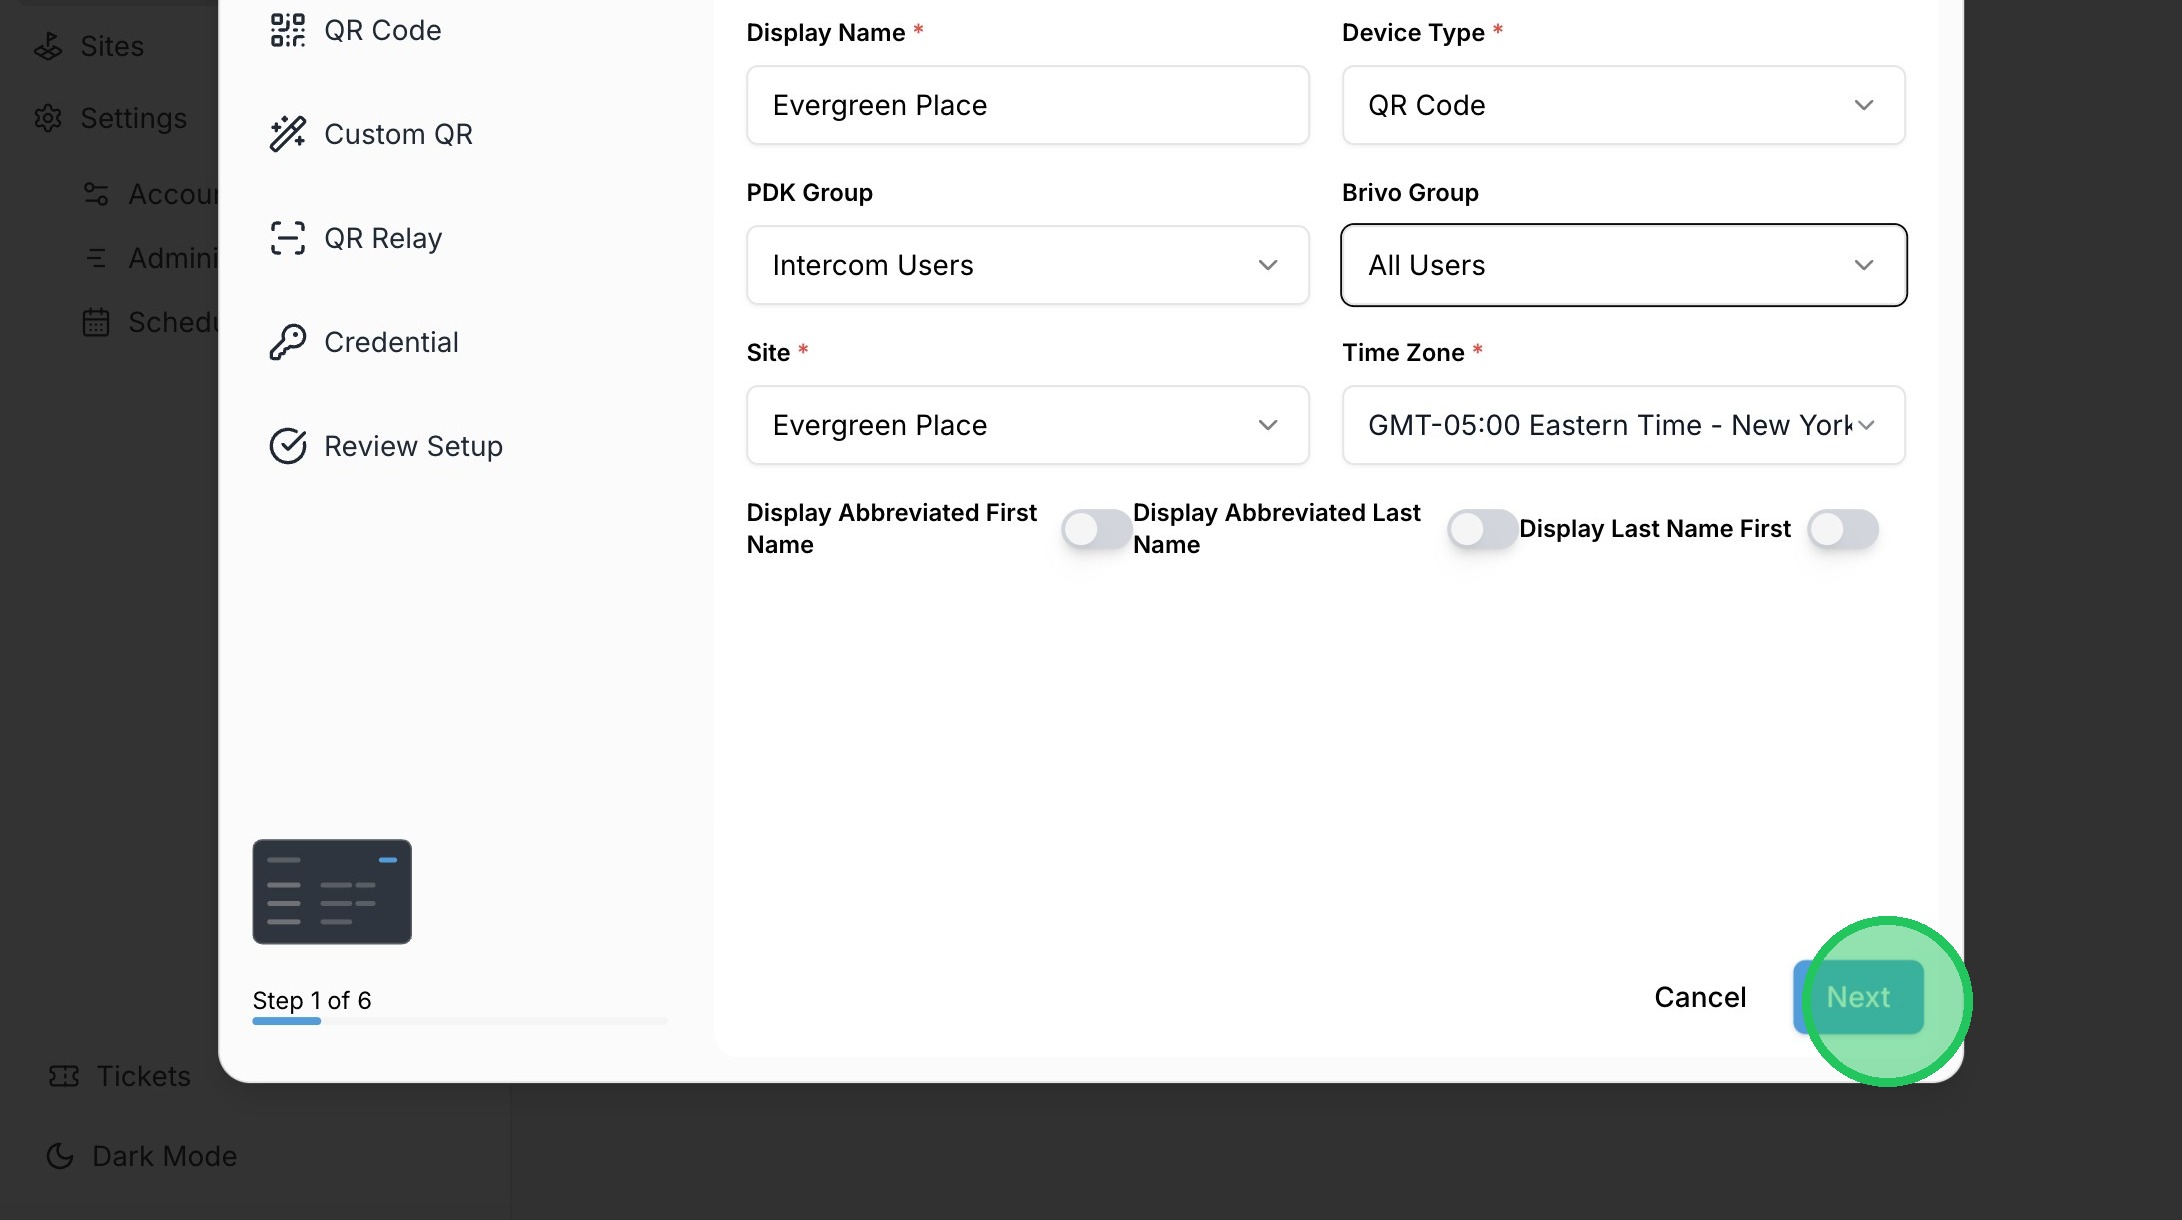
16. Select the desired Brivo group that will be assigned to the device.
17. Click "Next"

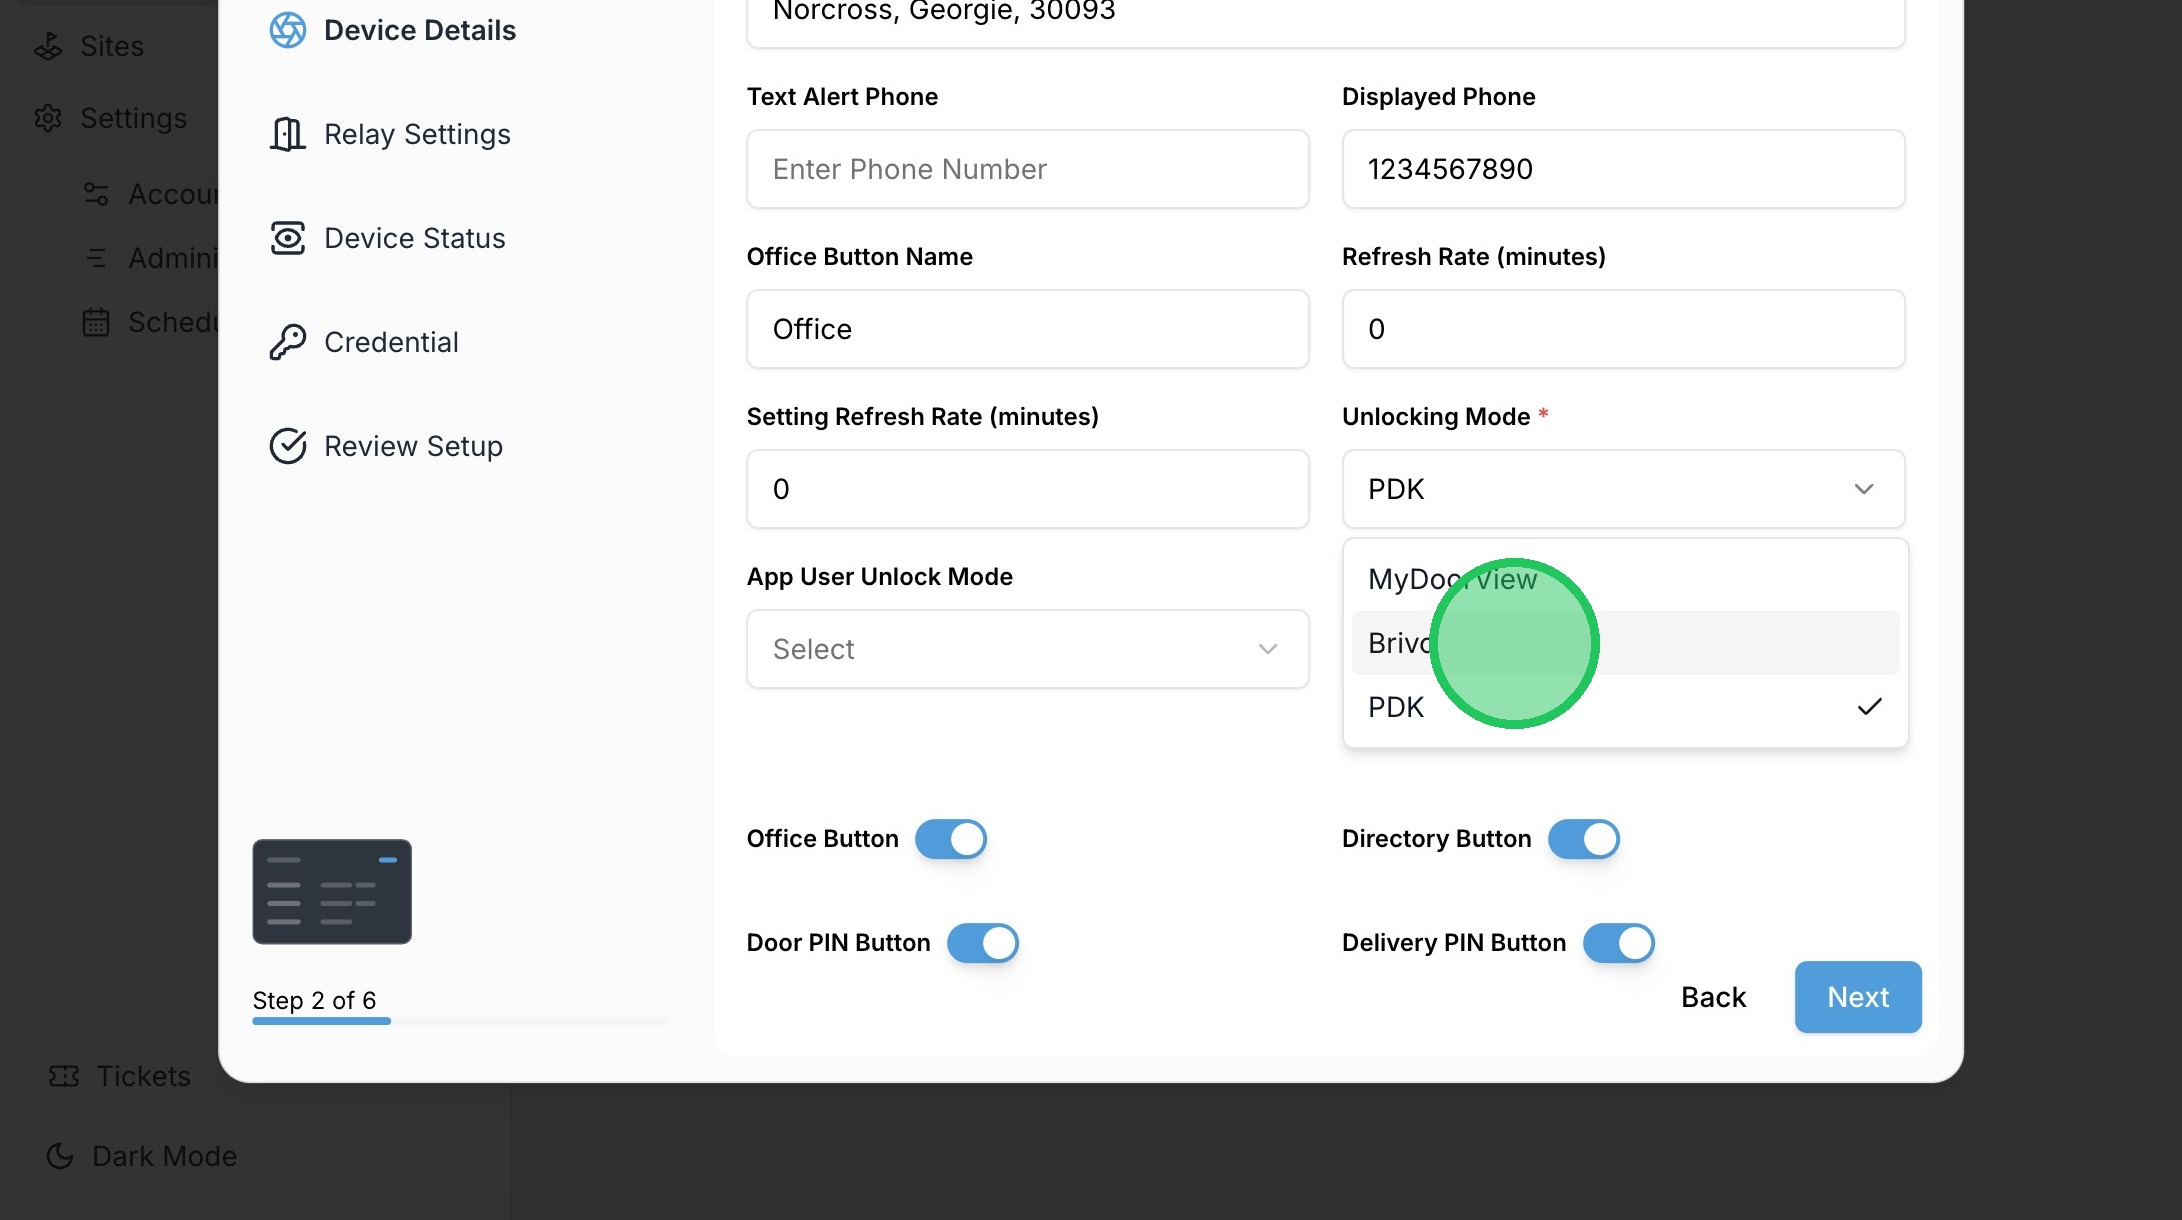
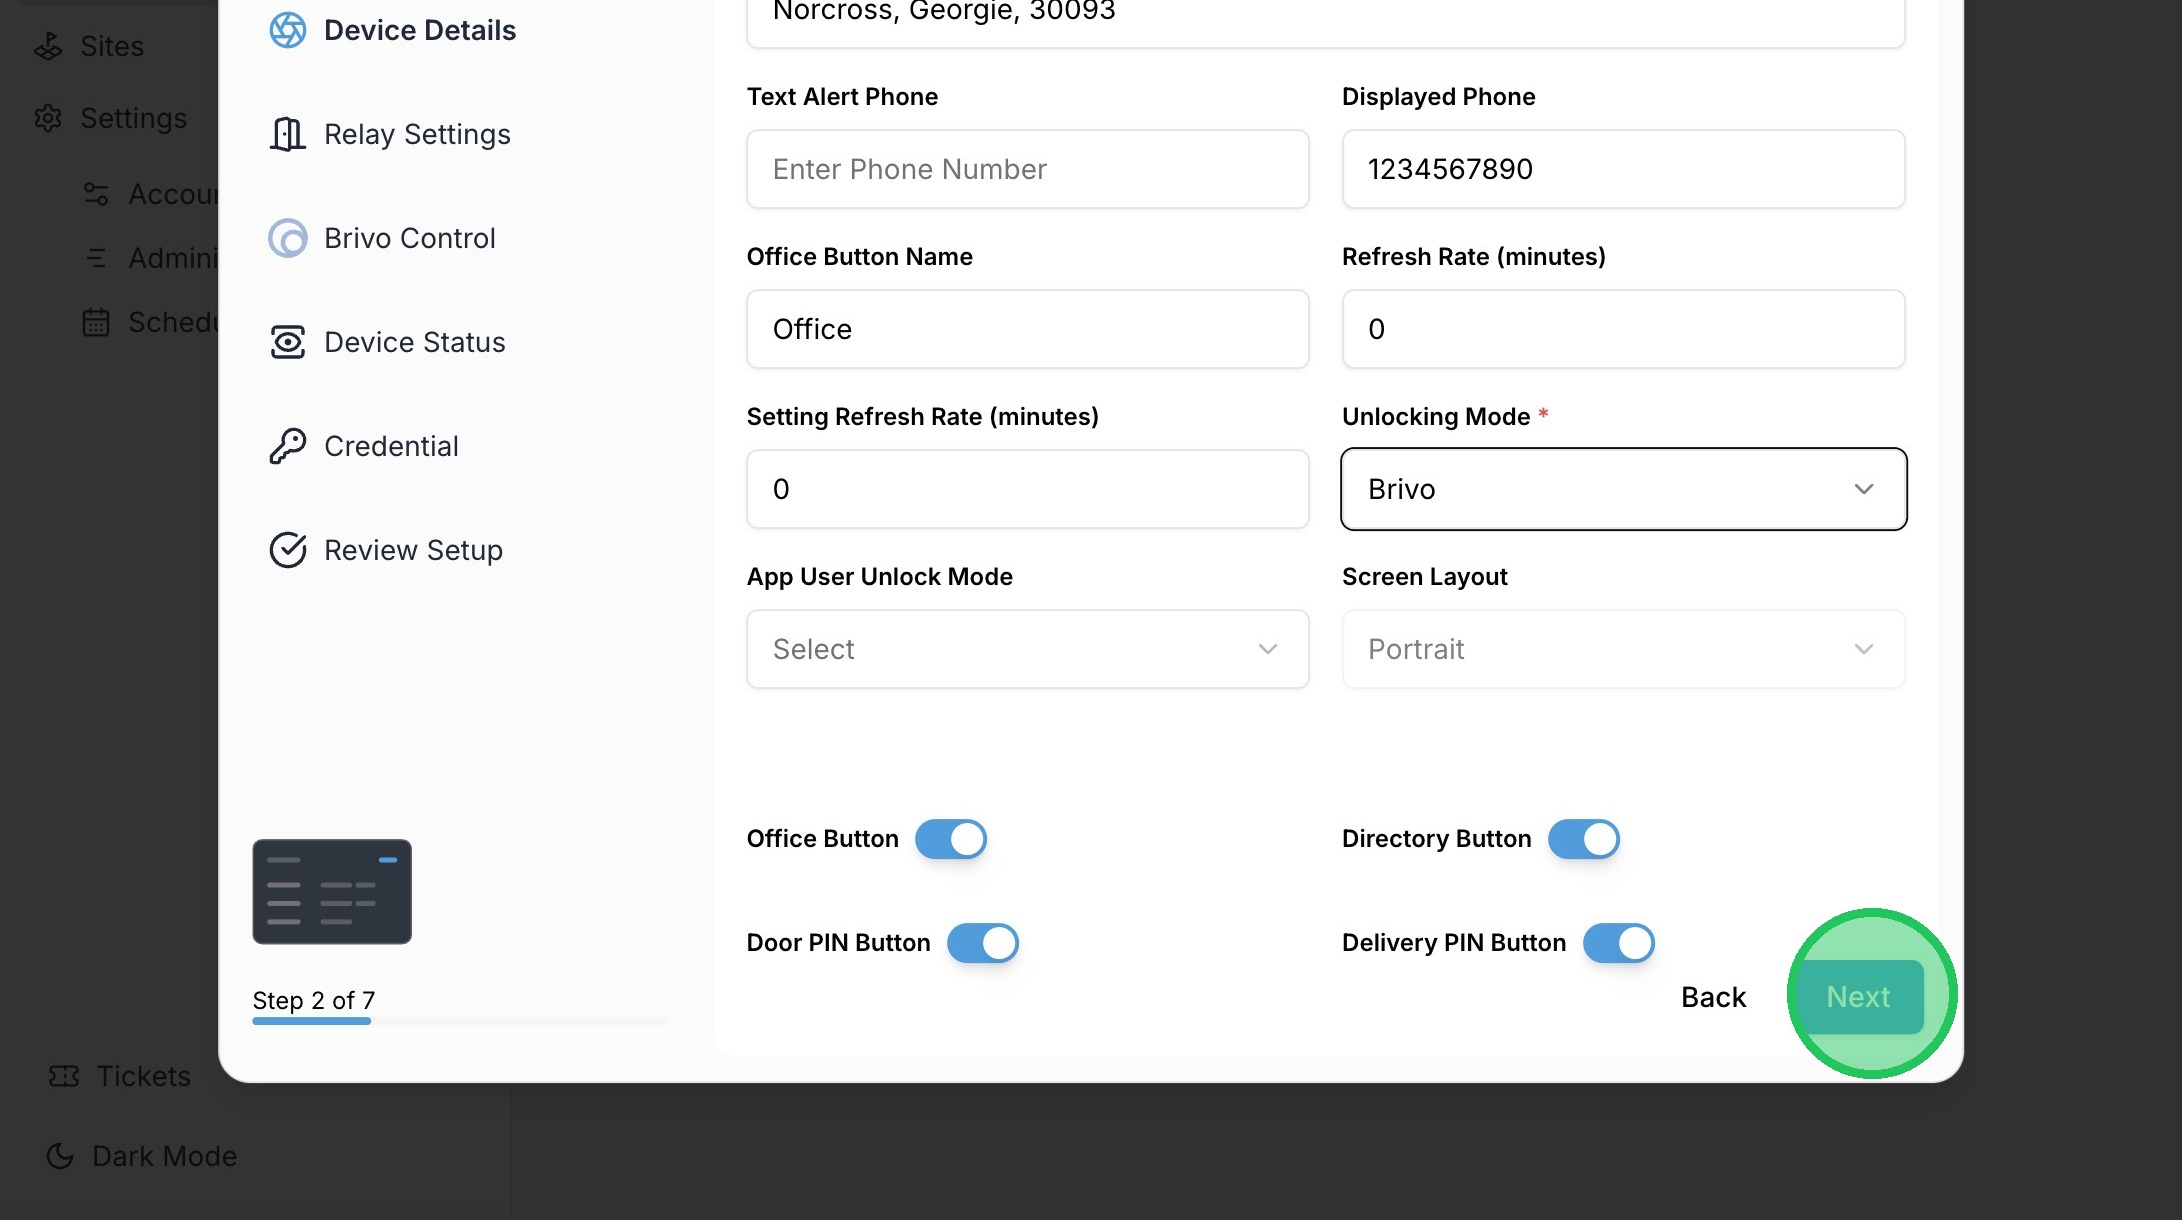
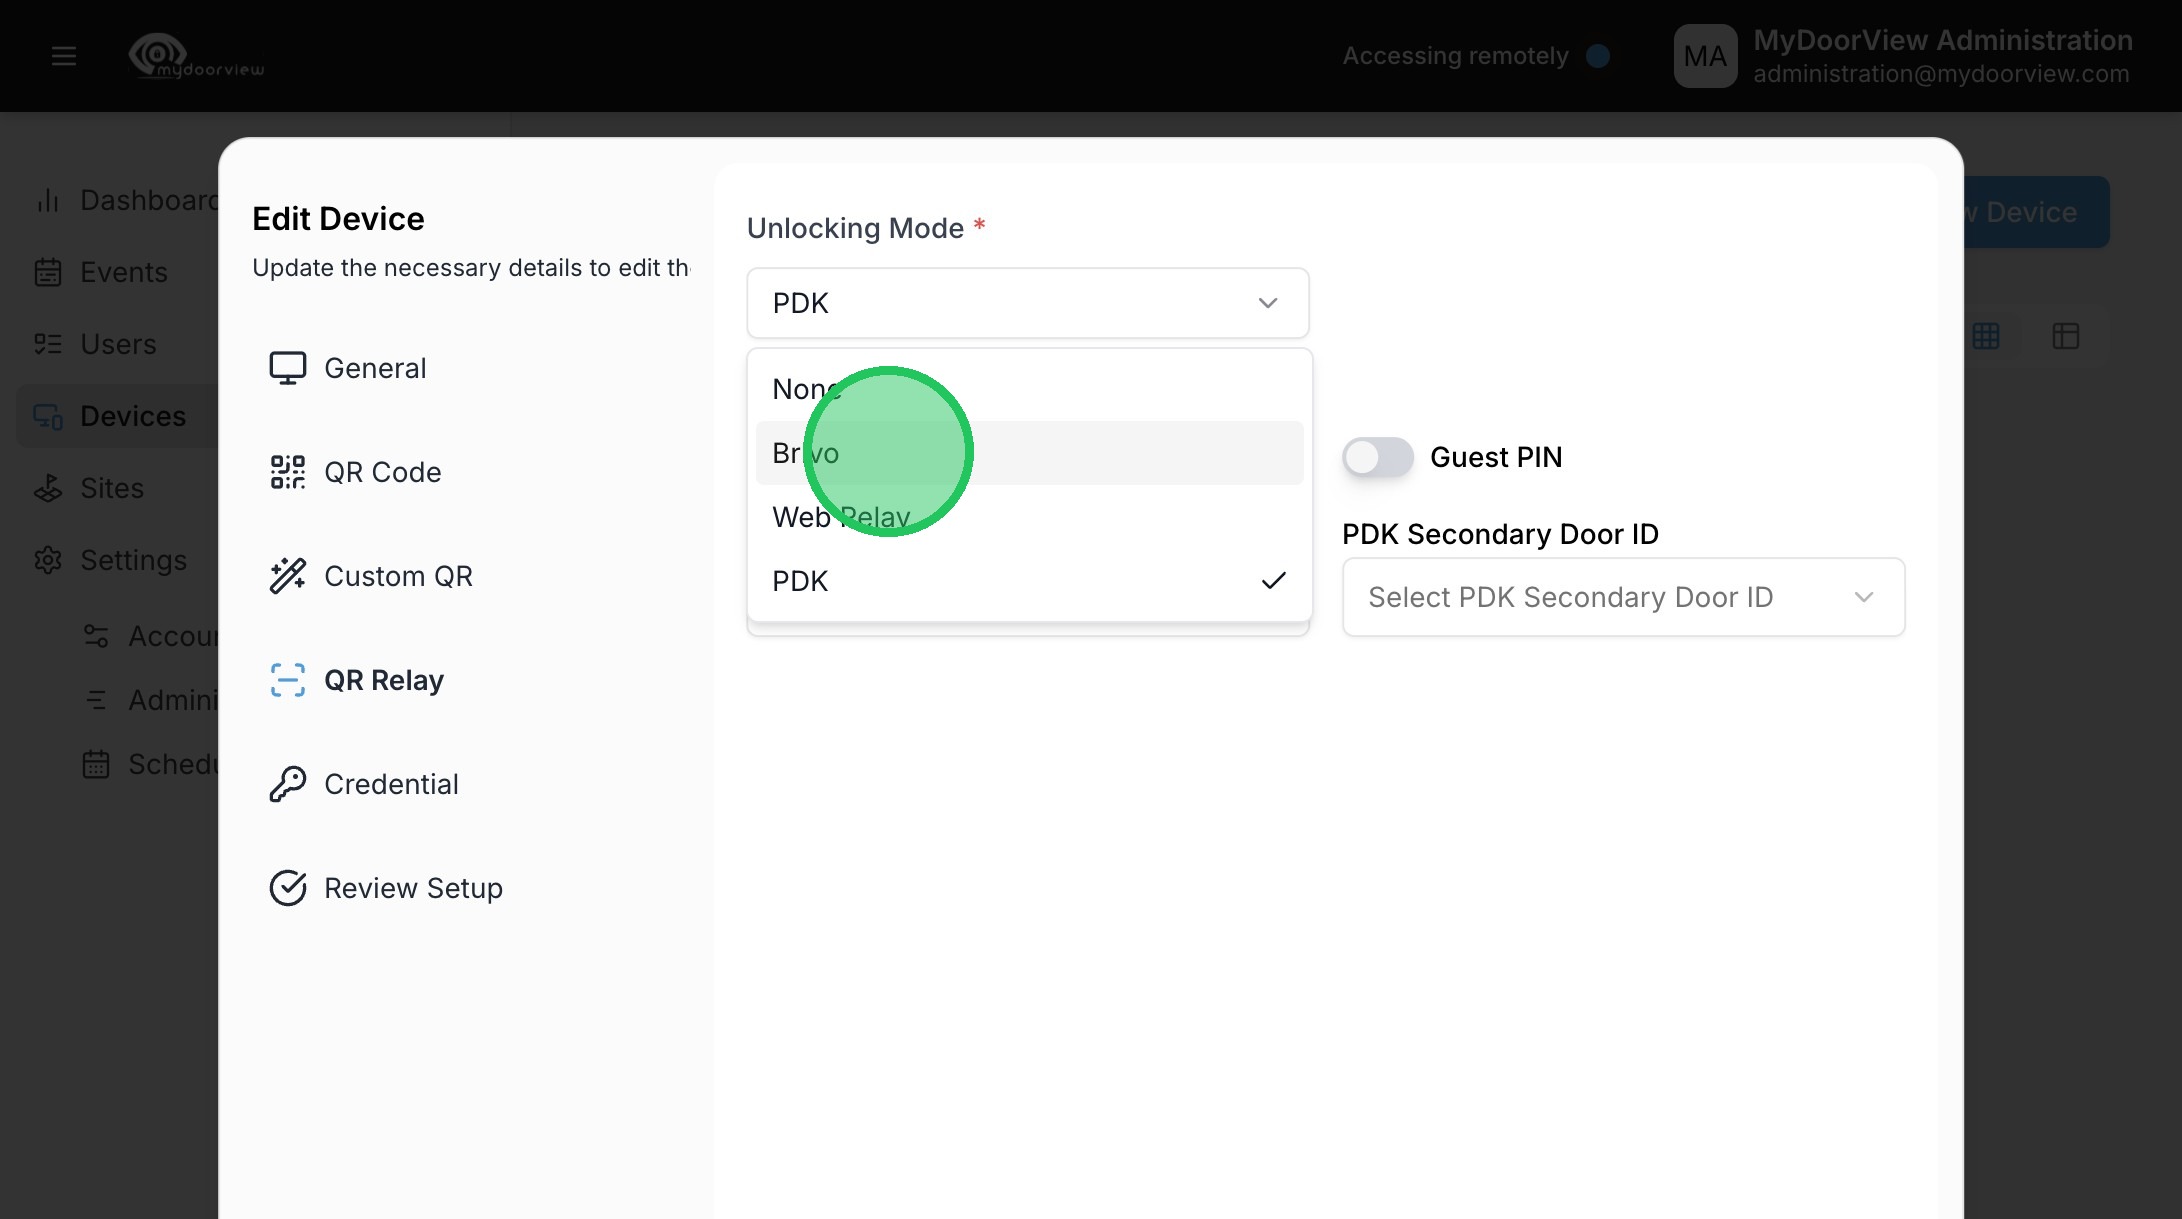
18. Click the Unlocking Mode dropdown and select "Brivo" as the Unlocking Mode
19. Click "Next"
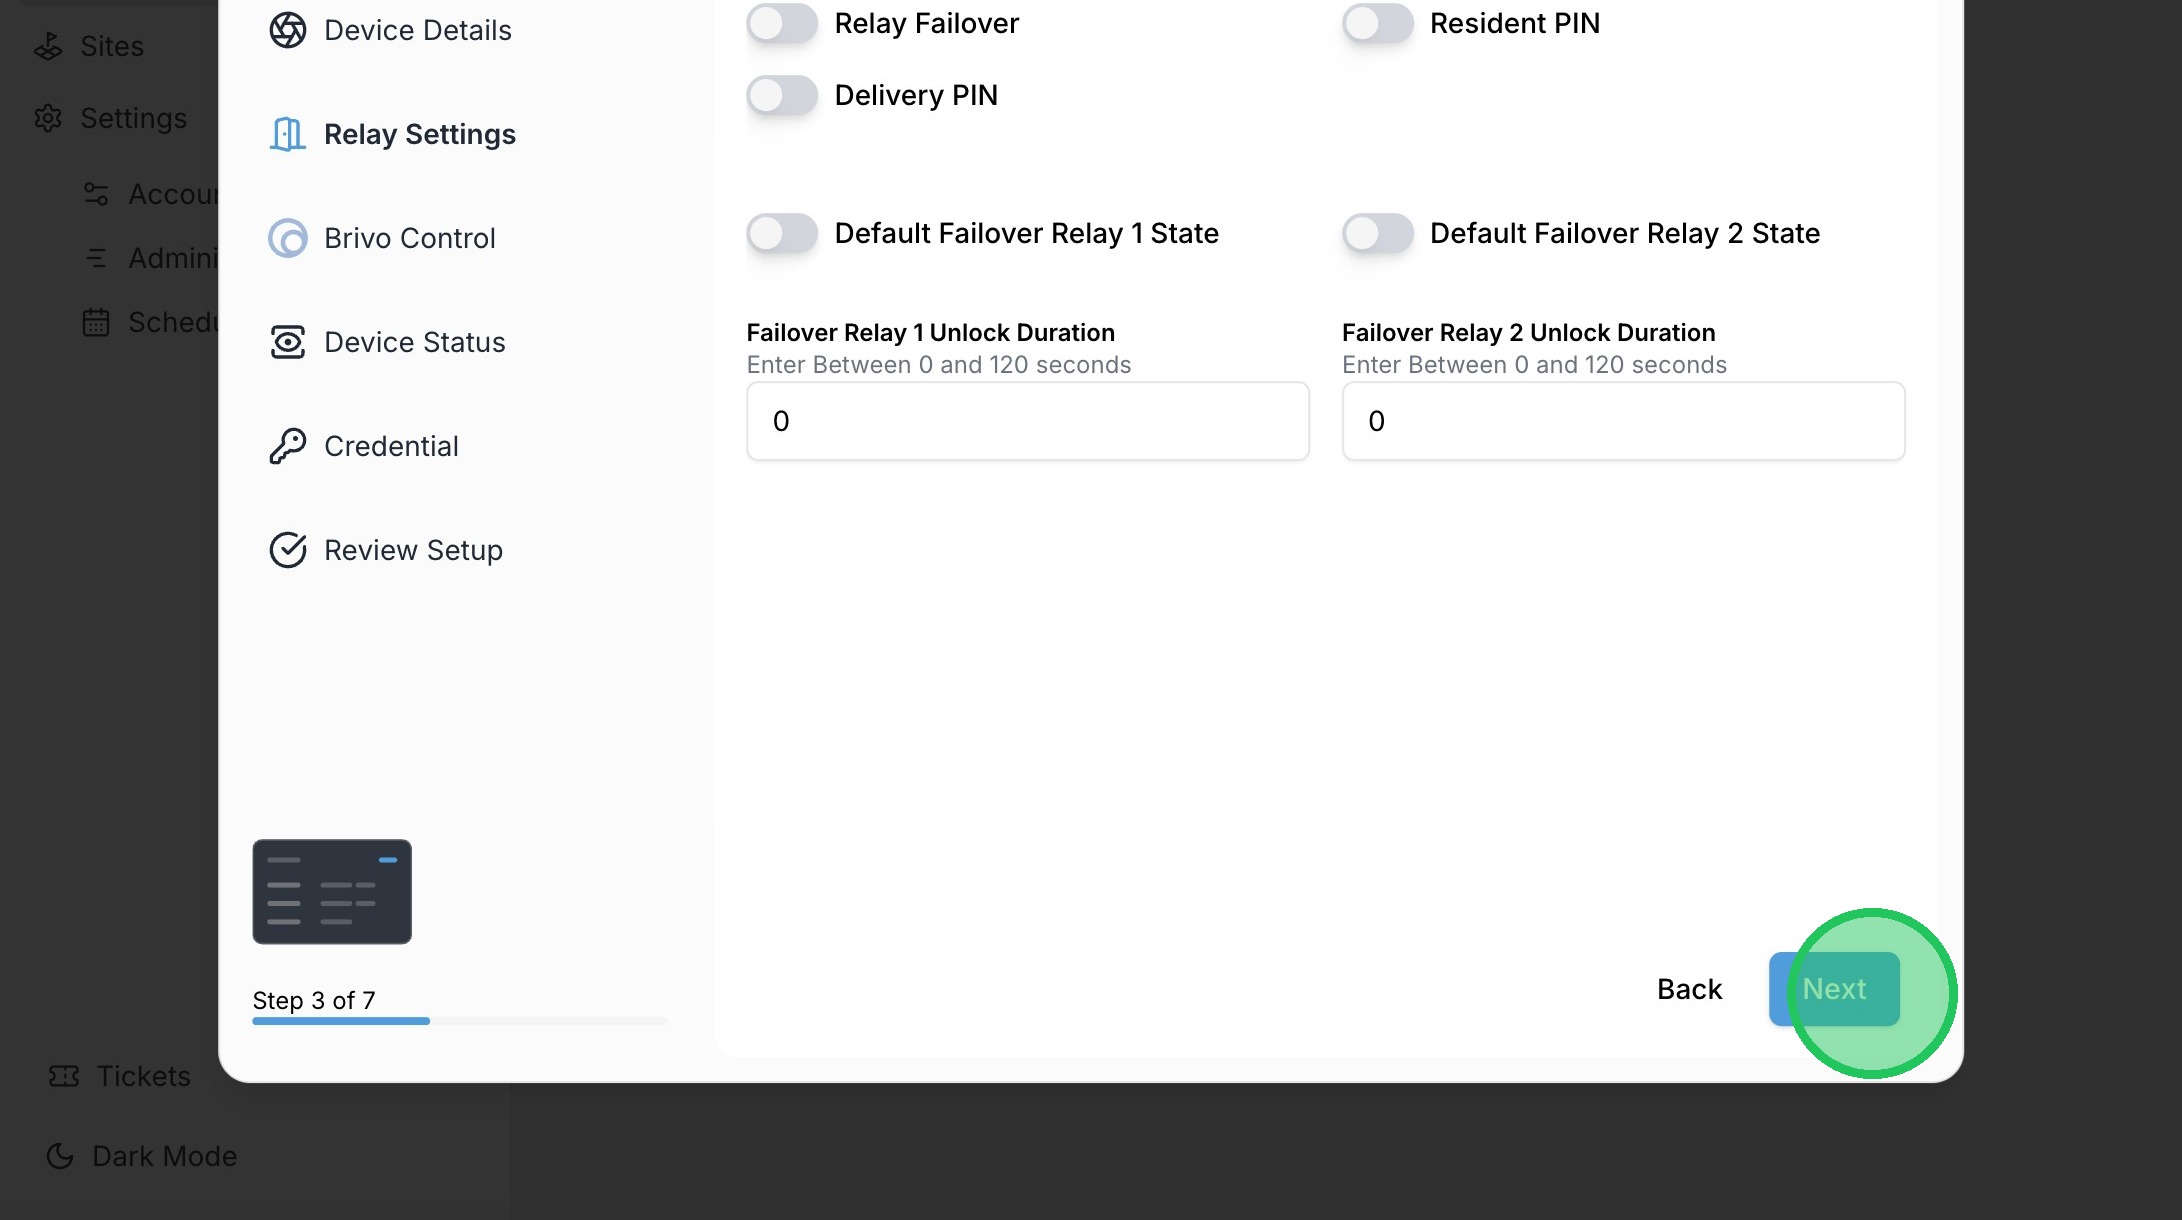
20. Click "Next"
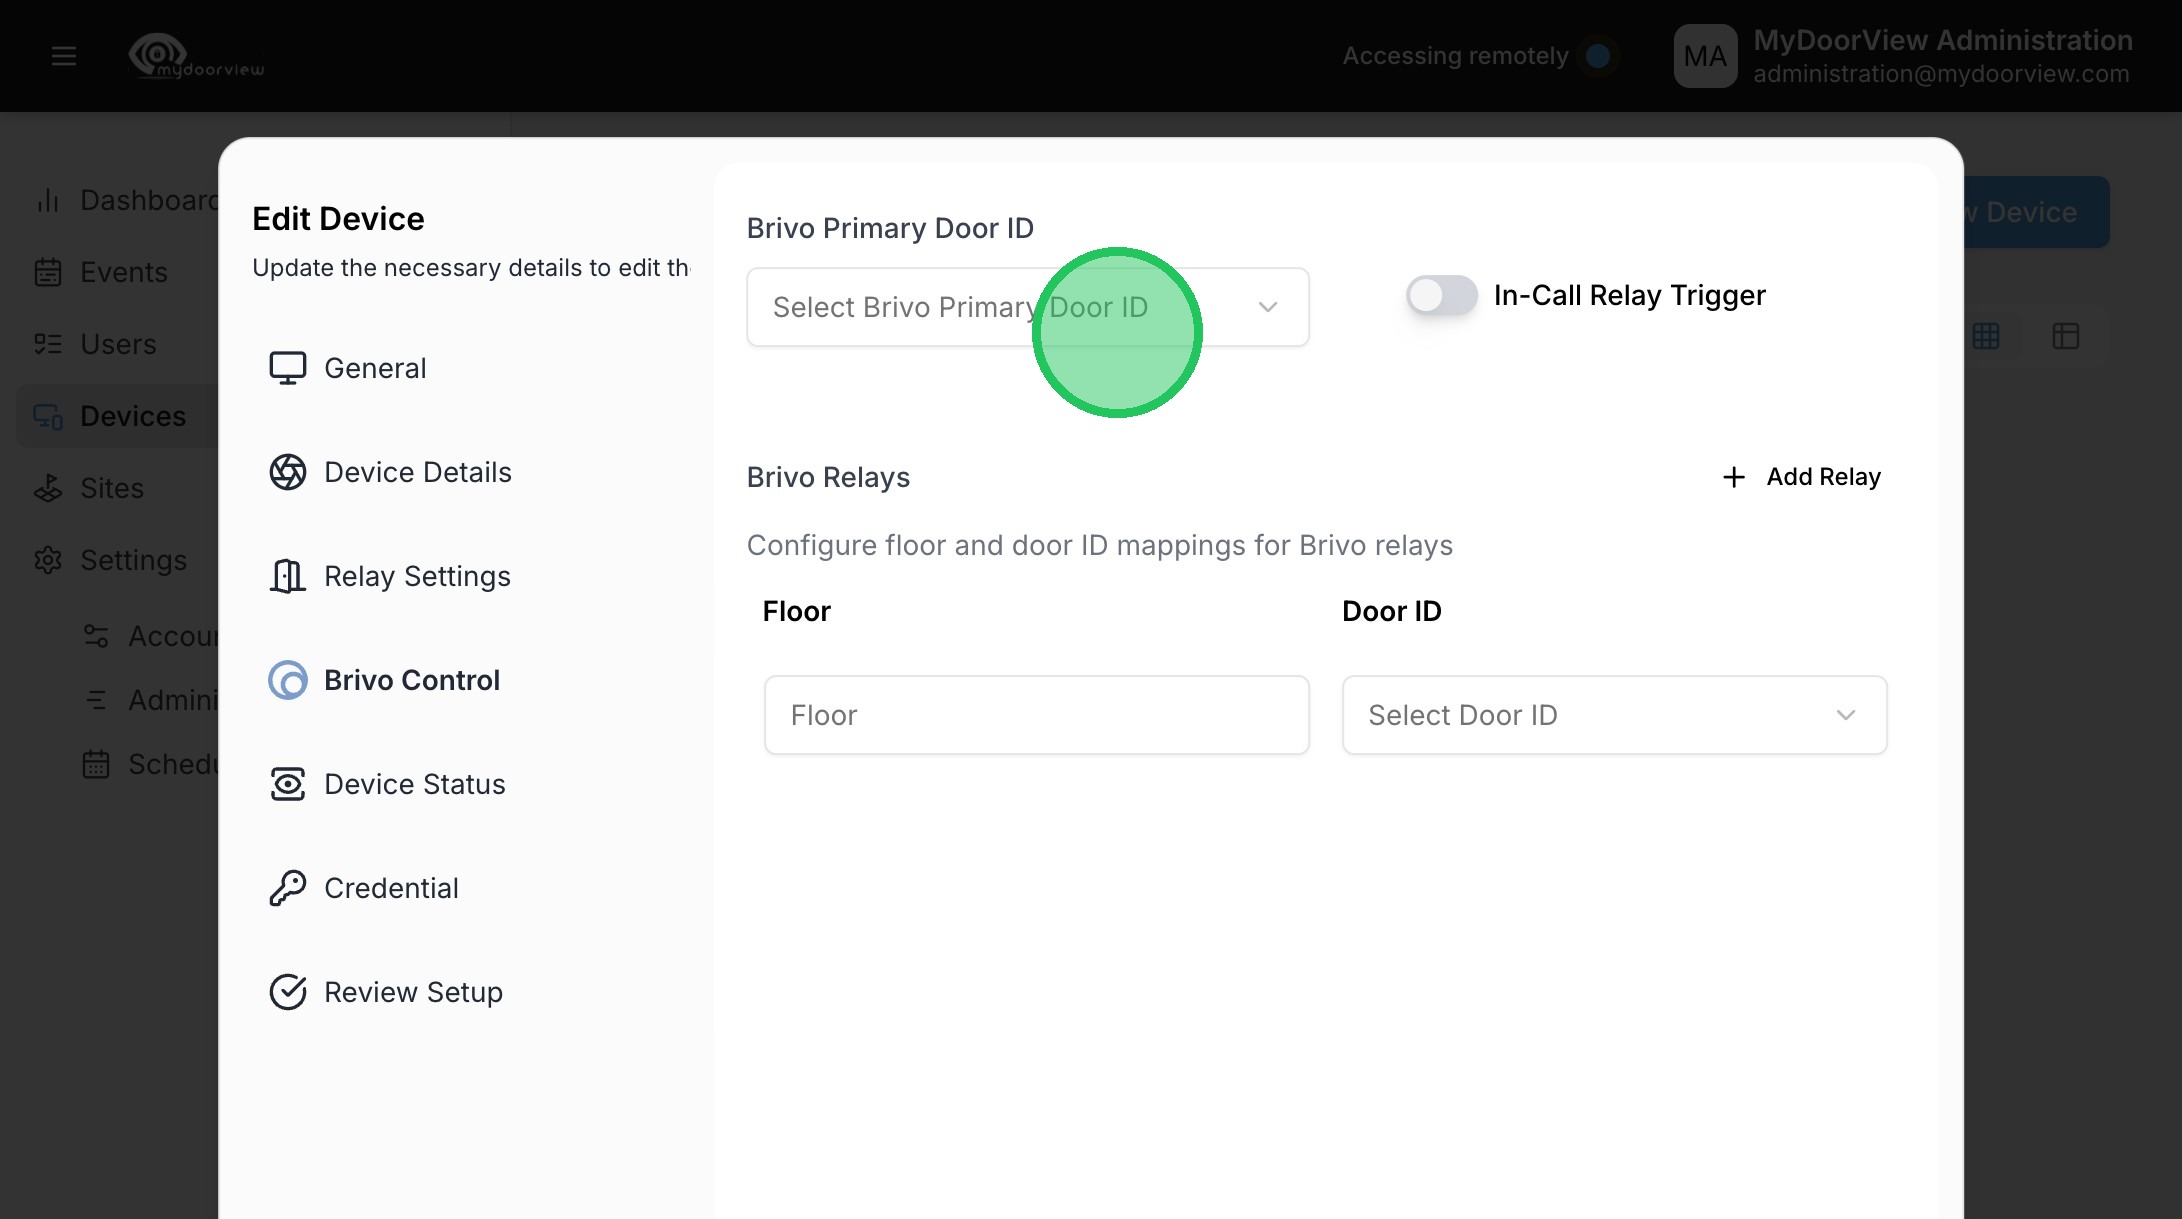
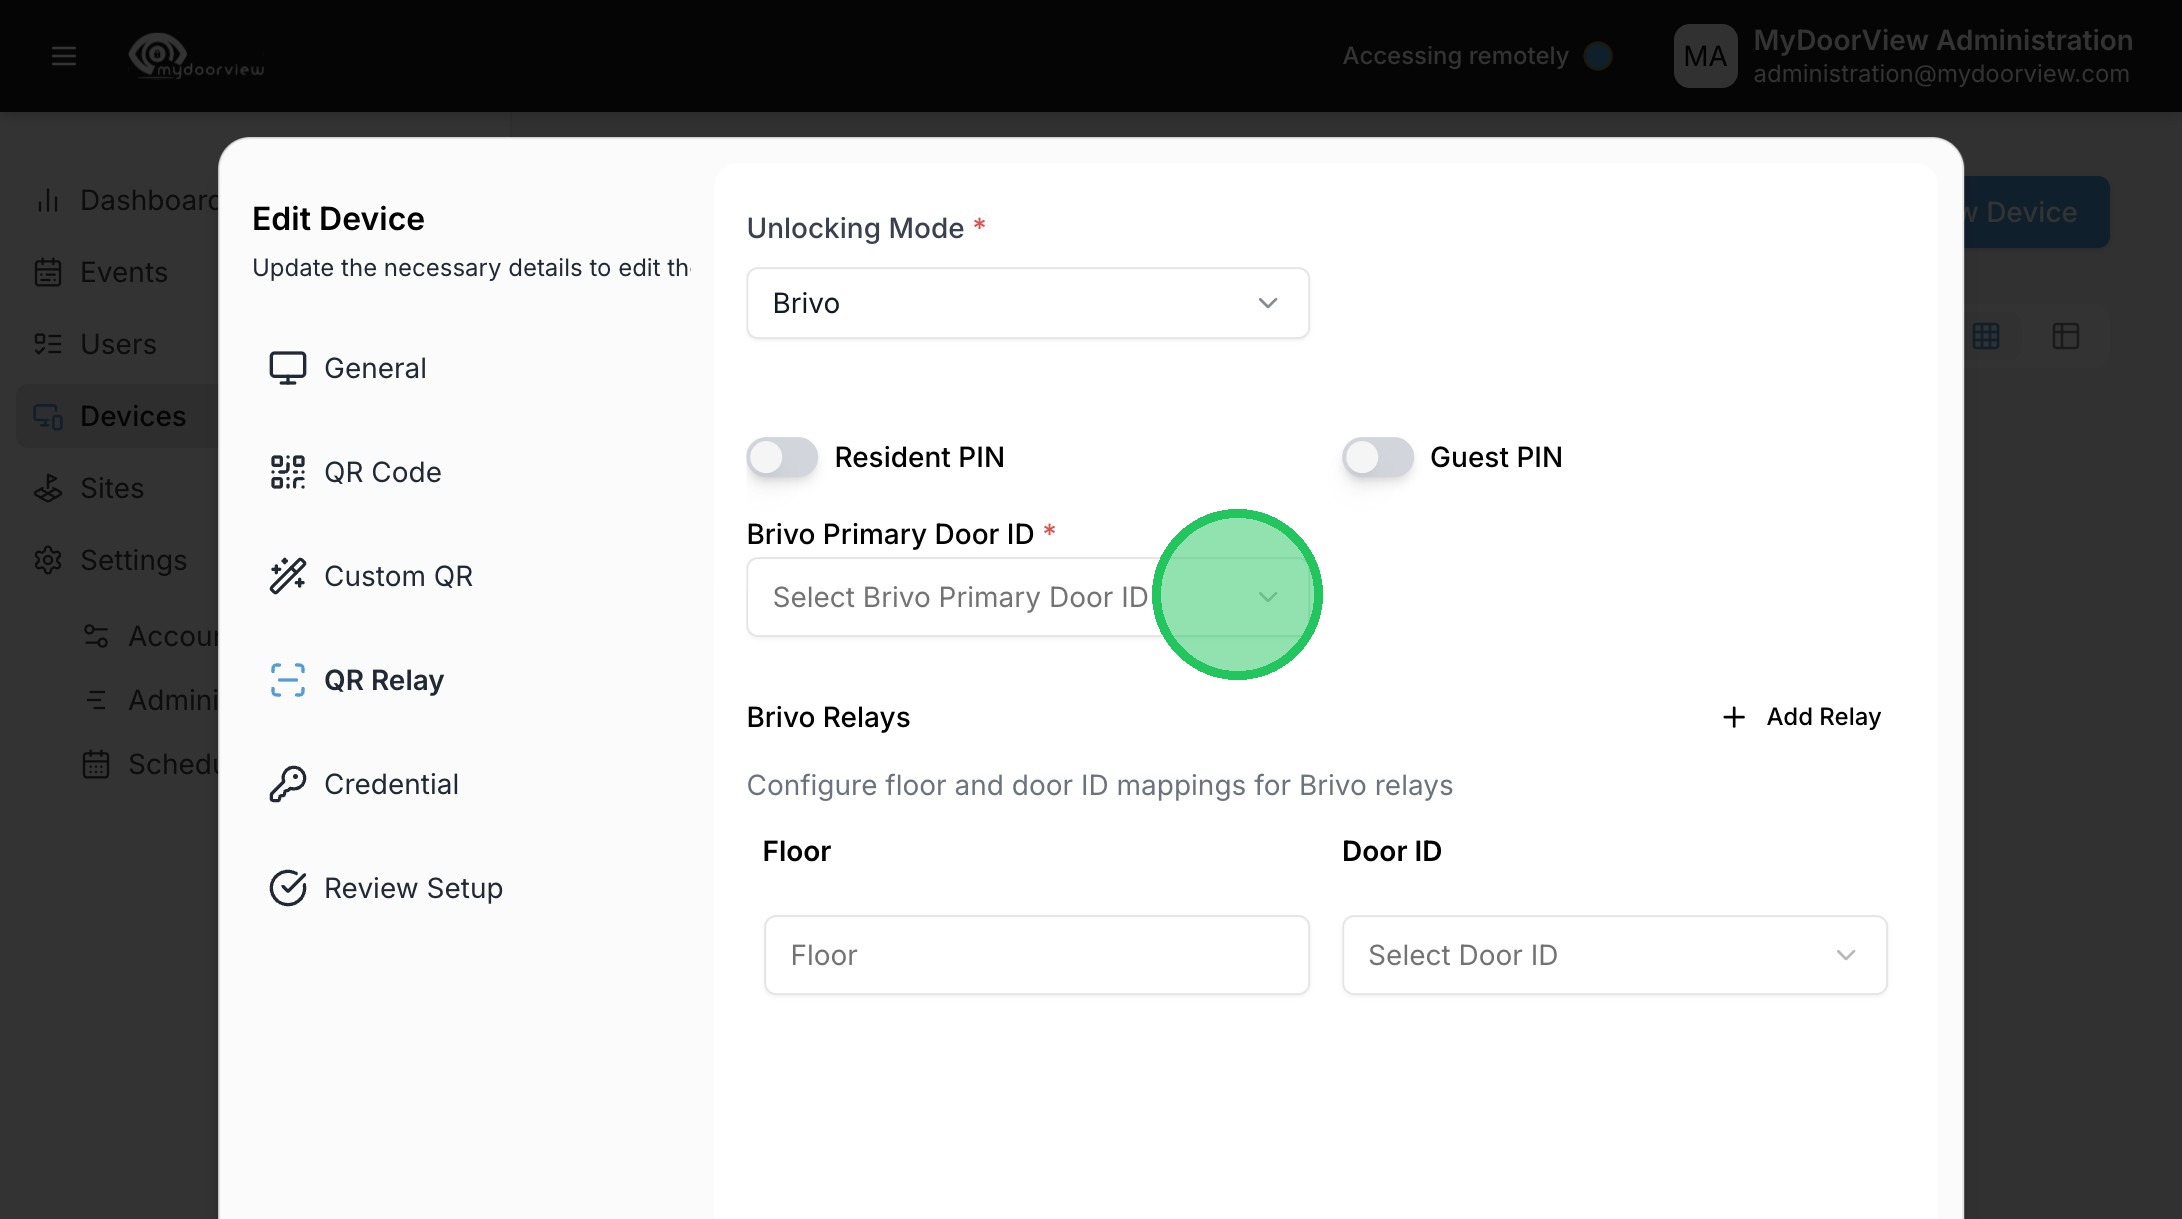
21. Click "Select Brivo Primary Door ID"
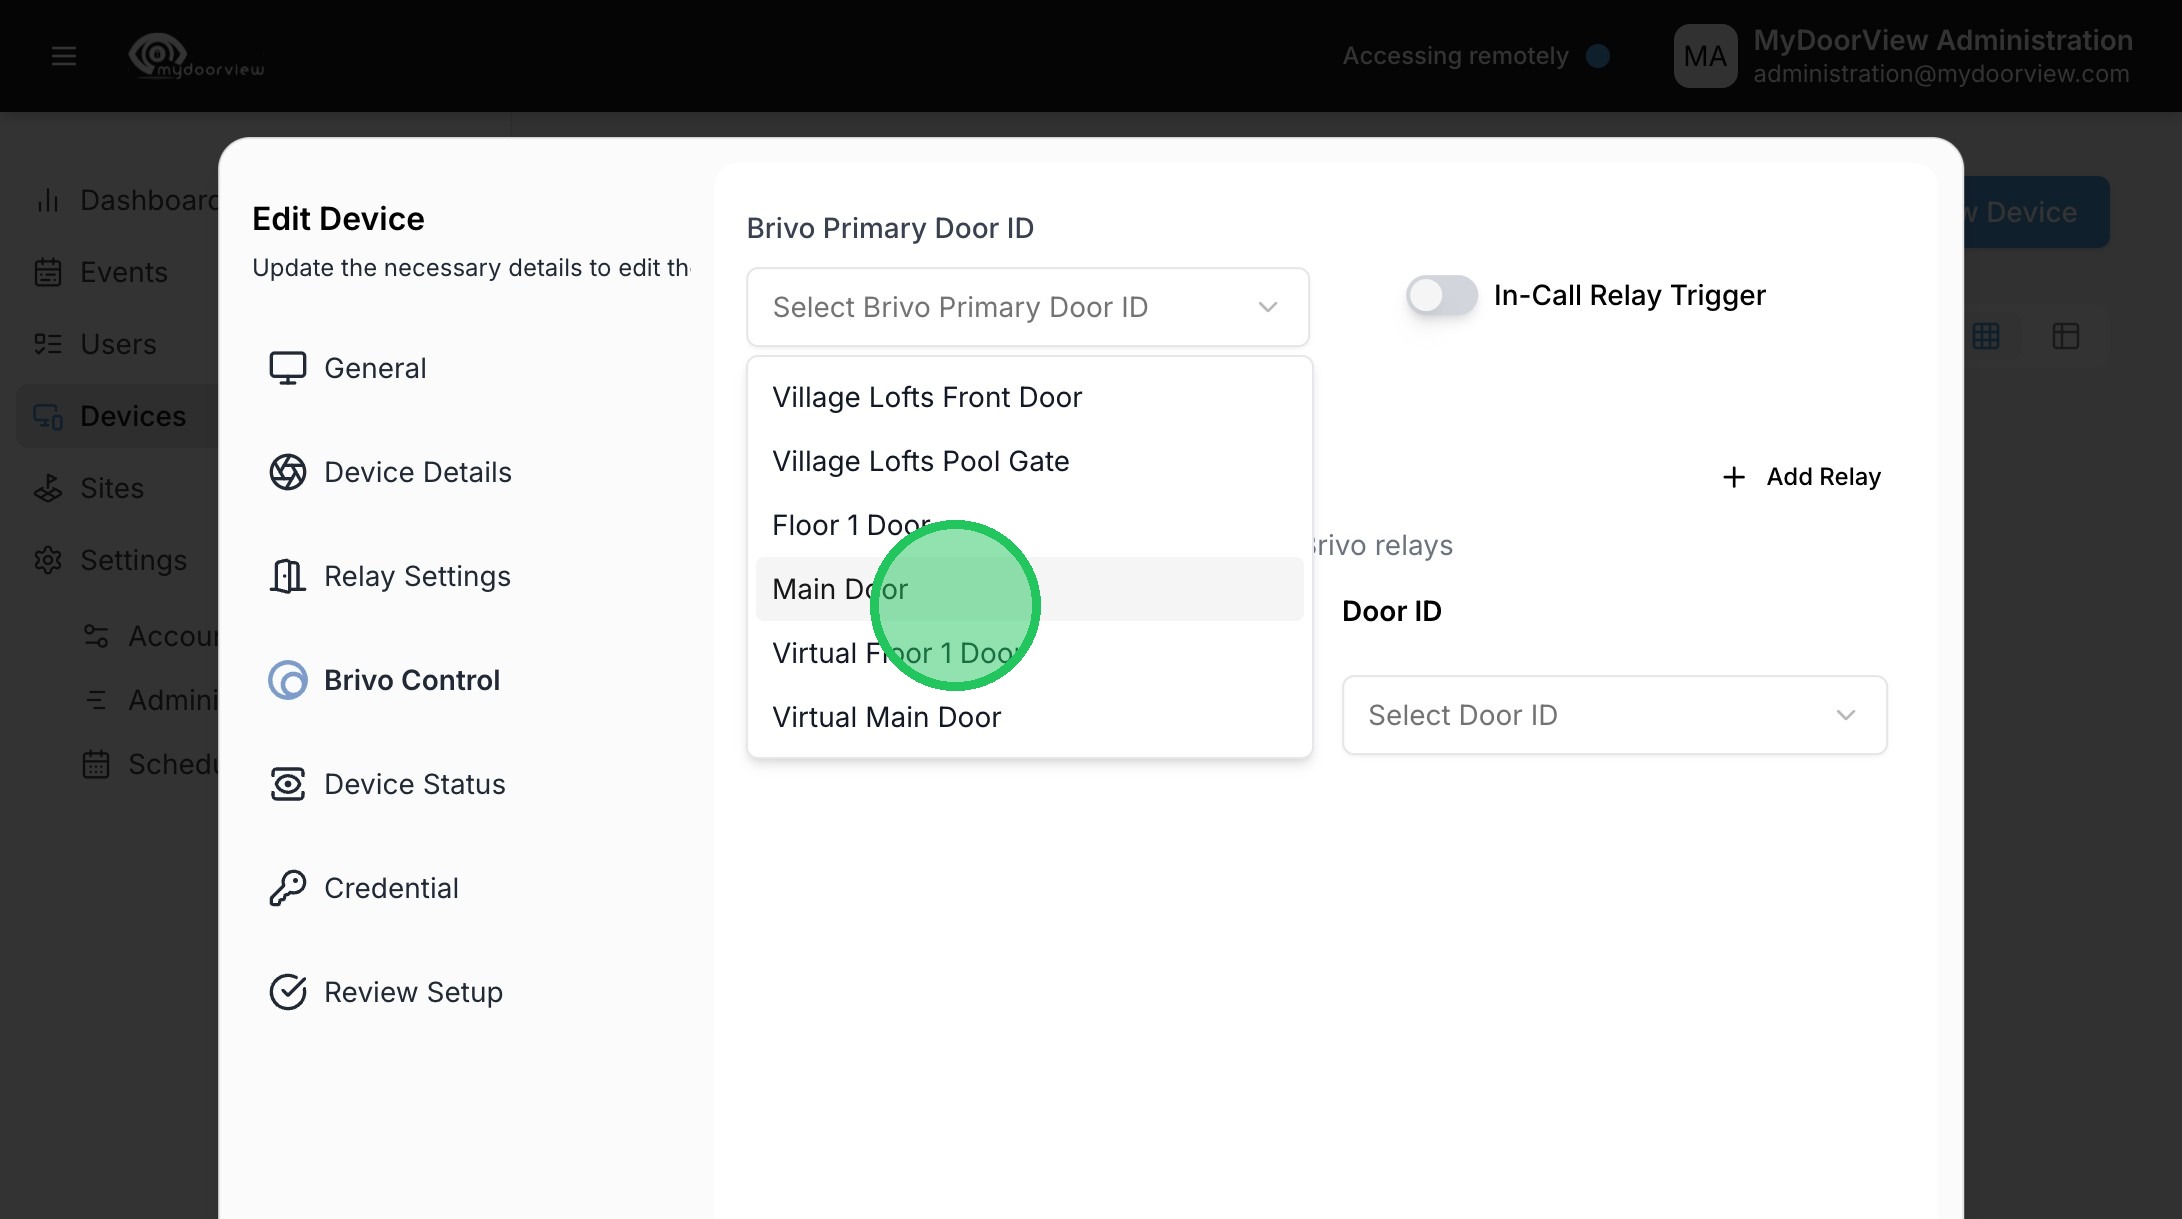
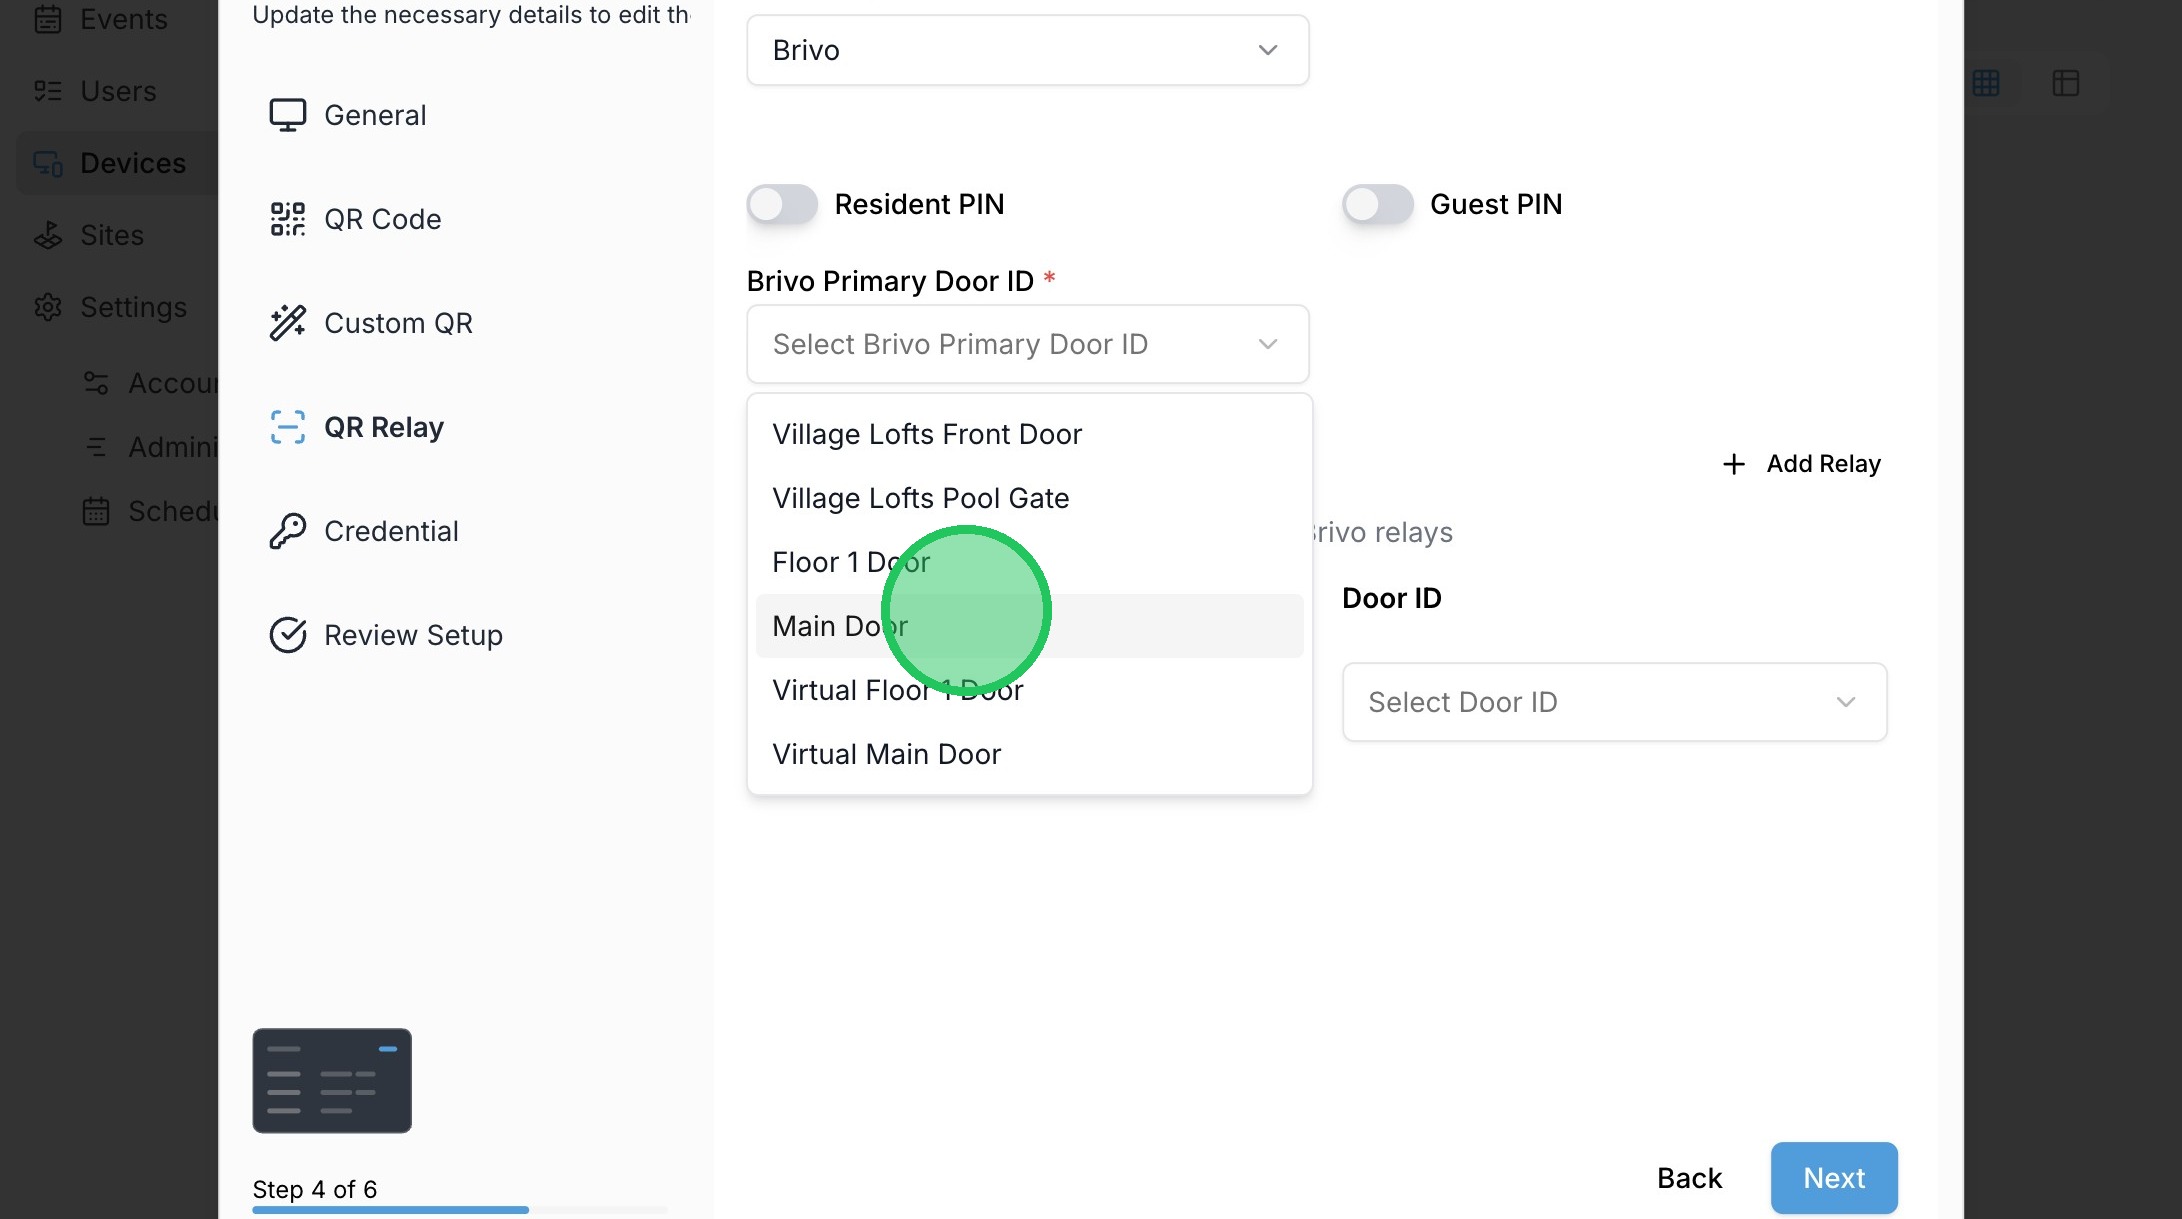
22. Select the desired door for the device to unlock.
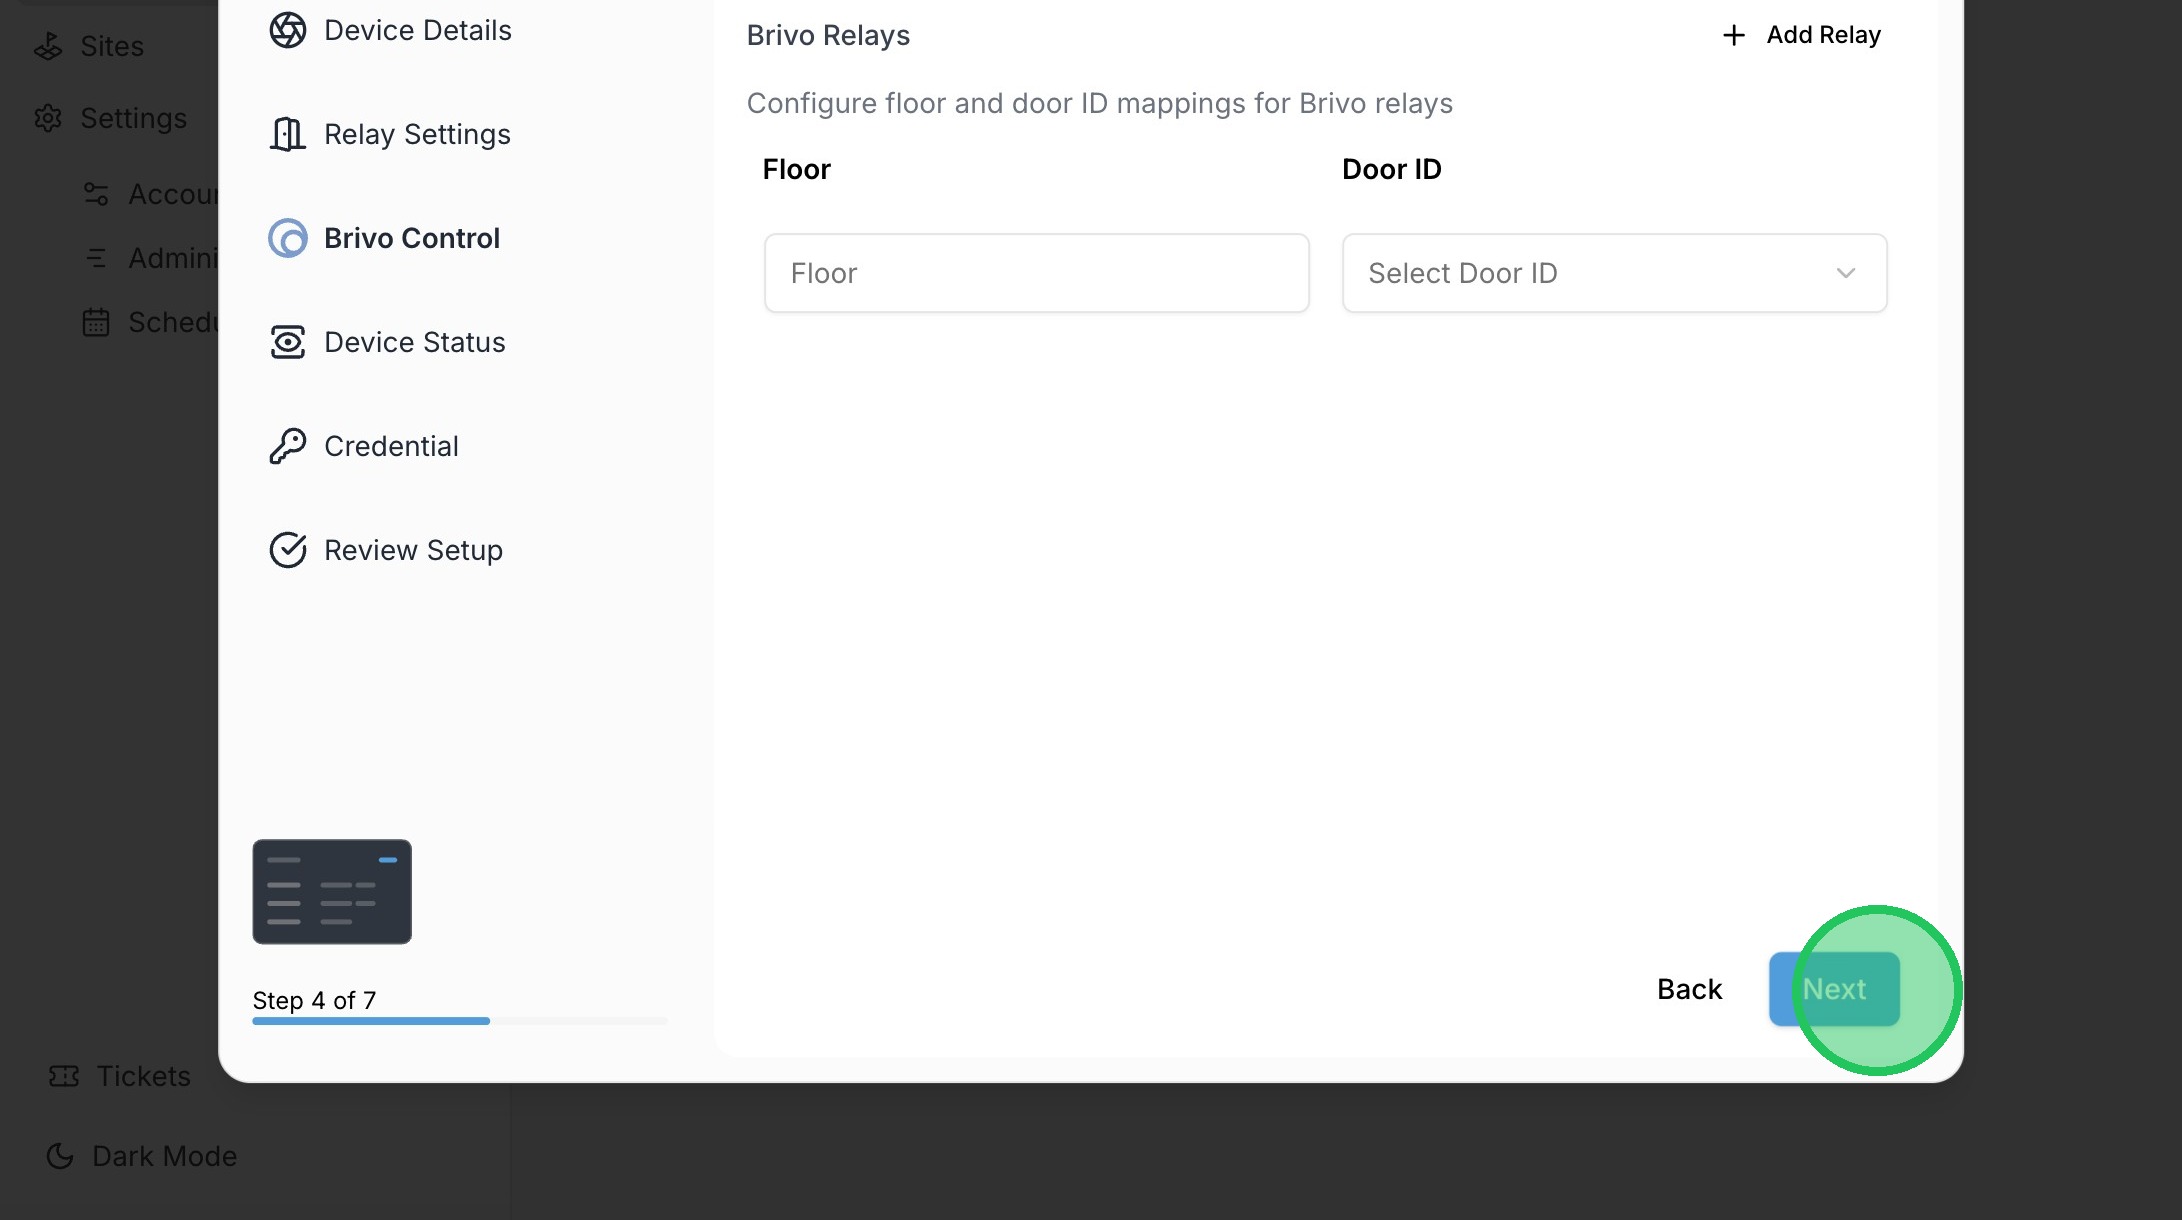
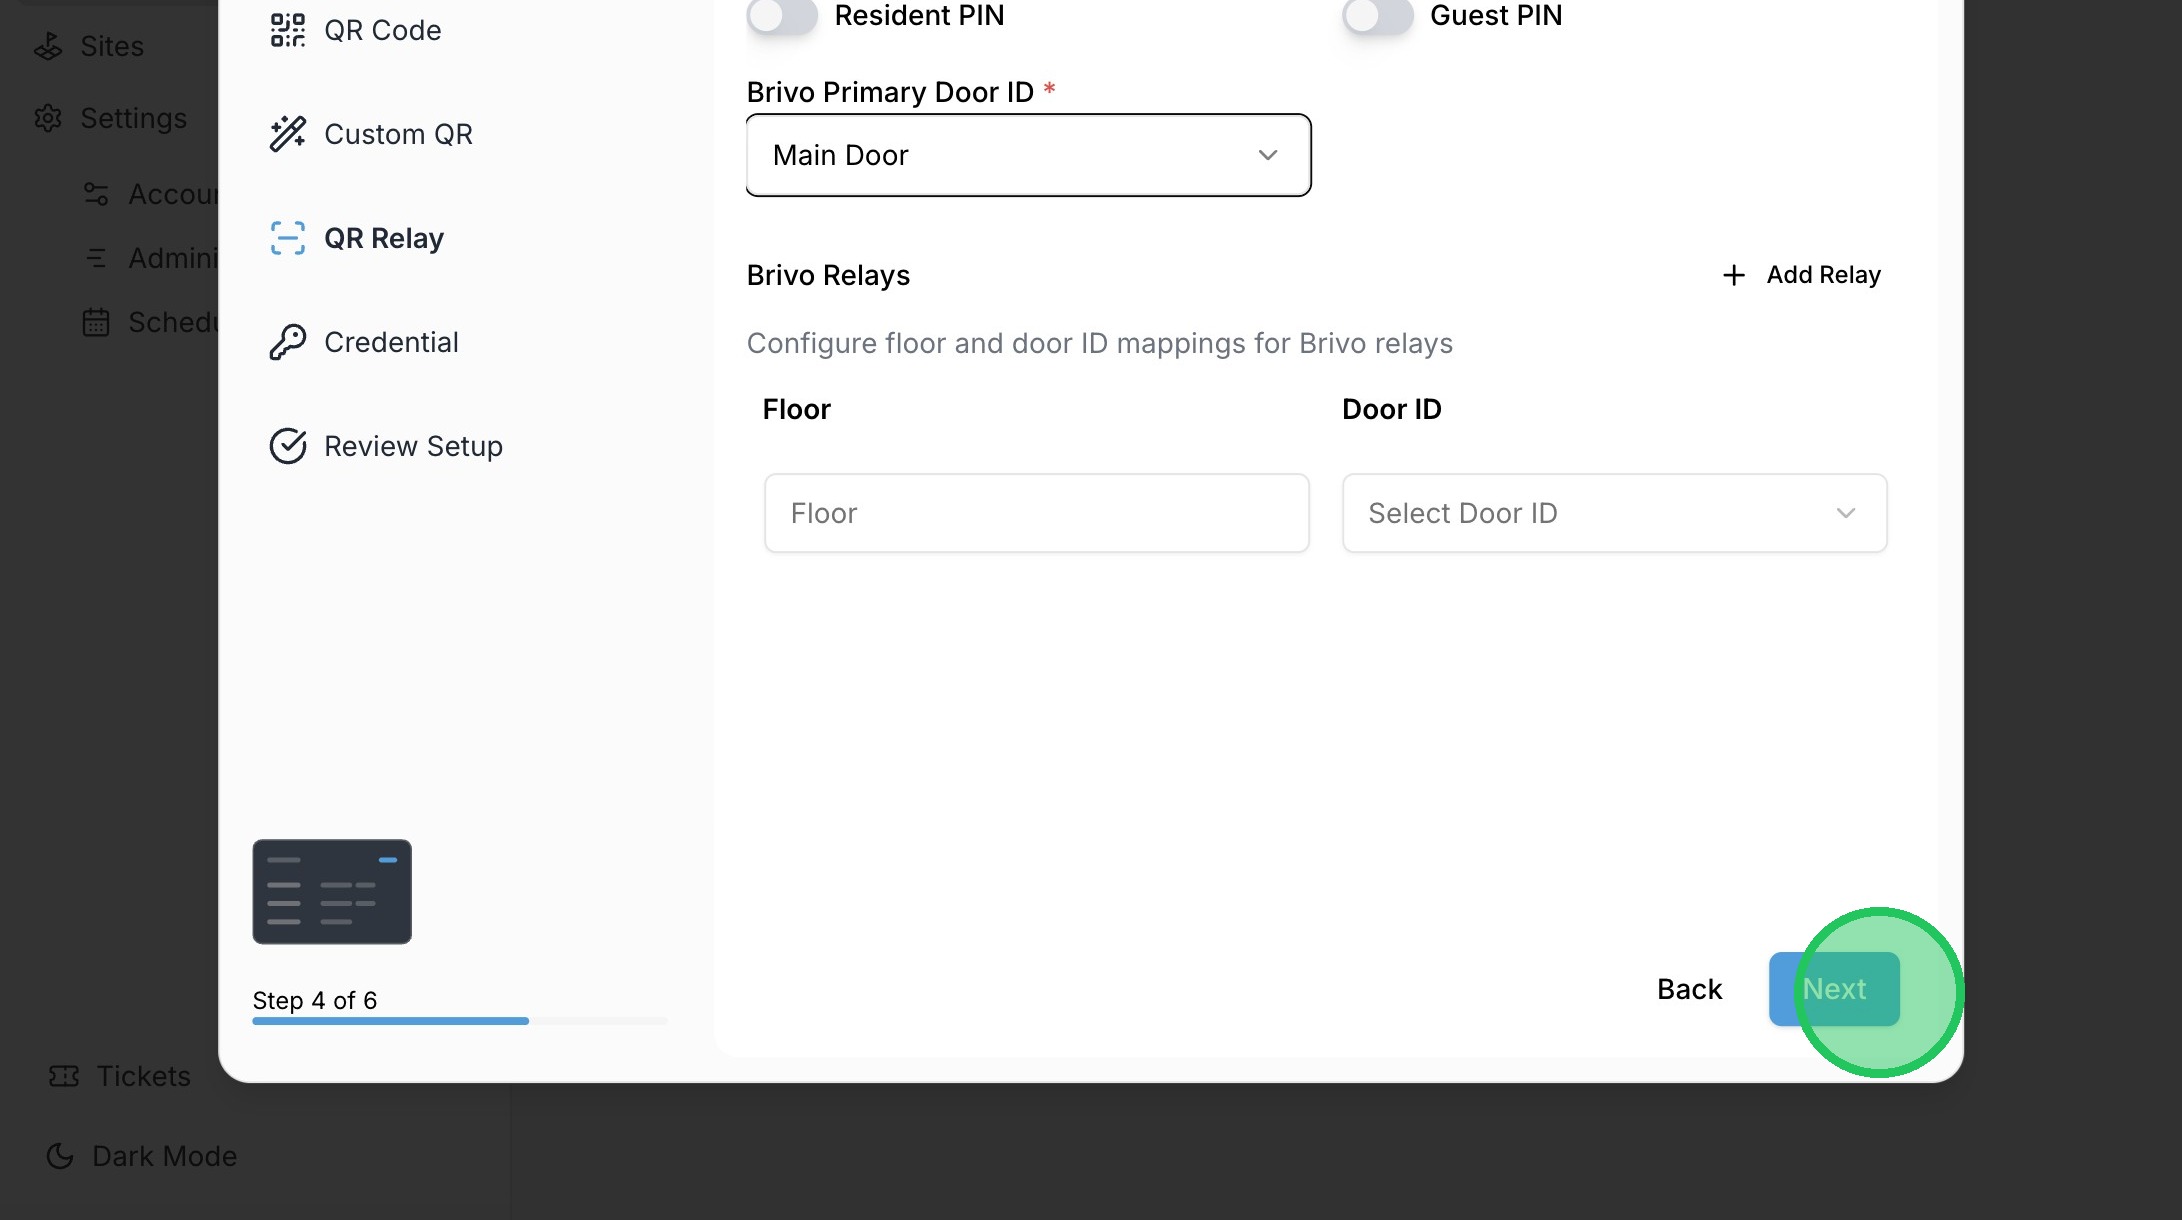
23. Click "Next"
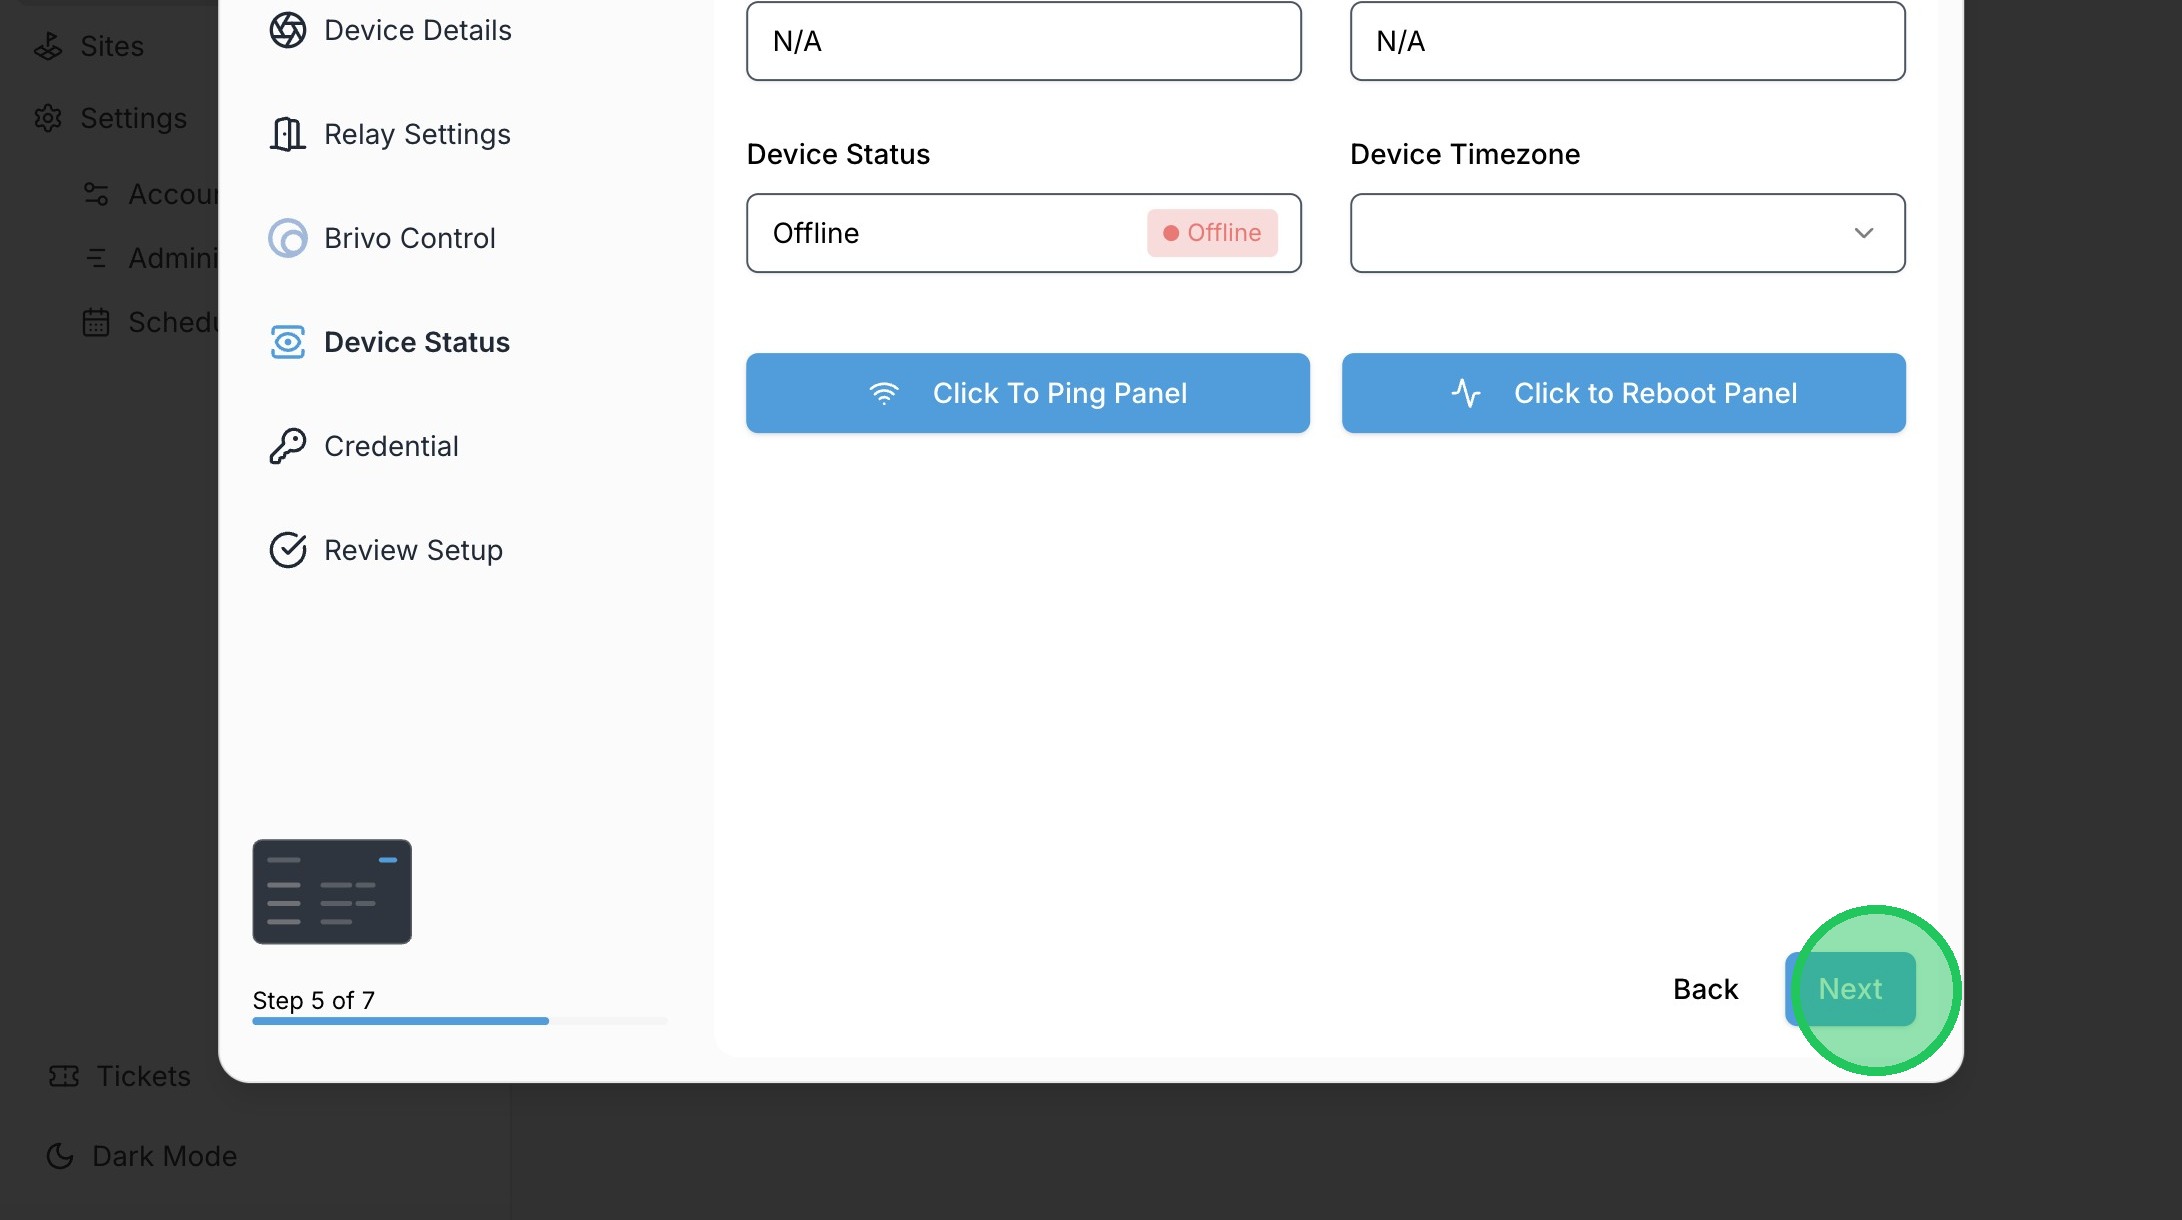
24. Click "Next"
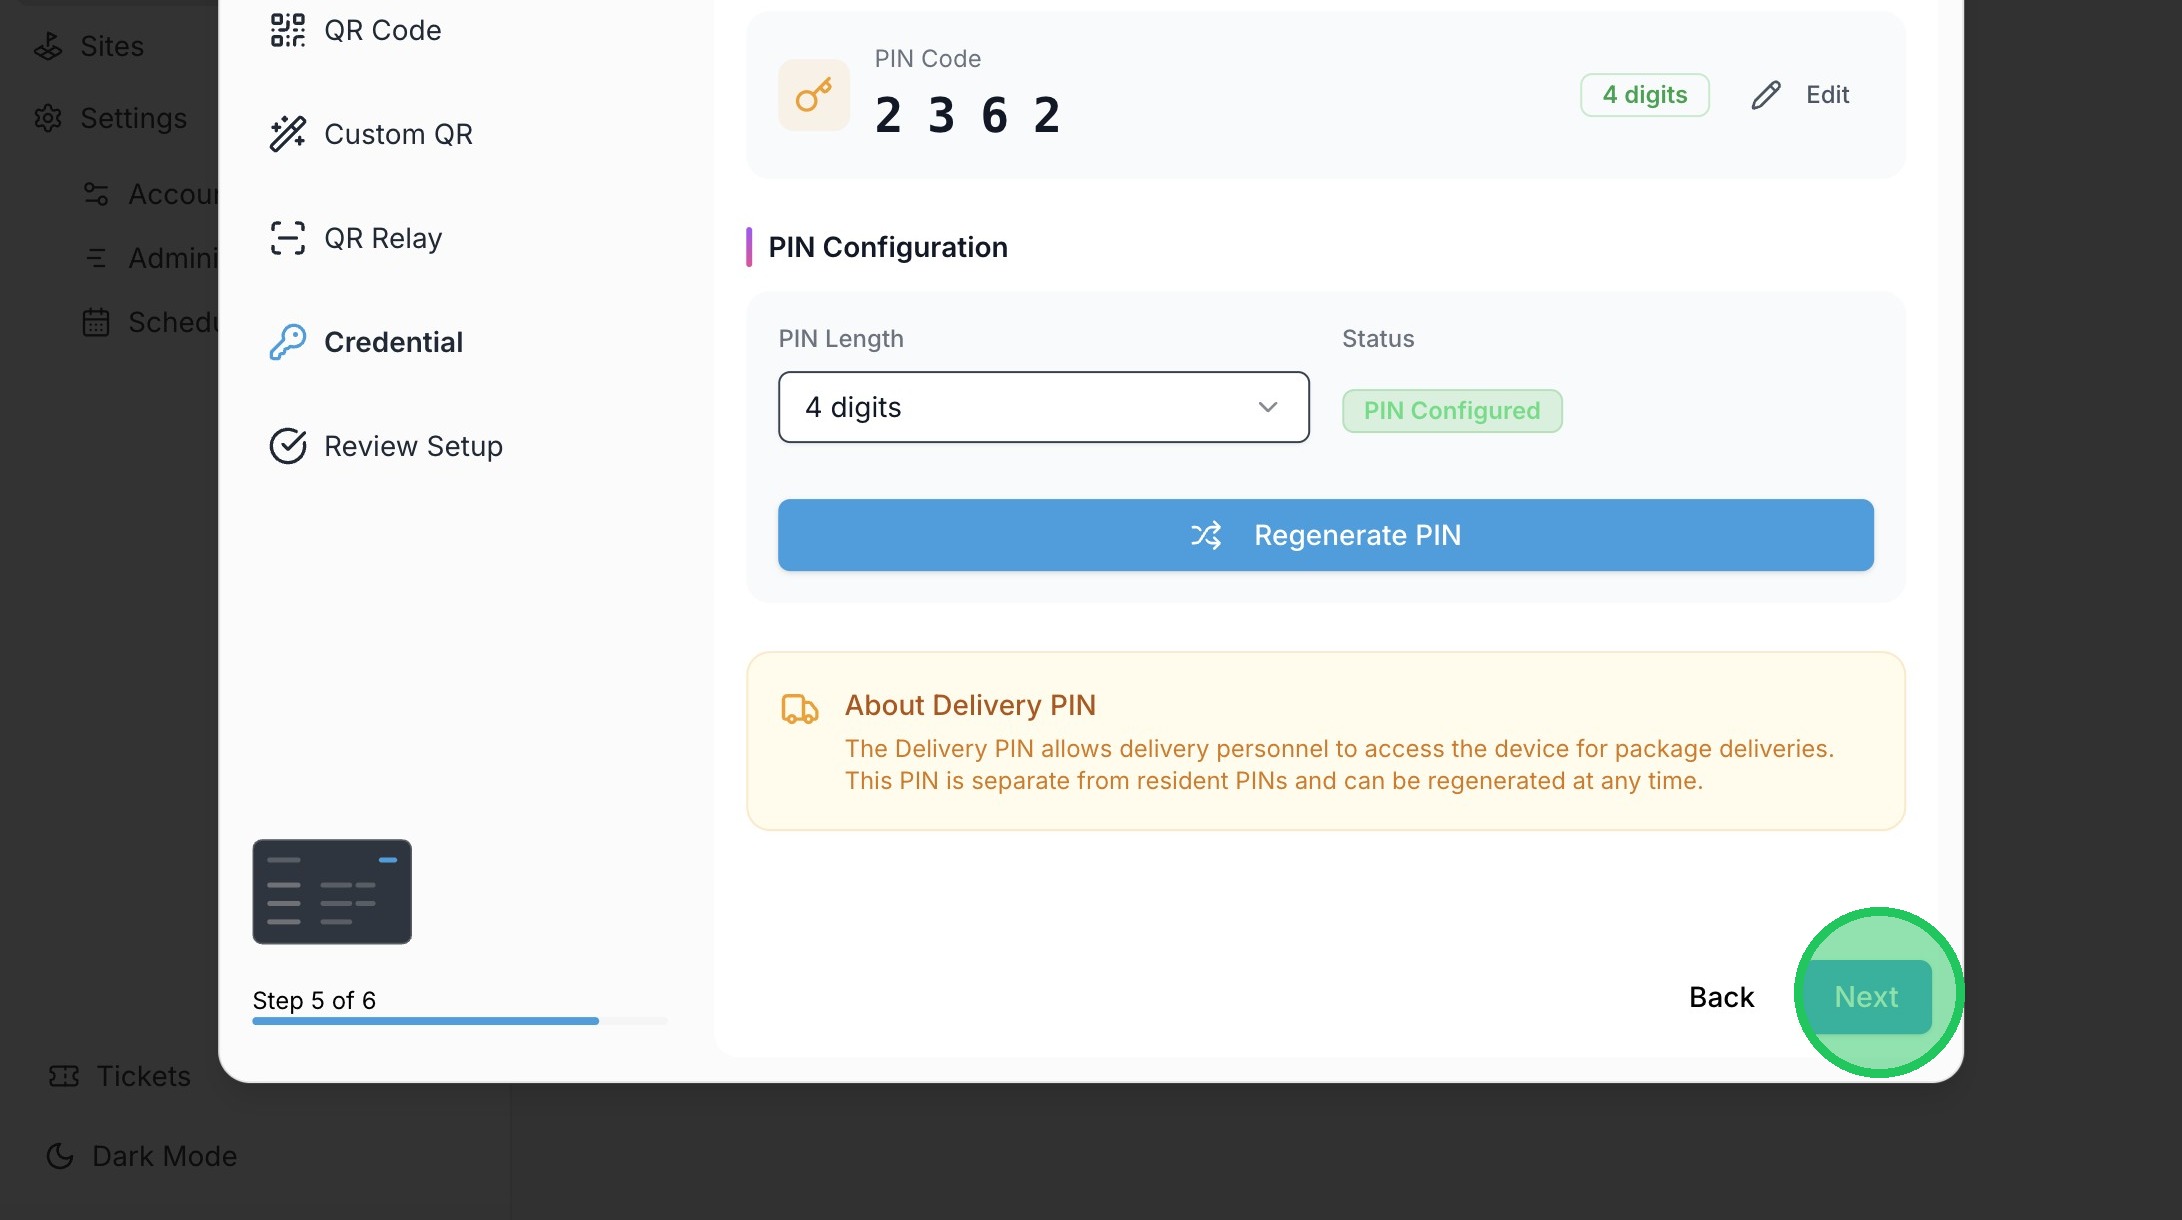
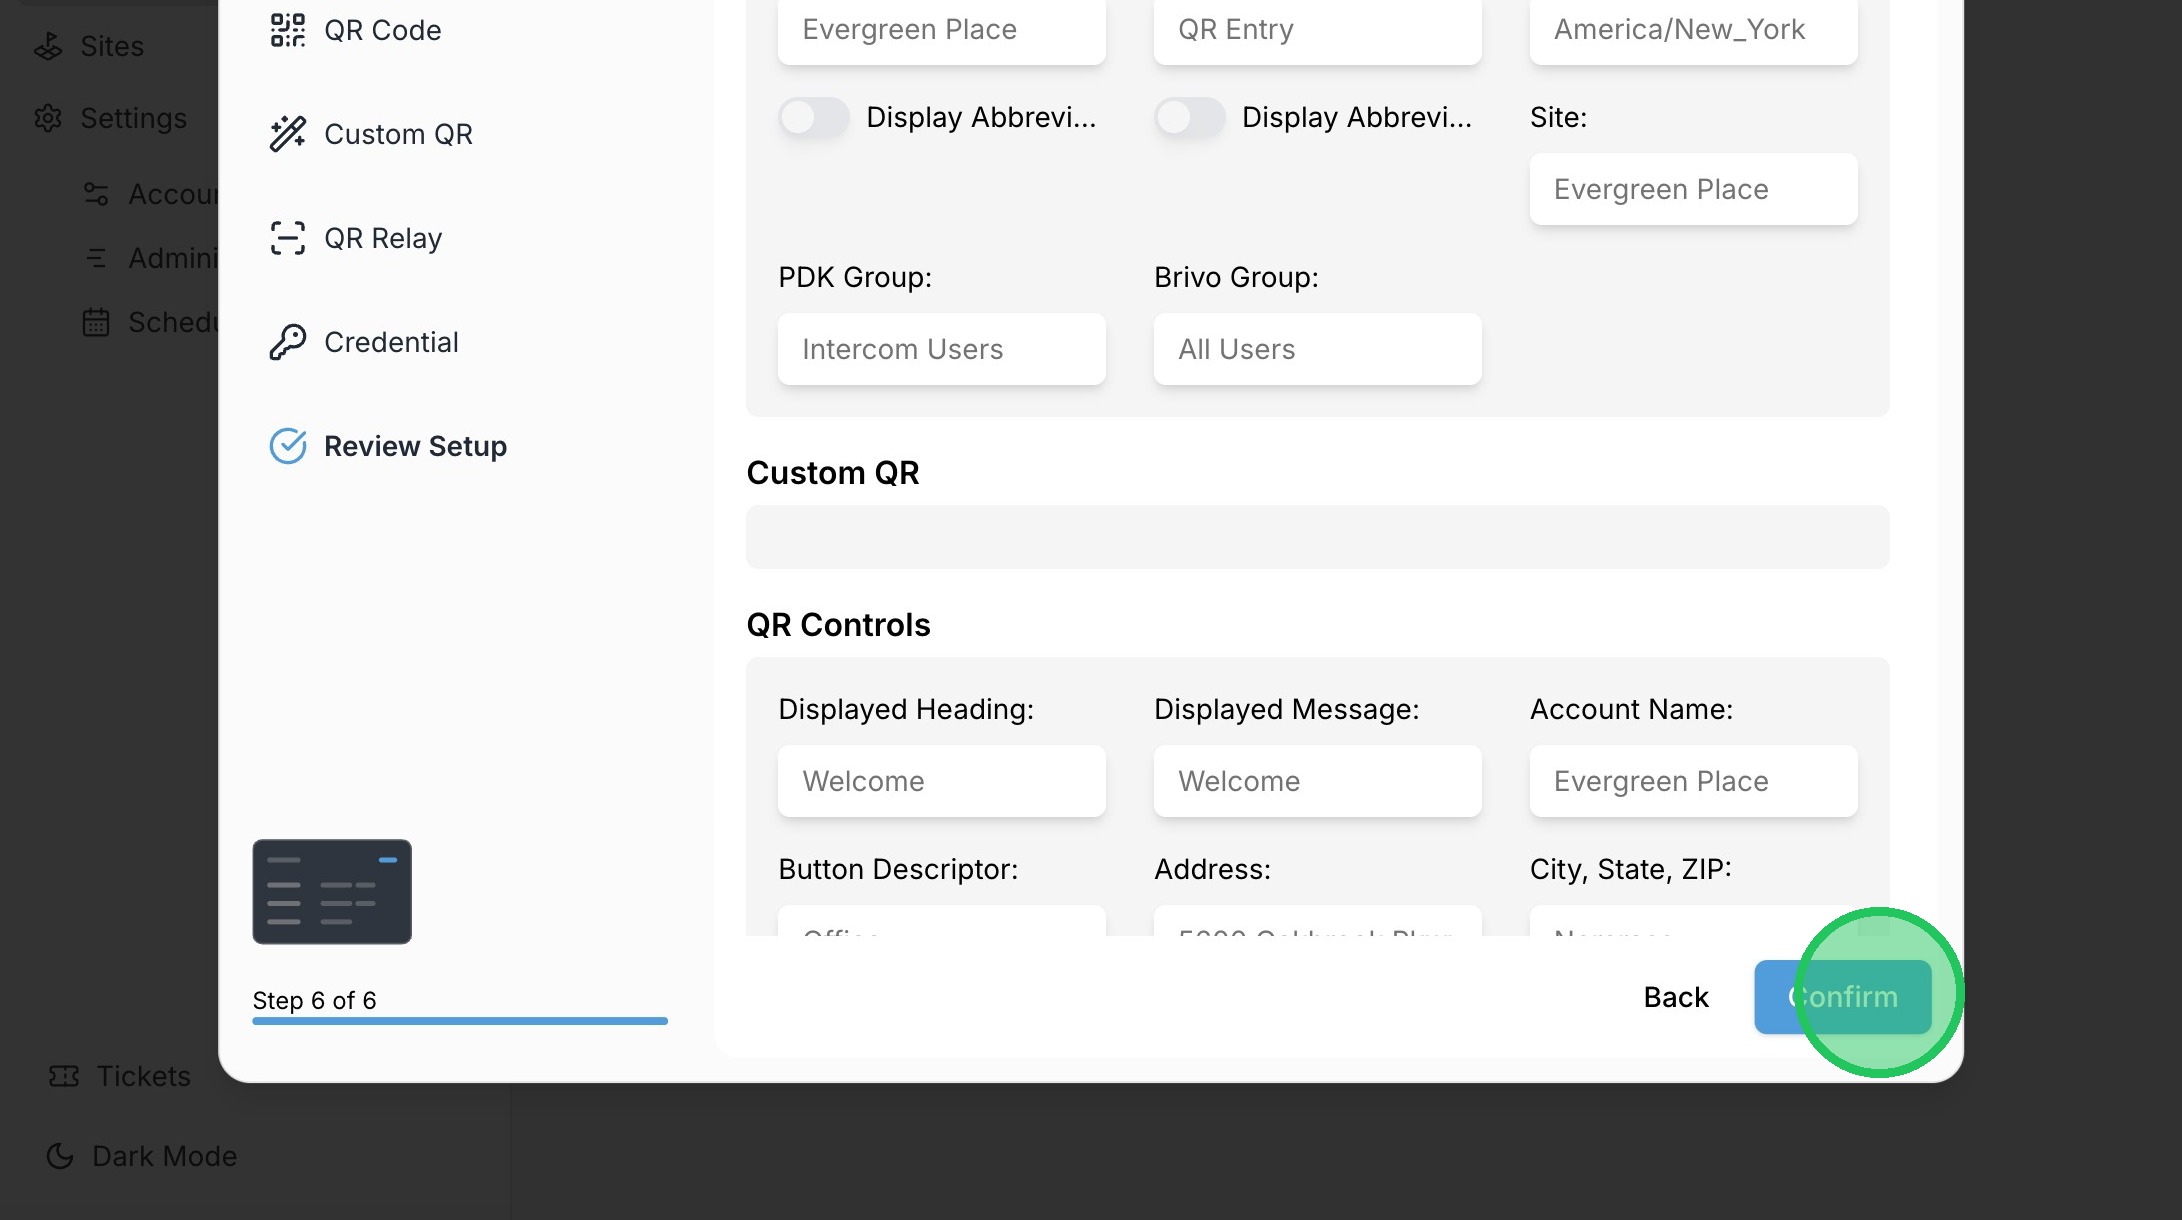
25. Click "Next"
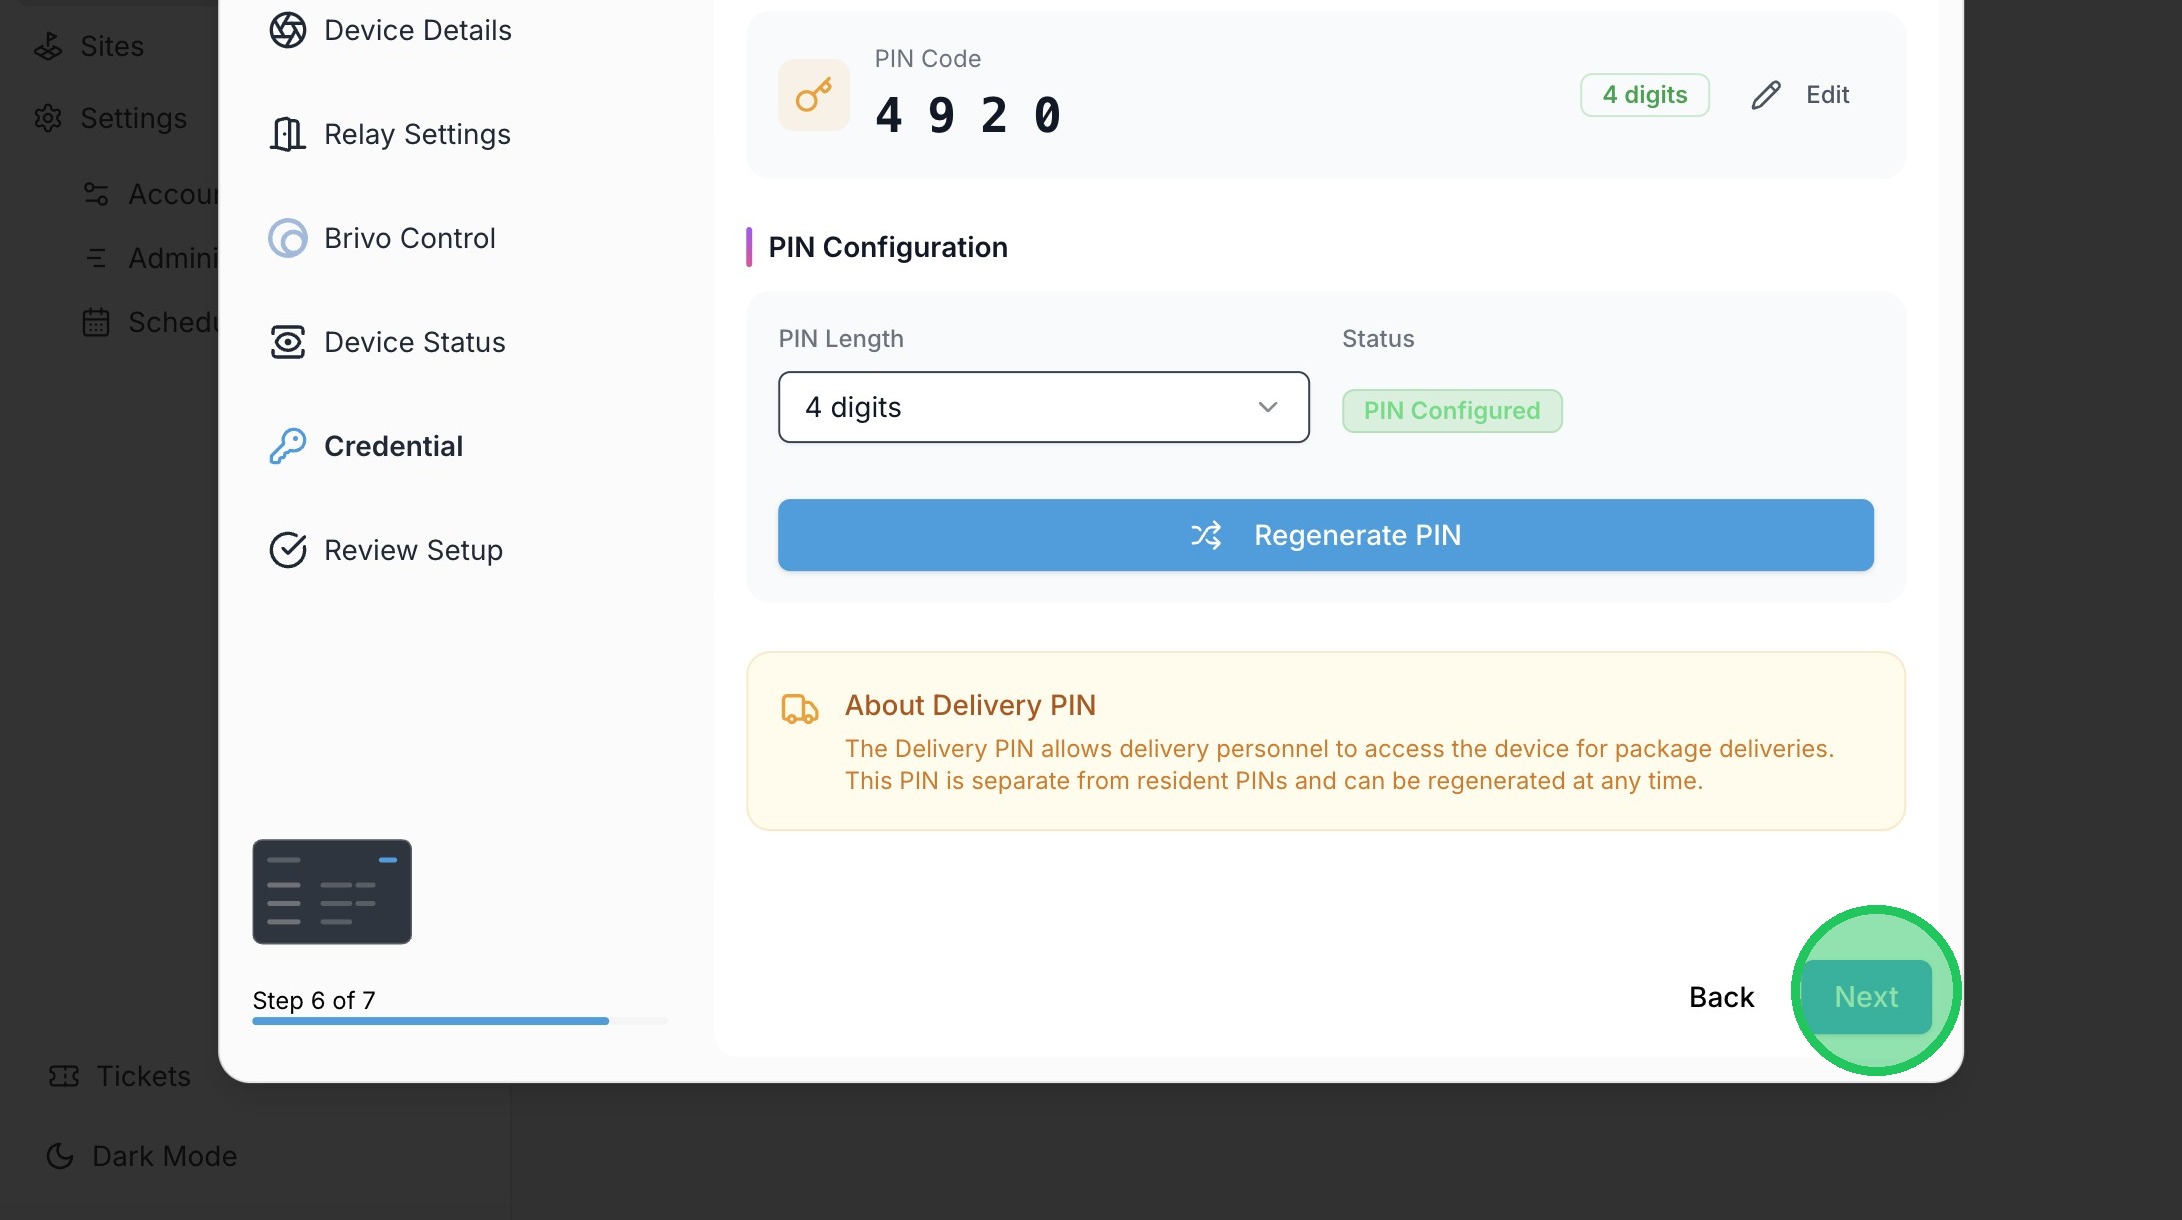
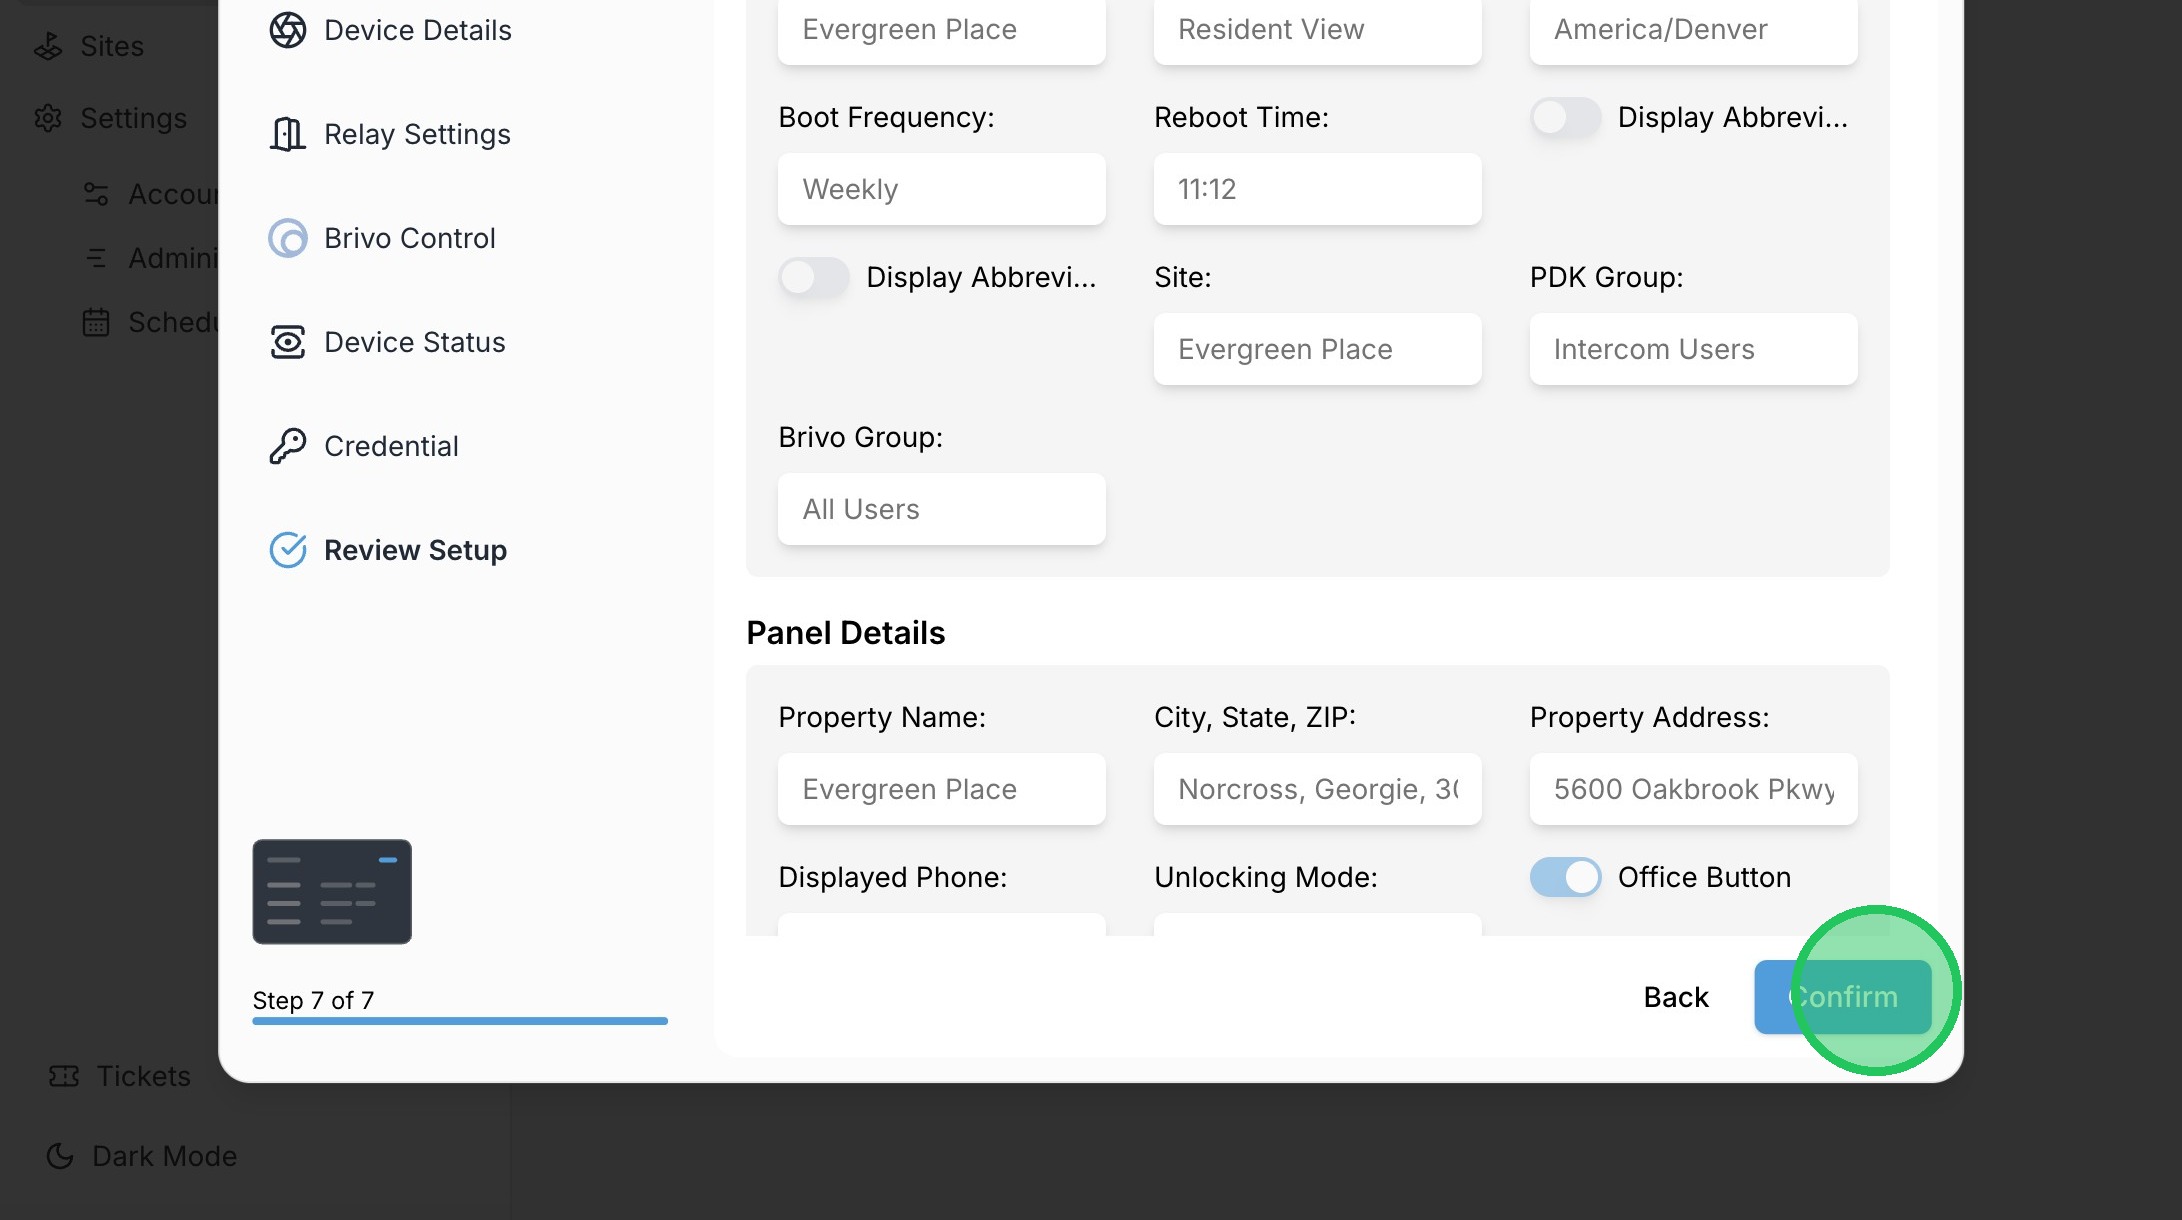
26. Click "Confirm"
27. Click the ellipses button to edit a QR code device.
28. Click "Edit Device"
29. Click the Brivo Group dropdown.
30. Select the desired Brivo group that will be assigned to the device.
31. Click "Next"
32. Click "Next"
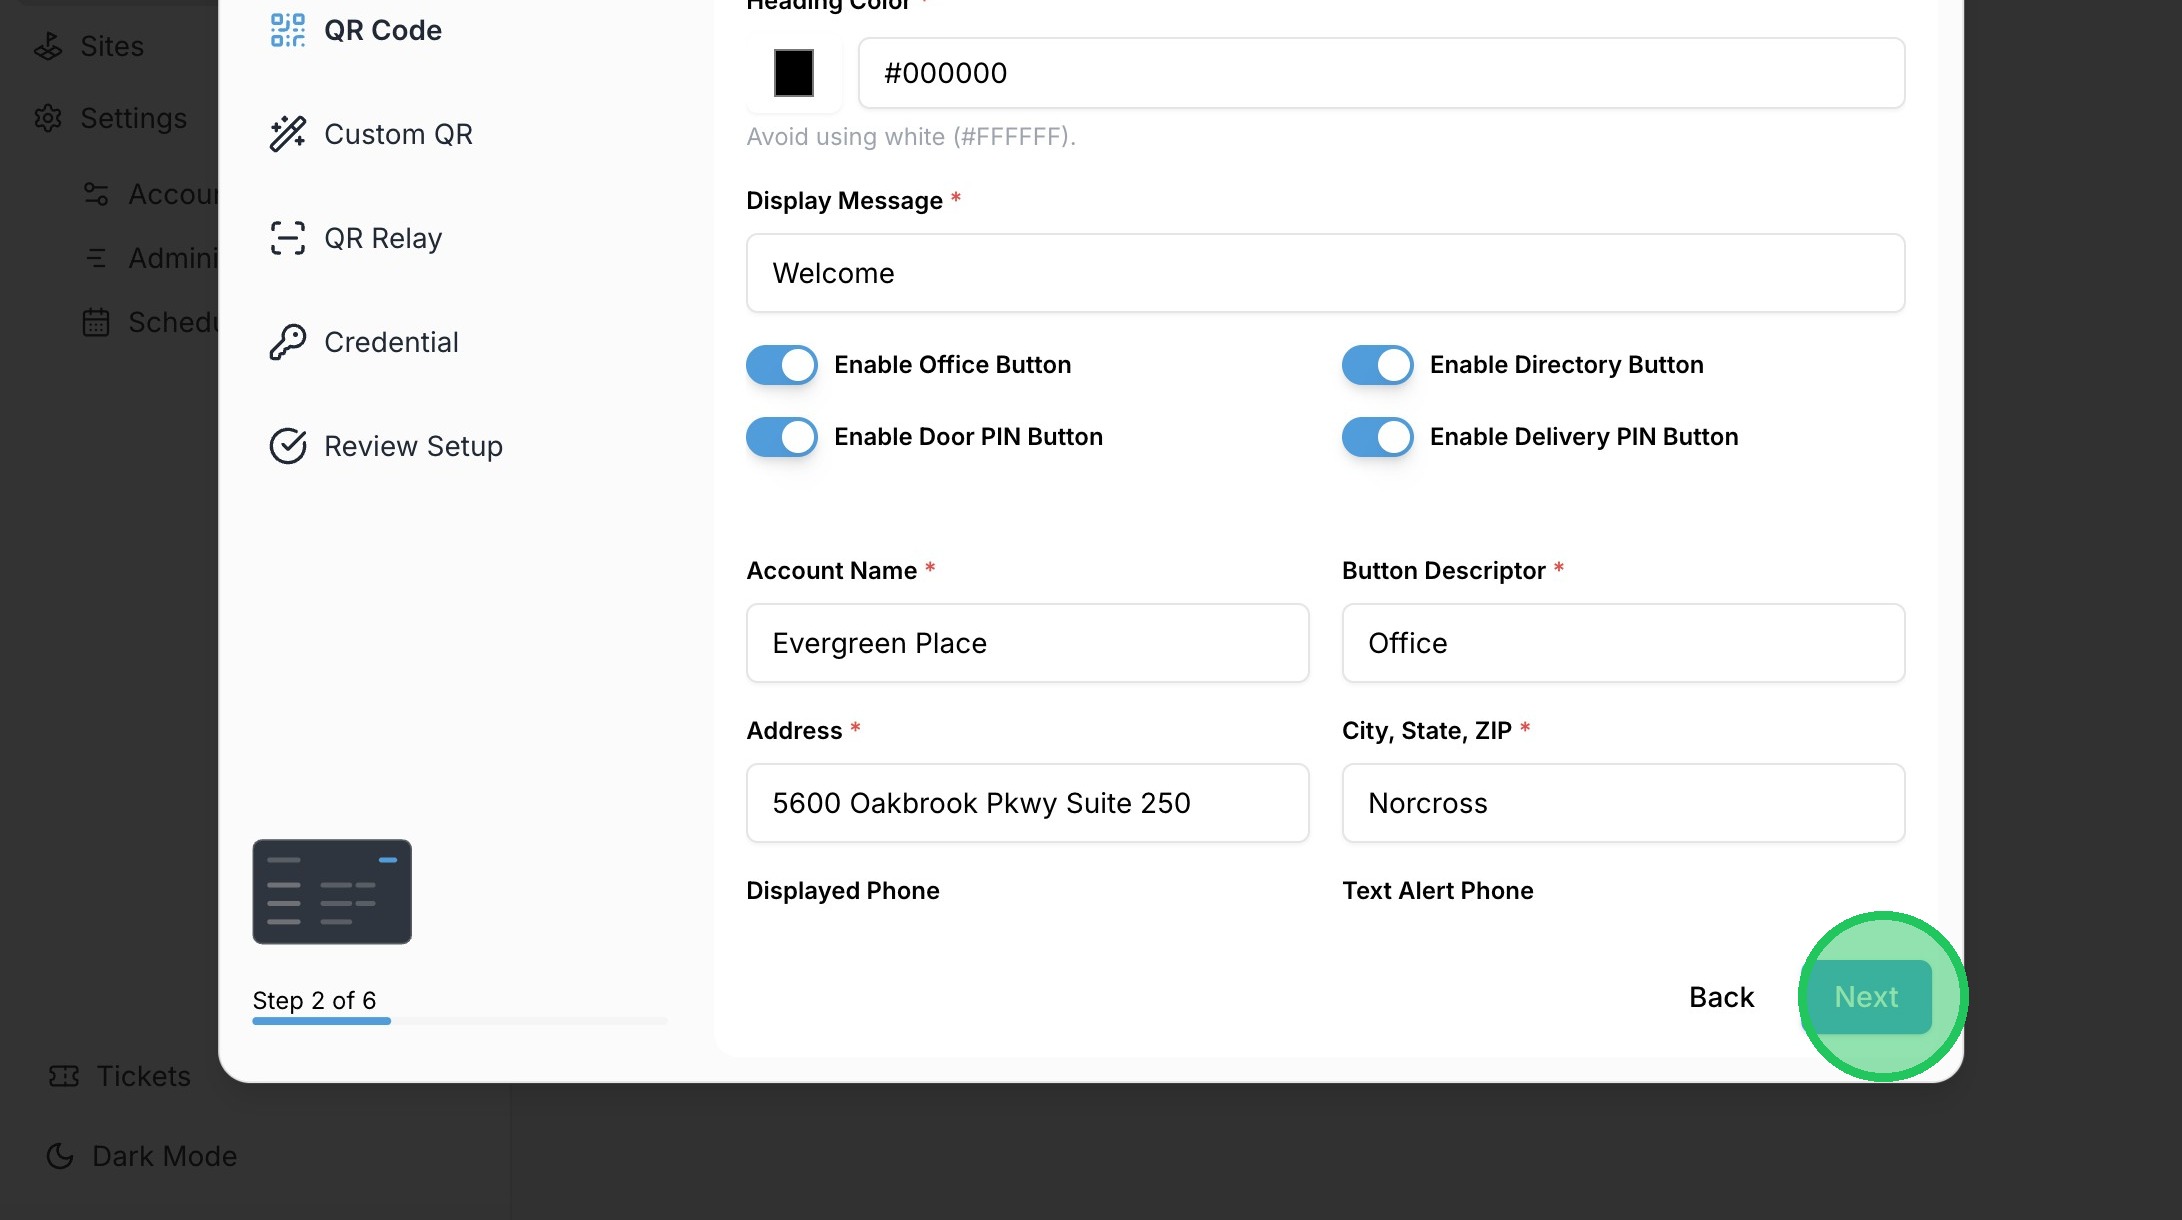
33. Click "Next"

34. Select "Brivo" as the Unlocking Mode.
35. Click "Select Brivo Primary Door ID"
36. Select the desired door for the device to unlock.
37. Click "Next"
38. Click "Next"
39. Click "Confirm"
40. Click "Account"
41. Click "Integrations"
42. Click "BRIVO"
43. Click to enable the Auto-Sync and click Save Credentials
44. Click "Sync Brivo" to sync the users into the account with the designated device access.