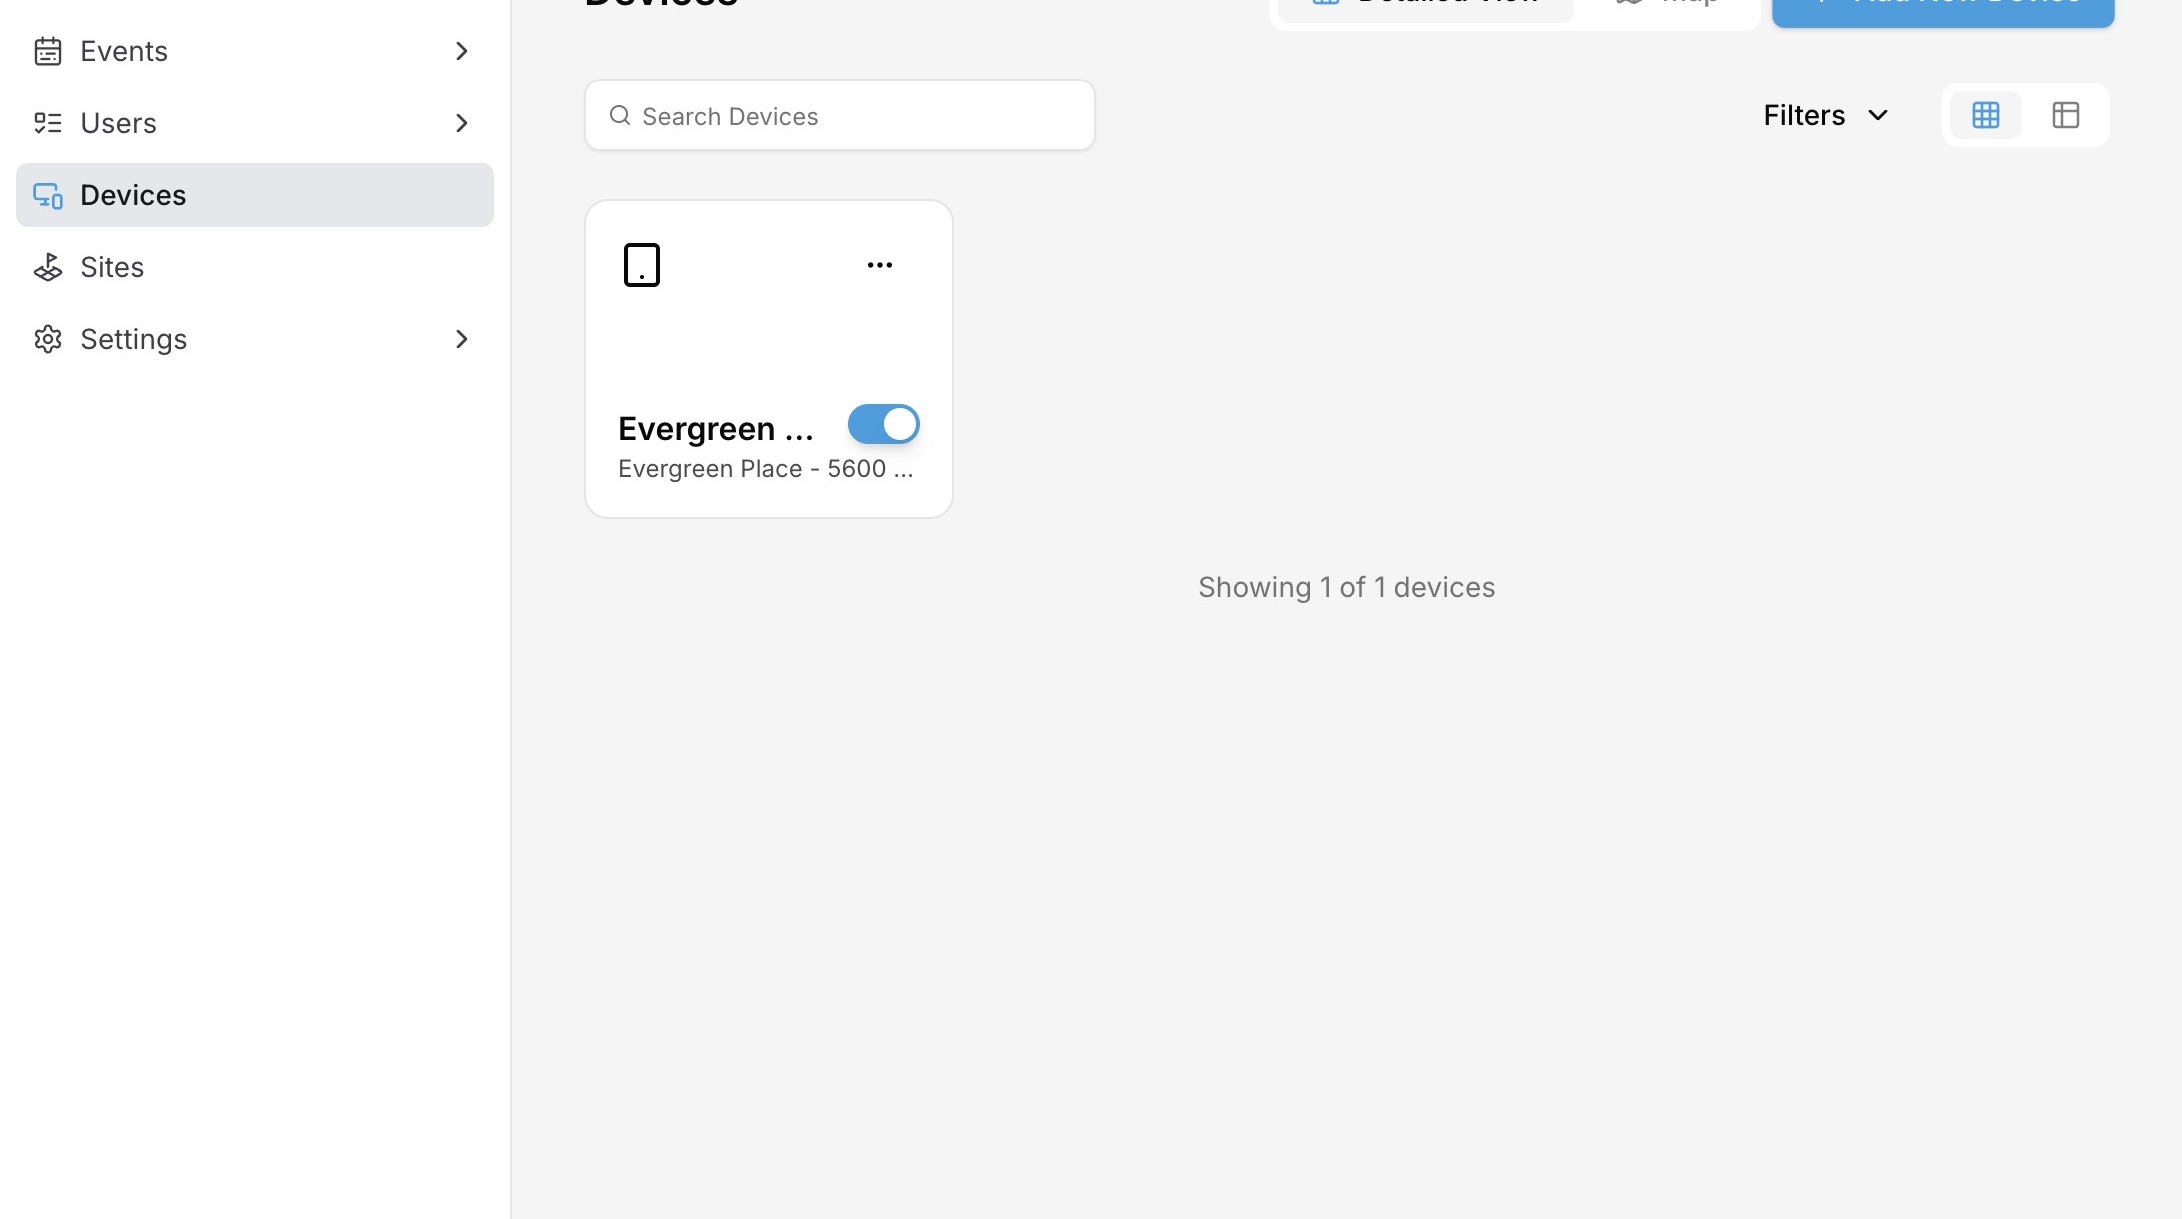
Add a New Mobile Intercom and Configure Its Settings
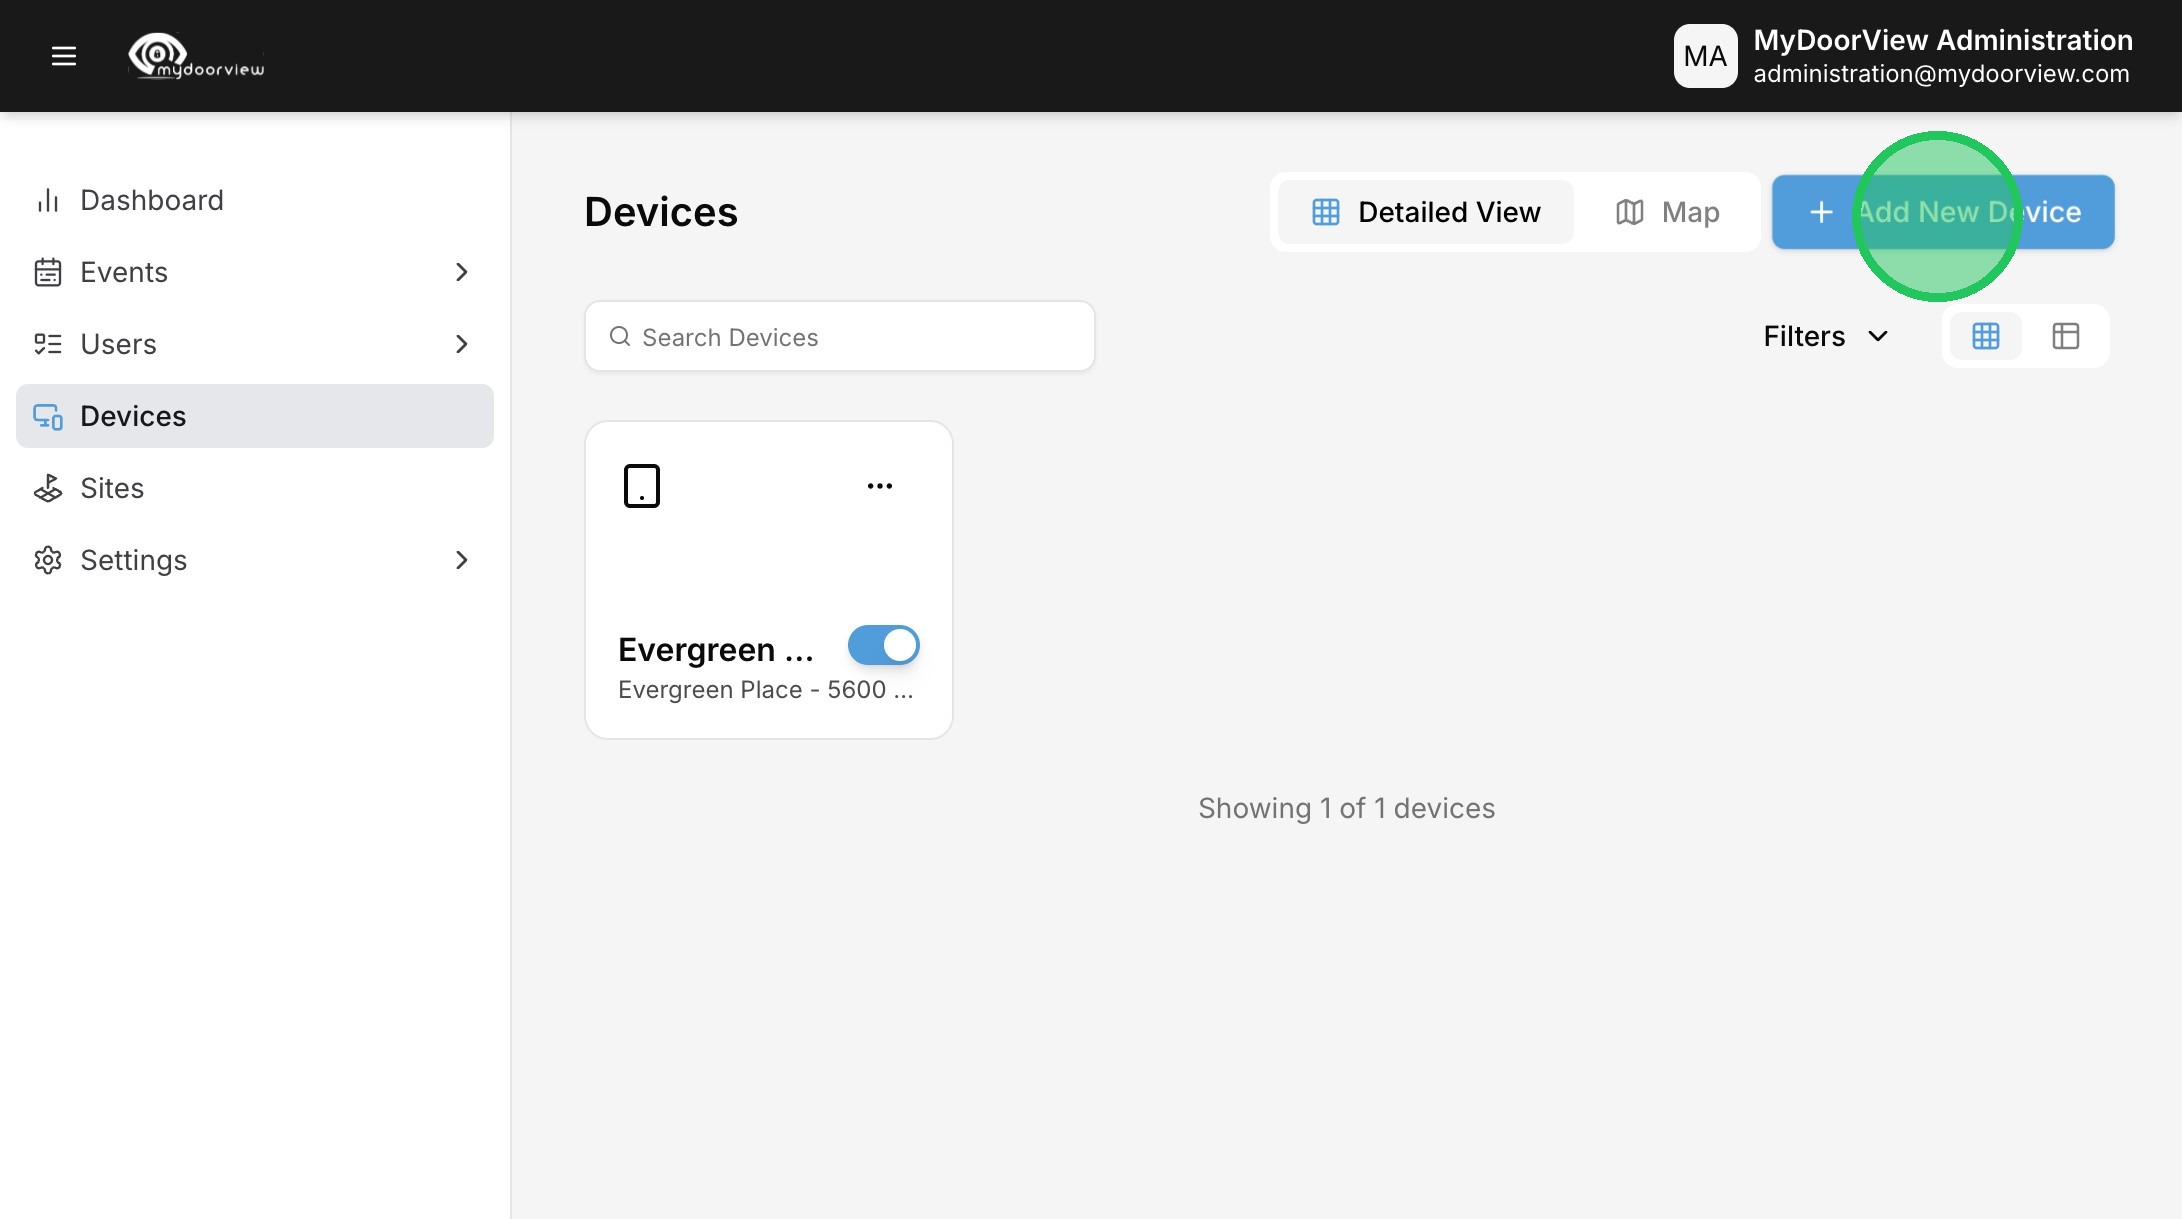
2. Click "Add New Device"
3. Click "QR Code" as the Device Type
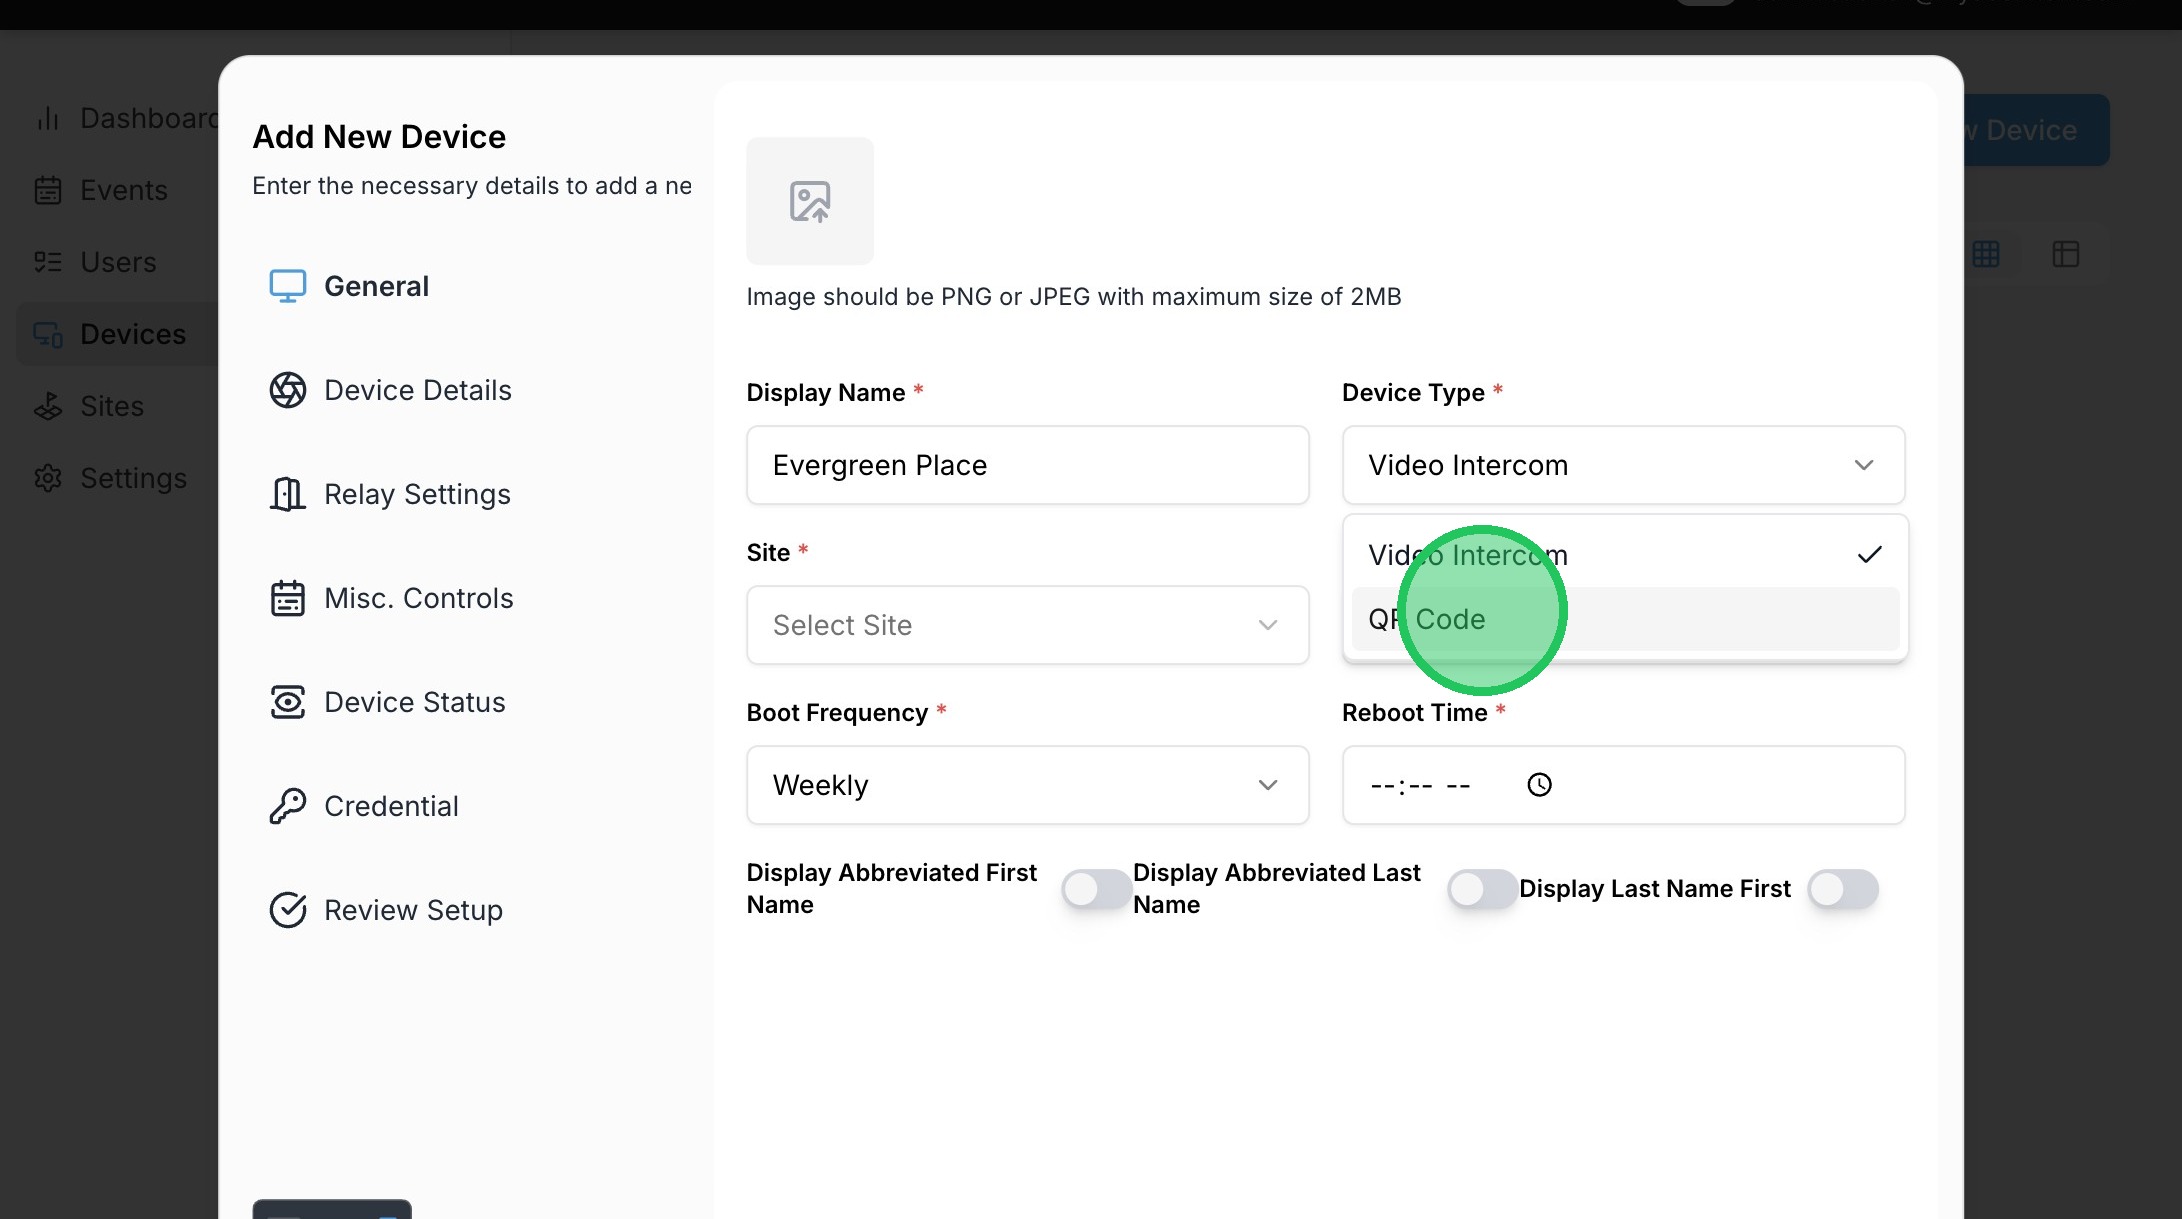
4. Select the Site to assign the Device to
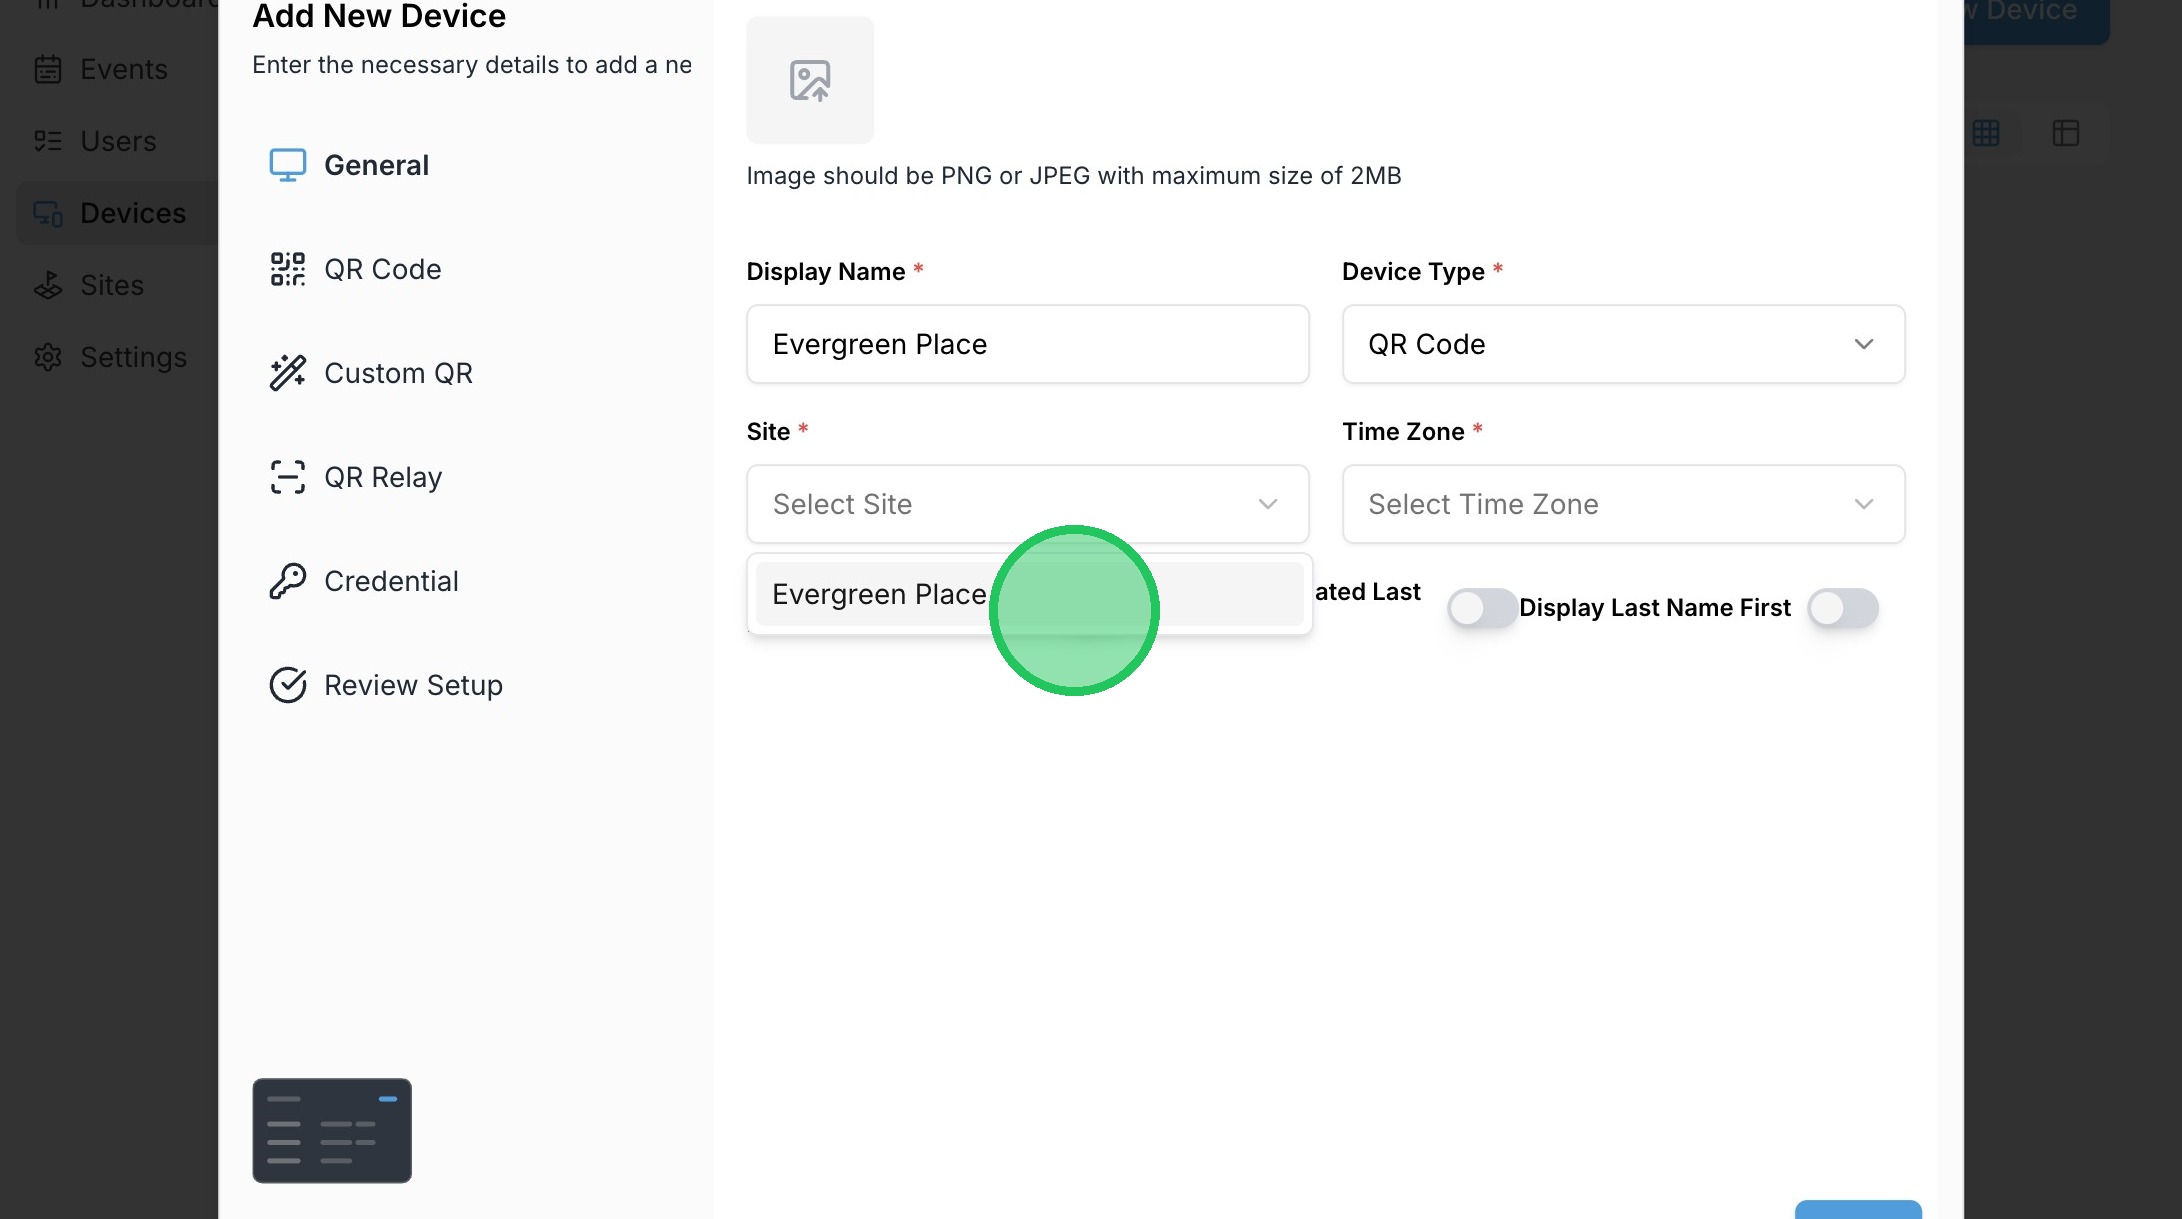
5. Select the Time Zone for the Device
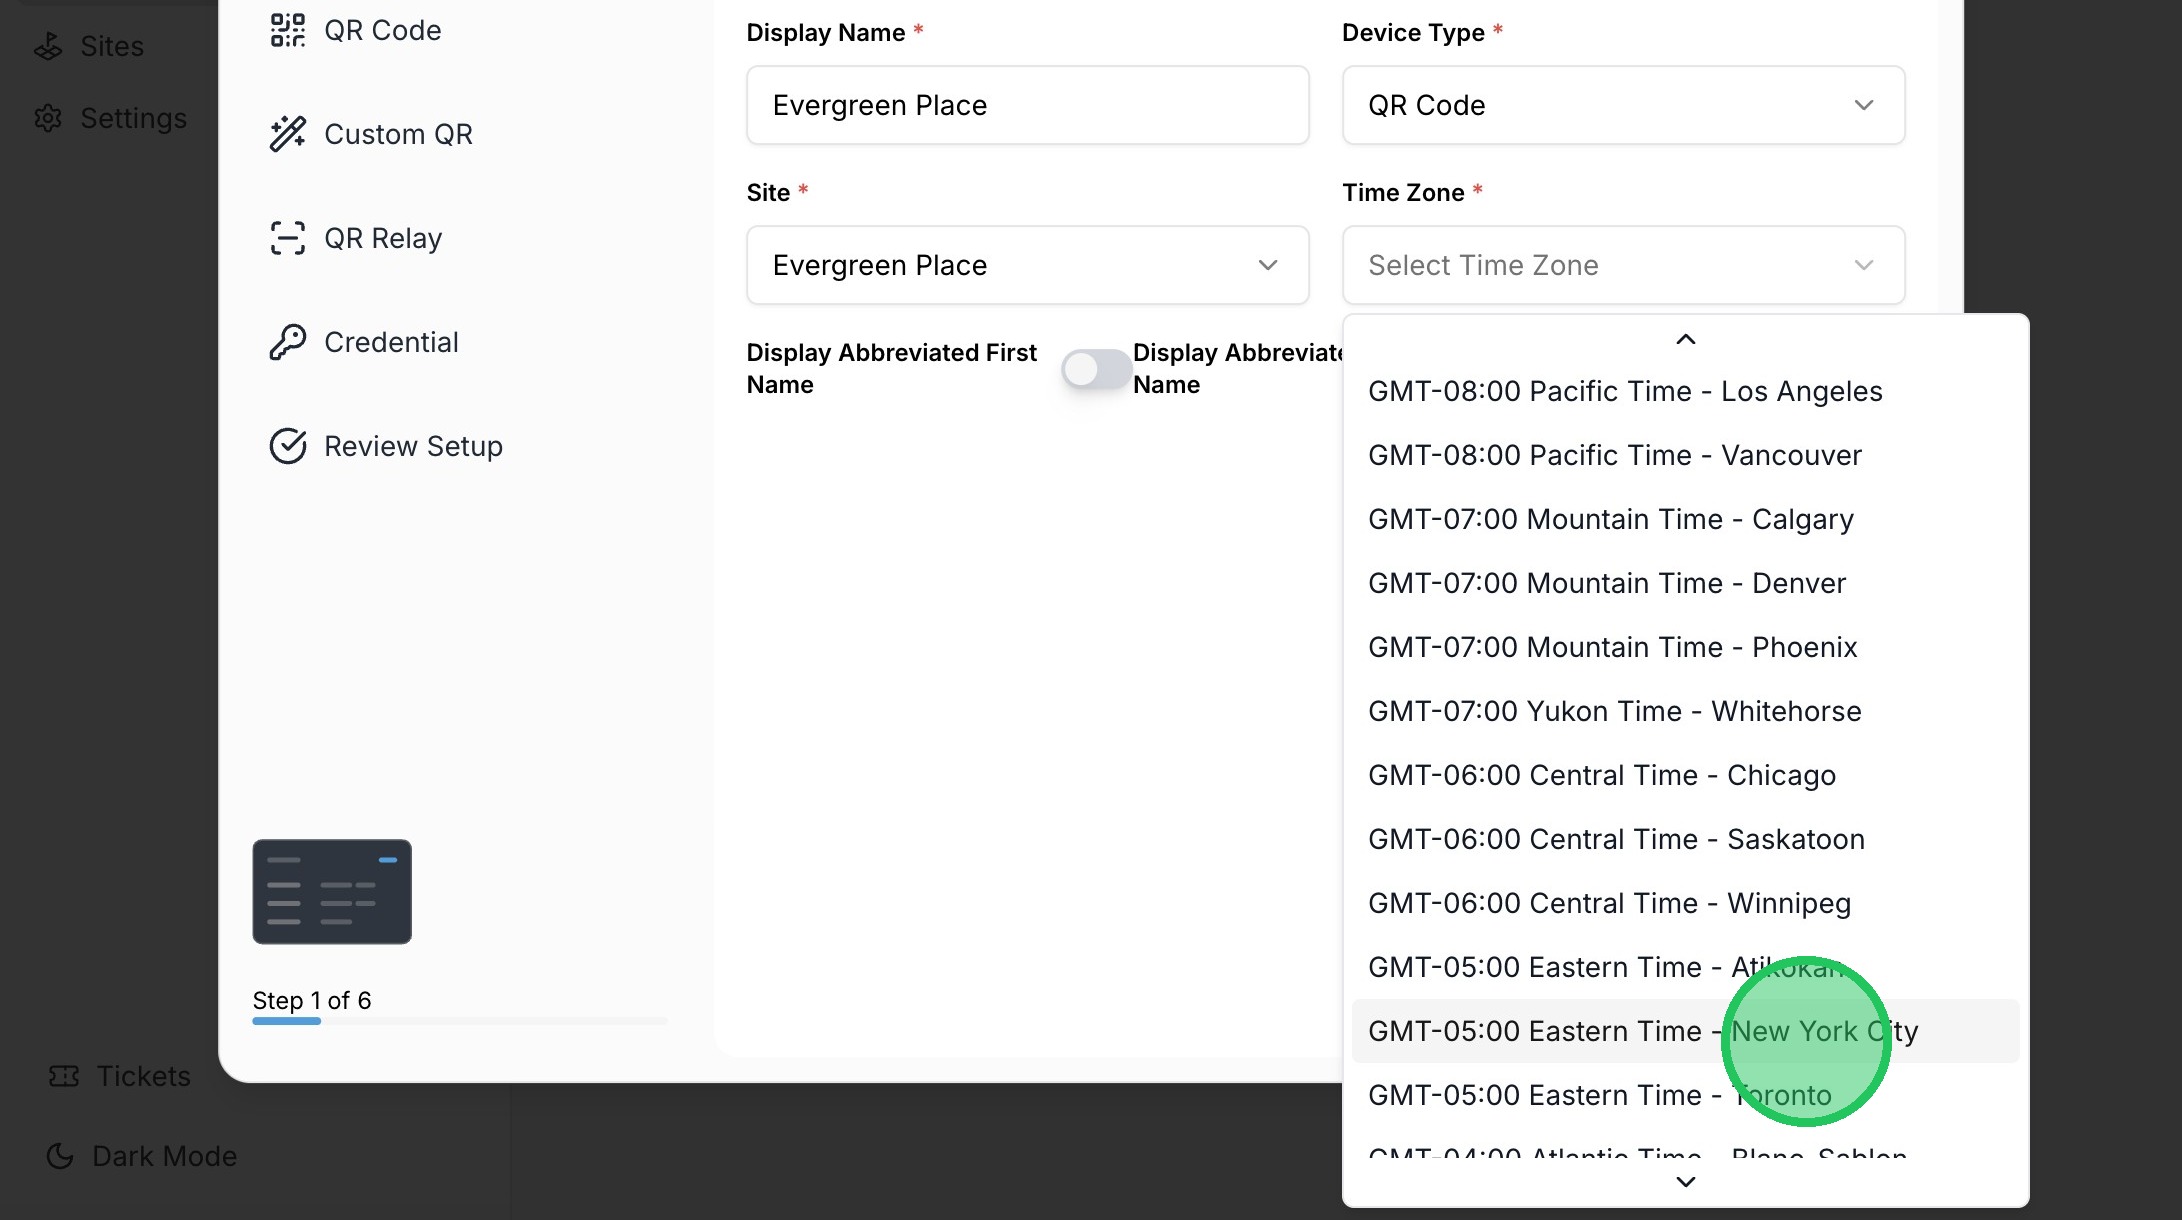
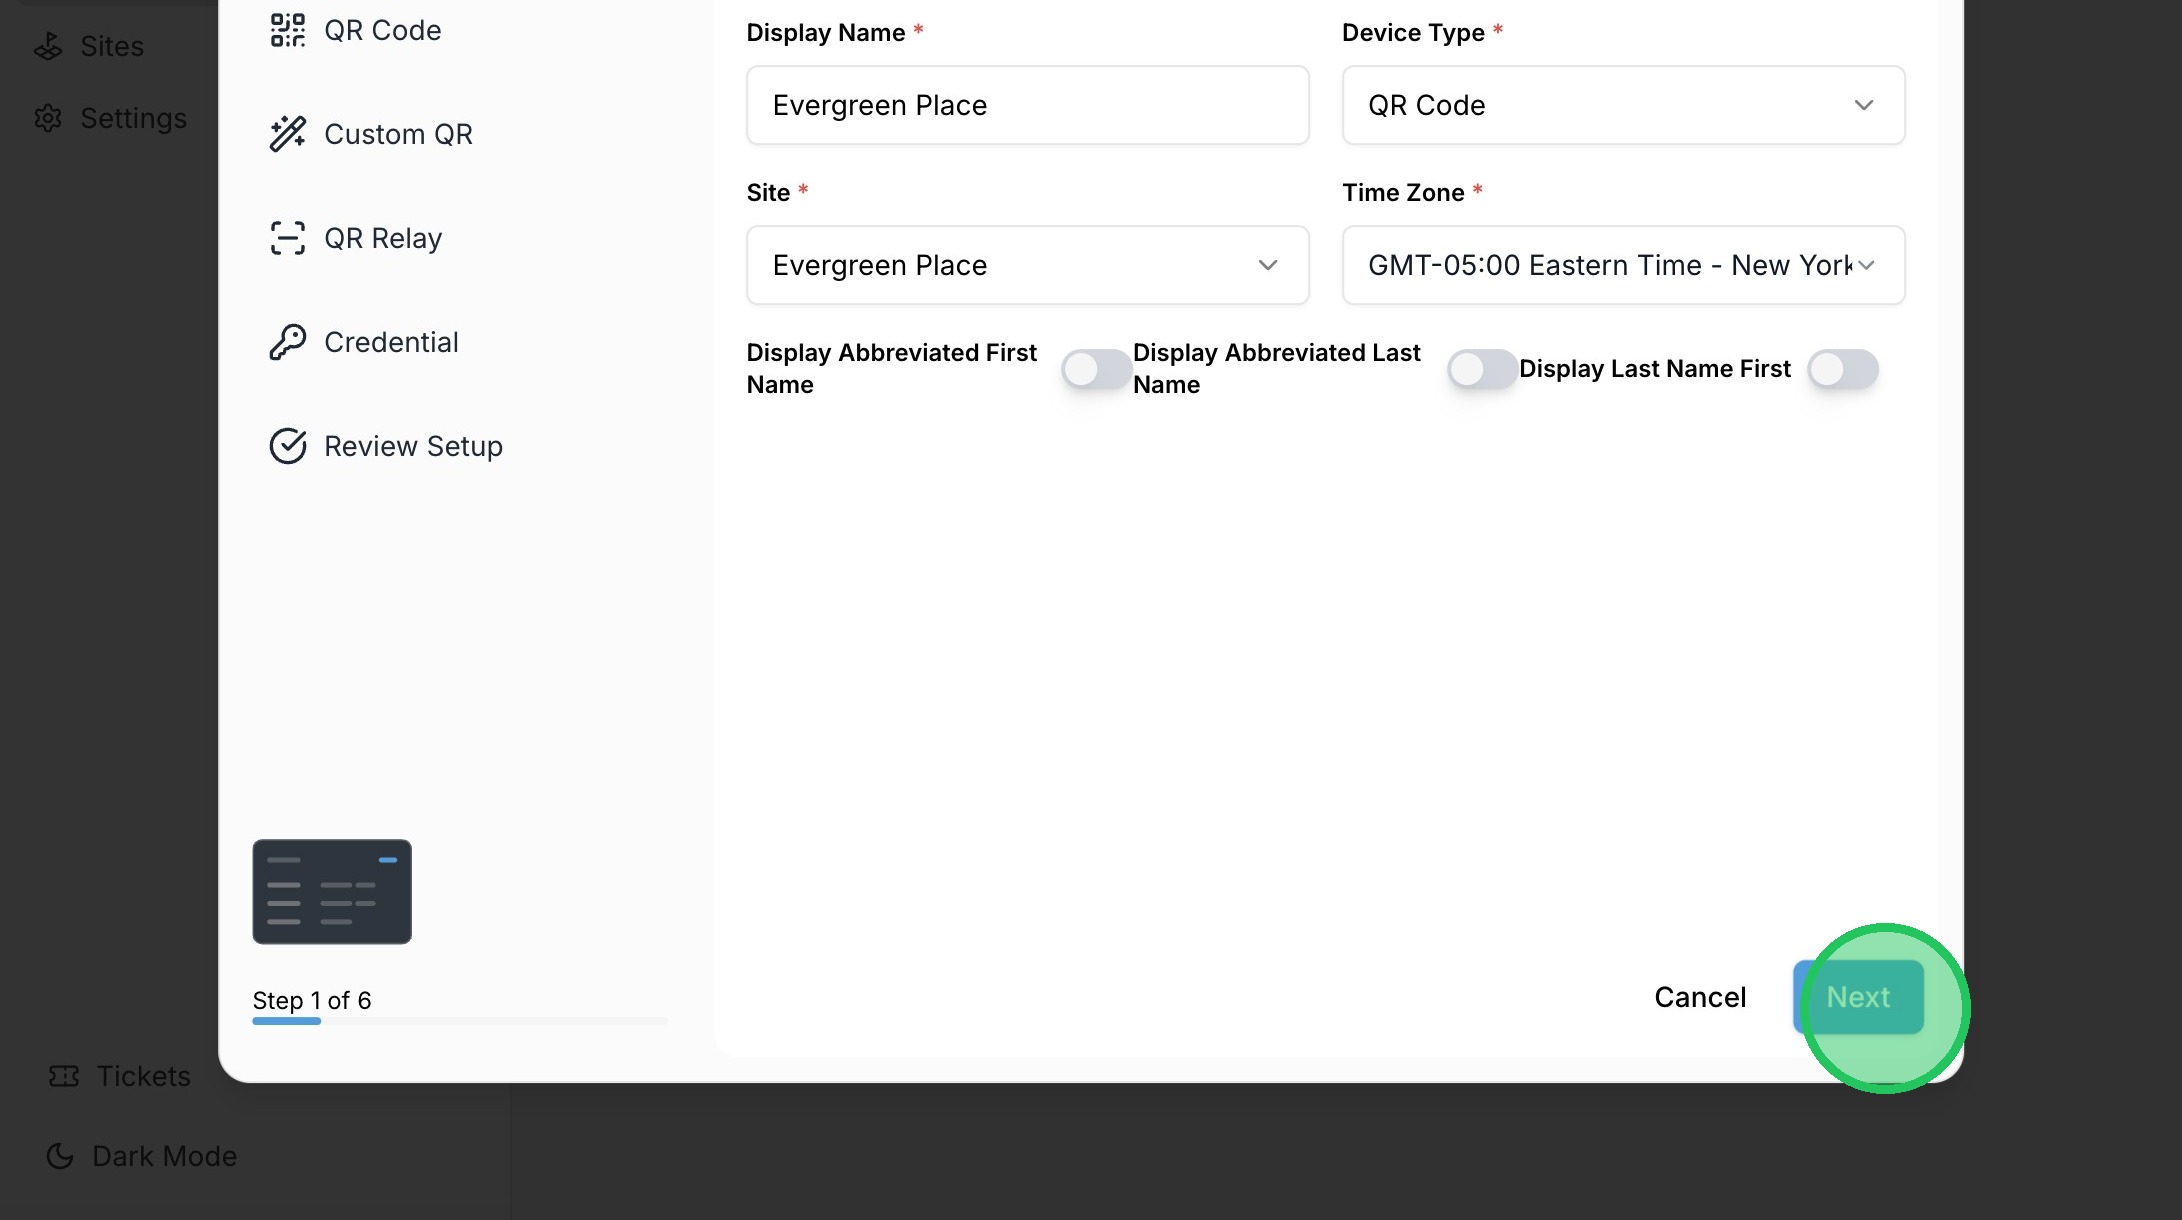
6. Adjust Display settings for the Directory as needed (Display Abbreviated First/Last Name or Last Name First) and click "Next"
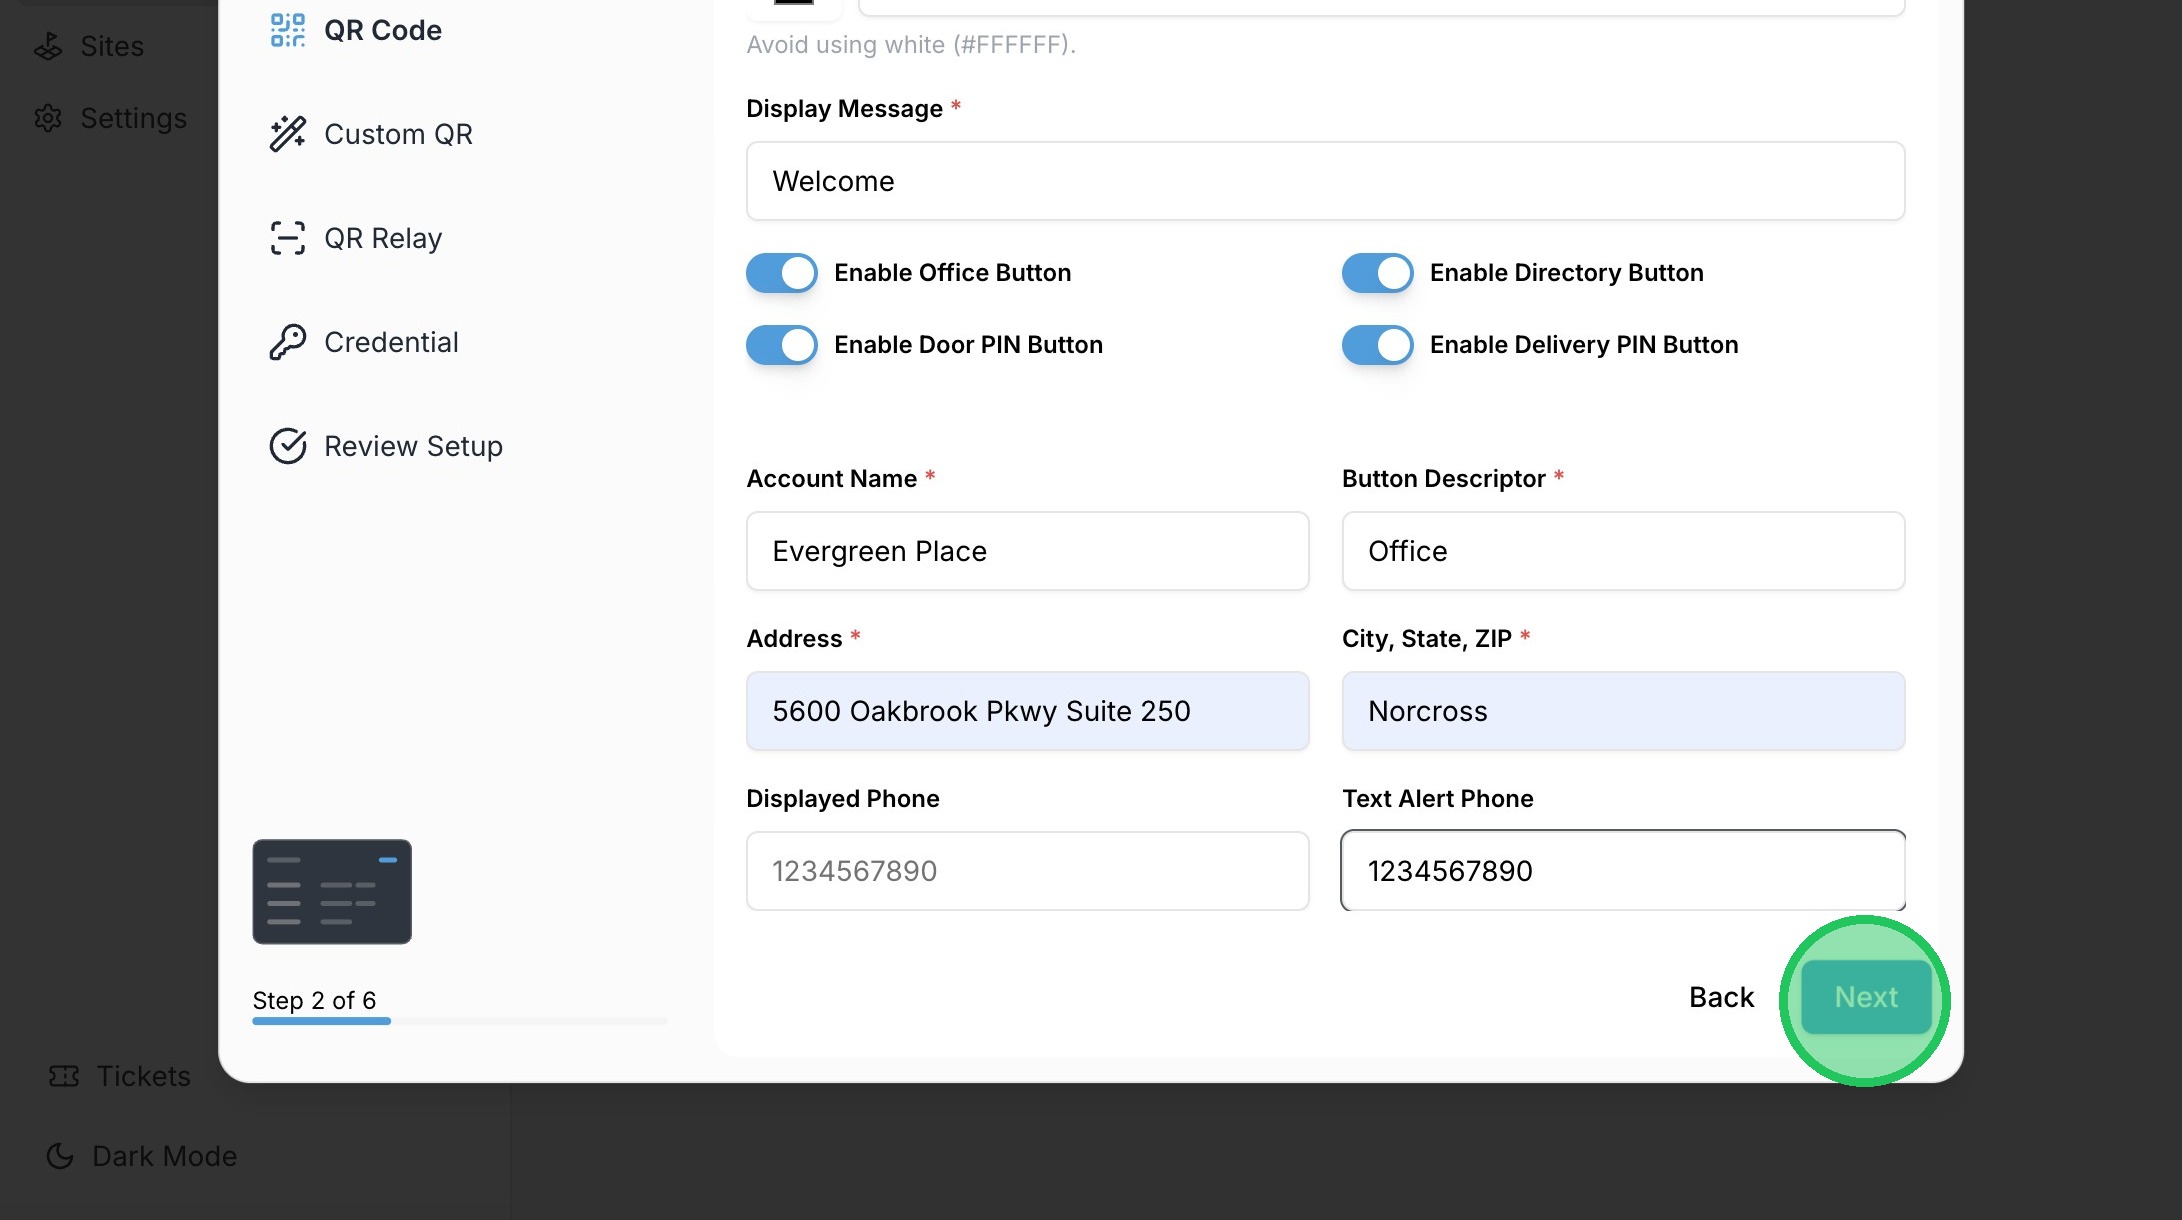
7. Fill out the required fields. Adjust the Button Descriptor name for the Office Button and toggle off any buttons that won't be used with the QR Code
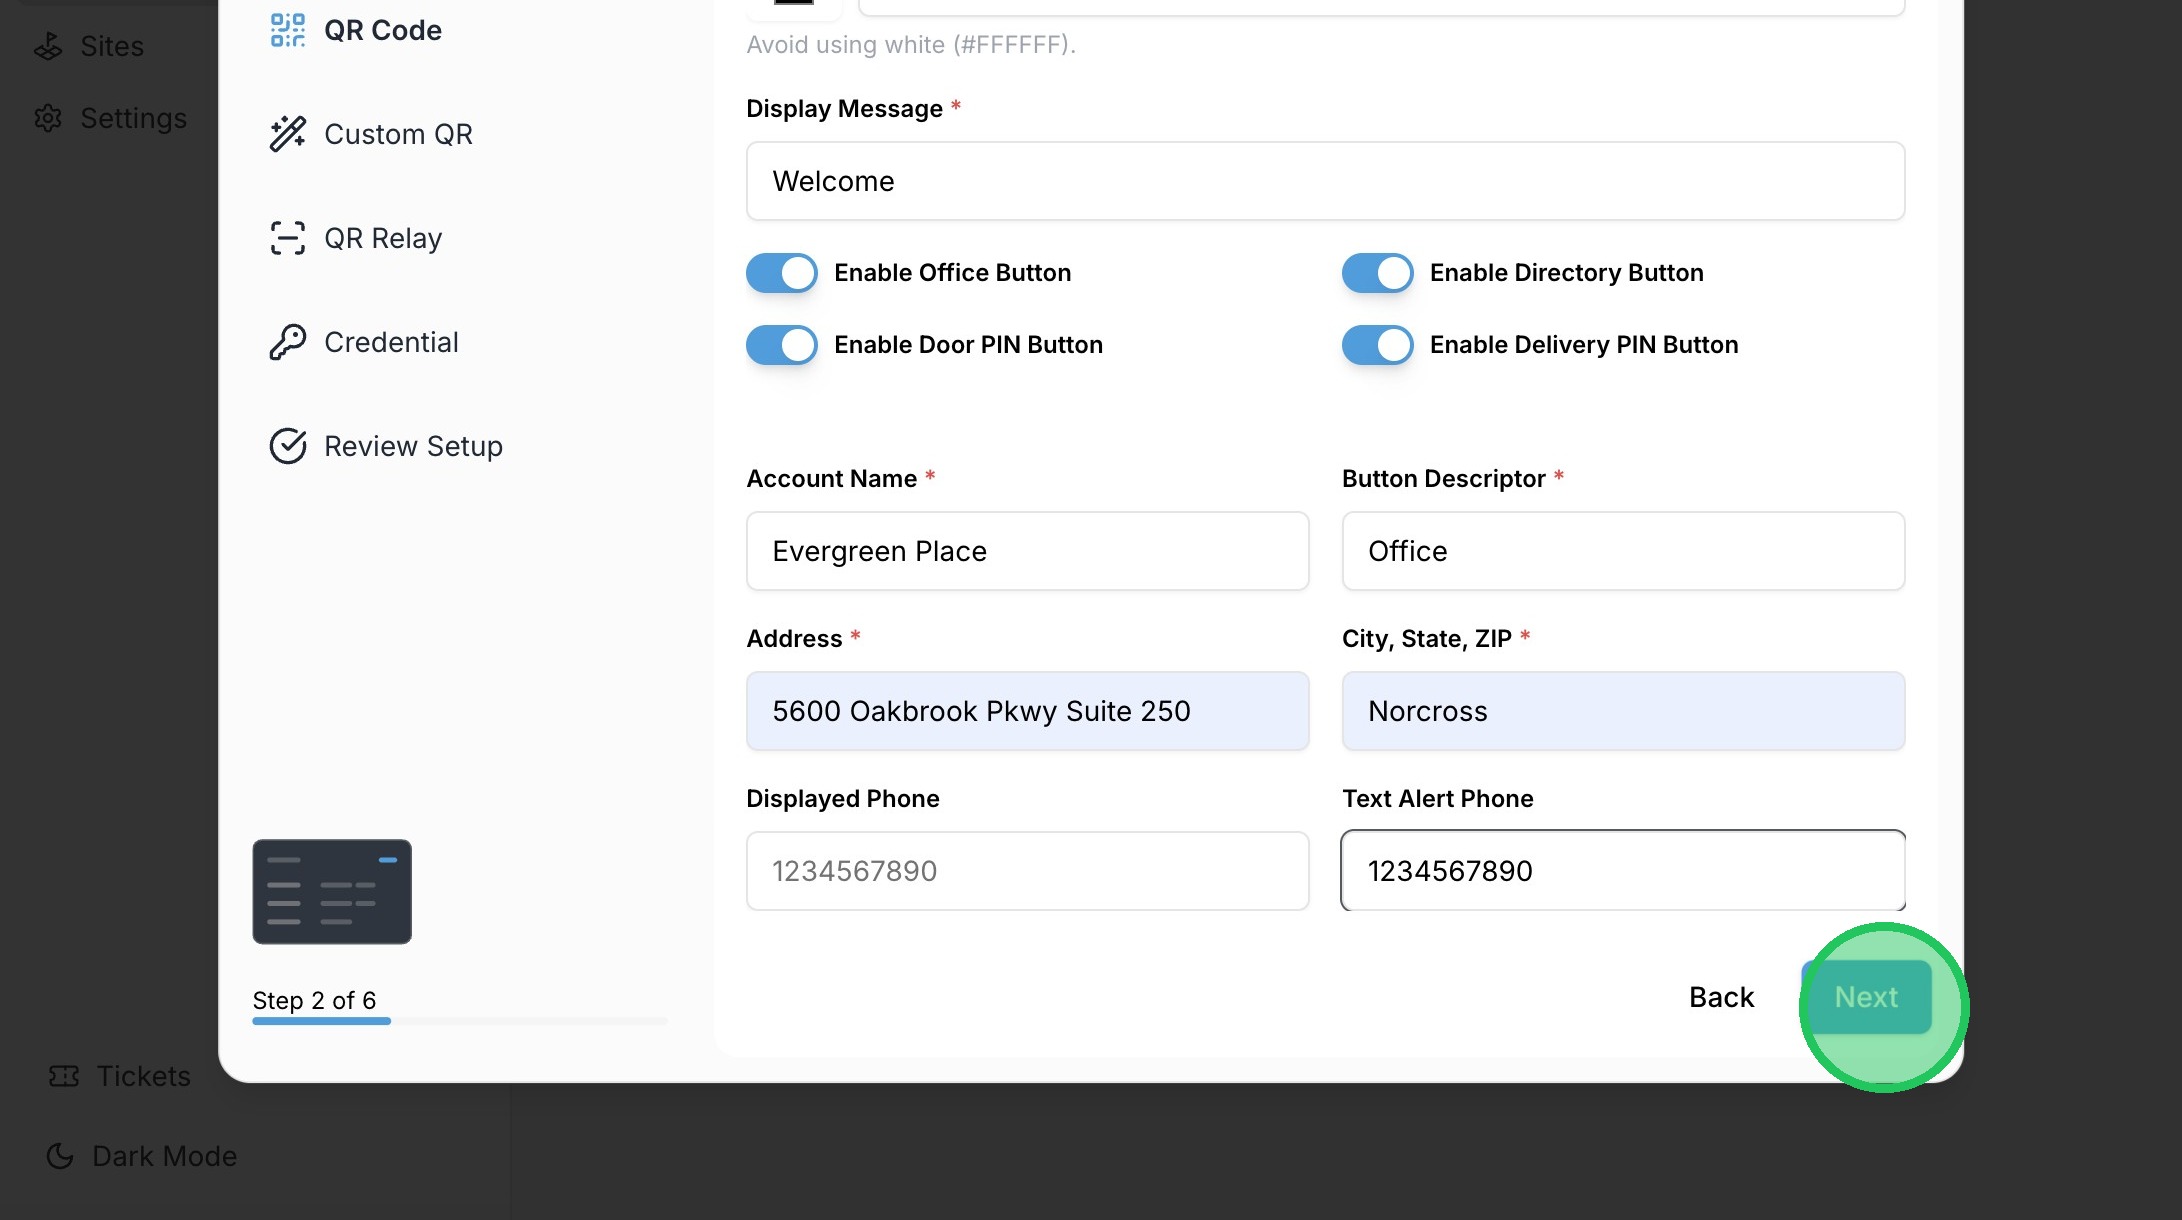
8. Fill out the Displayed Phone field if receiving regular calls from the Office button to a landline phone. Office Call Groups and Webviewer can be used if the Office button will be routed to phone apps or the browser interface. Click "Next" once all required fields are filled out
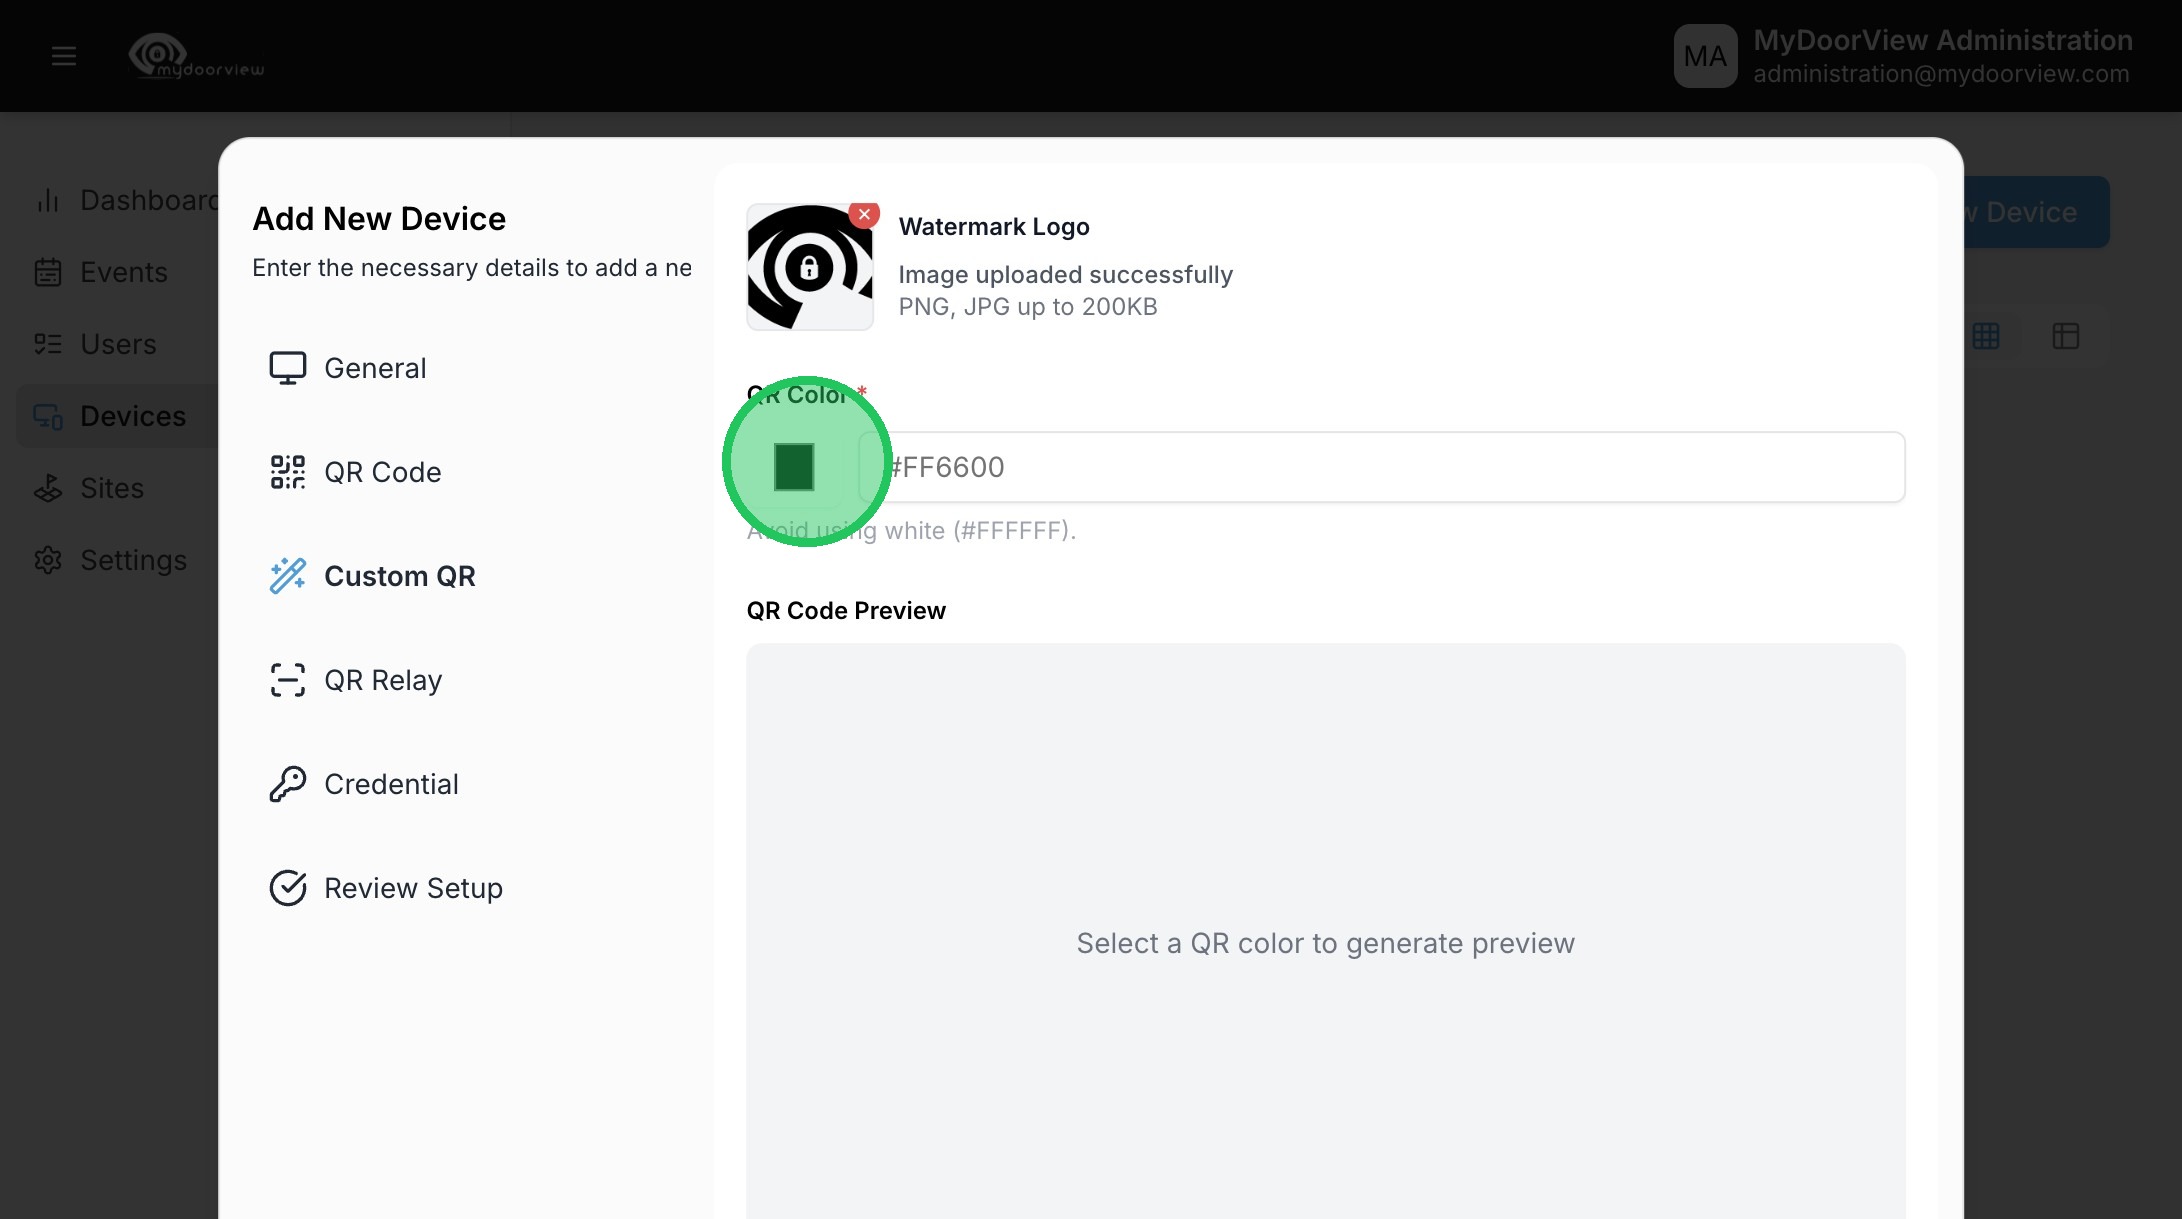
9. Click to Watermark Logo to customize the QR code. Try to only use a logo with a transparent background for best results.
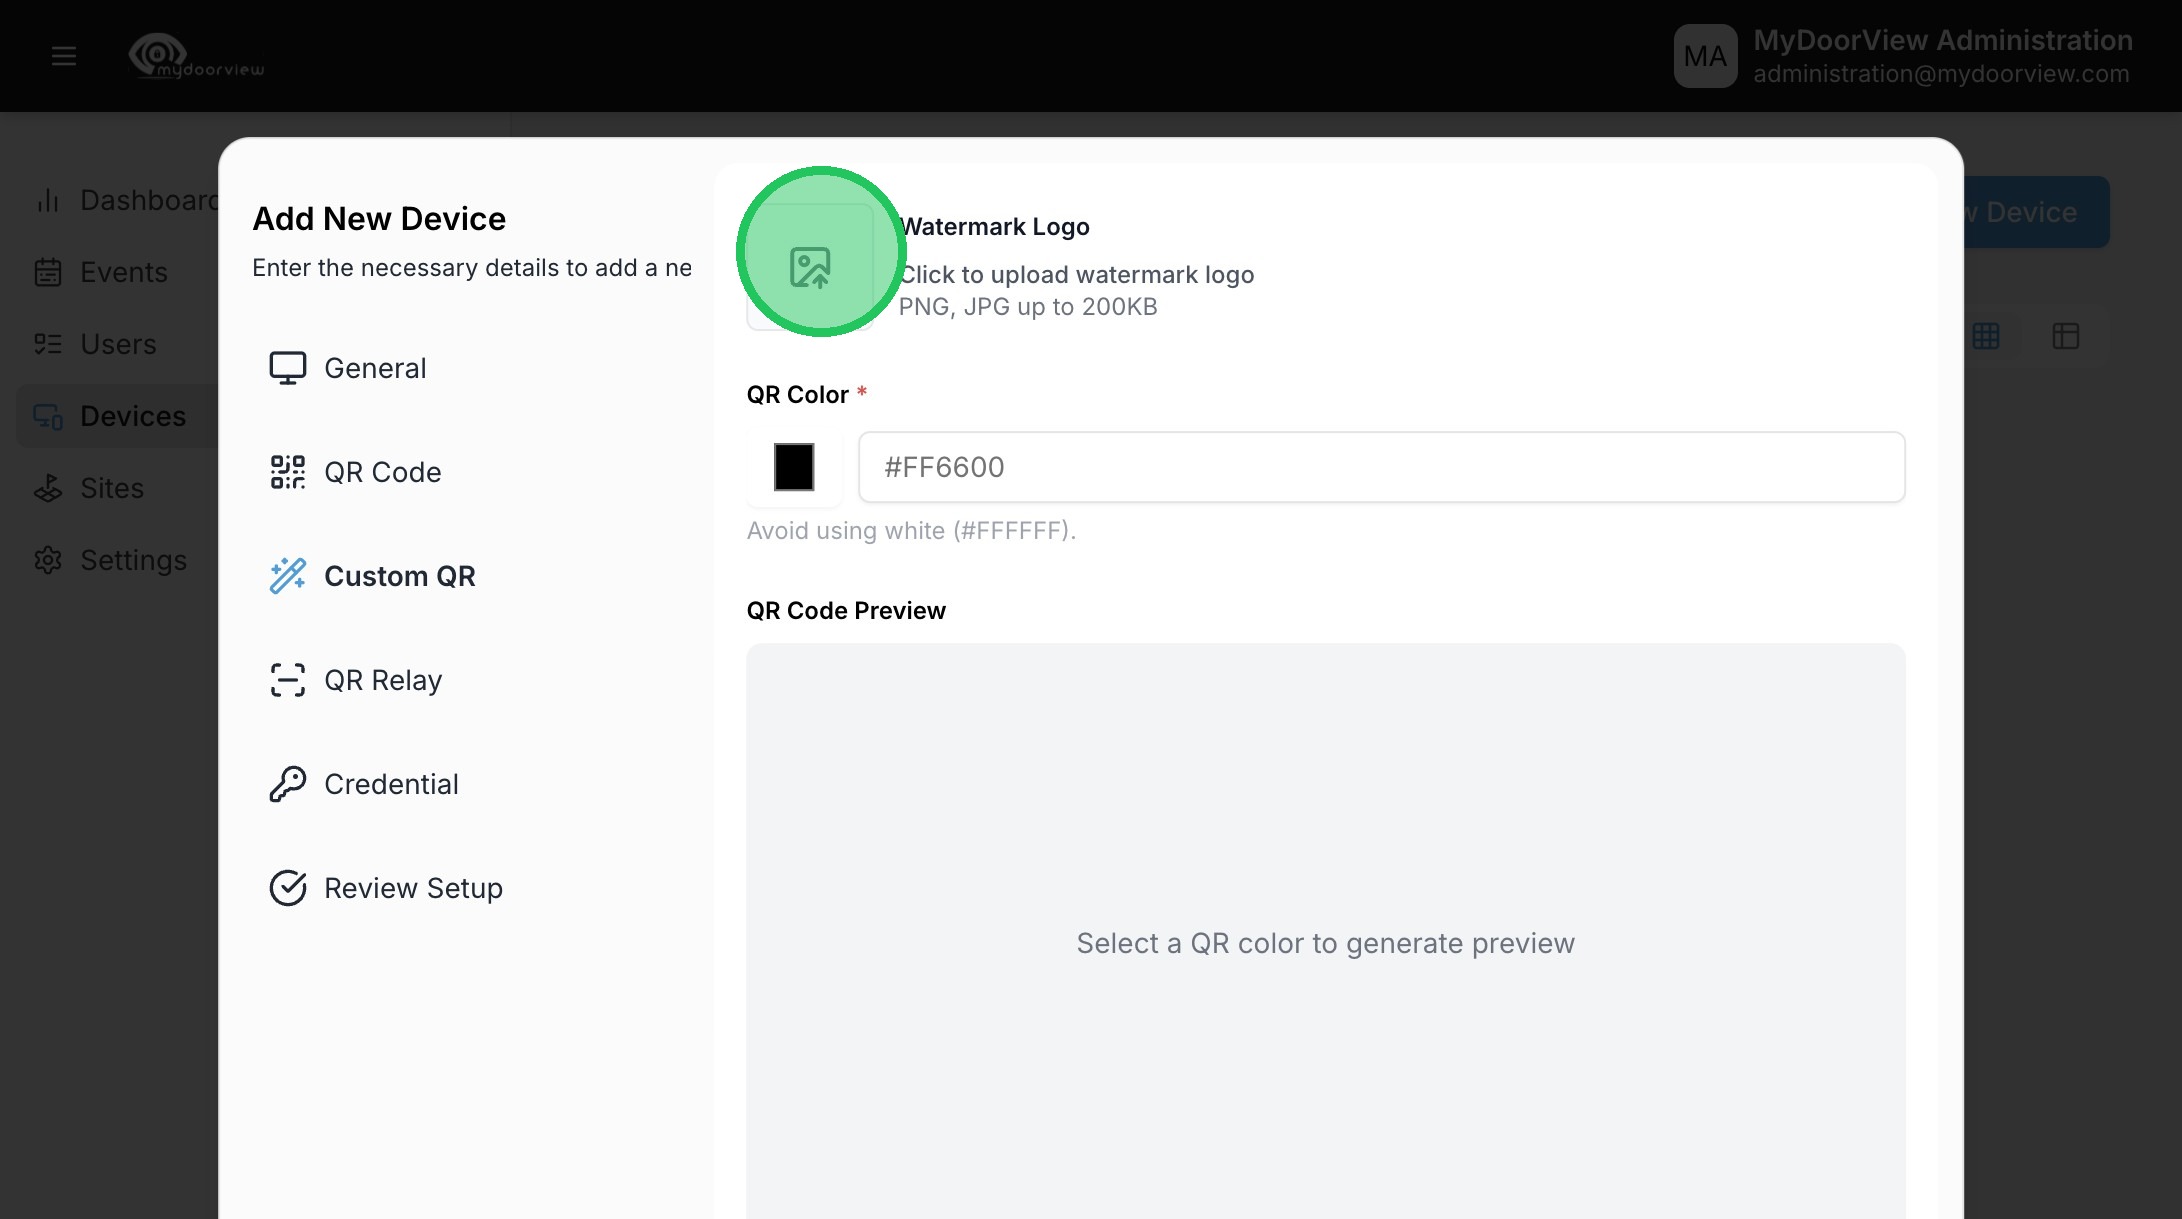
10. Click to set the color of the QR code
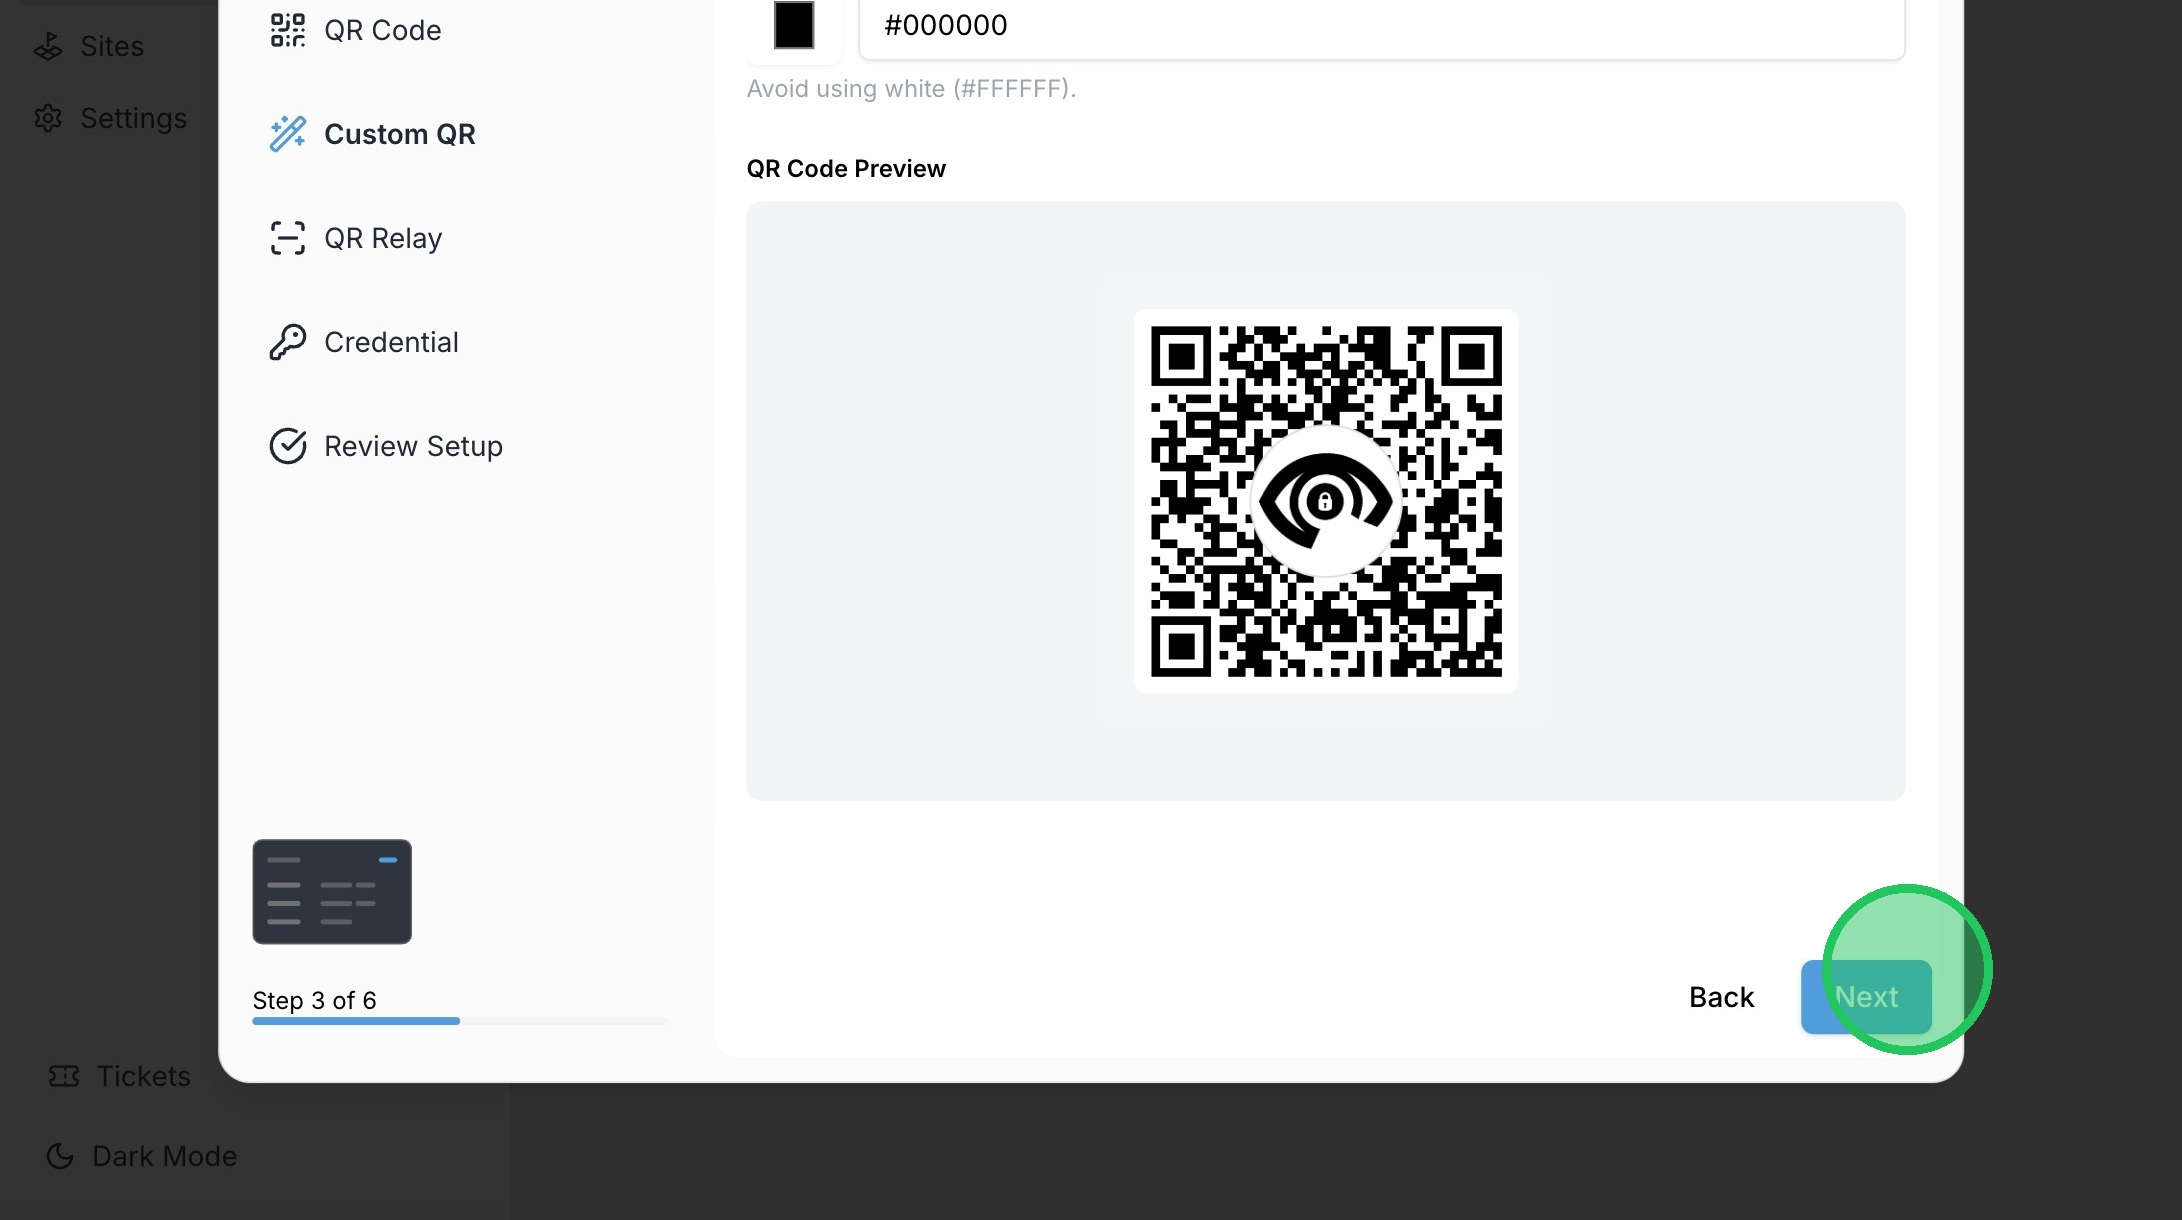
11. Click "Next" once happy with the design preview
12. When initially creating the QR Code for an order, keep the Unlocking Mode set to "None." This can be adjusted with integration settings, or a relay after the QR Code is created.
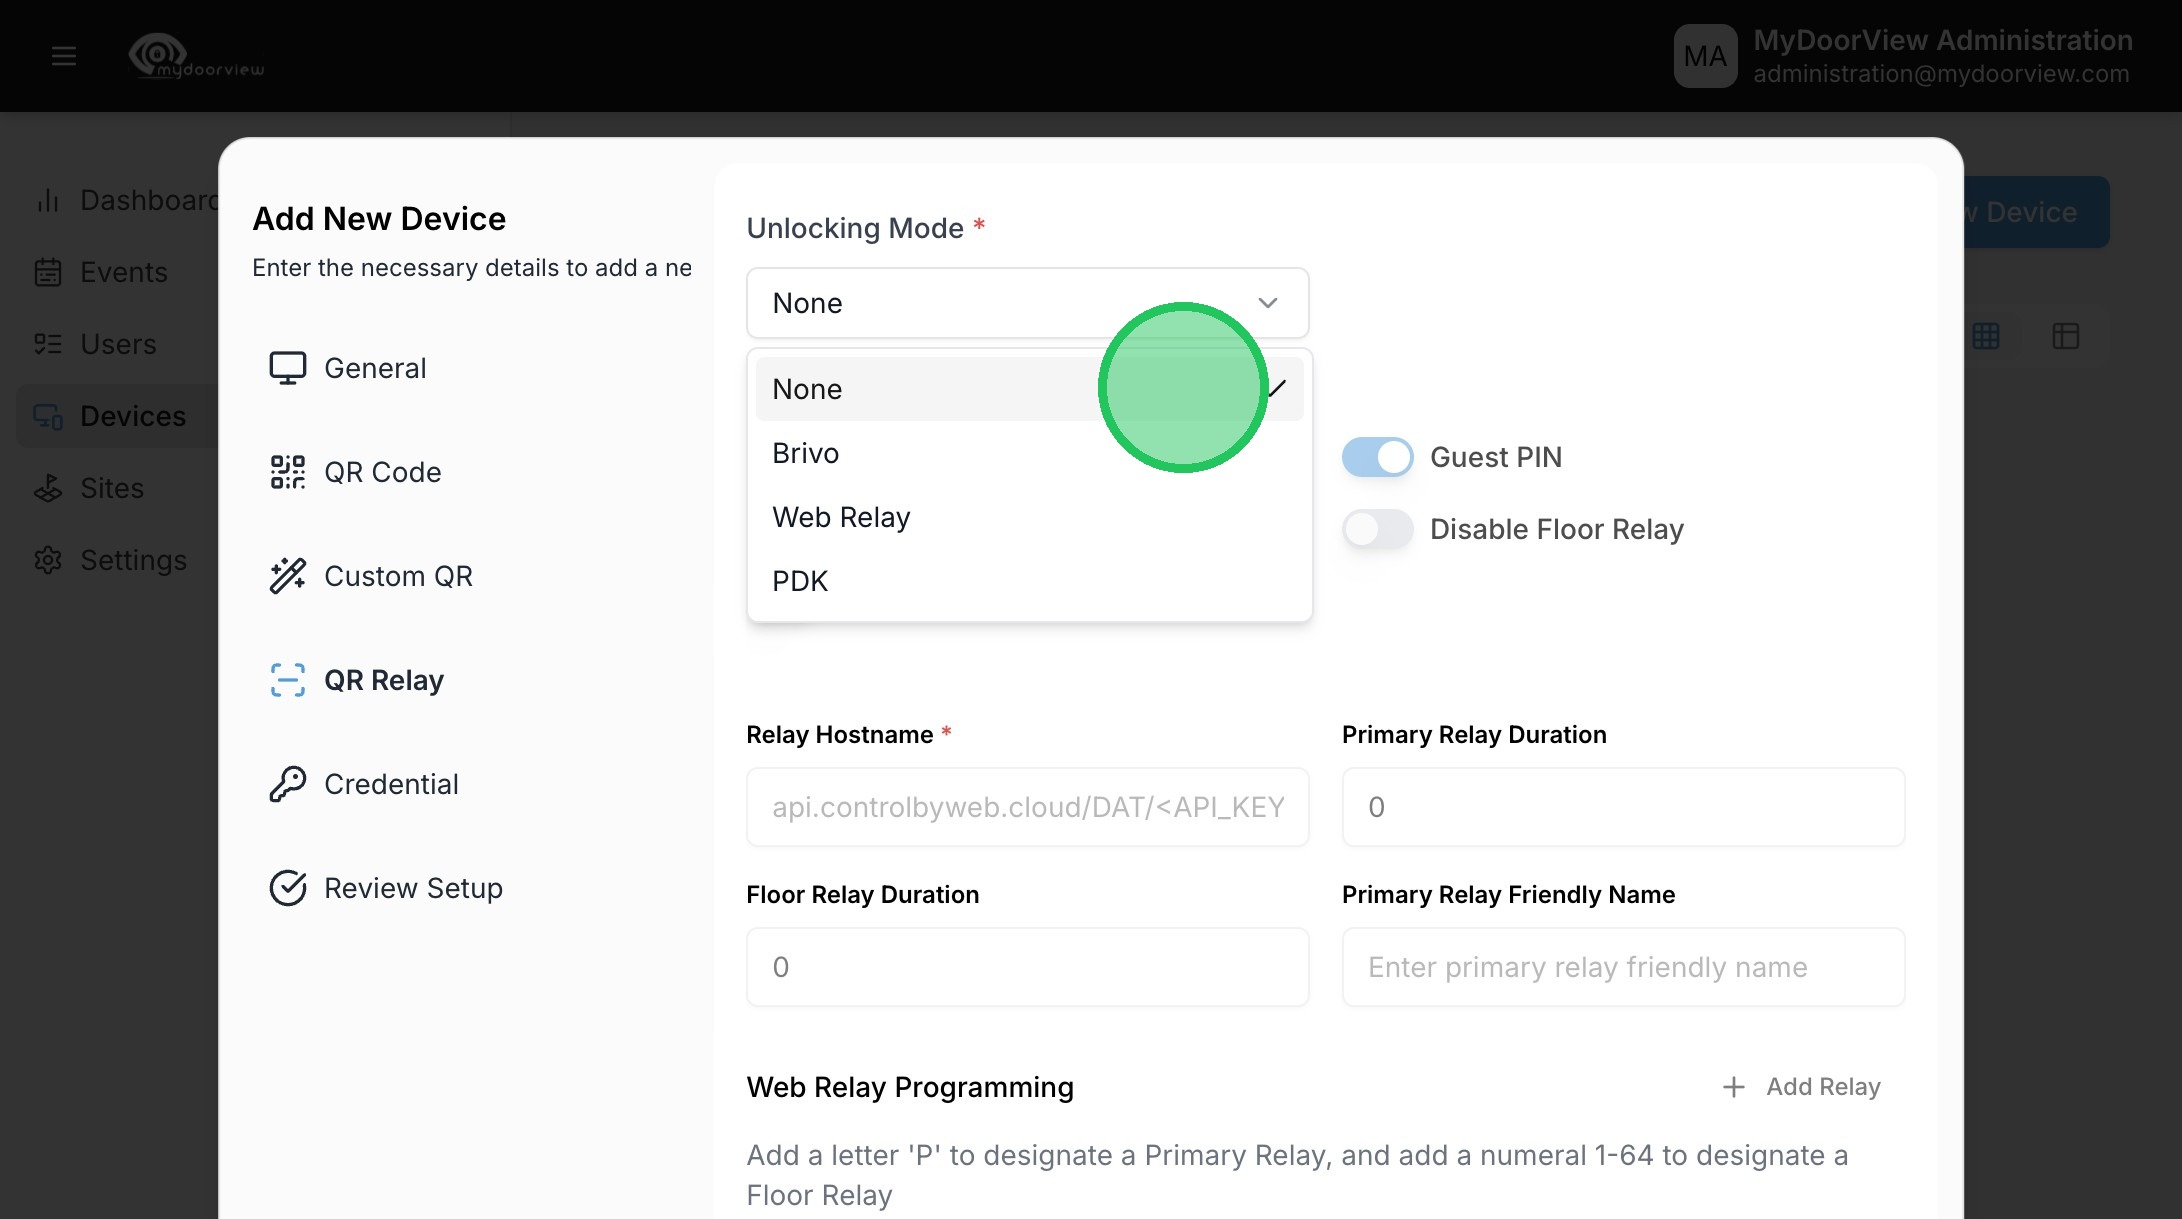
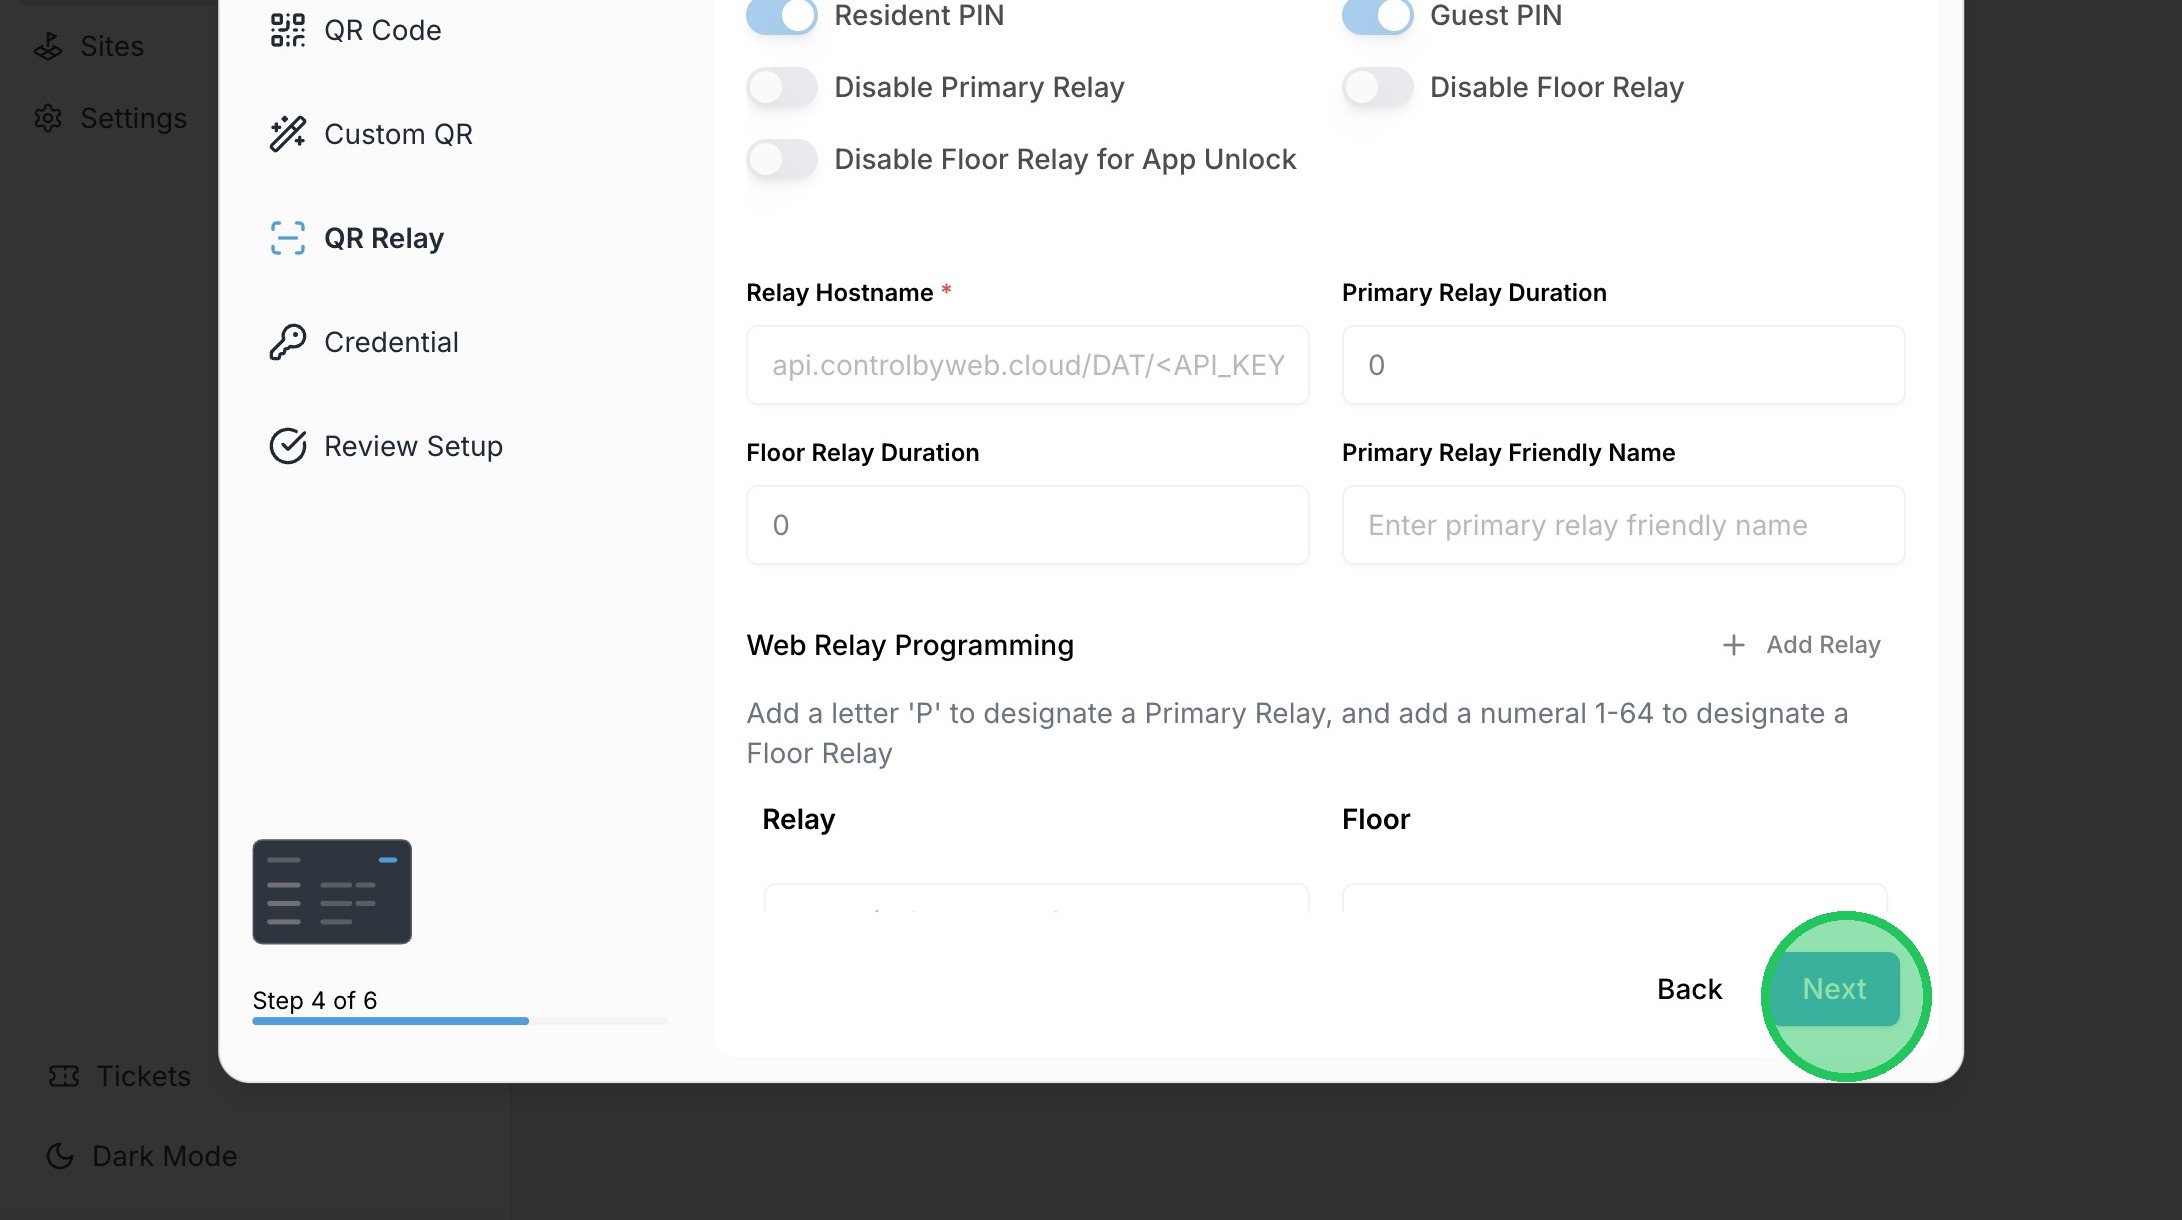
13. Adjust Relay settings if needed (please note these settings are not leveraged when an integration is used).
Enter P in the right column in Web Relay Programming for the desired relay the QR code will hit (a Web Relay device may have many relays and each QR code can fire a specific relay). Click "Next" once completed.
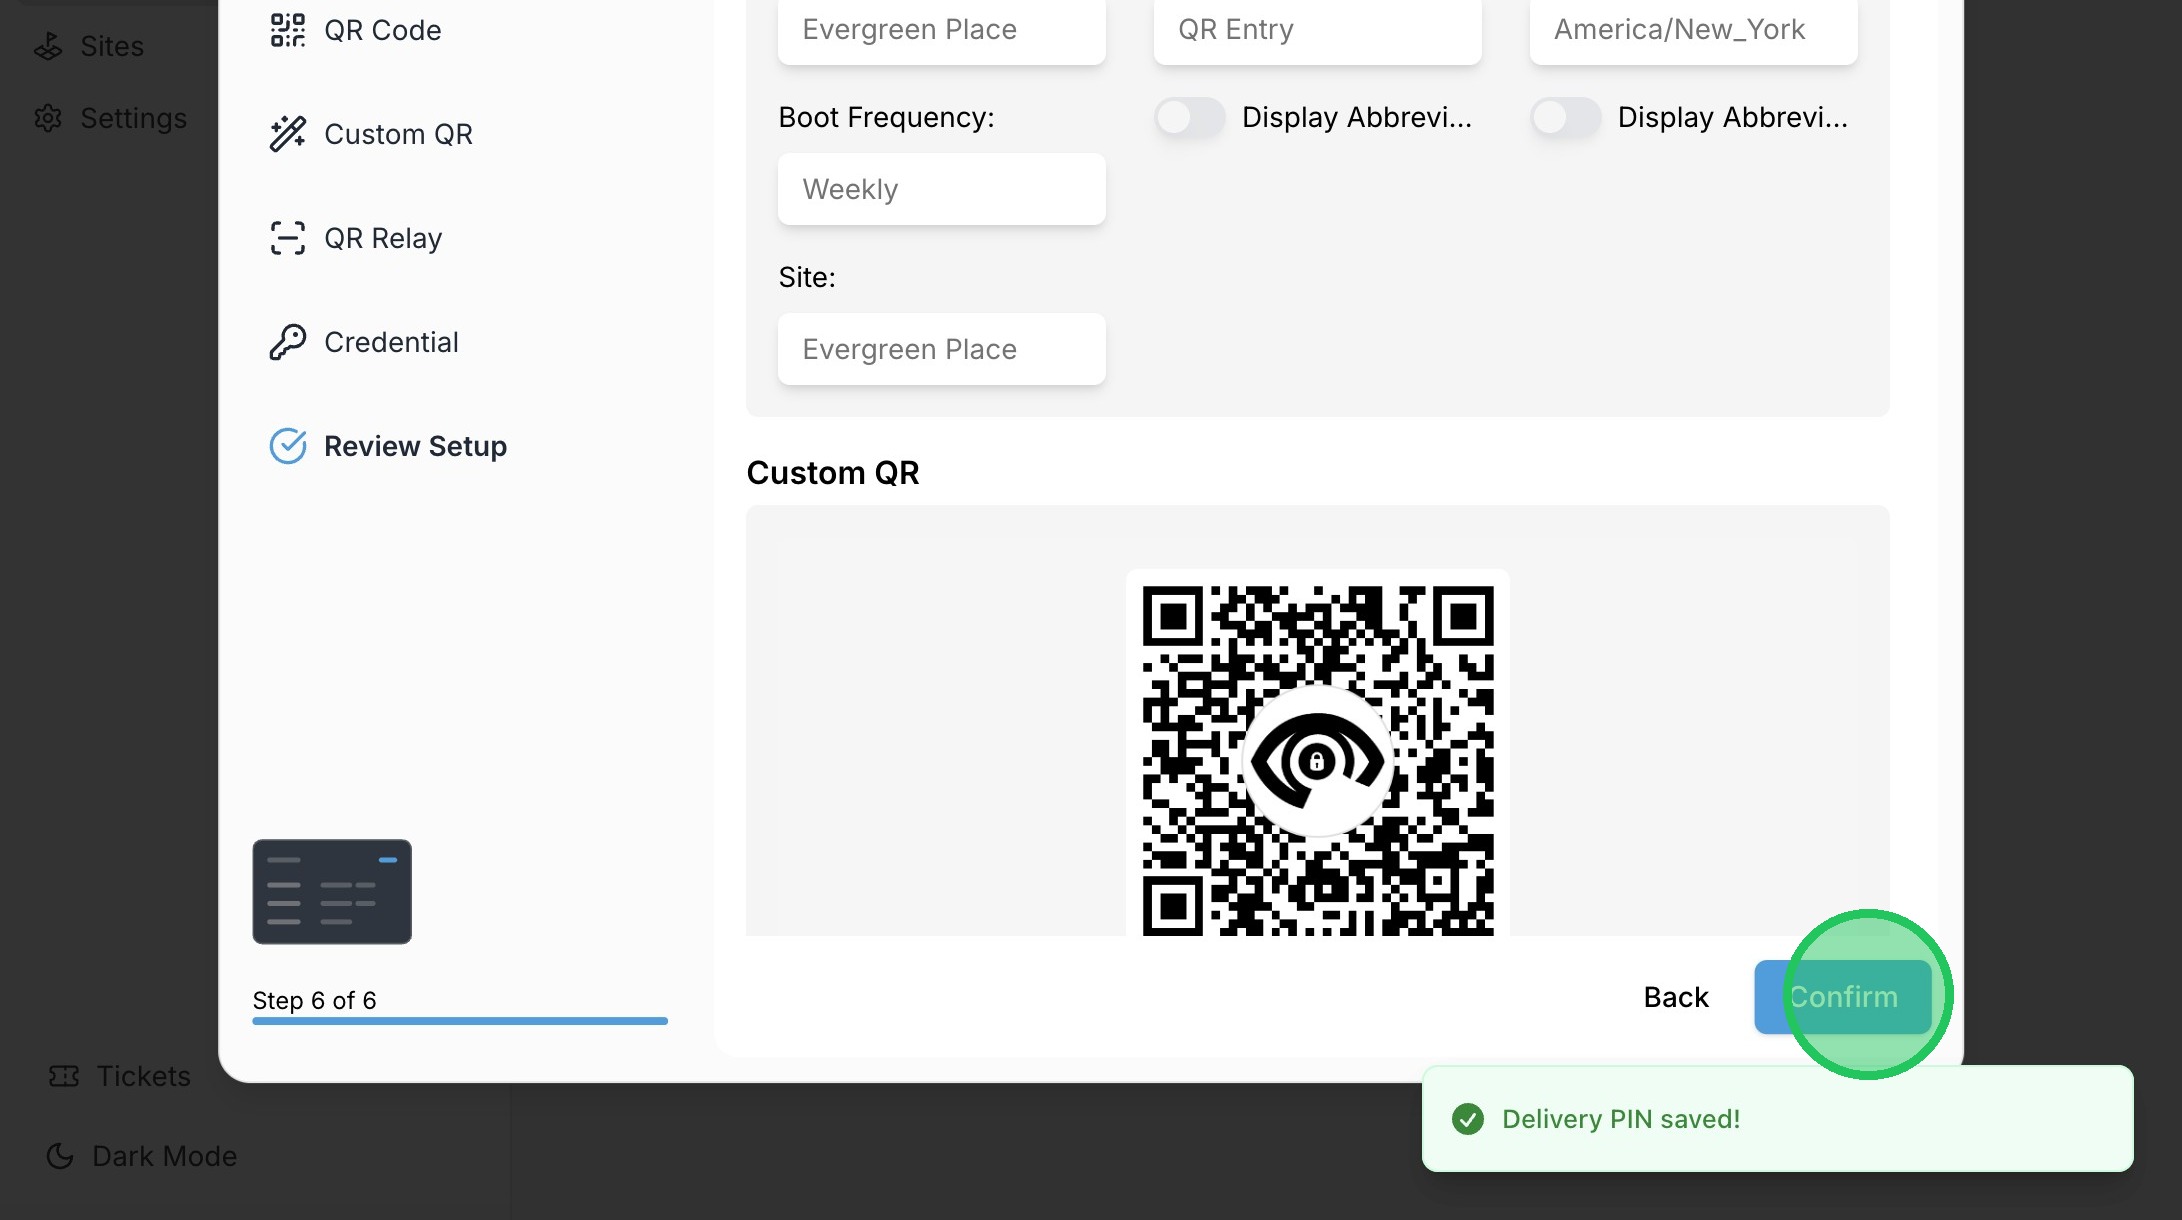
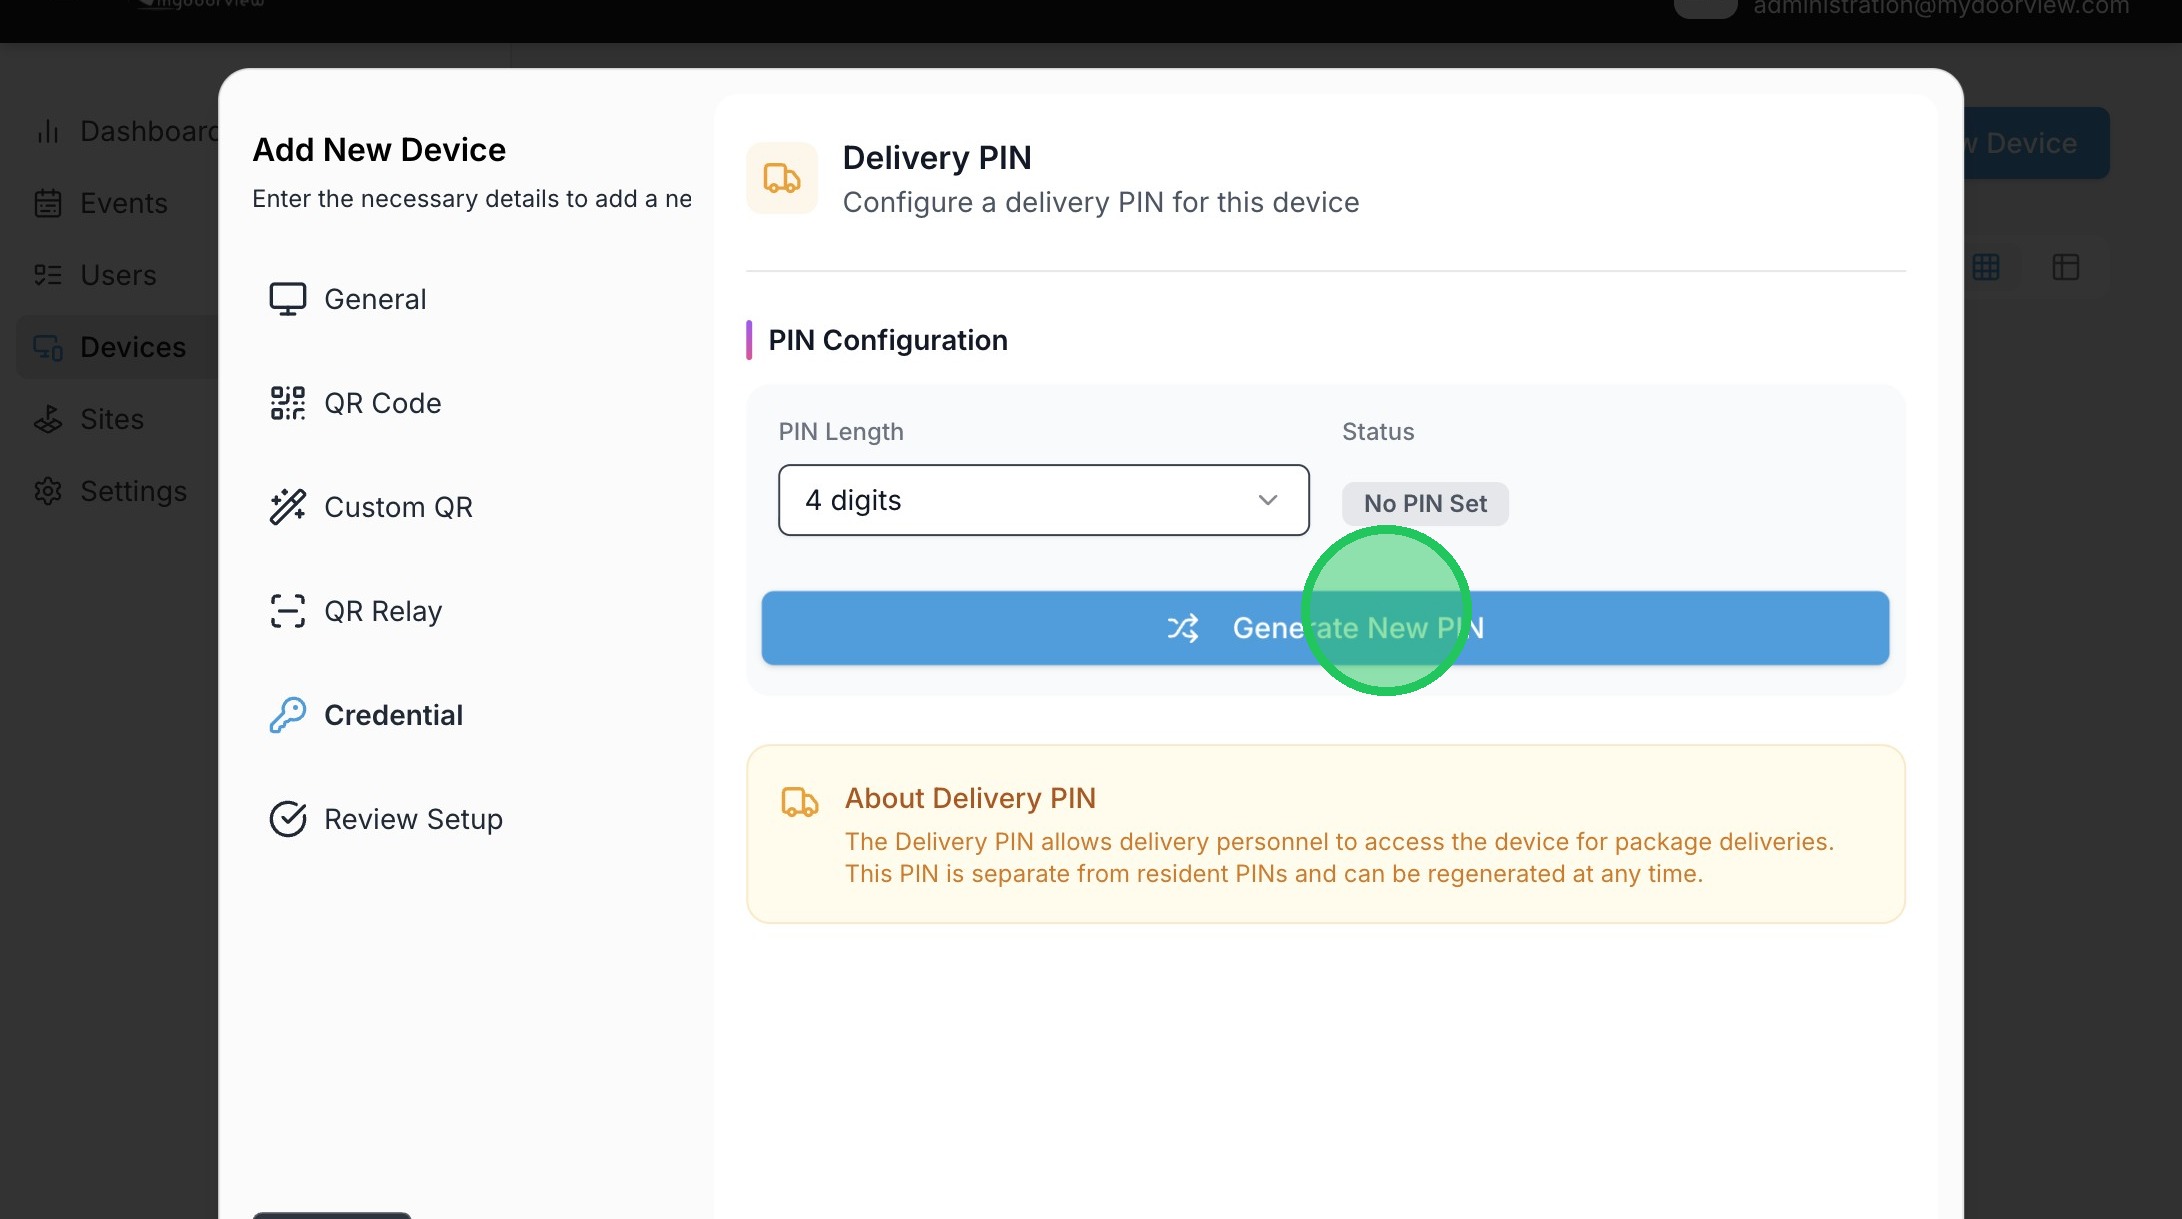
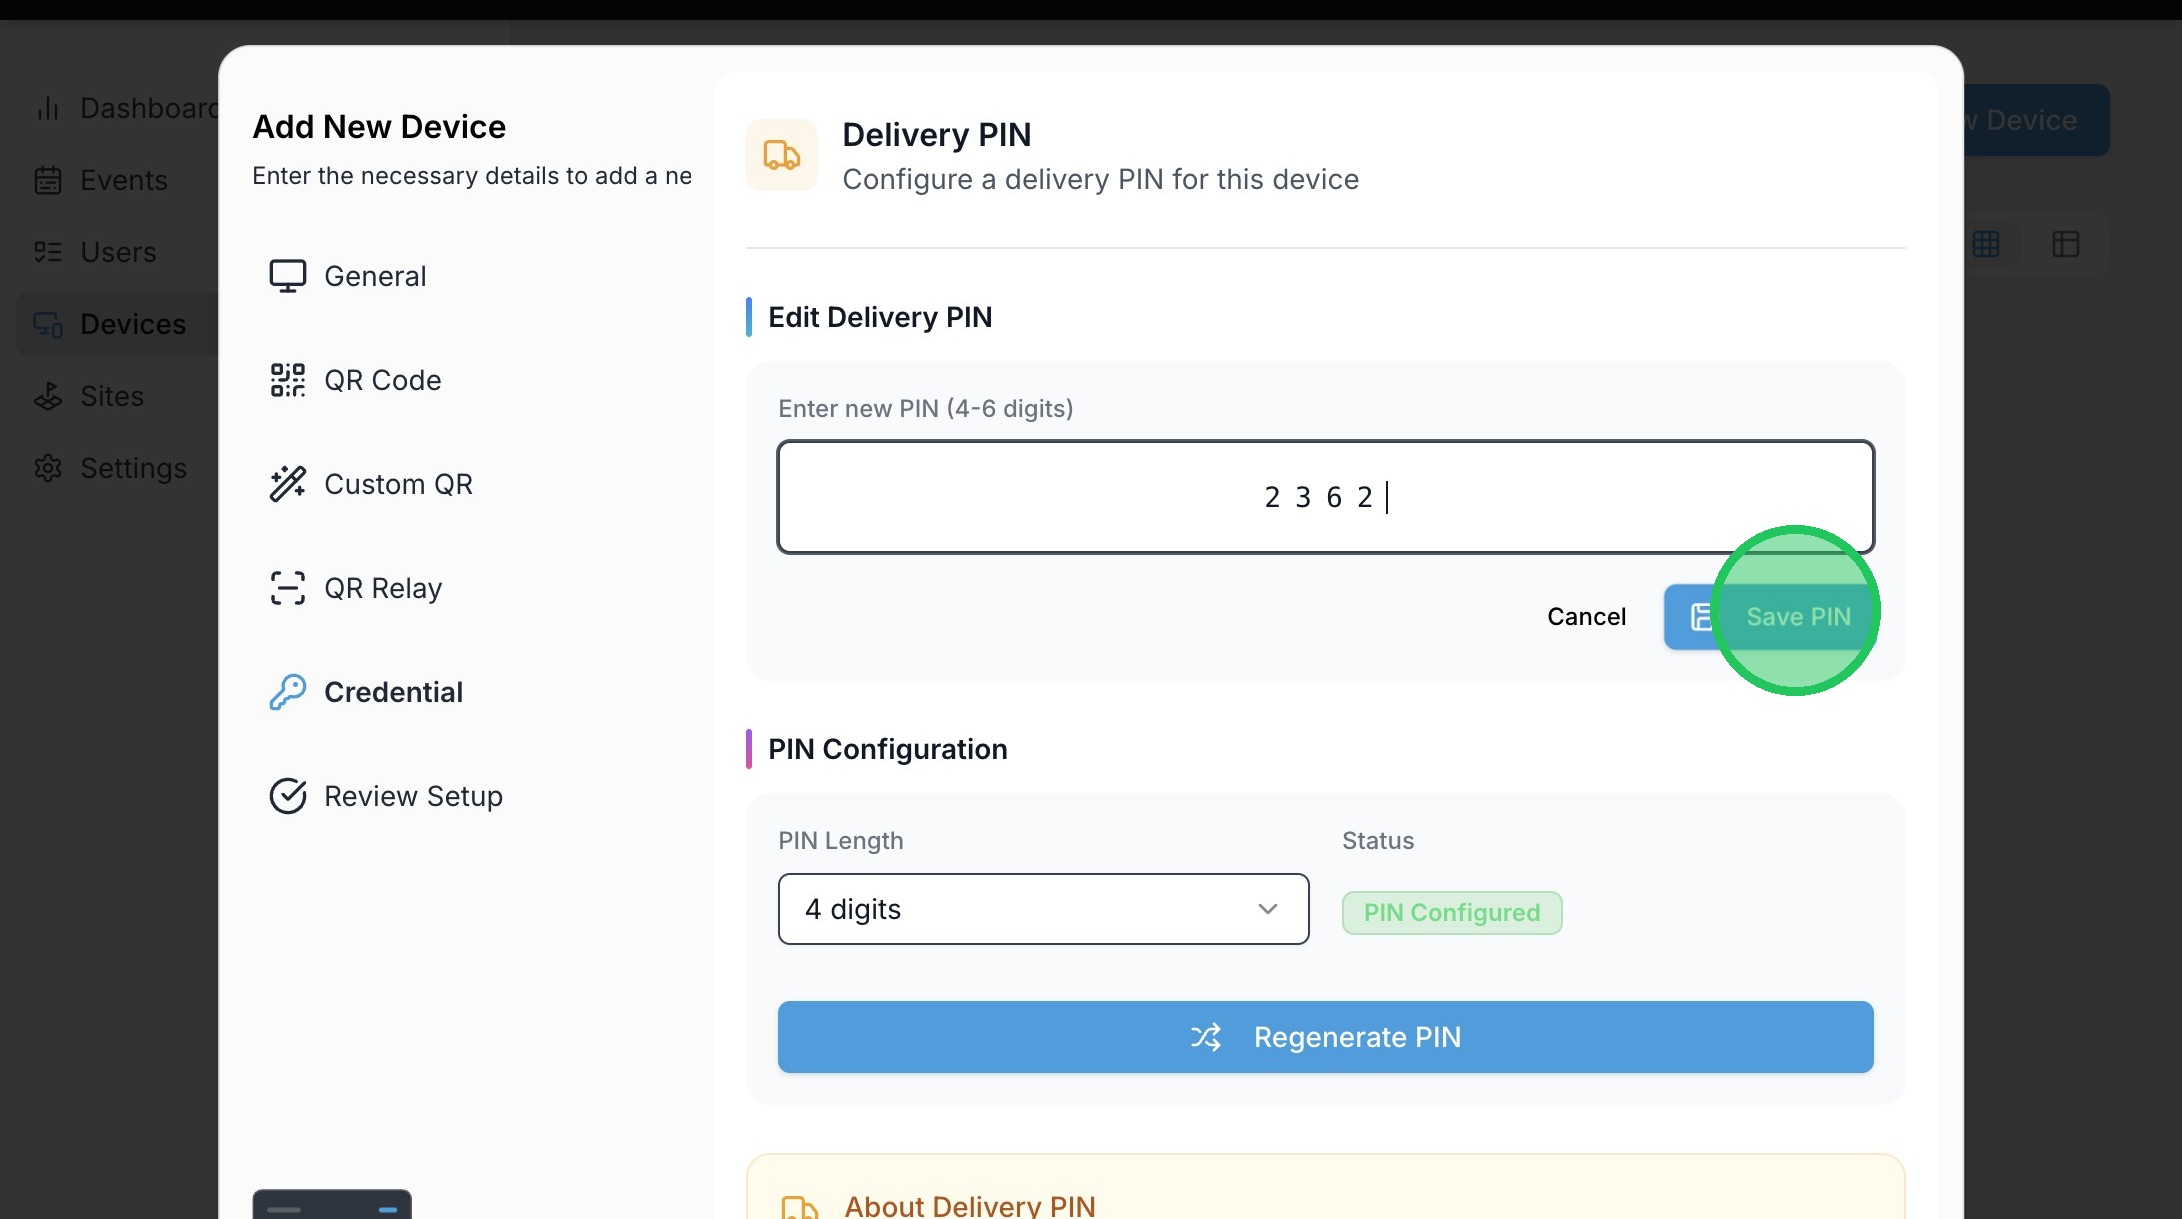
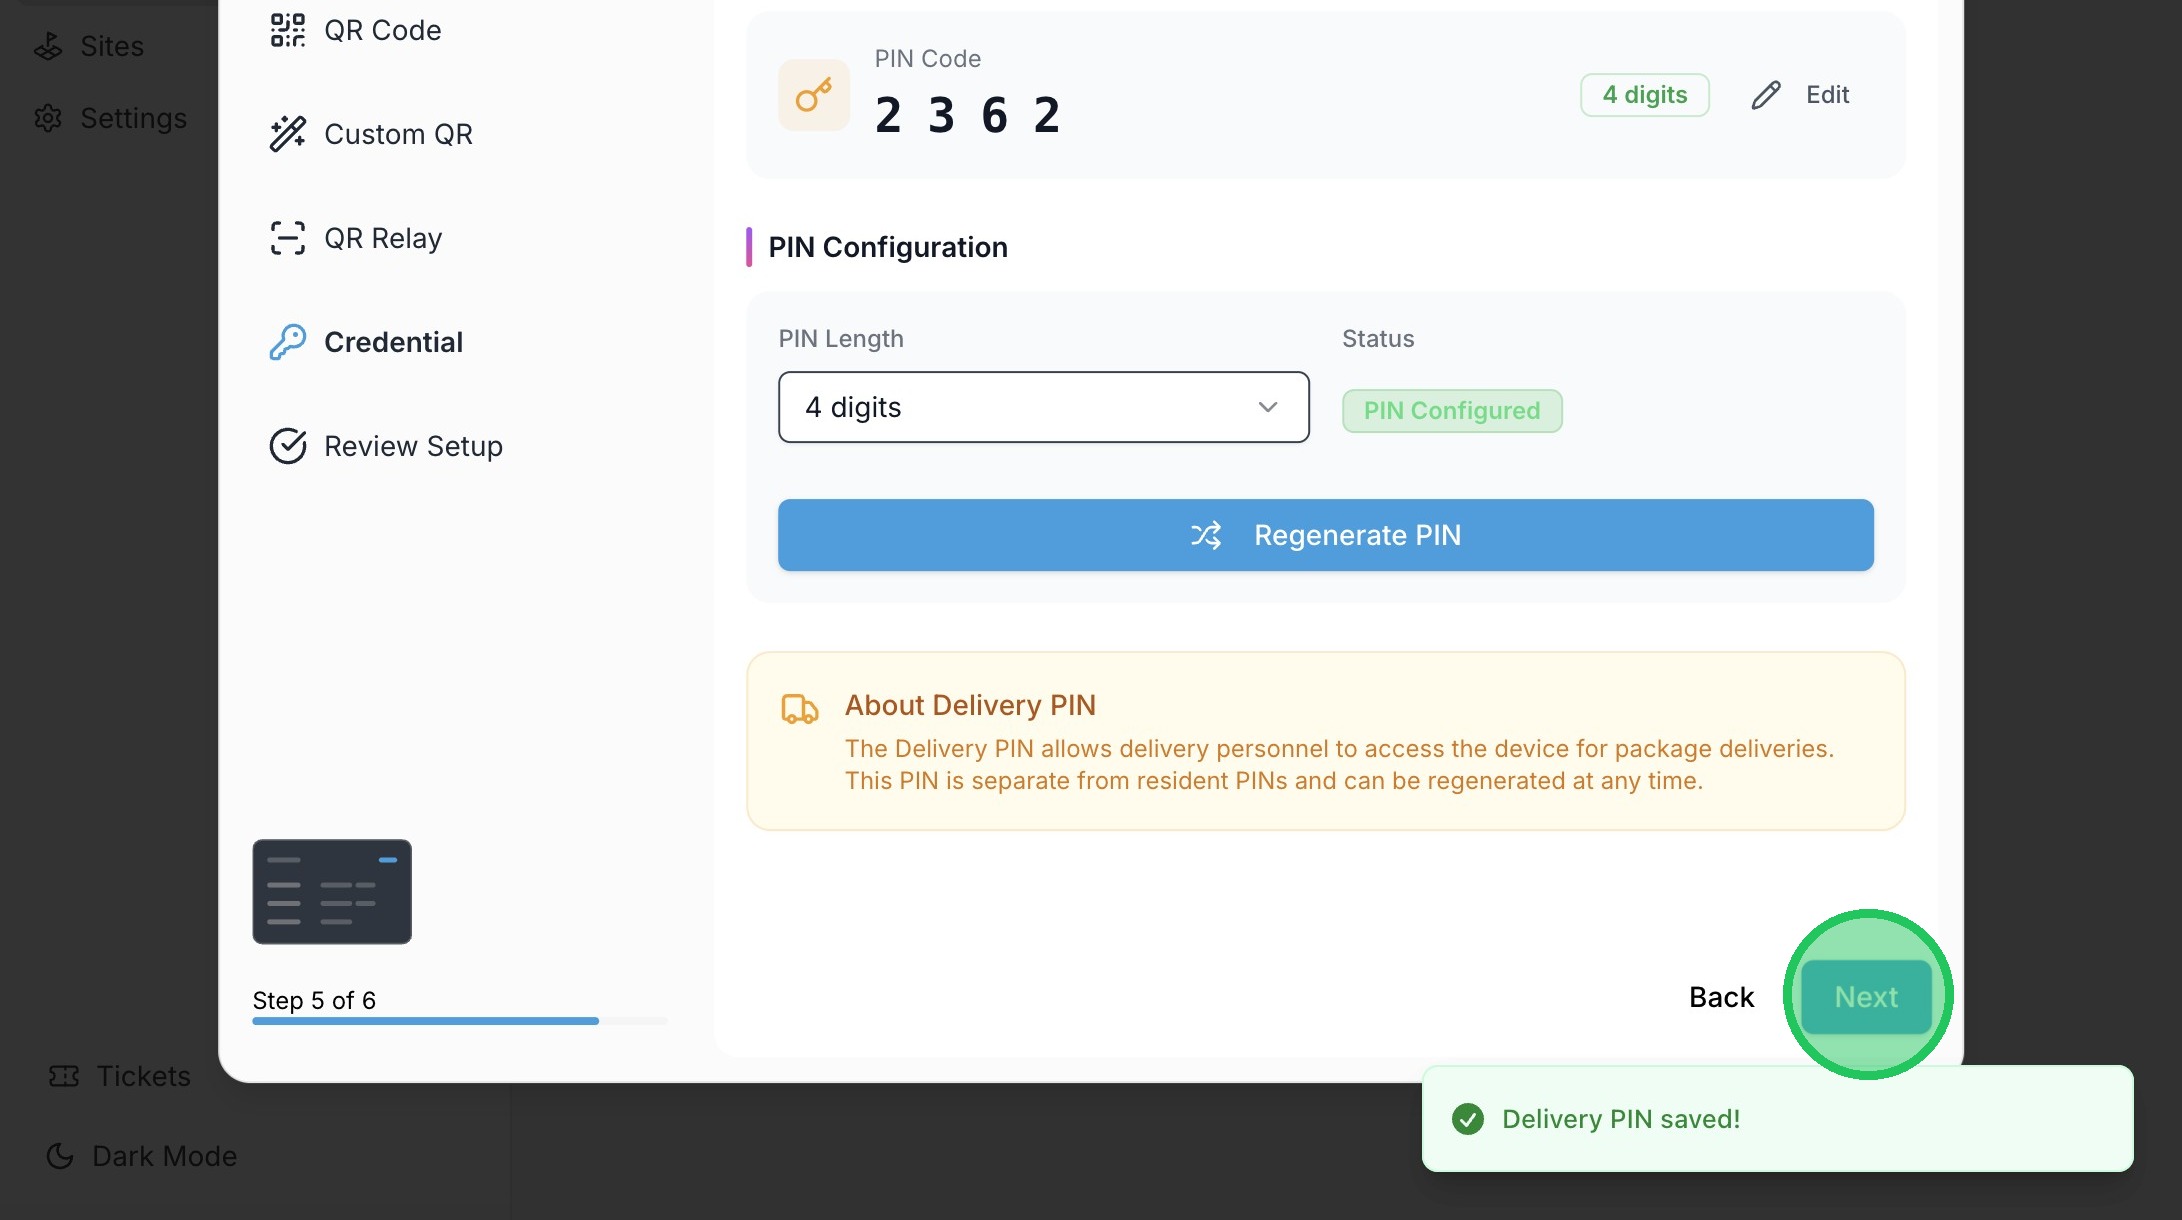
14. Click "Generate New PIN" to set a Delivery PIN
15. Click "Edit"

16. Adjust the PIN as desired in the designated field.
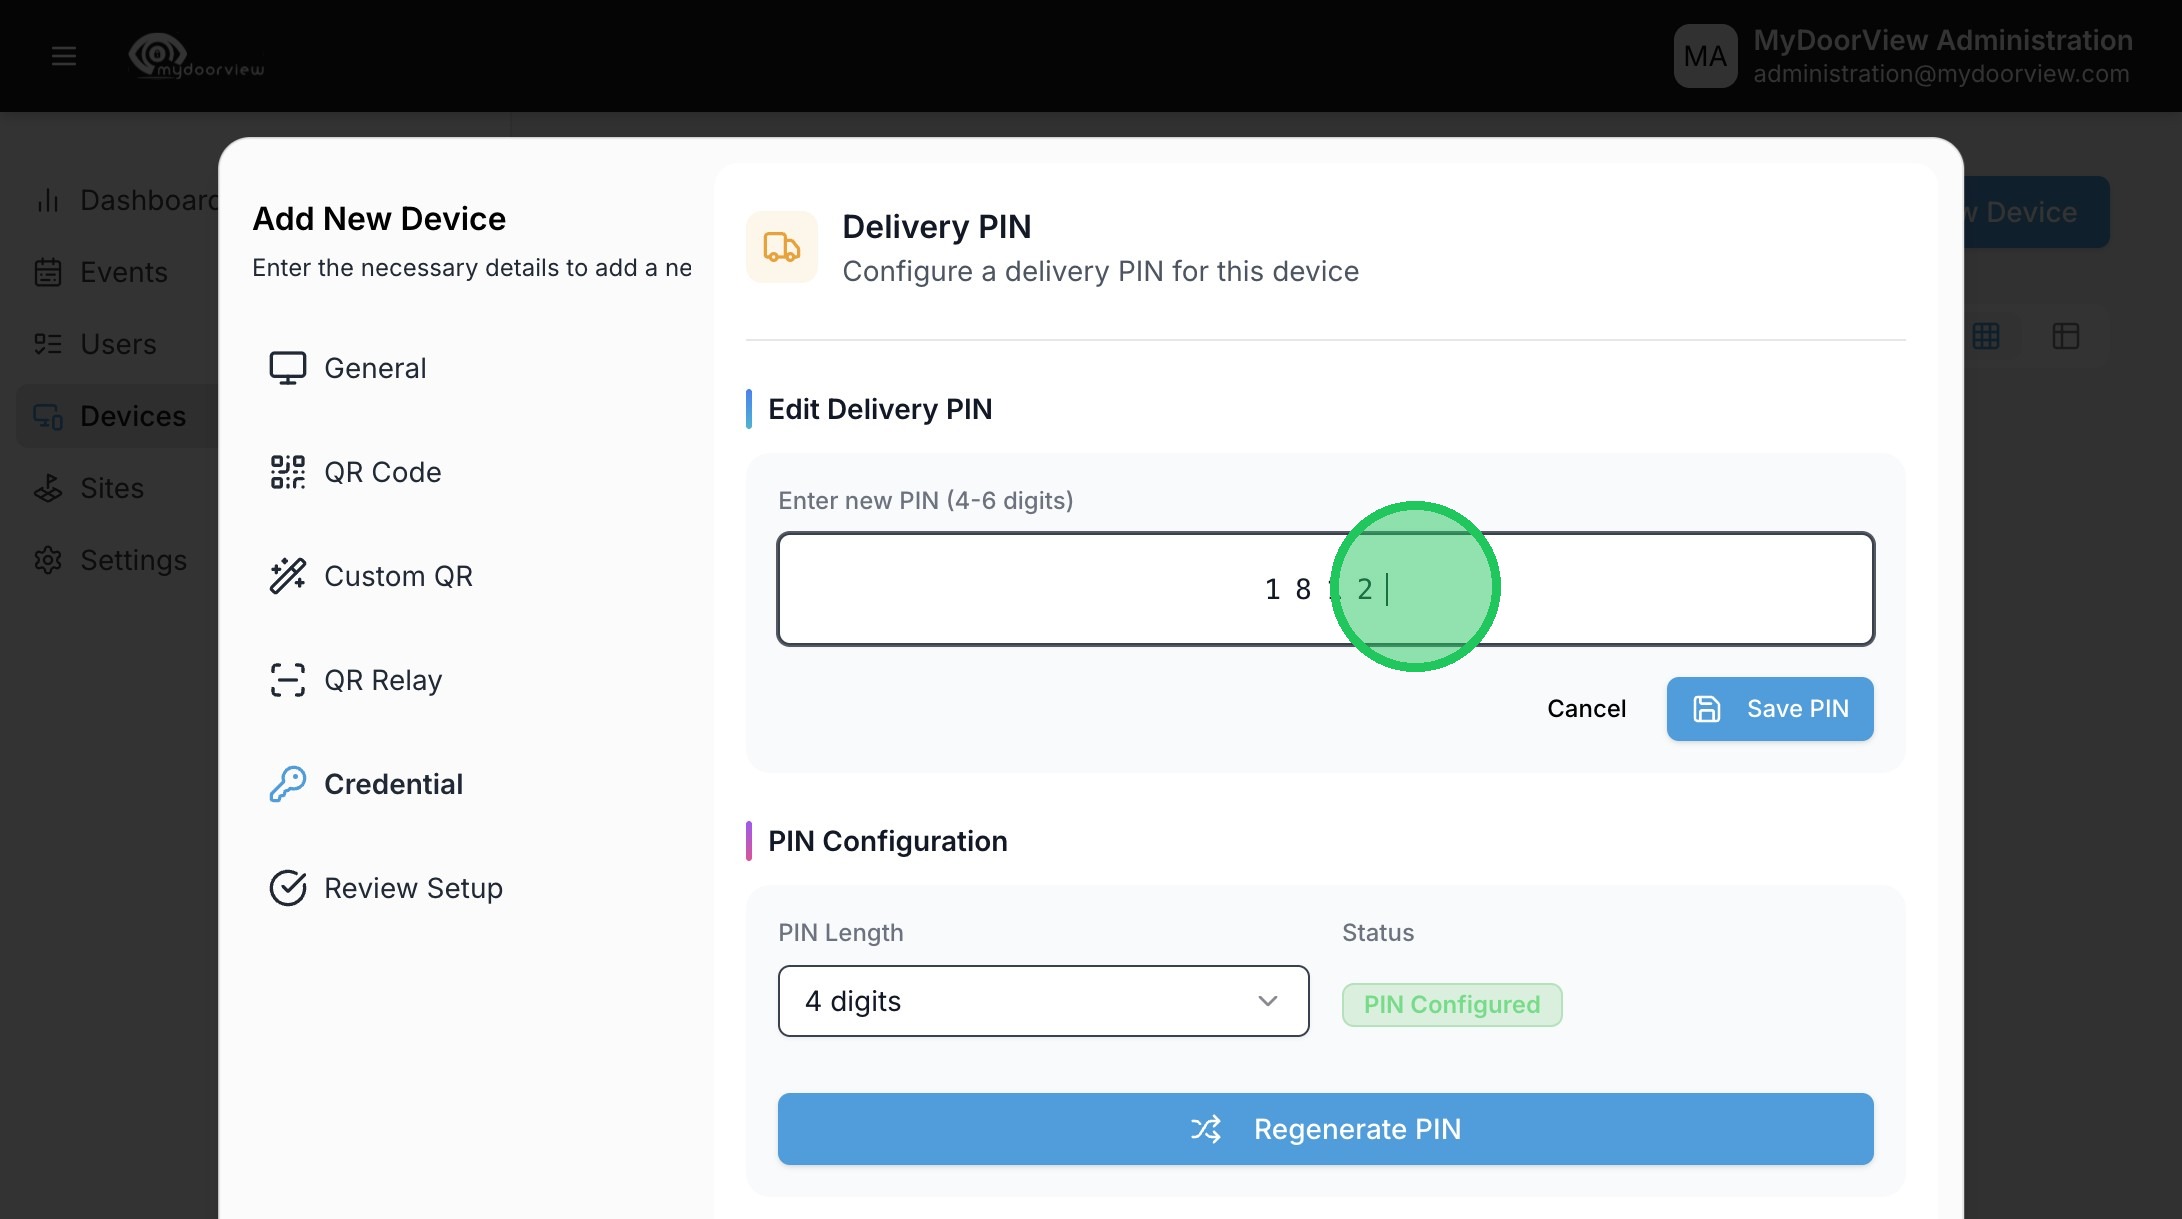
17. Click "Save PIN"
18. Click "Next"
19. Click "Confirm"